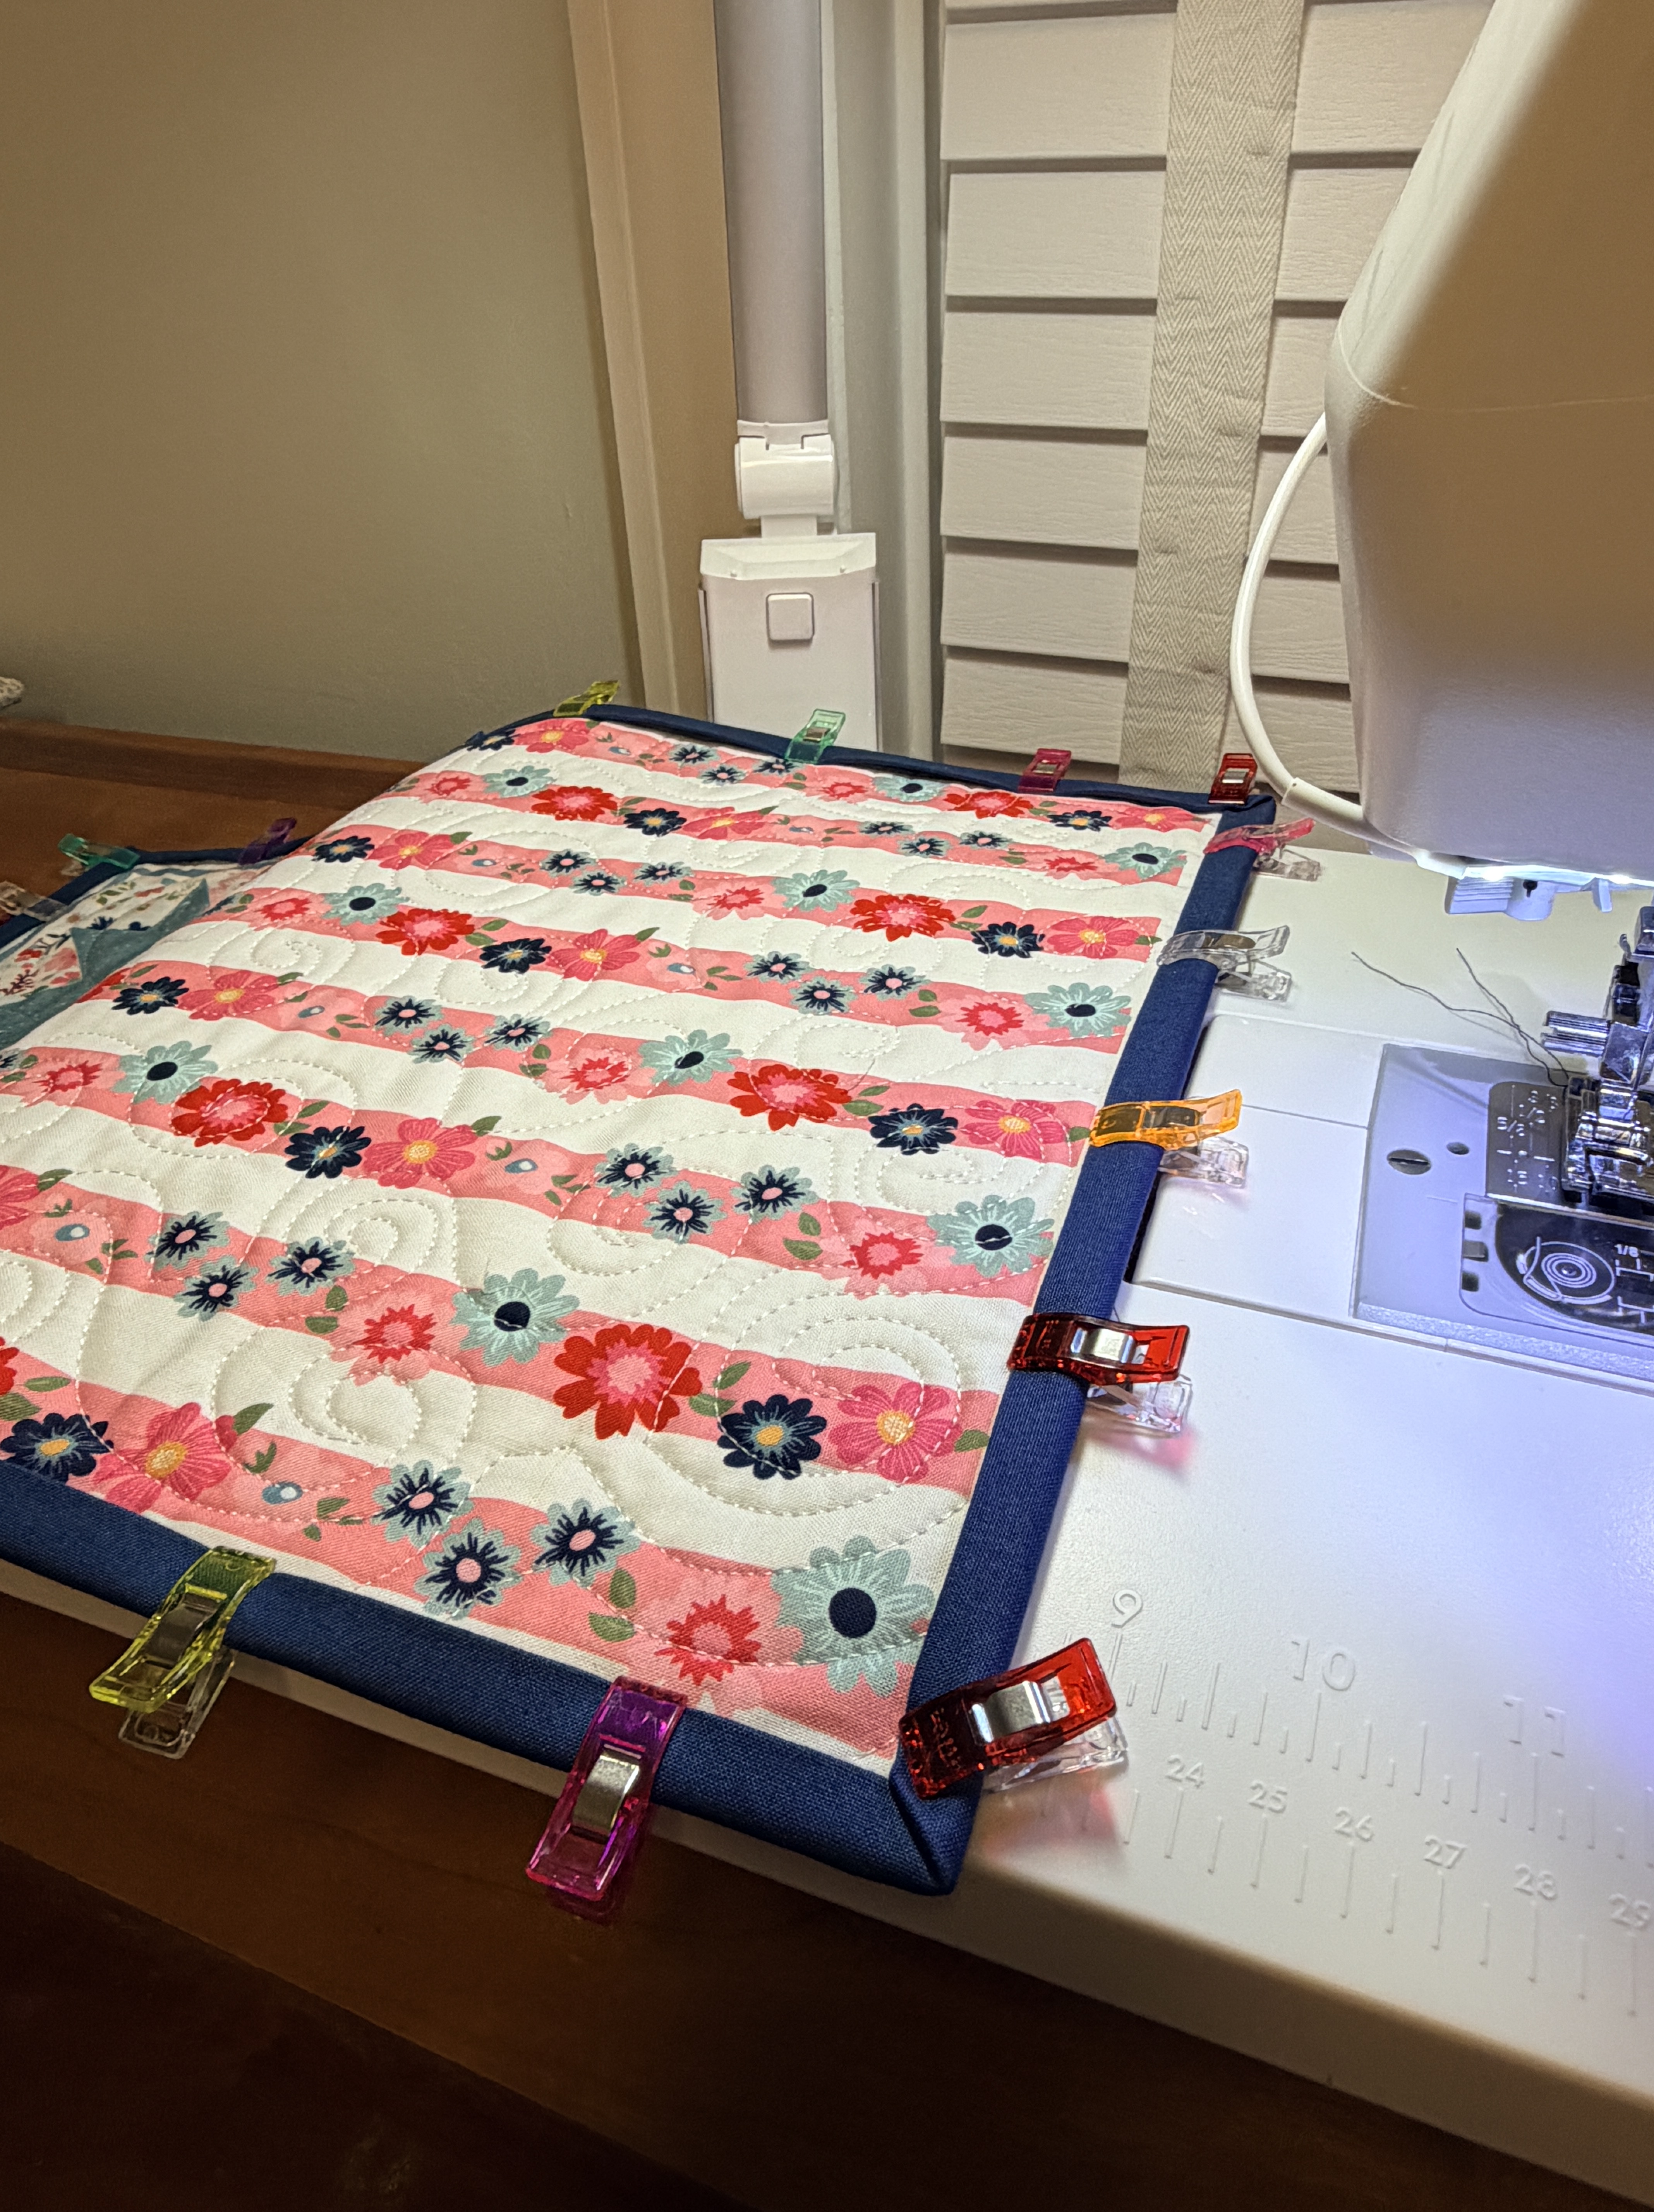
After several practice quilt sandwiches, it was time to do FMQ swirls on a *real* project. I unearthed a Moda placemat panel that had been part of the swag bag at last year’s JK Quilts spring retreat. I prepped the quilt sandwiches at sew day on Wednesday. Quilted them on Friday. Four placemats are now ready to bind.
Learning to FMQ with on my Elna 782 with the ASR requires a different set of skills – not good, not bad – just different. The payoff has been a more consistent stitch length when doing FMQ. I still get occasional long stitches (usually from moving my hands too fast when changing directions), but that’s okay. It’s part of the learning process. I actually prefer to FMQ using the start/stop button rather than the foot pedal. Still haven’t decided which particular foot I prefer to use for everyday FMQ. My next FMQ will be on a project made using the fusible grid interfacing. I’m going to try the “bowl” or clear view attachment to see if this works any better with all of the seamlines.
Back to Front Binding Tips:
Start with 2-1/2″ wide strips, adding 20% extra to the total length needed (just in case).
Do a mock binding layout to preview where any binding seams may fall – preferably no seams at the corners. Adjust as needed.
Sew using a 3/16″ seam allowance, joining ends using your favorite method.
Press sewn binding away from the back side.
Roll binding to the front side and glue baste in place, leaving corners for last.
Set corners and clip in place.
Let sit for 1/2 hour or overnight so glue can dry.
Stitch using a straight stitch with tie-off option and Janome Bi-level Left presser foot. (Note: the foot is advertised for 5-7mm machines, but I think it offers more flexibility with the 7mm widith machines. That said, my Elna 450 is a 5mm width machine. I set SW = 0 and SL= 3.0. Sew slowly with the needle down function engaged. )

