ECQG Paint Chip Challenge

Every year, my guild hosts a challenge in which all members can participate. The challenge chairperson gets to determine the type of challenge and the rules. In recent years, it’s been some sort of art-theme challenge that generates a lot of beautiful art quilts. We have a number of talented quilters in the guild who’ve won ribbons and have received recognition at the national level. That would not be me, but my skills are on par with most of my fellow guild members.

At a recent charity sew day, one of my table mates shared that she didn’t participate in any challenges or shows because of the critiquing done by some of the “armchair quilt judges” in the guild. I totally understand. Several months ago, I excitedly shared a small quilt I’d completed on my Elna 782 with the ASR. I was proud to finally have something I felt was worth sharing because it had been a struggle for me to learn how to use the stitch regulator. One person immediately began to nitpick my quilting skills. A thick hide is definitely required if you put your work out there for others to see.

This year’s challenge has apparently drawn the most participants in recent memory. It’s a paint chip challenge. Participants received a paint chip (Behr paint sample card from Home Depot) in a sealed envelope. The color name is to be integrated into the quilt’s theme. Colors allowed are that paint chip (and all gradients in that color family) plus one additional color. White, black, and gray are considered neutral and unrestricted. Size range: 24″ x 24″ minimum to 48″ x 48″ maximum.

My color is a dark teal and Behr’s assigned color name is Out to Sea. The design incorporates my interpretation of a traditional Ocean Waves block. Here’s the top ready to be basted and quilted:
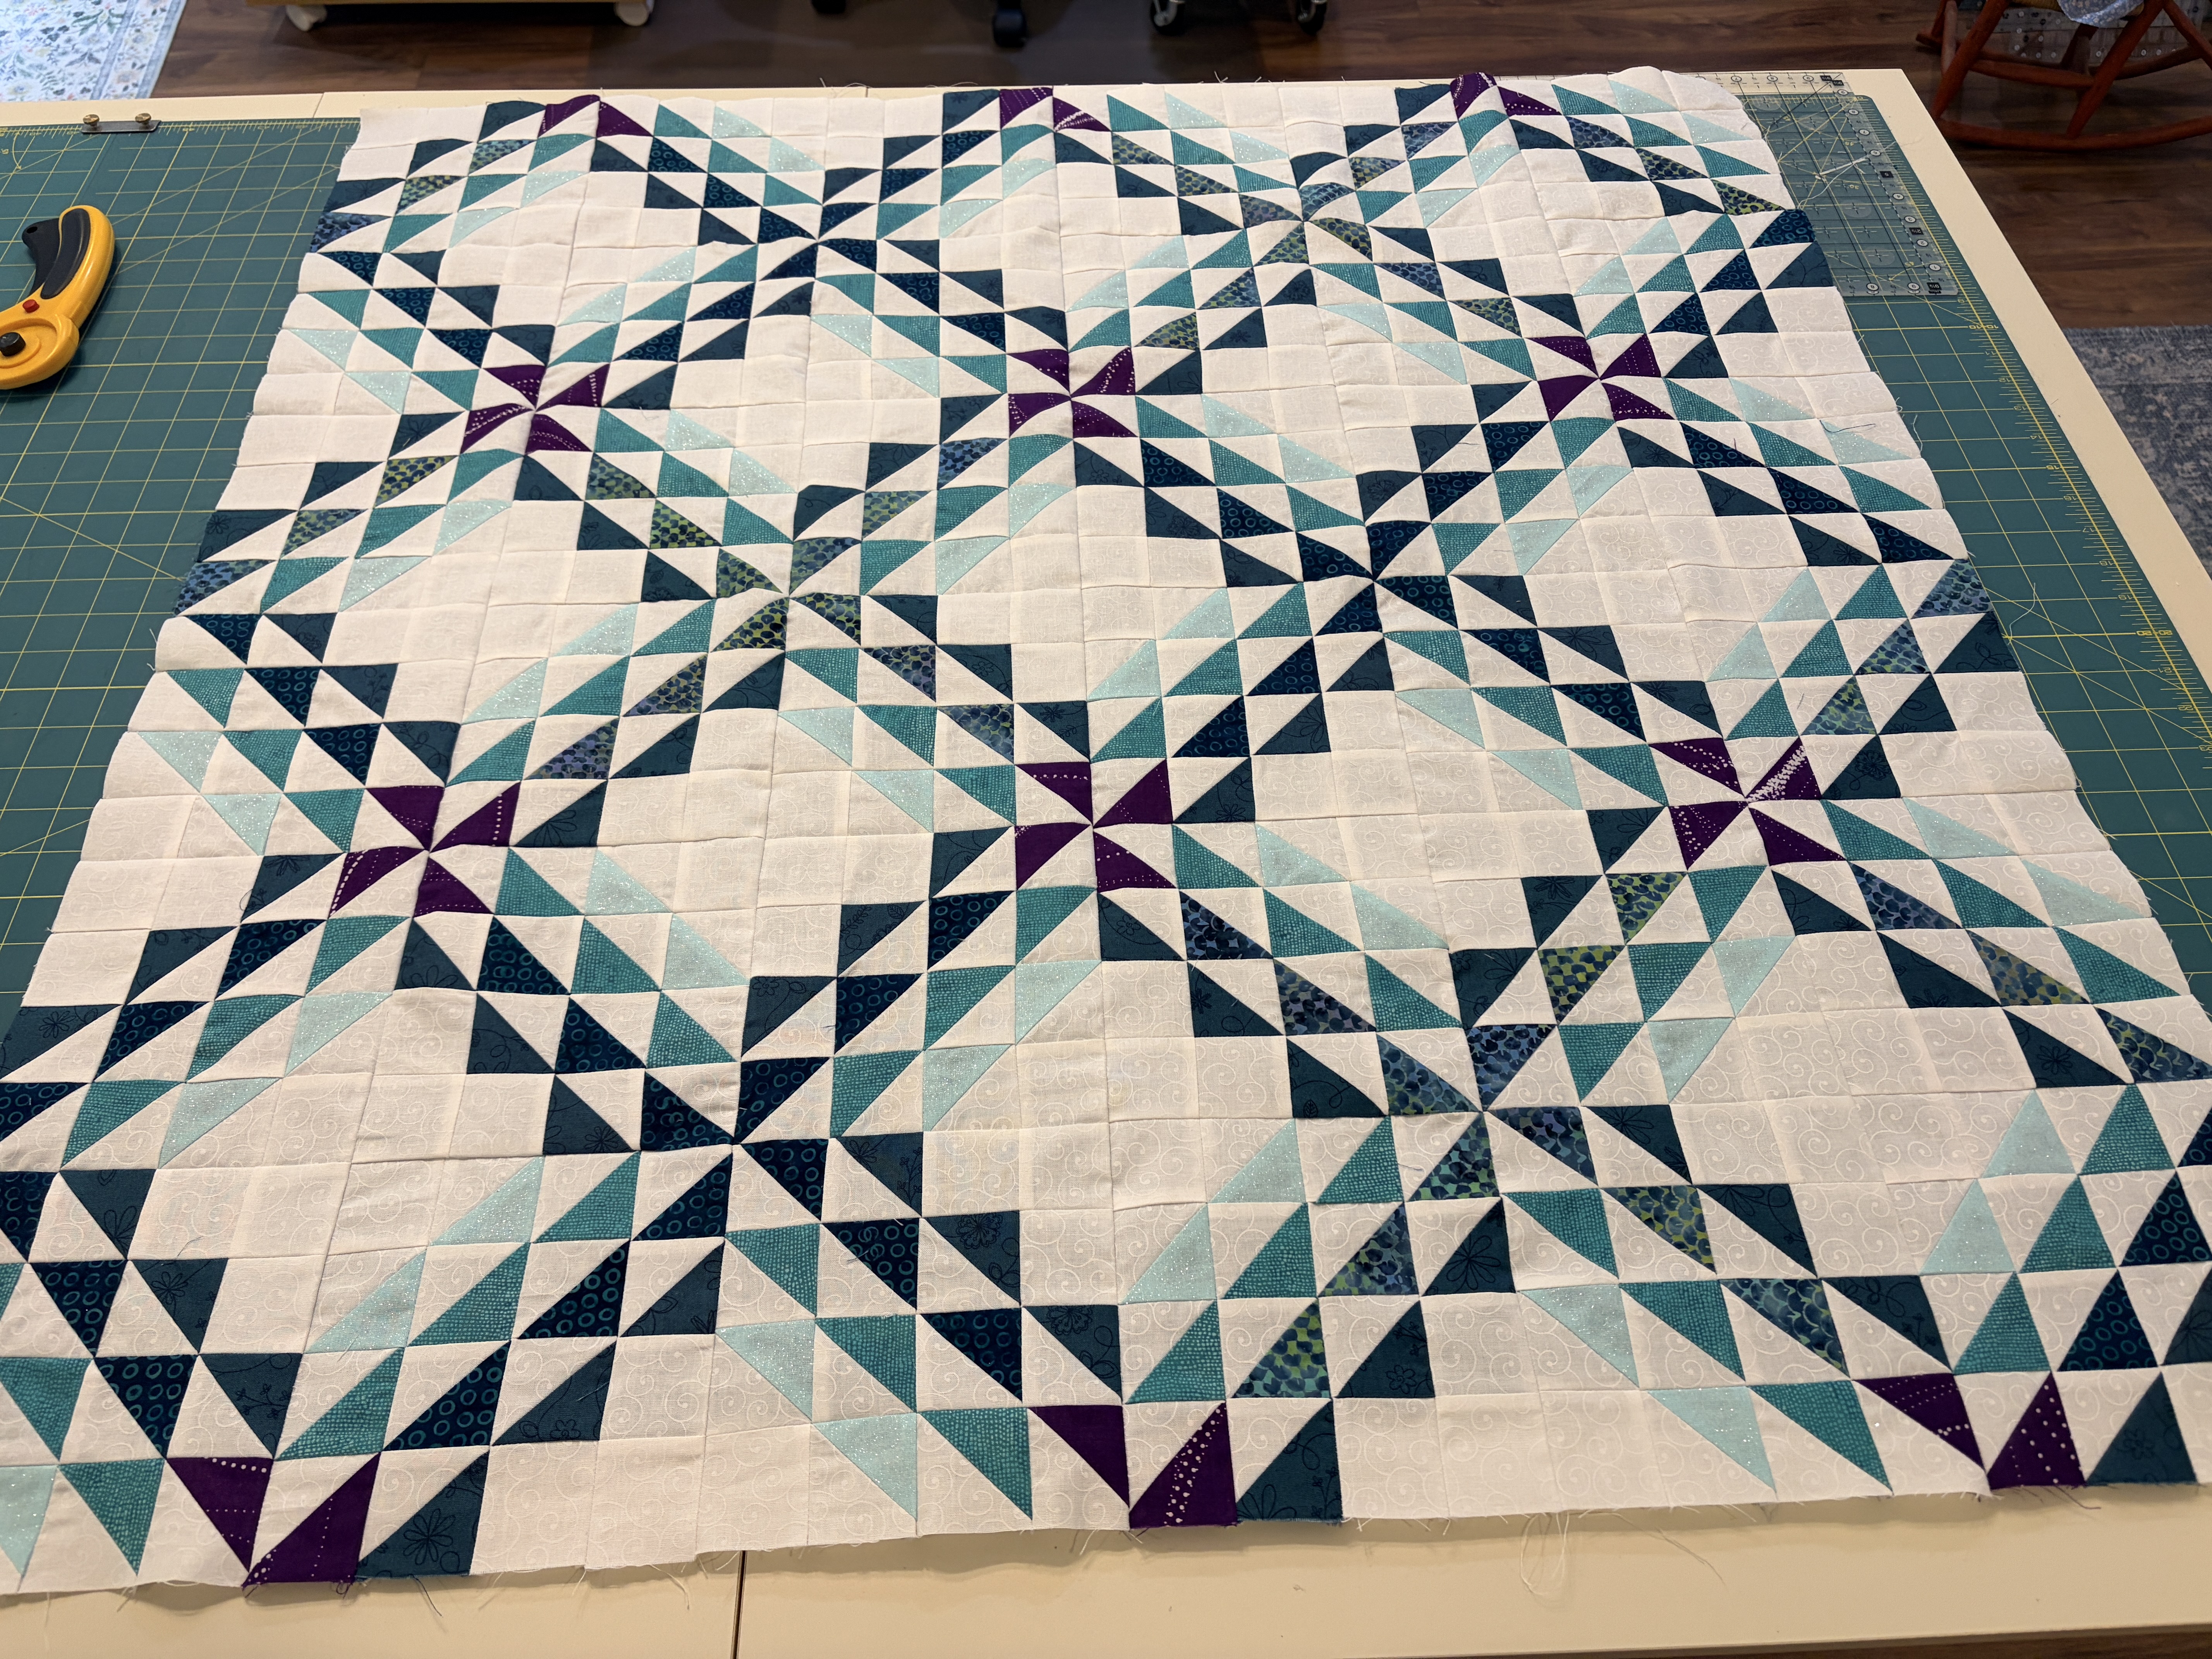
My quilt is based on a single block that is rotated to achieve the overall design. The colors are all in the teal family and positioned to add movement to the quilt. It took about five months to gather all my fabrics. They came from my stash, existing kits, local quilt shops and even Wal-Mart. The quilt contains 432 2″ HSTs that finish at 1-1/2″. I used the Bonnie Hunter Essential Triangle Tool and the B size Clearly Slotted Ruler to trim when needed. Purple was my additional color and positioned to create a secondary pinwheel design when all of the blocks were sewn together.
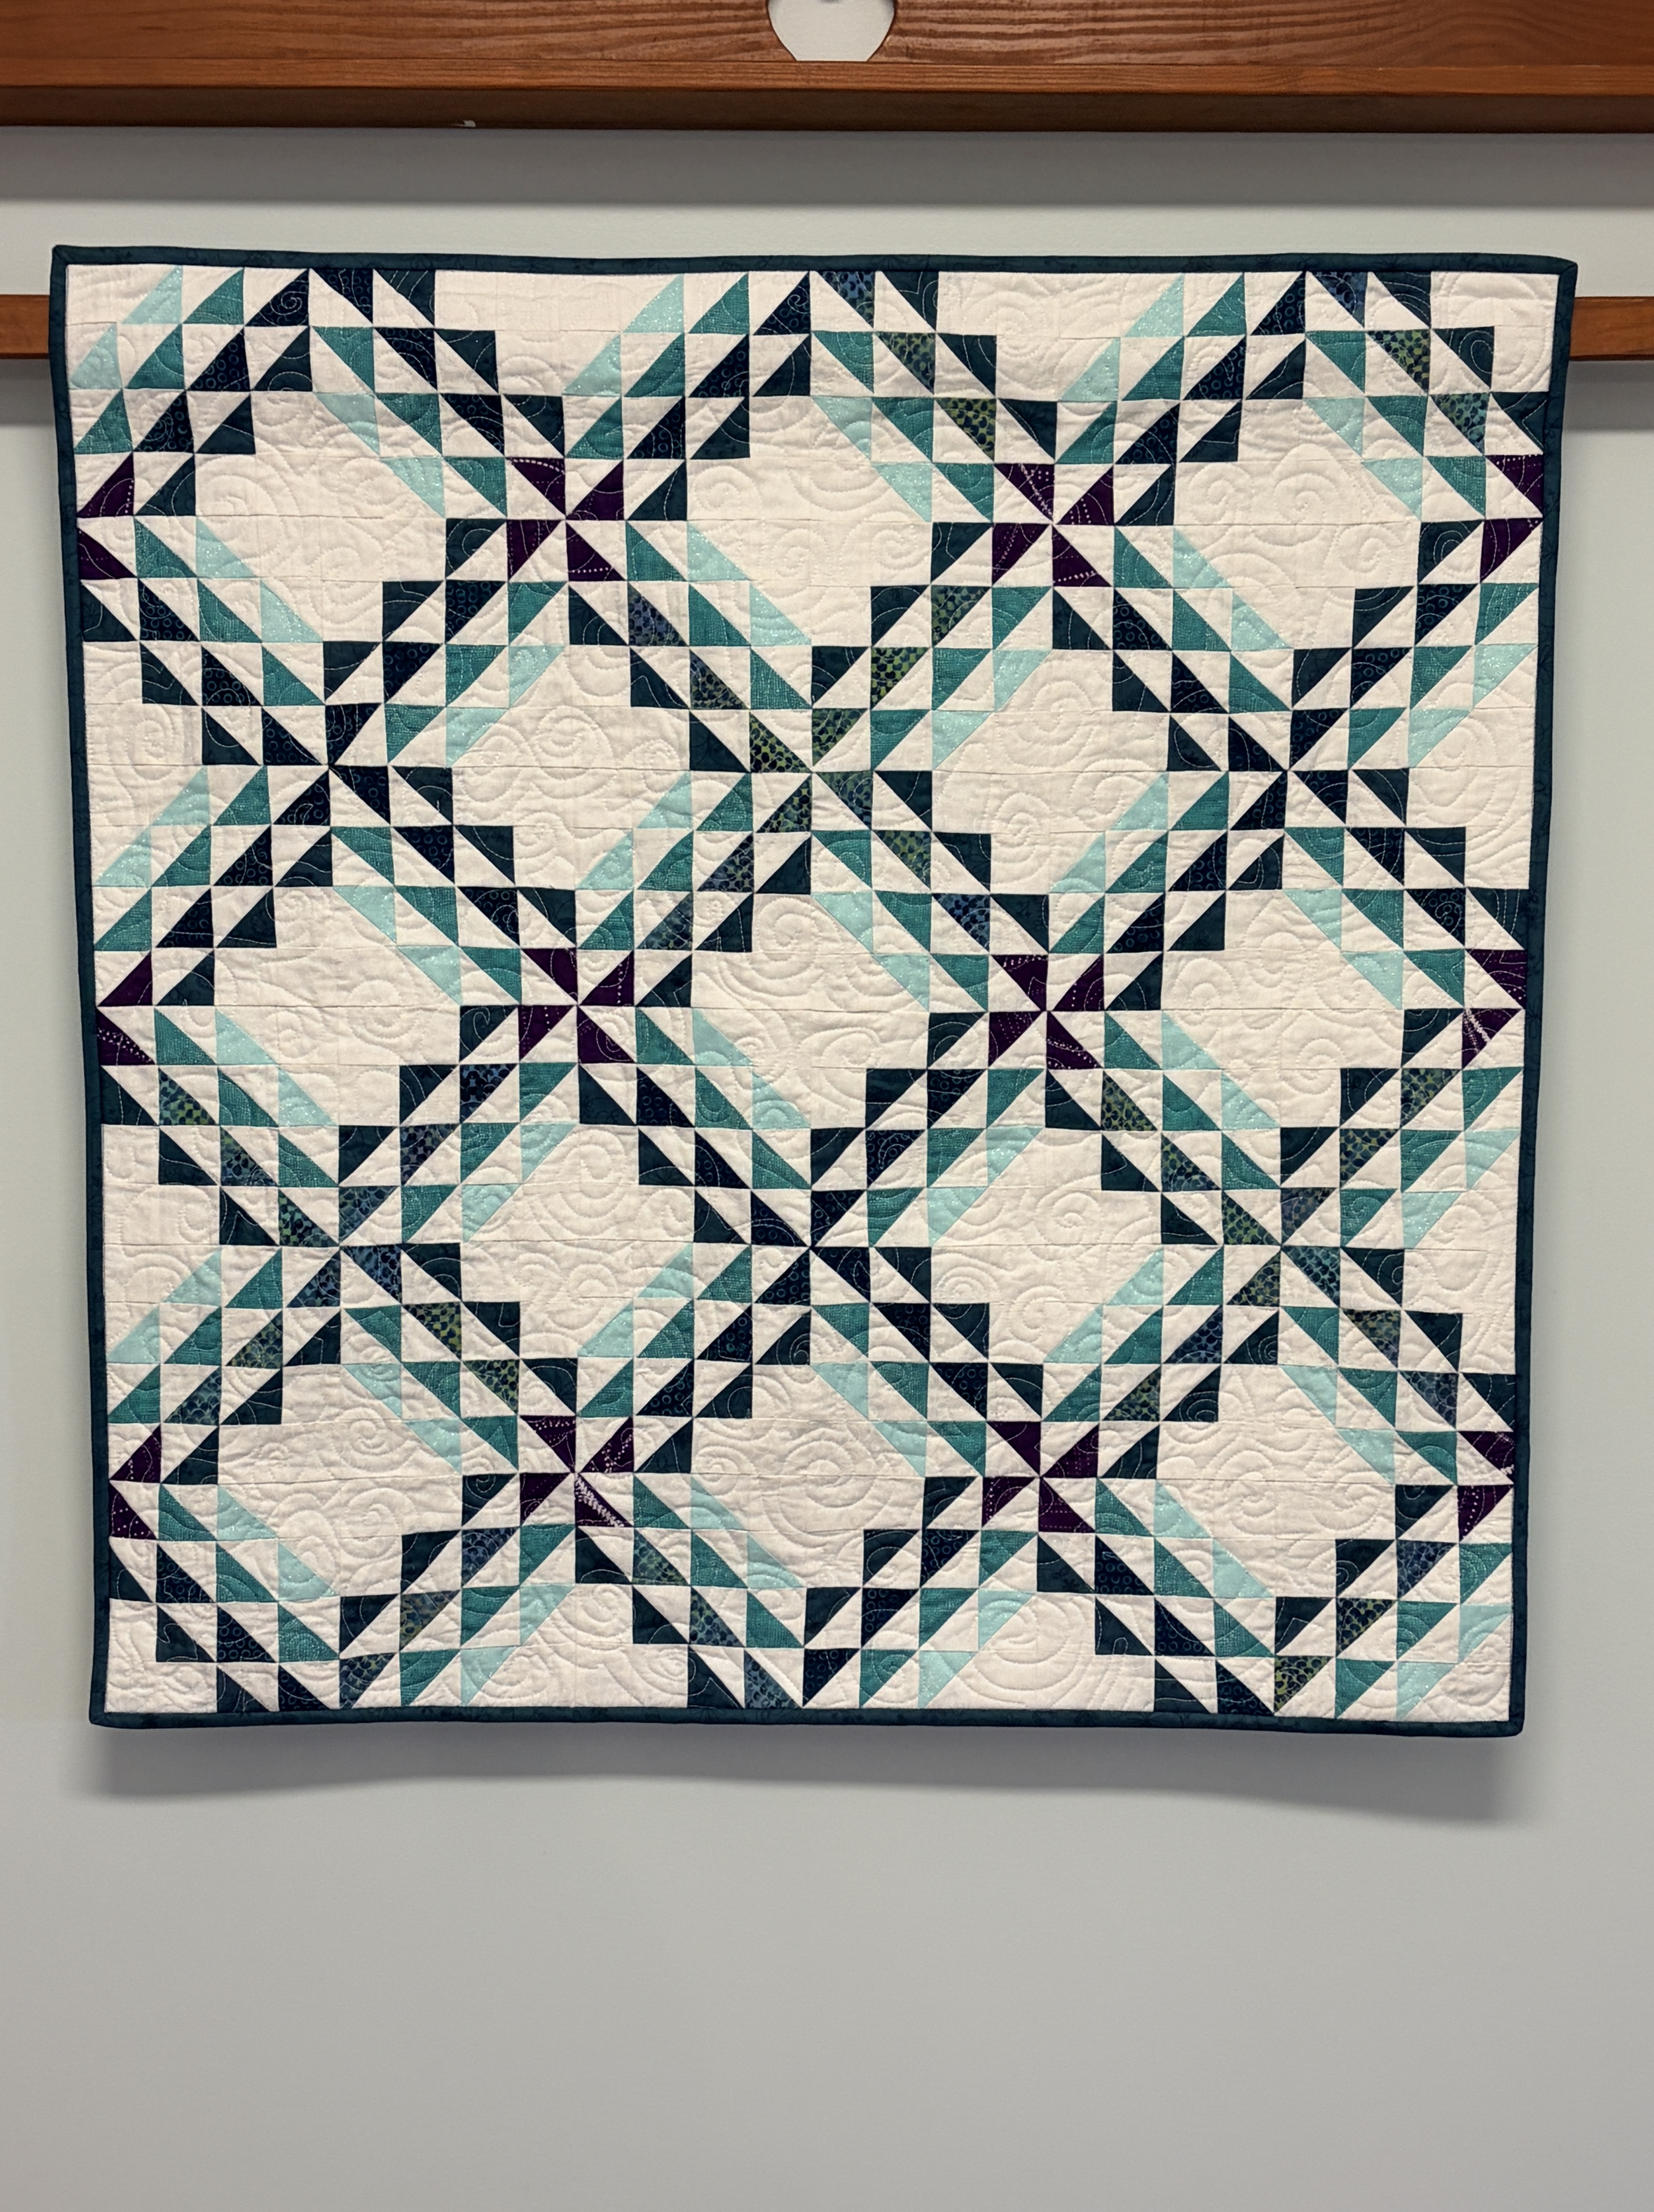
Completed quilt for the ECQG Paint Chip Challenge

I quilted my project on my domestic machine – FMQ in a random swirl design using Glide thread. Binding was attached the traditional way to the front, but machine stitched down. A friend suggested I try the 1/8″ double-sided basting tape from By Annie to hold the binding in place on the backside in lieu of using Elmer’s glue. OMG! Much faster and no super sticky fingers. The hardest part was starting the pull strip on the basting tape.
September is National Sewing Month

Can you believe it’s September already? Labor Day – the unofficial end of summer around here – is still almost a week away. (This means I can wear my white capris to lunch on Thursday!) While our students have been back in school for a month now, we were surprised to learn that the kids in upper Michigan and on the both the US and Canadian sides of Sault Ste Marie don’t return to school until after Labor Day. Must be nice!

Sadie and I resumed weekly visits at a local elementary school today. CraftLAB kicks-off tomorrow. Teen sewing at the public library starts mid-month. Class calendars at my local sewing machine dealers and quilt shops are filled with new classes and events. I’m teaching Sewing Machine Maintenance at the Southeastern Quilt & Textile Museum on September 26th. Now’s the time to pull out your sewing machine and plan some projects to keep you busy as the days grow shorter and the weather (finally) turns cooler.

Ways to celebrate National Sewing Month:
(1) Teach a kid in your life how to sew.
(2) Find a local sewing group that meets on a monthly basis. Can be a guild, group at the library or local fabric/quilt shop.
(3) Sign-up for a class on a technique that interests you.
(4) Make a project to donate to a local charity. Pillowcases, placemats and quilts are always in need.
(5) Participate in National Jelly Roll Day on Saturday, September 19th.
(6) Begin planning now for 2027 quilt retreats. Many organizers start releasing dates this month.

As for me, I’ll be working on my guild’s paint-chip challenge quilt that’s due next month. I’ll be back to Friday sew days at the library and teaching kids how to sew. I’ll observe National Jelly Roll Day on 9/19, but am not exactly sure where I’ll be that day. And classes for the Myrtle Beach Quilt Party (in late January 2027) dropped today. Can’t decide between two of the classes, but I’ll be going – even if it winds up a BYO project retreat for me.

Folded corners – another method!

Main portion of what will be a a twin size charity quilt.

Most of the time, I use the Simple Folded Corners ruler from Antler Quilt Design to make folded corner units rather than drawing lines on the back of squares and sewing just to the right of the line. This week, I tried the Corner Pop ruler from Studio 180 Designs. It took a minute to figure things out, but if you are a member of team oversize and cut down, you’ll want to give this ruler some serious consideration. You’ll save on fabric used for the corner triangles. I didn’t have enough of the white print to cut 5″ squares as the traditional method requires. However, I was able to cut 96 triangles from slightly oversize squares to make the quilt. I used every bit of that fabric, but I had enough.

The pattern is RicRac and was featured at a Quilts for Compassion community sew day at JK Quilts. You can use a variety of precuts, yardage and/or a combination thereof to make the quilt. I used a combination of leftover layer cakes plus random 10″ squares and yardage. If you make the twin size, note that the pattern contains an error – you will need to make 48 blocks instead of the 35 listed in the pattern. I made my quilt in a 6×7 layout because I had enough fabric to make 42 blocks. :-). Borders and binding are from my stash. Backing is from Hobby Lobby (and on sale). I’ll FMQ it, pattern TBD. Swirls seems to be my current go-to.

Tips:
(1) Pair the two rectangles that will make each block before cutting. Check the orientation of the folded corners and adjust your fabric accordingly to have motifs or directional fabrics in running in the correct direction.

(2) When using the Corner Pop ruler, lay each pair of rectangles pretty sides together. This way, you can achieve the mirrored angles with a single cut. I like to cut all of my rectangles the same way. I merely rotate the rectangles 180 degrees when I have a pair that meet at the top.