Folded corners – another method!

Main portion of what will be a a twin size charity quilt.

Most of the time, I use the Simple Folded Corners ruler from Antler Quilt Design to make folded corner units rather than drawing lines on the back of squares and sewing just to the right of the line. This week, I tried the Corner Pop ruler from Studio 180 Designs. It took a minute to figure things out, but if you are a member of team oversize and cut down, you’ll want to give this ruler some serious consideration. You’ll save on fabric used for the corner triangles. I didn’t have enough of the white print to cut 5″ squares as the traditional method requires. However, I was able to cut 96 triangles from slightly oversize squares to make the quilt. I used every bit of that fabric, but I had enough.

The pattern is RicRac and was featured at a Quilts for Compassion community sew day at JK Quilts. You can use a variety of precuts, yardage and/or a combination thereof to make the quilt. I used a combination of leftover layer cakes plus random 10″ squares and yardage. If you make the twin size, note that the pattern contains an error – you will need to make 48 blocks instead of the 35 listed in the pattern. I made my quilt in a 6×7 layout because I had enough fabric to make 42 blocks. :-). Borders and binding are from my stash. Backing is from Hobby Lobby (and on sale). I’ll FMQ it, pattern TBD. Swirls seems to be my current go-to.

Tips:
(1) Pair the two rectangles that will make each block before cutting. Check the orientation of the folded corners and adjust your fabric accordingly to have motifs or directional fabrics in running in the correct direction.

(2) When using the Corner Pop ruler, lay each pair of rectangles pretty sides together. This way, you can achieve the mirrored angles with a single cut. I like to cut all of my rectangles the same way. I merely rotate the rectangles 180 degrees when I have a pair that meet at the top.

Learning another vintage machine

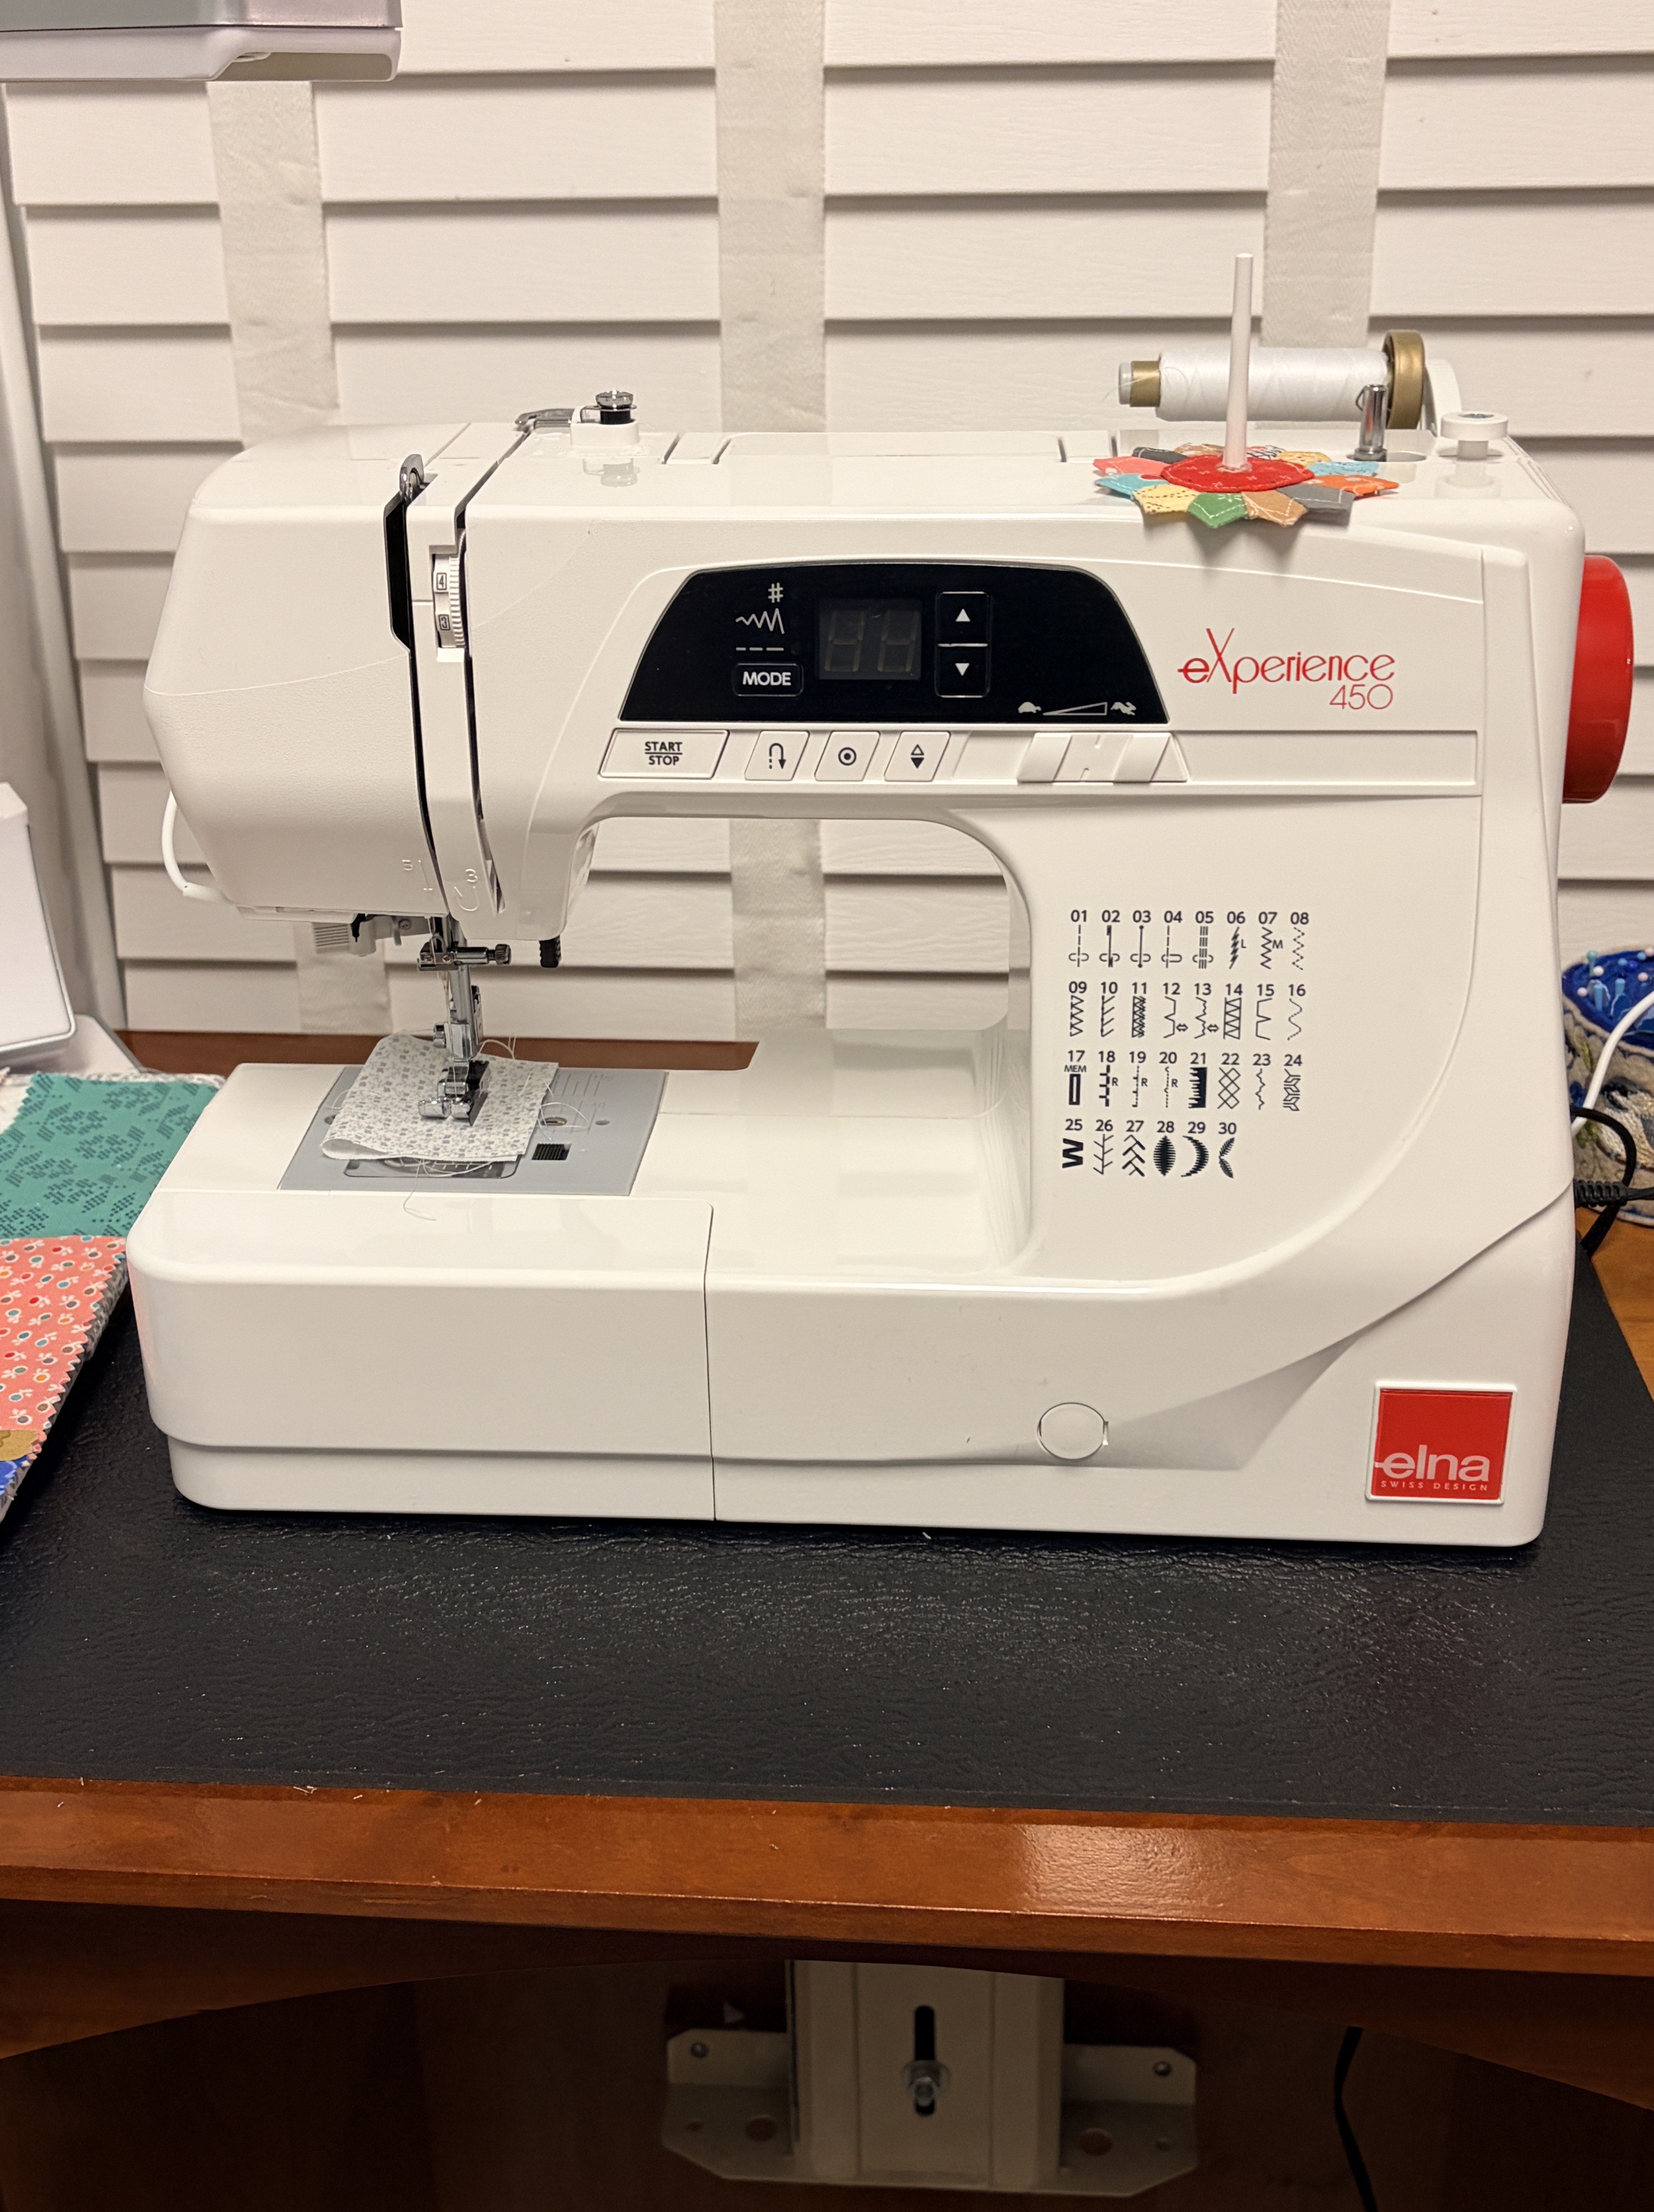
Kenmore 158.13512 sewing machine from mid-late 1970’s.

Kenmore sewing machines prior the mid-1980s are highly desirable to some vintage sewing machine enthusiasts. My MIL has a cabinet model from the 1960’s that still runs today. The machine pictured above is a low-shank center needle model with a vertical (front-loading) bobbin.

Gladys (named for her former owner) arrived yesterday with instructions to use her in kid’s sewing classes or pass her along to a deserving student. In her previous life, she’d also served as a “practice” machine for an aspiring sewing machine technician. She came with a basic zigzag foot, straight stitch needleplate insert and a power supply/foot pedal. I added some extra generic feet and a couple of plastic class 15 bobbins from my stash. The scant 1/4″ foot from the Featherweight Shop is indeed a scant 1/4″ on this machine.

Like Carmella (my Singer 301A), the more I sew on Gladys, the smoother and quieter she sews. We spent the afternoon getting acquainted. I understand why VSM enthusiasts like vintage Kenmore machines. Overall, she seems to be in good shape – but definitely benefitted from sewing machine oil chased by Tri-Flow in a few spots. Knowledge gained from working on my FW and 301A served me well with Gladys. Her needle no longer goes up & down when winding a bobbin and I adjusted her foot pedal to improve the sewing speed range.

Verdict: Gladys sews absolutely beautiful stitches. She’s easy to operate, but not exactly portable – easily weighing 25-30 pounds. She’ll do best in a cabinet or on a solid surface with a Sew Steady extension table.. I’ll print out the manual and put it in a plastic 3 prong pocket folder. Combined with the extra feet, bobbins and LED bulb, I’ve reached my maximum spend on a machine that will be passed along.

All Southeast Shop Hop – only two shops left

Completing the two regions that include the greater metro Atlanta area is enough for me. I still need to make the trek down I-75 to Macon & Byron (with a stop @ Buc-cee’s) to complete the Central Region shops. The North Central Region shops were completed with my 7 hour road trip on Saturday.

One of the benefits of shop hopping is to get a feel for different quilt shops in a region. Each shop has a unique vibe. You’ll quickly learn which ones best meet your needs. And realize that your short list of shops will likely need adjusting every year. Life changes can mean an owner choosing to close, sell or bring in a new manager to run the business. Trends and the need to increase sales may have your fave quilt shop now carrying bag making supplies, cross-stitch/embroidery supplies and even yarn. As you stop to collect your passport sticker and fabric square, take 5-10 minutes to really look around the shop. Take a shopping list with you and try to buy a little something at each shop – a FQ or two, pack of hand sewing needles, travel size ironing spray in your favorite scent, pack of EPP papers or even a replacement cover for your favorite pair of turquoise handled scissors. Bonus: some shops offered additional swag for those who made purchases. I really appreciated the 2-1/2″ x 6-1/2″ Creative Grids ruler and chocolate from Mountain Quilts in Hiawassee.

Things I’ll definitely keep in mind:

Needle Down quilt shop in Ringgold carries a lot of Lori Holt merchandise. There’s also a really cool antique mall in the same shopping center. I’ll make time to stop in the next time I visit Chattanooga. (Important to me because the two shops that carried a wide selection of Lori Holt fabric either closed or have new owners and now carry different fabric lines.)

Sew Senoia recently purchased a circa 1905 home in Turin, GA. The shop will be moving about 25 minutes south of its current location. It’s dog friendly and the new location is in a really pretty part of west-central Georgia. They also host weekend retreats a few times a year. With the current westside perimeter road projects, it would be totally worth spending money on 2 nights of hotel to attend a retreat once the new location opens.

Photo by Tahir Xu0259lfu0259quliyev on Pexels.com