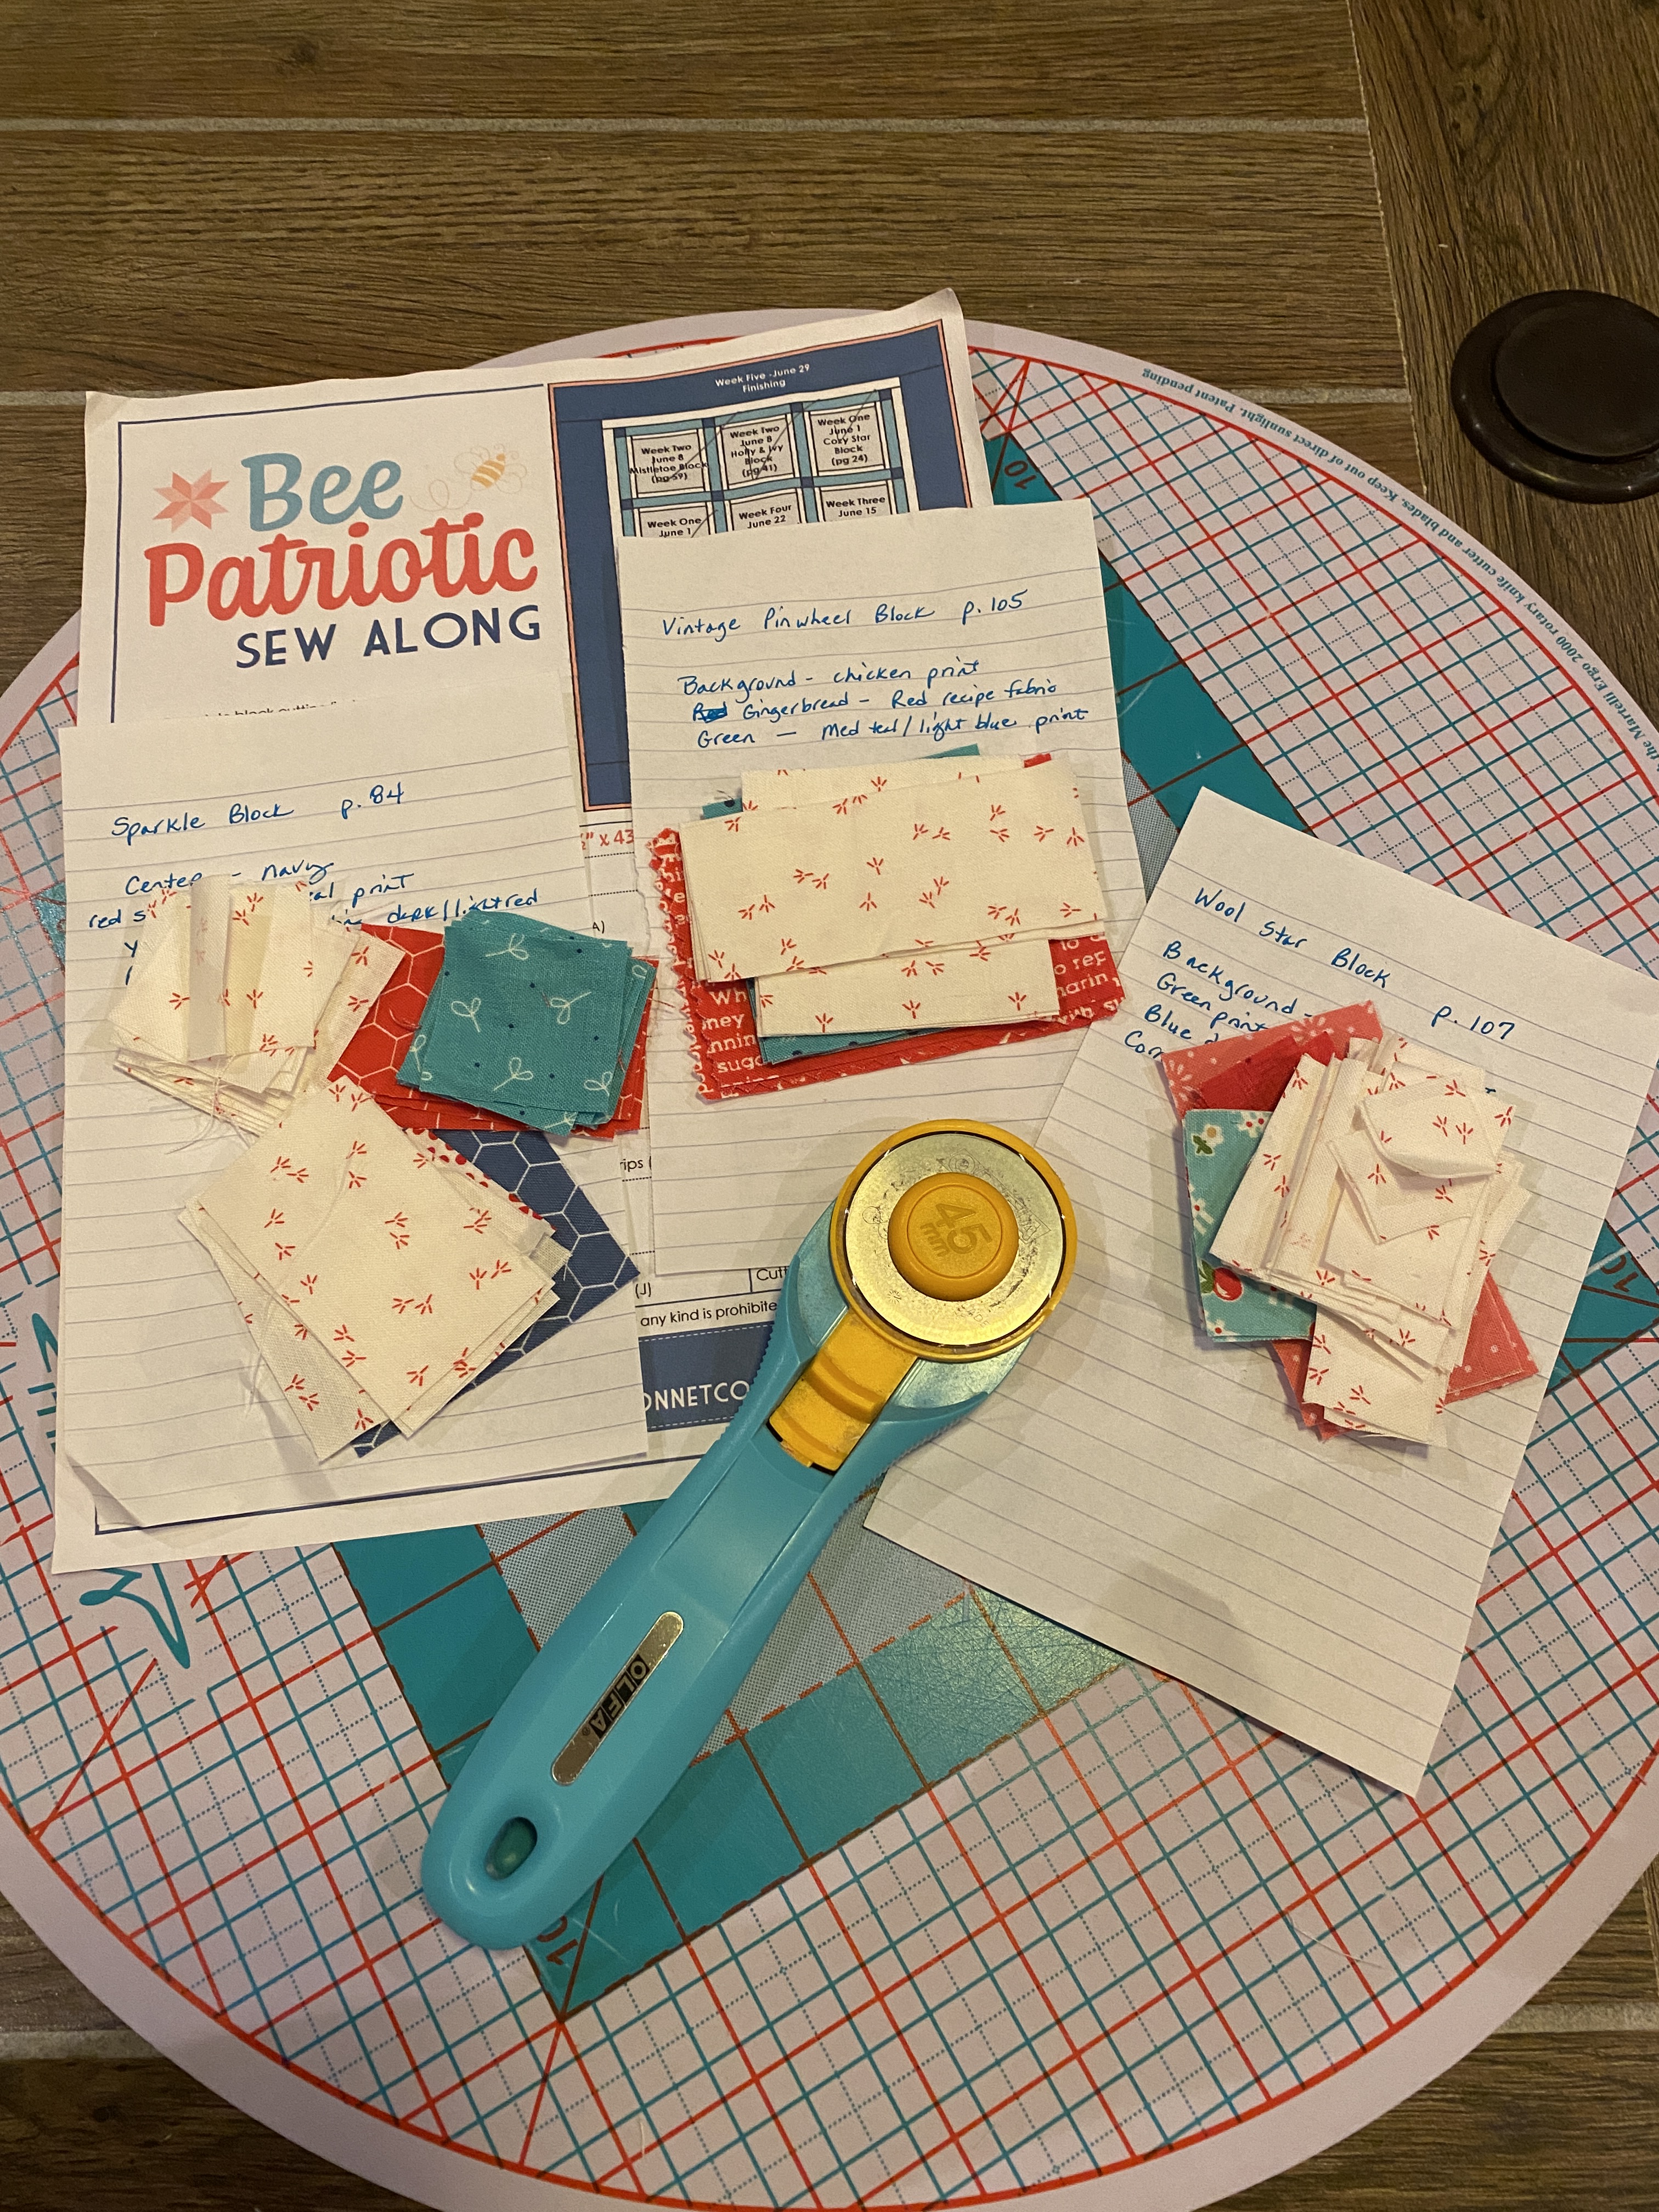
You’re hot to trot to get cracking on that new pattern! I get it. Consider this your gentle reminder to “read through all pattern instructions before you begin” as this is generally the first step given in pattern instructions. A second read through is even better.
Make note of the seam allowance, techniques used and any special tools that might be required.
*Most of the time a standard 1/4″ seam allowance is fine, but the instructions will tell you if you need to sew using a scant 1/4″ seam allowance.
*If the pattern requires HSTs, QSTs and FG, do you make them the same way the instructions are written? If not, you’ll often need to recalculate cut sizes, which may mean you need to buy a little more fabric. This is especially true if (a) you use a die cutting machine to cut your shapes, (b) you are team paper piece for all your HST, QST and FG or (c) you’re a member of team cut oversize, stitch and then trim down.
* Does the project call for a specialty ruler or other tool? Sometimes you can finagle a project using what you already have on hand. Sometimes you can’t.
* Always make one complete block as a sample before cutting everything out. I find this especially helpful if I’ve modified the directions to the way I prefer to make different units. This will allow you to see if you need to make any further adjustments to the pattern before tackling the whole quilt.
At our recent guild meeting, we were introduced to a new community service partner – Quilts Across America. There’s even a special, free quilt pattern designed for this project called Hocus Pocus. It’s a variation of a disappearing 4 patch block. Because it was written by one of the sponsors, it features a couple of that company’s products under the project requirements. Remember, this pattern is a marketing tool for them. It does not automatically mean that you need to go buy another gizmo to make the quilt. Read the directions.
I love this sponsor’s products and have several of their rulers that I use regularly. That said, I refuse to buy another $45.00 ruler when I can use other tools I already own to accomplish the same task. I actually have the other “required” tool and found it was too short to draw the diagonal lines for the HSTs. Whoops!
What rulers did I use? A 10″ square ruler to cut the 9″ squares to make the HSTs and an 8.5″ square ruler to trim the HSTs to 8″. I used a Quilter’s Select 2.5″ x 18″ ruler to draw the diagonal lines to sew my HSTs. Once the HSTs were sewn into 4 patch blocks, I used the same Quilter’s Select ruler to slice and dice each block into the 9 required pieces to sew back together to make the finished block. Hence, a disappearing 4 patch block. I find the grippy on the back of the QS rulers to be perfect for applications like this. Otherwise, I prefer a not-so-grippy ruler.
Fabrics include a partial layer cake I picked up from the community service table, FQs and random white/white-on-white yardage from my stash. I did give each fabric piece a good dousing of Best Press and hit it with a steam iron before cutting anything.
I did not press my seams open, as the instructions stated to do. For a quilt that will be heavily used, I prefer to press my seams to one side. This also makes the seams nest when you go to sew the cut pieces back together. Note that you may have to adjust the direction in which you originally pressed some seams as you go to sew the bits back together. This will help reduce bulk at seam intersections.
If you are a member of team press your seams open, then use a shorter stitch length (1.8 – 2.0) when sewing your seams and keep a slight thread tail at the top and bottom of each seam. Otherwise, your seam may come apart when sewing everything together.
The interesting thing is I also started a different disappearing 4 patch quilt using charm squares that someone gave me at our community service sew day back in April. Many of the layer cake pieces I’m using in this quilt coordinate with the charm squares in the other quilt. Must have come from the same donor stash. Kinda interesting how all that fabric wound up in disappearing 4 patch design quilts. And it wasn’t planned either! .