
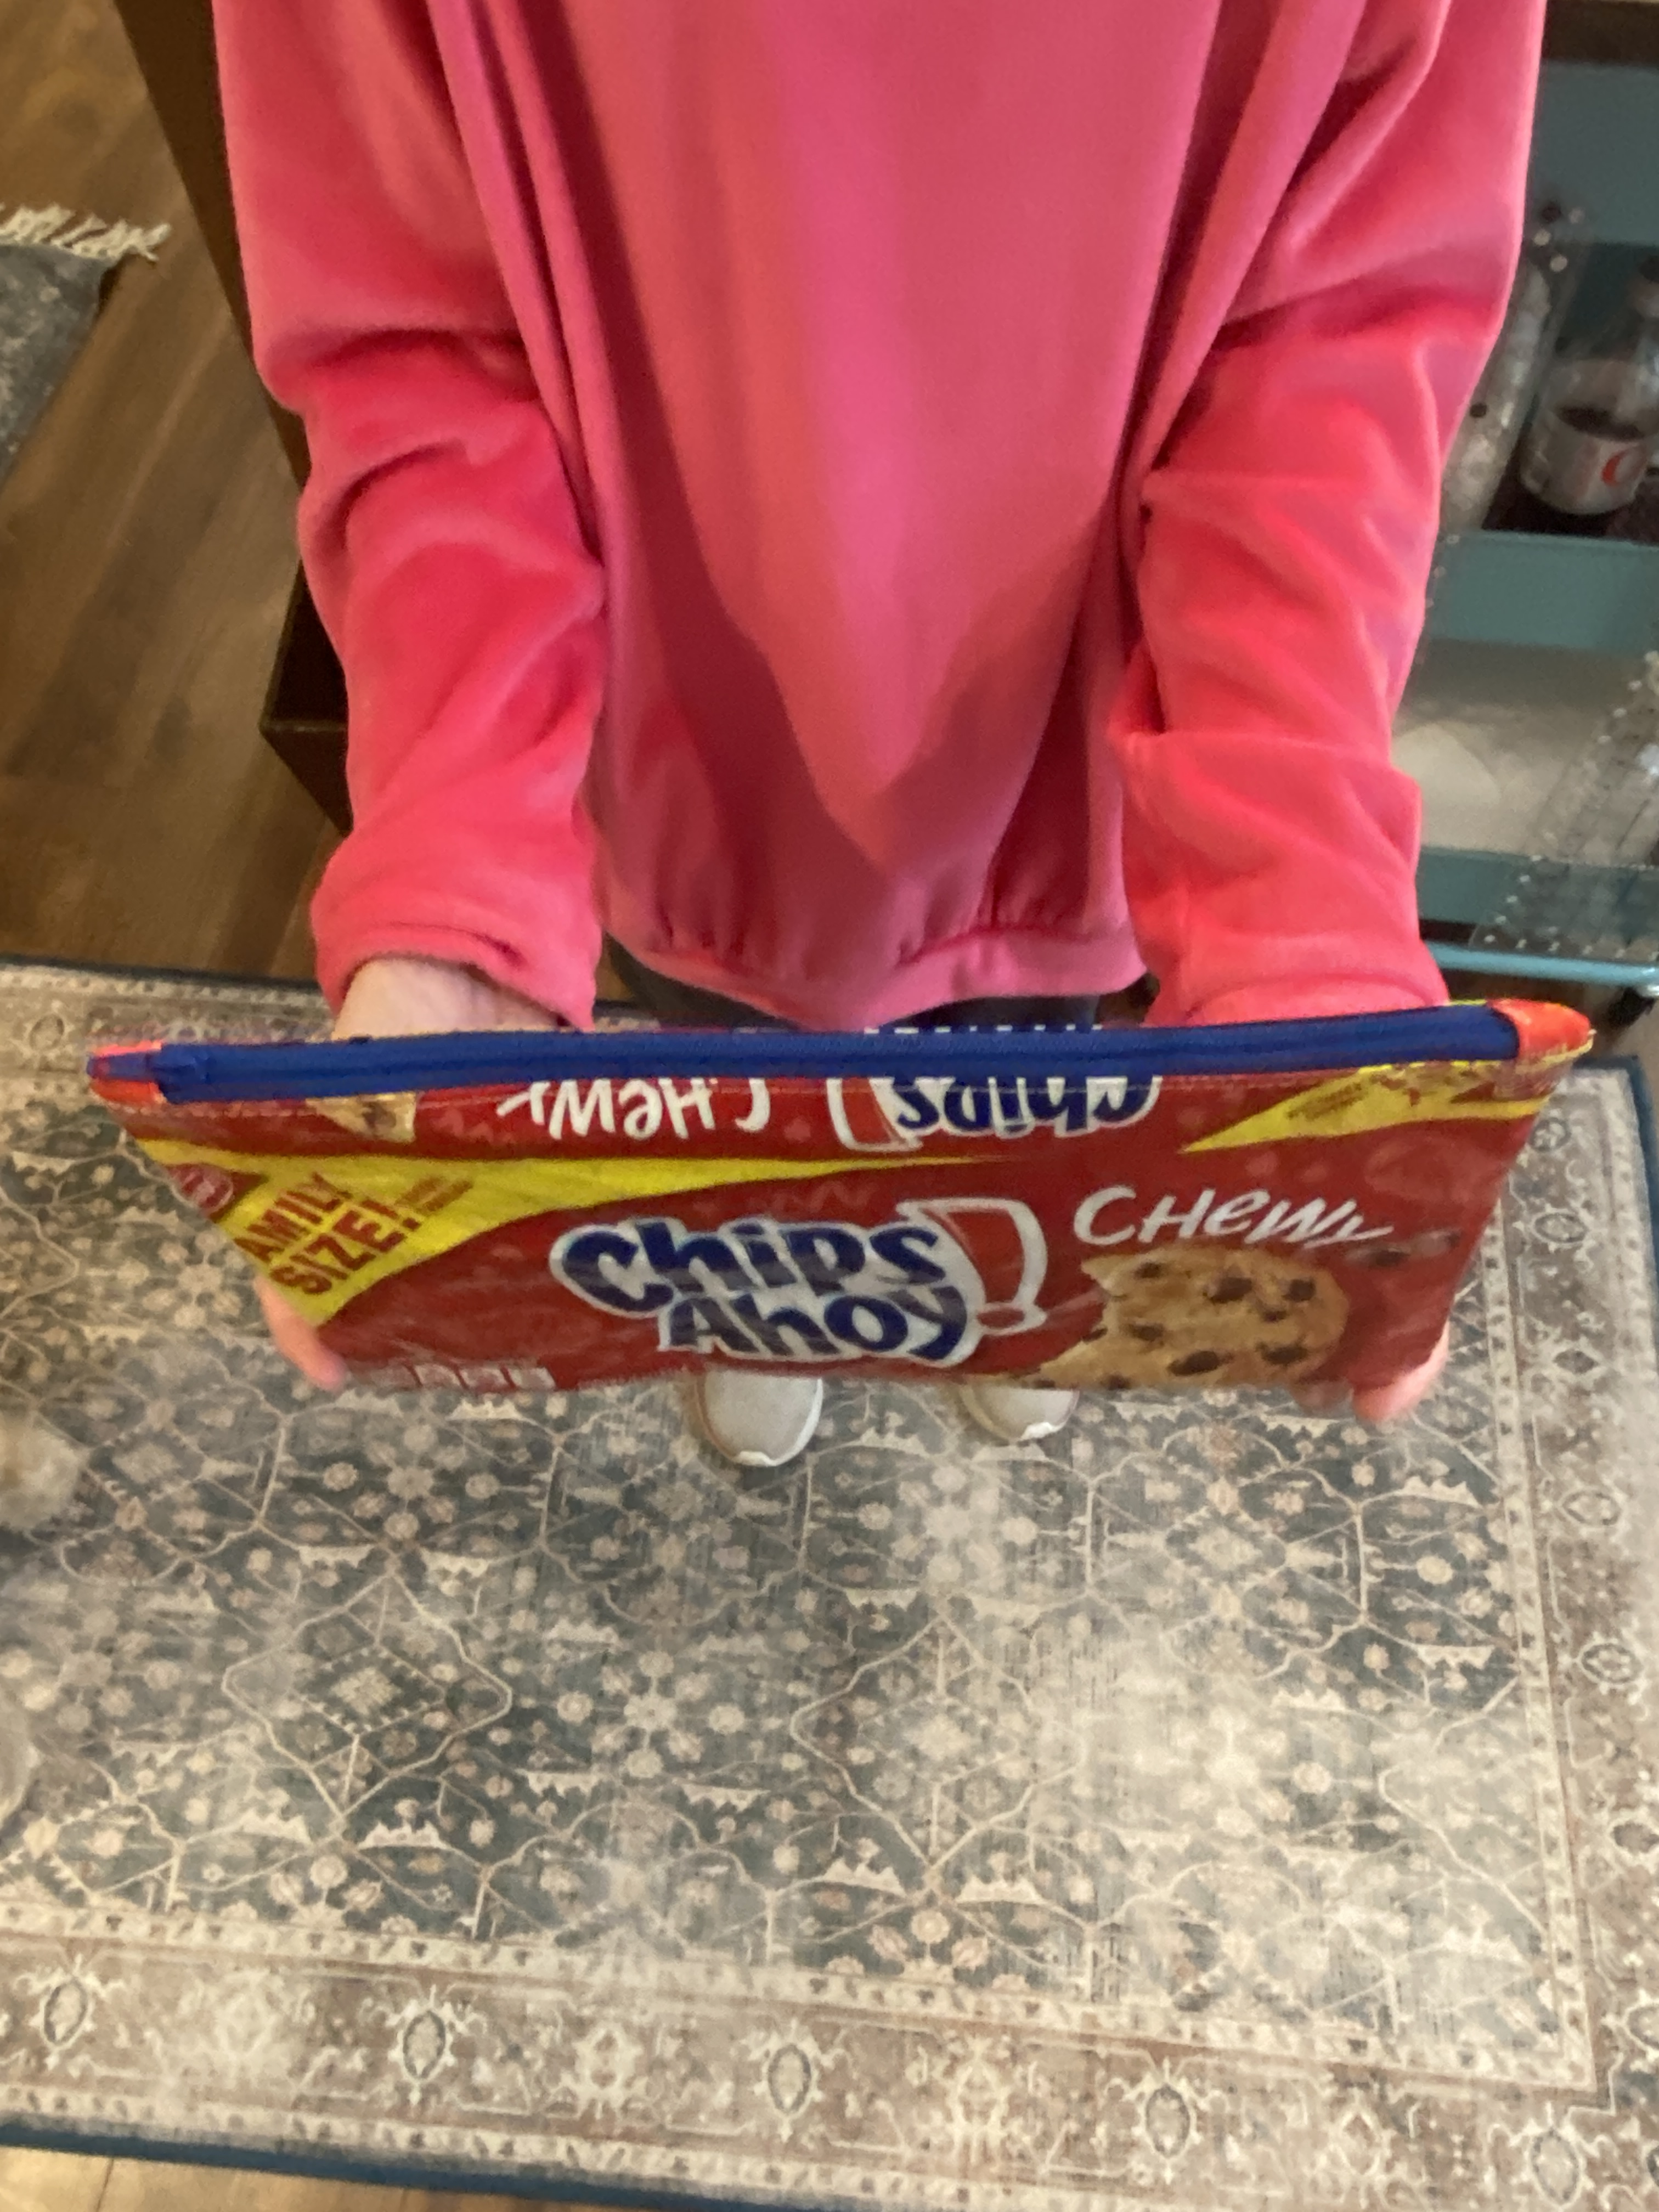
This young lady is one of my private students. Today, we tackled zippers and had fun creating our own laminated fabric from iron-on vinyl and a cookie bag. My sewing friend also wanted to try her hand at zipper tabs for her bag. Didn’t she do a fantastic job?
If you decide to make an upcycled cookie/snack bag project with your little stitchers, here are some hints:
Family or Party size cookie bags work best. Remove heat sealed side edges first, then press cookie bag flat. Adjust front as necessary so main image is centered. Cut along top and bottom edges to create bag front and back sections. Trim pieces as necessary so they are the same size.
Iron-on vinyl is available at most big box craft stores and some mass merchandisers. Glossy finish is preferred.
Cut iron-on vinyl pieces slightly oversize to make it easier to apply to cookie bag front and bag. Trim to size before ironing vinyl.
Use parchment paper as a pressing sheet.
Use a plastic/nylon zipper. Buy zippers in 12″ or longer length. You will cut away any excess.
If using zipper tabs, zipper should be cut 3/4″ to 1″ shorter than the width of the bag before you add the tabs. Be sure to hold tabs out of the way when stitching the sides of the bag together.
Last but not least, be sure to leave the zipper at least 2/3 of the way open when you go to sew up the bag. Otherwise, you’r not going to be able to turn it inside out!
