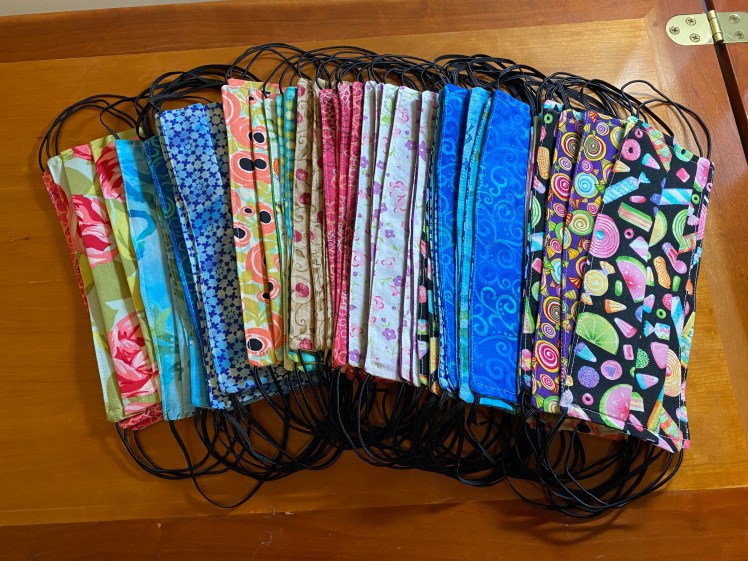
 I made over 100 masks to donate to those who needed them. This was a great way to use up various bits of novelty fabrics that had been in the stash for a while! I used the basic 6”x9” mask with 2 pleats. Missouri Star Quilt Company has an excellent video tutorial if you need instructions.
Helpful hints:
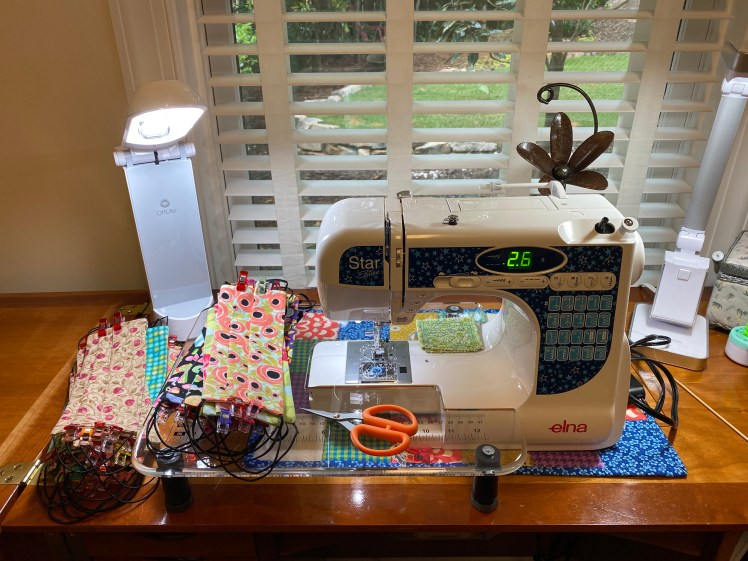
- Set up 2 machines, preferably one with a scissors/auto thread cutting feature for assembling masks.
- 1/8” braided flat elastic works well. Similar size elastic cording will work, but you have to knot the ends prior to stitching so it won’t come out. Knots can also be an issue when topstitching later.
- Mini Wonder clips are helpful, as is a wooden skewer for helping move pleats under the needle.
- Use your machine’s straight stitch with auto lock feature for topstitching. I discovered that holding threads at the beginning of my stitching meant no big knot of thread underneath.
- Allow 10 to 15 minutes of time for each mask you plan to make.
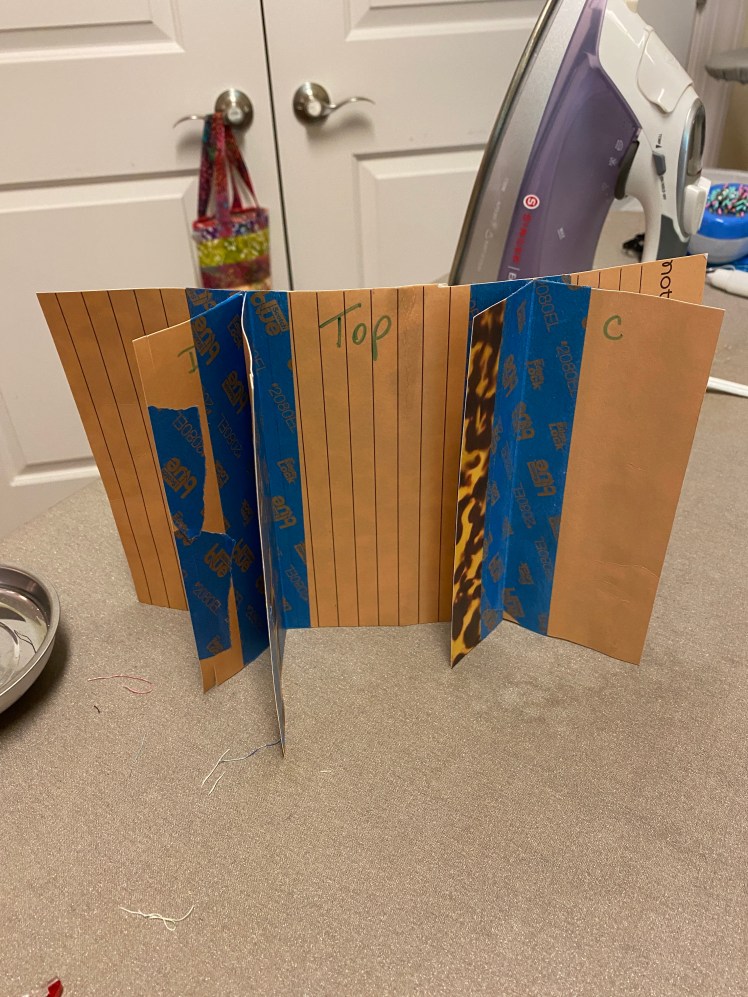
- Make a pleater board/jig. It was a game changer for me. Here’s mine: