The Value of Creative Play

When’s the last time you lost all track of time because you were so immersed in what you were doing? I’m not talking about mindless TV binging or going down the Pinterest rabbit hole. It could be reading a book, exploring an art museum, gardening, crafting, sewing, quilting, fishing…or any activity that requires you to actively participate.

I get it. It’s hard to carve out time to just putter, tinker or finally see what happens if you do X. But that’s where growth, learning and the magic happens. Set a timer, put your phone in airplane mode and let go for an hour or two.

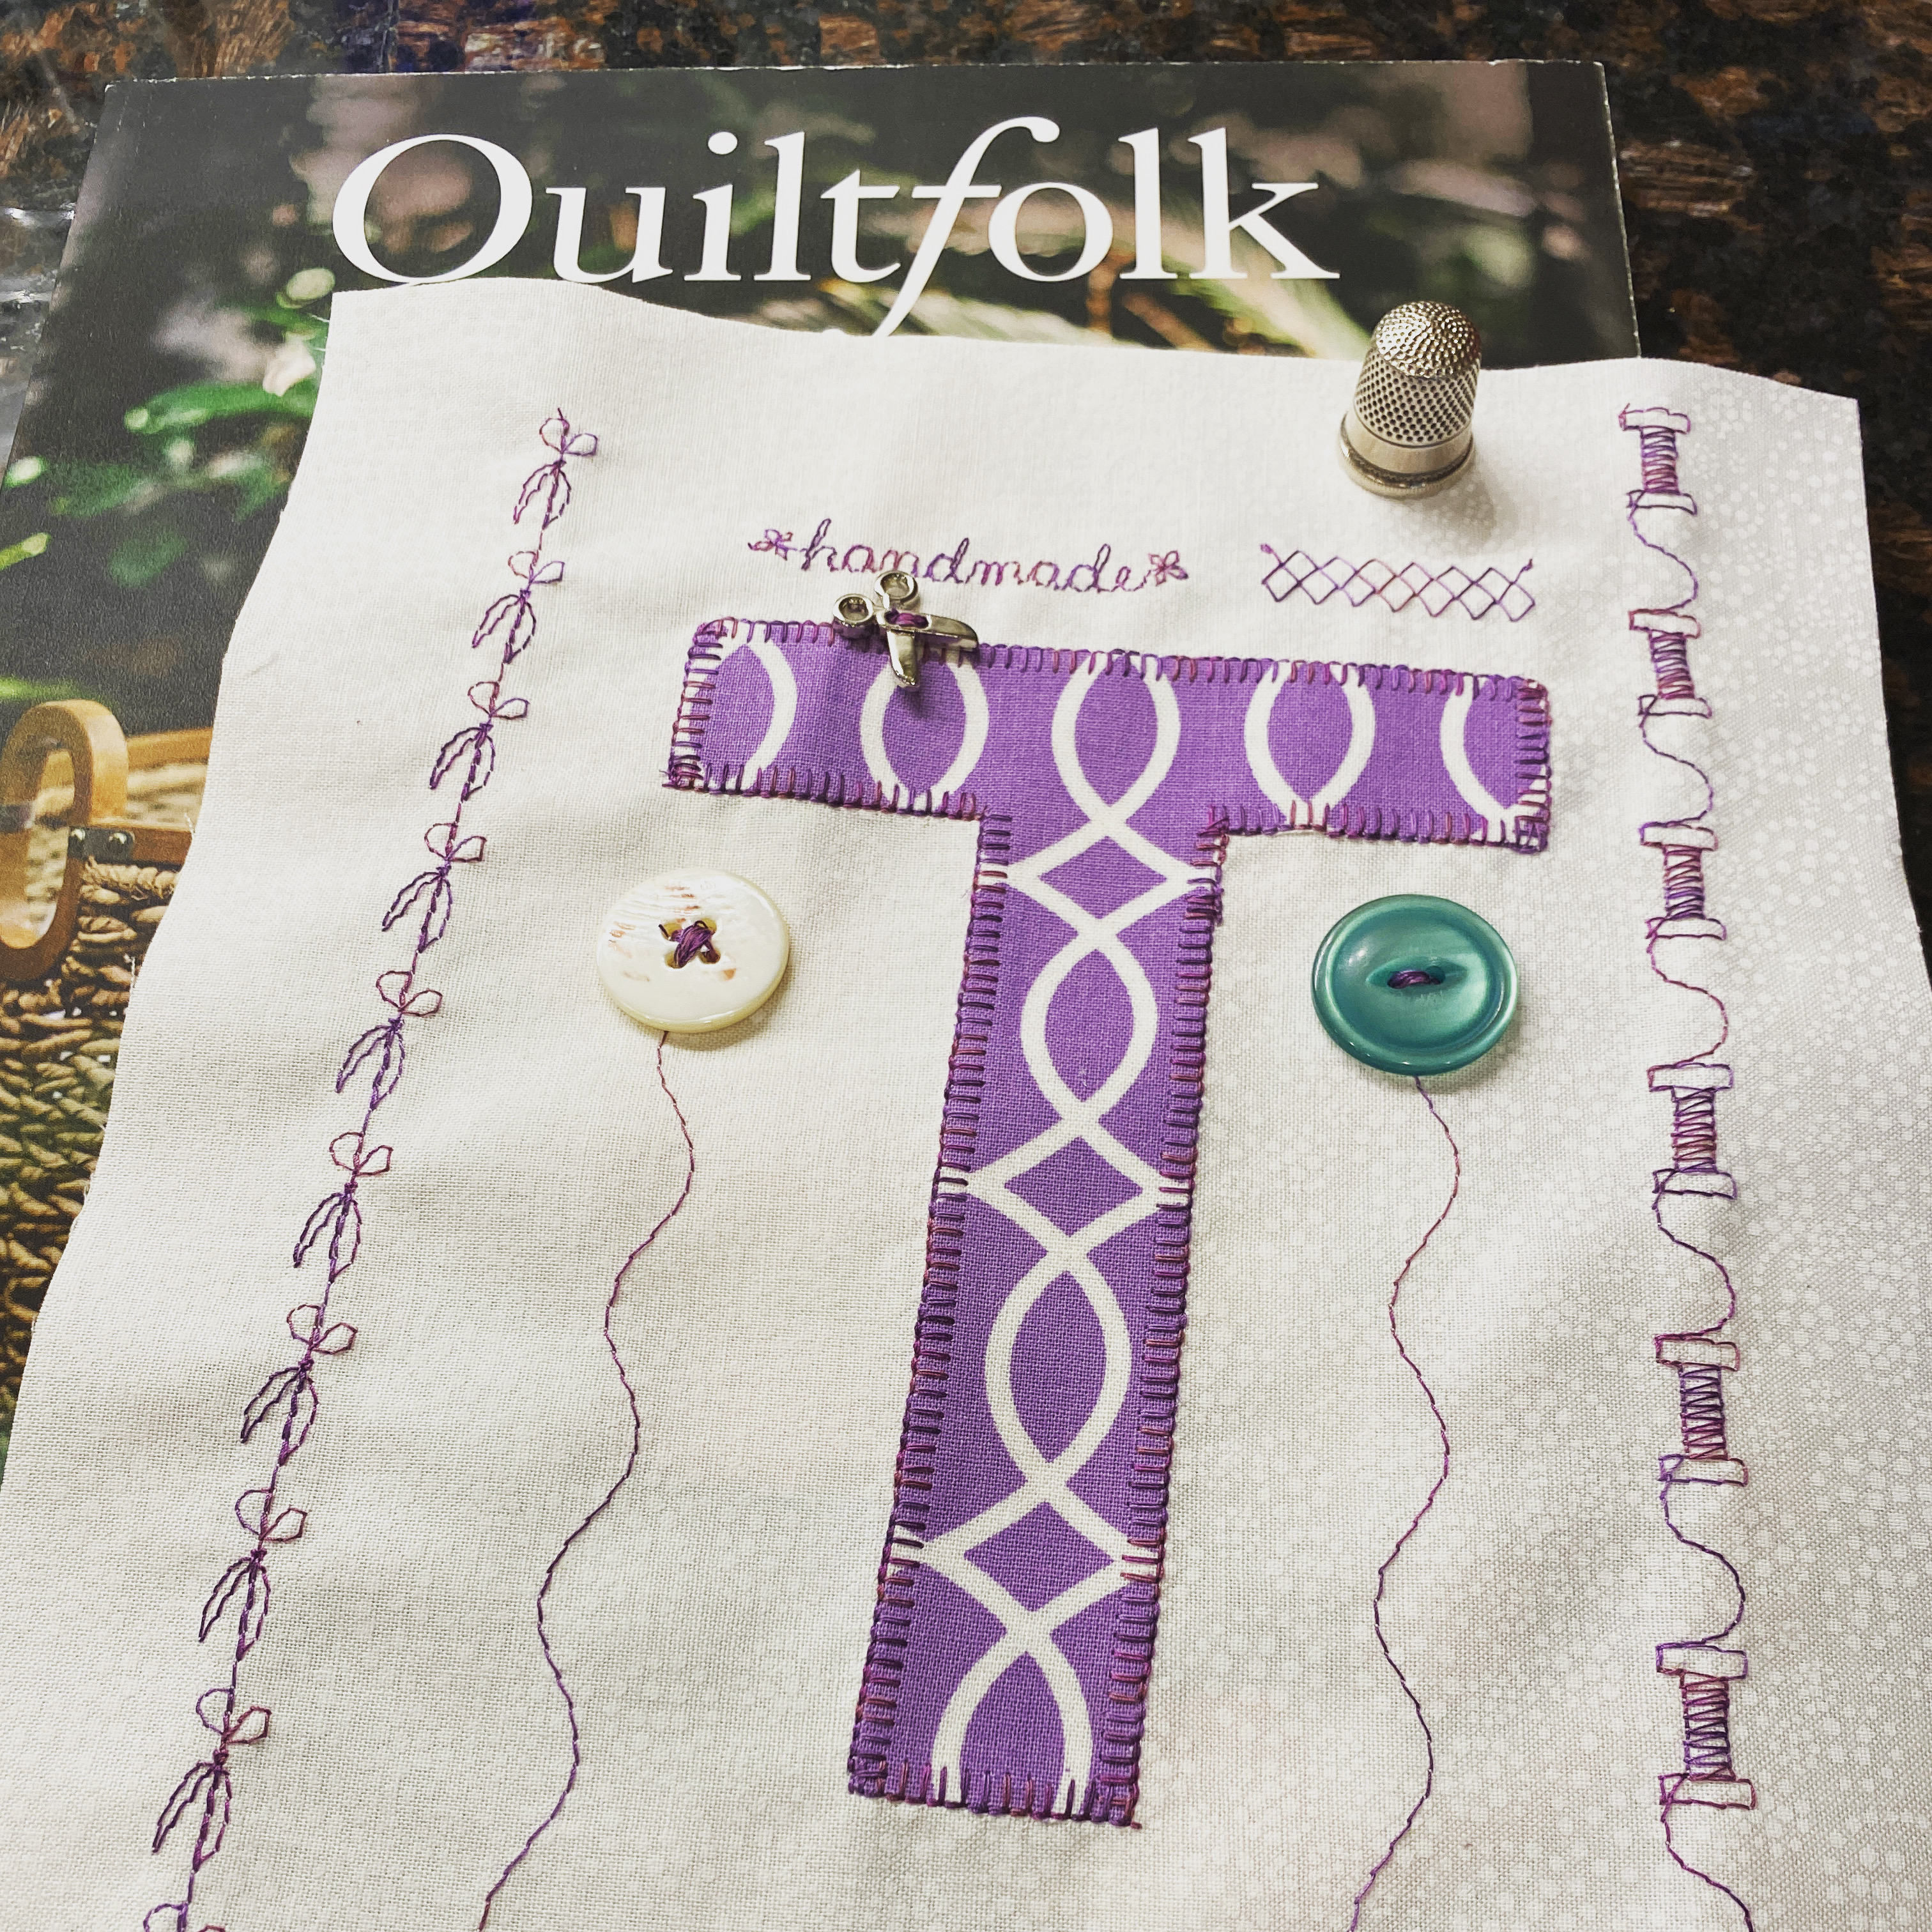
Today, I allowed myself time to experiment. I’d seen a craft project that I wanted the kids to make in sewing class. This little project forced me to learn how to use the Cricut Maker that had been gathering dust in a corner of my studio since my disastrous first attempt at using it. Thank God for YouTube and all the folks who put videos together on electronic cutting machines. What I wanted to do wasn’t hard, I just didn’t know how to work the Circuit Design Space well enough to create the project I envisioned. I refused to pay $$ for an SVG file when I could trace and cut letters/shapes by hand if necessary.

Two hours later, I had the Cricut figured out, my own SVG letter file created using a font I’d imported, a completed sample and cut letters ready for appliqué tomorrow afternoon. I also got to play with the decorative stitches on my fancy sewing machine that’s normally set up for quilting. I’m now ready to see what other things I can design in the Cricut Design Space for appliqué (or to use the vinyl that was donated). Now it’s off to the thrift store or Dollar Tree for picture frames!

Upcoming classes for KIDS: Fall semester

Learn about it here first!

Photo by cottonbro on Pexels.com

WHERE: Southeastern Quilt & Textile Museum in Carrollton, Georgia

WHEN: Monthly, running August – November, 2021 (Exact Dates TBD, but class will be held noon-2 p.m.)

COST: Varies, based on class, but usually $25-$40 per class.

Class fees are ALL INCLUSIVE. This includes the project kit, sewing supplies and use of a
SQTM sewing machine during class.

Upcoming Projects:
August: Applique Initial Pillow

September: Travel Pillowcase (includes pillow insert)

October: Drawstring Bags (Glam or Halloween Theme) + plus an extra bonus project

November: Assorted Holiday gifts, bags and tags

There will be no classes offered in December.

Registration and payments will be handled by the Museum. Please visit their website or call 770.301.2187.

sewing on buttons by machine

Button sewn by machine
Button sewn on with a sewing machine

Sometimes you have no option other than to whip out the needle, thread and thimble to sew on a button by hand. With a little practice, however, you may find it’s actually faster to sew them on by machine, especially if you have a number of buttons to attach to your project.

Supplies you’ll need:
(1) Sewing machine
(2) Matching or coordinating thread (all purpose polyester sewing thread is fine)
(3) Button

Other supplies you’ll find helpful:

While you can use a regular zigzag foot to sew on the button, using a button sewing foot provides much greater visibility to align the needle with holes on the button.

I learned about using tape from watching old Sewing with Nancy videos. Tape holds buttons in place while you try to get the button and fabric positioned under the foot. I get best results when using the 3/4″ wide clear/transparent tape (not the frosty/opaque/magic tape on the little roll). This stuff is so sticky that we use it to cover spine labels in the school library. You can sew through it just fine without messing up your sewing machine.

Machine settings:
Stitch: Zigzag
Stitch width: 3.5 mm (start here; adjust depending on size of button)
Stitch length: 0 or as low as your machine will go
Notes:
(1) If your machine has a button sewing stitch, refer to your manual for information on how to use this feature.
(2) Some machines advise dropping/covering the feed dogs. I leave mine up and lower the stitch length.

How to stitch:
Align the button so that the needle comes down in the center of the left hole. Rotate the handwheel by hand to make sure the needle clears the right hole. If all is well, sew 5-6 times back and forth and tie off. If you have a 4-hole button, sew the back two holes first, then the front two holes.

Peel away the tape and clip your threads. You’re done!

Wasn’t that easy?