Don’t overlook a “Mid-Century Modern” sewing machine

Singer 301A shortbed model in Light Beige/Oyster White (LBOW)

Miss Carmella is an absolute joy to sew on. What a workhorse and speedy, too! Some sources report the Singer 301/301A can sew up to 1600 spm. I can attest she runs faster than my fastest machine, which boasts 1050 spm.

After sewing on her for a couple of weeks now, I understand why the slant shank was so revolutionary when Singer introduced it in the early 1950’s. Visibility is much improved when compared to low shank machines. I definitely don’t have to use a needle threader to thread the needle. There’s also more height from the machine bed to the light housing, which also improves my ability to see what I’m stitching.

New accessories arrived this week, so she’s now equipped with all the modern quilty attachments that I prefer to use. She’ll make her debut at this week’s Friday Sew Day. She also fits in the same Buc-cee’s padded cooler bag that I use for transporting my FW in a vehicle. Miss Carmella’s about 5 pounds heavier than a FW, so we’ll see how well that works.

If you decide to pick up a 301/301A, upgrade to an LED bulb and an electronic foot control. Spool pin springs will help tame the thread spools. Also realize that the cute spool pin doily from your Featherweight probably isn’t going to fit your 301.
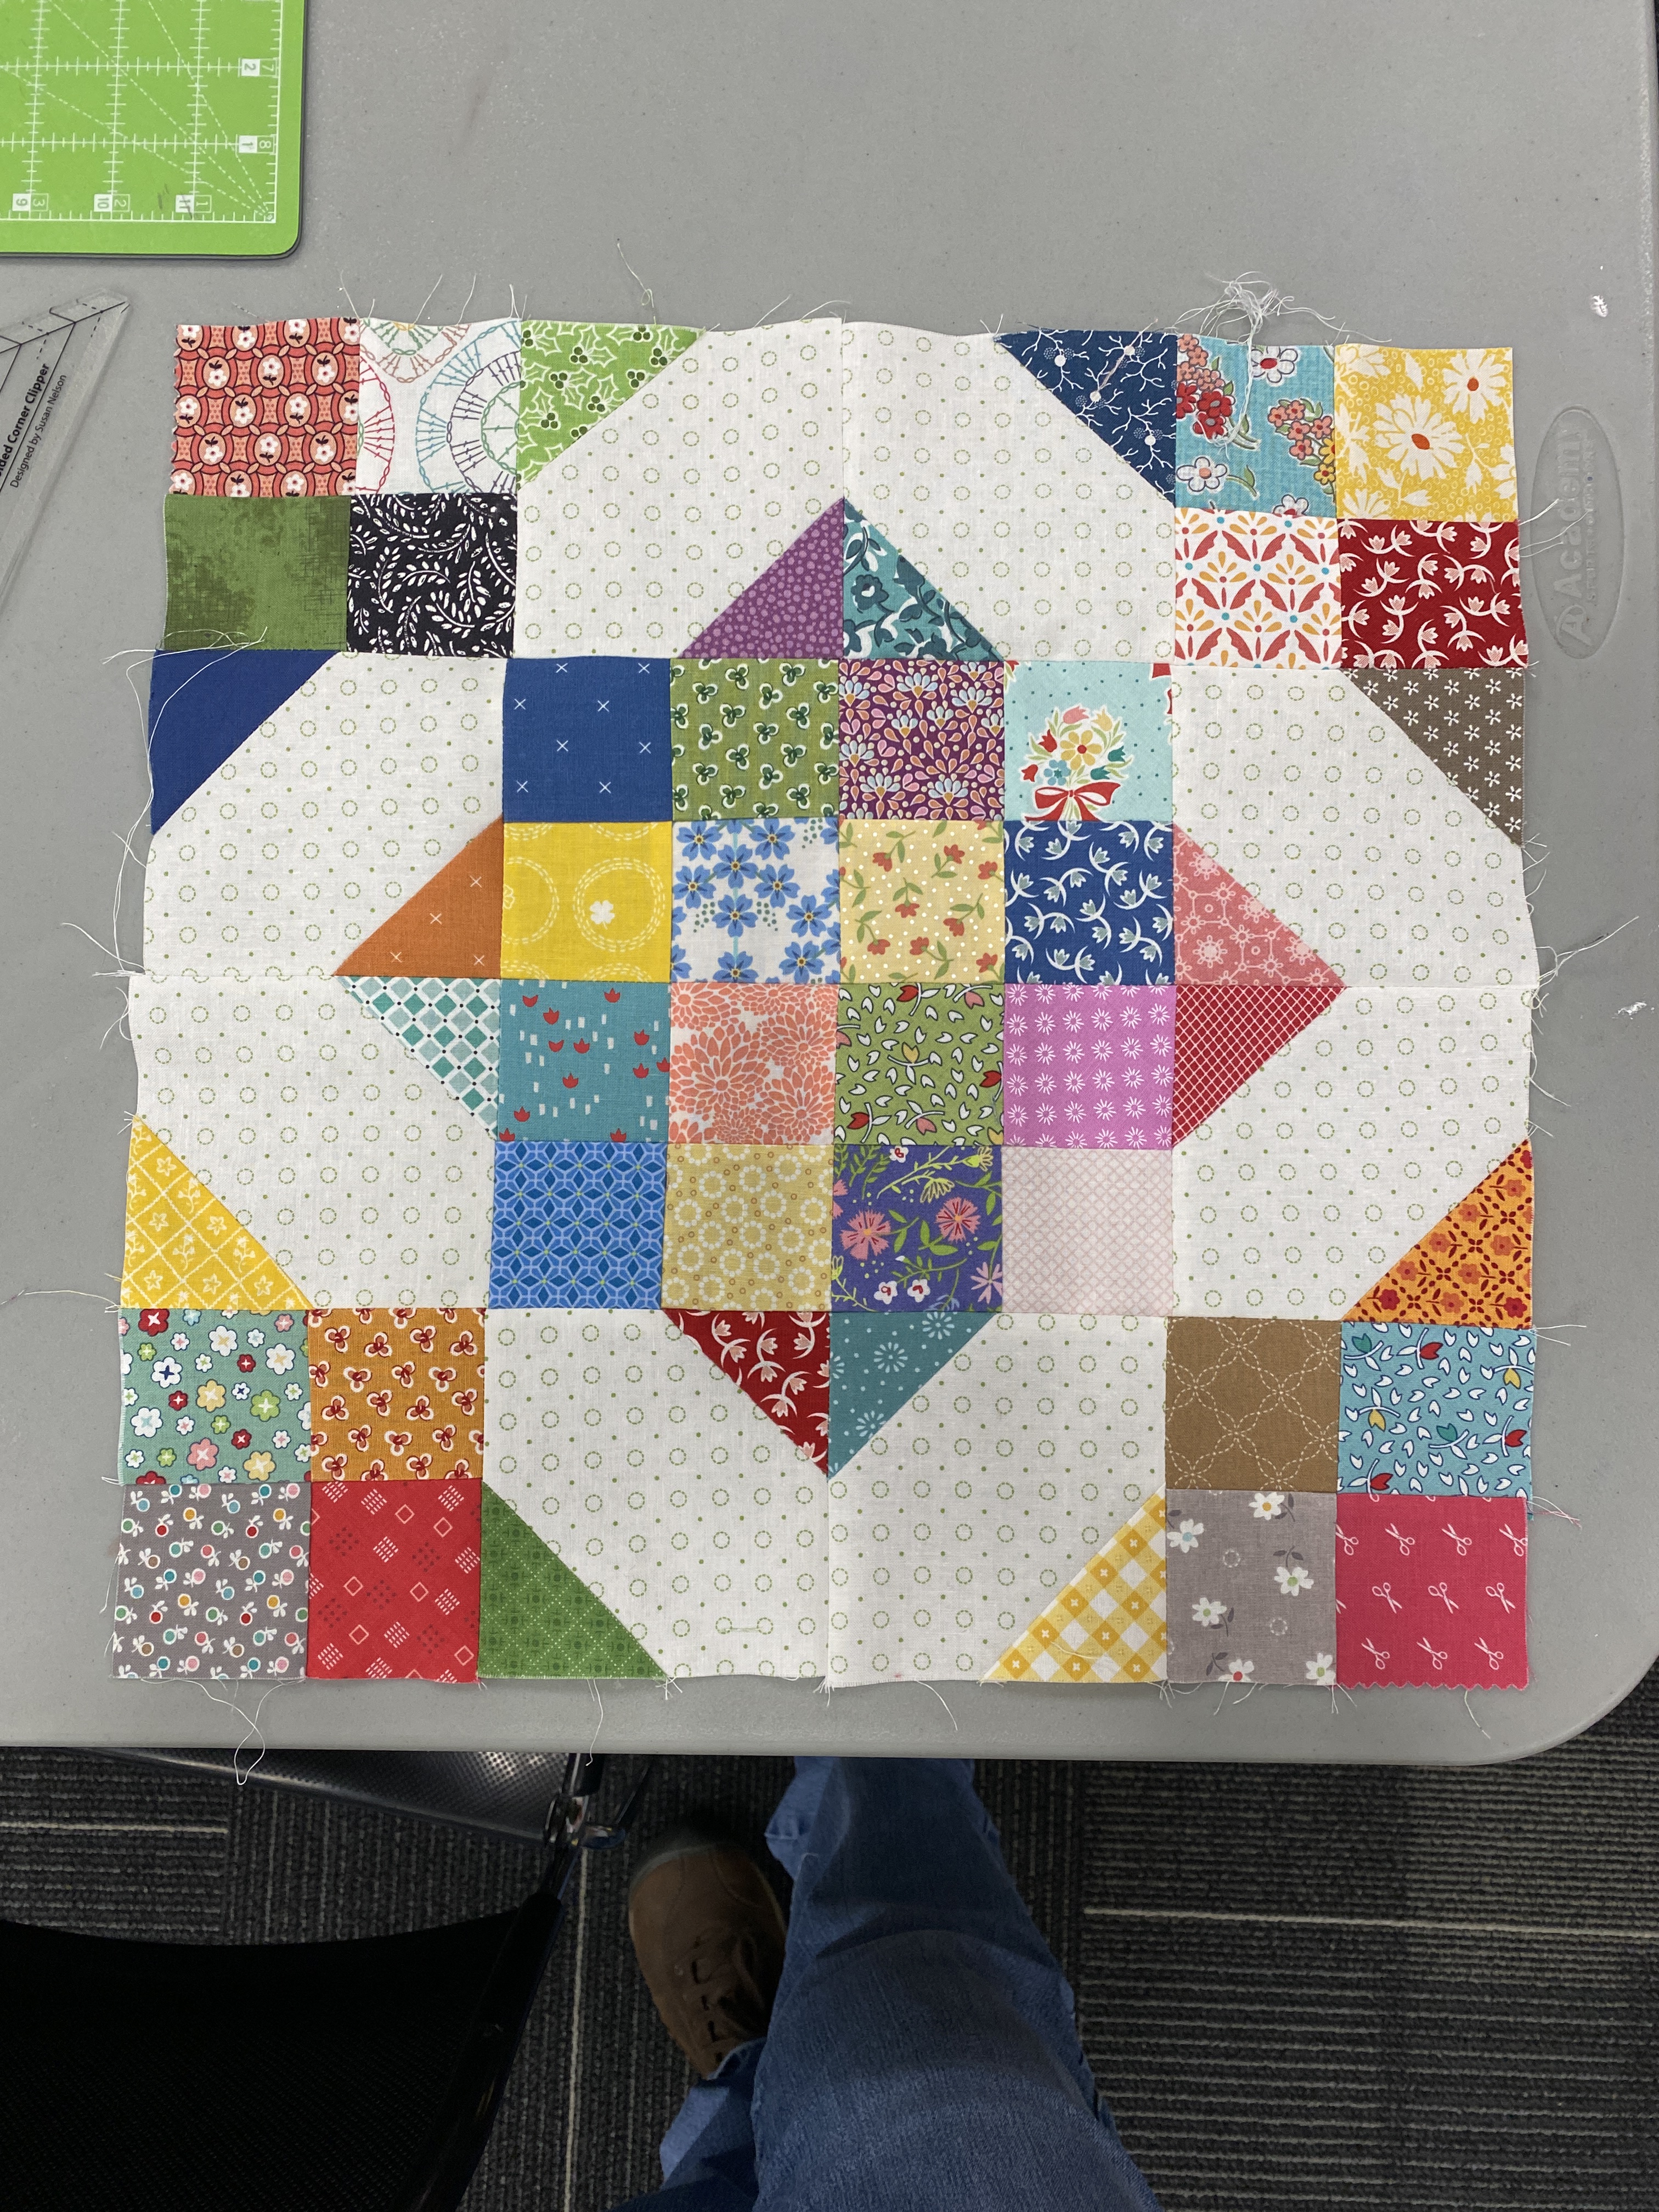
Scrappy Crossroads block from Scrappiness is Happiness QAL

Help! My kid was gifted a new sewing machine. Now what?

Here are 10 easy steps:

Step 1. Breathe. Do not be afraid of the machine. It doesn’t bite and rarely talks back.

Step 2: Unbox the machine. Take everything out. Remove all the styrofoam, bubble wrap, packing paper and tape. You should have a sewing machine, a power cord and a foot pedal. Any accessories may be in a pouch taped somewhere in the box or in the removable tray on the front of the machine. Your machine may have come with an extension table and a hard cover (lucky you!). You may/may not find a printed operator’s manual in the box as many sewing machine manufacturers have now gone to online only manuals, but you should still have a printed quick start guide in the box. Find it. Open it.

Step 3: Set up your machine as indicated in the Quick Start Guide. If you need a video tutorial, go to the manufacturer’s website and/or look for videos on YouTube. If you received a Baby Lock [manufacturer] Jubilant [model name], search for Baby Lock Jubilant + “set-up” to return more precise results.

Step 4: Turn on the machine. The switch is usually located on the right side of the machine near where you inserted the power supply and foot pedal connections.

Step 5: Now would be a good time to review the parts of your sewing machine. There should be a diagram in your manual.

Step 6: Find the presser foot lifter – it’s a small lever behind the needle assembly that raises/lowers the presser foot.

Step 7: Practice stitching without fabric and thread. Send your kid to fetch a piece of lined notebook paper.

Step 8: Place notebook paper under the presser foot so that one of the lines on the notebook paper is centered underneath the presser foot. Lower the presser foot.

Step 9: Let your kid sew on the notebook paper, following the blue line. The goal is to have the machine stitch as close as possible to or directly on the blue line. When you reach the end of that line, reposition on the next line and keep practicing your straight lines. If you want some fancier practice pages (still free), visit here and print out a set.

Step 10: If you purchased the machine from a sewing machine dealer, call the shop to schedule your machine orientation lesson. If you didn’t or can’t get to the dealer, reach out to a sewing friend or contact me to schedule a one-on-one lesson with your new stitcher. A parent/guardian is also welcome to attend this introductory lesson.

Need to learn a new app or software program?

Besides YouTube, there’s Linked-In Learning (formerly Lynda.com) that’s probably available for FREE courtesy of your local public library.

One of my goals is to convert some of my kid’s class tutorials/projects into sellable pdf patterns. I did have one printed pattern sell through in a local quilt shop, but wanted something a little more professional looking. A quilt pattern designer offered pre-made templates in Canva. I purchased a set several months ago and finally got around to looking at them. Good instruction with the templates, but I needed a little more help with Canva – it had been a while since I last used the application.

Located a Canva for quilters class offered online. Price was okay, but I thought I would check with Linked-In Learning before I spent money on another class. The course outline for both courses was very similar. I chose to start with the least expensive option. One hour and 7 minutes later, I’d completed a professional learning module on Canva- complete with an official certificate of completion. No charge to me. Thanks to my library card.

I learned exactly what I needed to. Think I’ll try this with InDesign sometime soon.