My 7-year-old niece and I now have the first of two planned summer sewing camps behind us. For two days, we stitched, cut, ripped out, stitched again, played, laughed, ate out and made a big old mess of Aunt ‘Resa’s sewing room. Our adventure also included a sleepover – her first at our new house. Here are some pictures from our sewing spectacular:

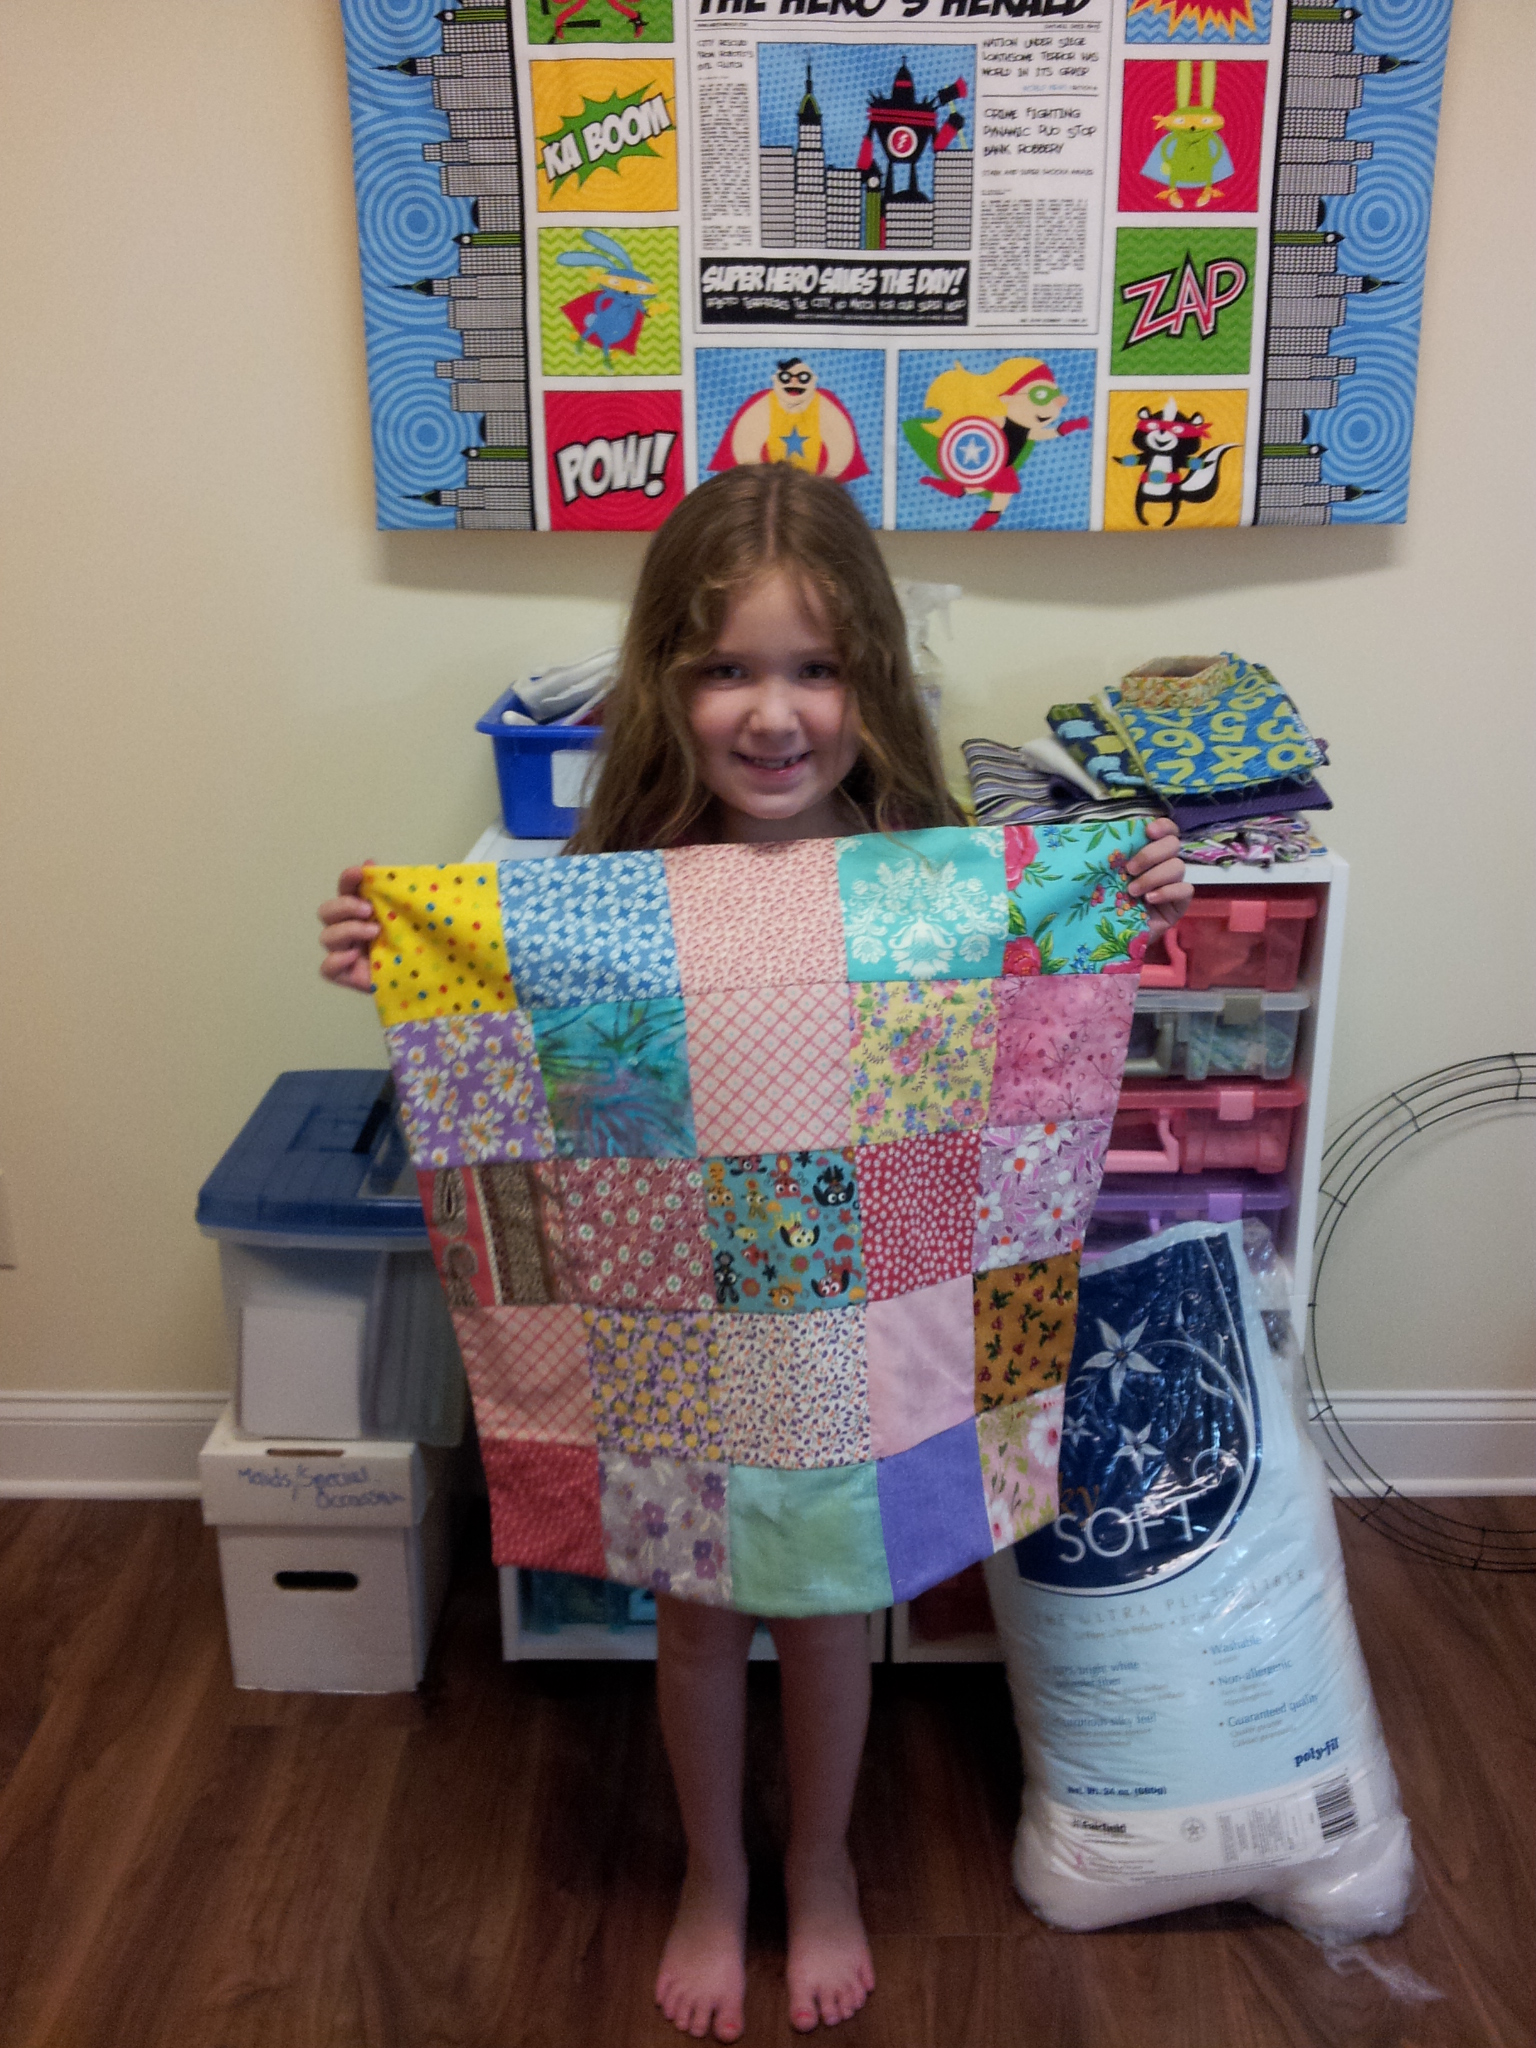
We probably spent about six hours total in my sewing room actually sewing in the 24 hours she was here. Her top was pieced as “homework” between January and Easter. Our goals were to (1) complete her quilt using the envelope method and tie it by hand with yarn and (2) make a pillow case from Hello Kitty fabric she’d received for Christmas. I nixed the yarn tie method when I realized her chosen yarn had metallic thread shot through it. It wouldn’t stay tied. She’s also not into hand stitching at this point, so she learned how to tie via the clasp (a big star) stitch on my Janome 6600. It worked great!
She chose the complementary color fabrics for her Hello Kitty pillowcase from my stash. I cut out the fabrics, but she helped pin and did all of the sewing by herself. She was so proud when she mastered pivoting the corner! Marking pivot dots with a sharpie marker helped her to see where to plant the needle before lifting the presser foot to pivot. I wouldn’t necessarily recommend this marking method for your competition quilts, but it serves as a great visual reminder for new stitchers.
On my Janome machines, I’ve discovered that the edge of the metal presser foot (A or general purpose foot) is the best seam allowance minder for my younger stitchers when making projects that require a 1/4″ seam allowance. It’s close enough. For wider seam allowances, the metal screw on guide is a real help!
