DIY Project Bags

My upcoming quilt retreat has a project bag exchange as one of the activities. It’s optional. Attendees can make or buy a bag for the swap. I considered buying a project bag from my largest local quilt shop to take. That is, until I saw a YouTube video showing how simple they are to make.

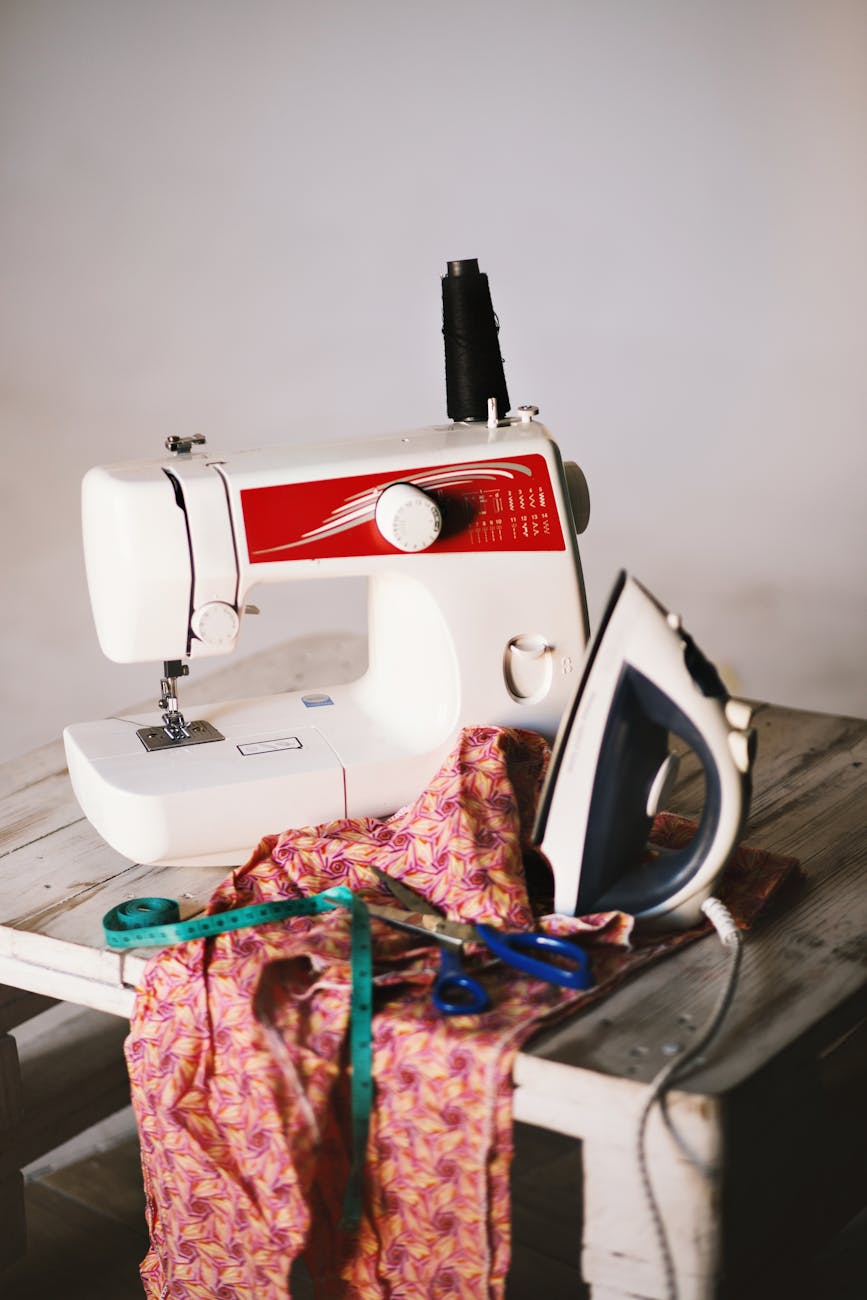
My project bag finishes at 10″ x 13″. I merely made it the same size as my favorite ready-made vinyl project bag.

Project bag first attempt

This was my first attempt at making the bag. I used random vinyl I found in my stash along with leftover fabrics from samples I’d made for the Beginning Sewing classes. This bag was constructed entirely on my 301. I will say that I learned a lot about my 301 during this project. I also chose to attach the binding separately rather than doing the self-binding method shown in many tutorials.

Project bag second attempt

This was my second attempt. Much better! I used By Annie 16 gauge vinyl in this one. OMG, what a difference! I also used my Elnita EC30 with a walking foot to do the sewing. In hindsight, a red or yellow zipper would have added a little more zing to the bag, but my options at midnight were limited to what I had on hand in the correct length.

Supplies you’ll need to make my version:
Zipper: regular nylon zipper minimum 14″ length (longer is actually better)
Fabric for zipper insertion: (1) 2″x13″ strip and (1) 4″x13″ strip
16 gauge vinyl for front: (1) 8-1/2″ x 13″ (leave tissue paper on)
Quilted piece for back: 10″x13″ (make a quilt sandwich with 2 FQs and quilt with a simple design; trim to size)
Binding: (2) 2-1/2″ x WOF strips

Make front piece: Fold 2″ strip in half lengthwise and press. Fold 4″ strip in half, bring raw edges to middle and press. Fold over again and press (similar to making a strap). The single folded edges will be sewn to the zipper. The vinyl will be inserted into the double folded edges and topstitched in place. Here’s a video with a good explanation of how to sew the zipper and add the vinyl piece on the front. Start watching about the 19:20 mark in the video.

Assemble bag and bind: Lay the front piece on top of the back piece. Align raw edges and baste in place all the way around. Trim away excess vinyl, if necessary. Attach binding using back-to-front method (leave tissue paper on vinyl). Tear away tissue paper after attaching binding. Fold binding edges to the front. Use wonder clips to hold binding in place, fold miters for corners and stitch.

Wonder Tape (wash away 1/4″ wide double-sided tape) really helps with the zipper installation. I may also try using a tearaway stabilizer or tissue paper underneath when attaching the zipper to the folded fabric edges. Wonder Clips are a must as pins will leave holes in the vinyl. Also, tissue paper is a necessity when sewing requires the vinyl to be next to the feed dogs – when you are attaching binding to the back and flipping it to the front to sew down. It keeps the vinyl from sticking and/or getting caught in the feed dogs.

No vinyl? No problem. Use a quilted fabric panel for the front piece instead of vinyl.

Since I didn’t have to buy anything to make these bags, I consider these projects as freebies. (Yes, it did take 45-60 minutes per bag to make). This means more $$ for shopping at my upcoming retreat!

Quilting on my Singer 301A

I LOVE piecing and sewing on my Singer 301A. Like most vintage metal machines, the more you use it, the more it purrs. My 301A is a straight-stitch only machine. Locked away in someone’s shed for several years, it came with the trapezoid case and several presser feet. I purchased the buttonhole, zigzag and blind stitch attachments separately.

Machine quilting is fairly straightforward with a walking foot. You merely need to make sure that said walking foot is made for slant shank machines and will fit the 301 (because not all of them do). My walking foot does not have a place to attach a quilting bar. Bless the folks online who share their hacks for quirky sewing machines. Painter’s tape to the rescue. The sliding plastic quilting guide I use for my Elnita EC30 should work fine. I’ll need to experiment to find the best place to tape it on the 301A’s walking foot.

This machine also has the ability to drop the feed dogs. Original darning & embroidery attachments for the 301 are hard to find and pricey when you do find them. So, I searched for a modern alternative. I tried a plastic darning foot I purchased at a quilt show. Nope. Next was the common spring loaded FMQ foot but in a slant shank version. It works, but the foot will need to be modified with a rubber band (idea from Leah Day) so that it just skims the surface of the quilt sandwich.

While researching for a better solution to FMQ on my 301a, I read in a quilting forum (from nearly a decade ago) about an original slant shank darning foot that could be utilized on a 301. It’s Simanco part #161596. I found one for sale on eBay and it was mine within a week. The foot was made for the 400/500 series slant needle machines. I did have to modify the 301 just a bit so the presser foot would work. Once I hit on the right combination of needle and thread, the machine did its magic.

Machine straight line and FMQ tips:

  1. Oil any vintage foot before using. Anywhere that metal touches metal, douse liberally. Let the foot sit overnight on a paper towel.
  2. If using the vintage 161596 darning foot, you’ll need to remove the thread guide wire attached to the needle bar clamp. Simply remove the bottom screw on the right side of the needle bar clamp and slip the wire down. Set wire and screw aside for safekeeping. If you encounter resistance, it might be because the needle clamp screw is hitting against the right corner of the metal presser foot body. Tighten the needle clamp screw just a bit to rotate the screw head out of the way. Place a drop or two of oil on the edge of the metal part where it was rubbing.
  3. Insert a 90/14 titanium topstitch or quilting needle. Tighten with a screwdriver. My 301A will let me know with random skipped stitches that I don’t have the correct needle installed.
  4. Use same thread top and bobbin. I use Glide thread for FMQ.
  5. Test FMQ as you normally would.

Random fact: The 301 and 301A are the same machine. The “A” designation means that the machine was made in Singer’s Anderson, South Carolina plant. Mine is known as an LBOW – light beige, oyster white color scheme.

Life after Joann’s

Like many of you, I’m disappointed that Joann’s is closing. I’ve gone into the Alpharetta and Kennesaw locations to see what’s on sale. Not really anything. Liquidation “sale” prices are actually higher than Joann’s normal sale prices. Puh-leez. The new Joann’s owners aren’t serious about selling through the merchandise just yet. Even if huge markdowns begin, I doubt I’ll buy anything else from them. However, I’ll continue to take Sadie to walk the Kennesaw store as long as it stays open. Then, we’ll head up the hill to Home Depot to do the same thing. It helps with her therapy dog conditioning.

Tonight, I challenged myself to see if I could find what I needed at the Woodstock Wal-Mart on Hwy 92 to make my version of the infamous Beth Dutton quilt from the Yellowstone TV series (red/gray/black 9 patch quilt set on point). I spent $31.00 on fabric – (1) 3 yard cut of dark gray, (2) 1 yard cuts of patterned black fabric, (1) red & white dot, plus assorted FQs of red/black/gray prints. The rest of the fabrics will come from my stash. I have thread, backing and batting at home. Lest the quilt po-po decide to chime in, the quality of the 100% cotton Waverly branded fabric at Wal-Mart is much better than most of the cheap stuff sold at Joann’s.

In an earlier post, I listed alternatives in the Atlanta area to shop at instead of Joann’s. I’d also like to add estate sales and de-stash sales of sewists and quilters in your area. Many long-time quilters are card-carrying members of the fabric acquisition team and have the stashes to prove it. News of an estate sale with a lot of fabric travels fast. Check with your quilt guilds, ASG chapter or search on estate-sales.net for sales near you. FB Marketplace is another source for garage and estate sale listings.

Other updates: Shirt Off Your Back quilt shop in Roswell will be closing down in early summer. Even their Innova long-arm machines are for sale. Stash Fabrics in Alpharetta (more like Cumming actually) is now offering classes and offers local pick-up at no extra charge. Scraplanta is an organization I discovered while attending the OSQE this past week. They offer donated fabric and notions for sale, plus offer classes in repurposing said scraps and materials.

Change is the only constant in life. Joann’s closing is sad, but I imagine most of us living in larger towns and cities will still have local access to craft and sewing supplies. Keep an eye out on newcomers, too – a new indie bookstore opened in Smyrna and a stitch lounge opened in East Cobb this past week. New places to explore!

Photo by EVG Kowalievska on Pexels.com