Make time to travel
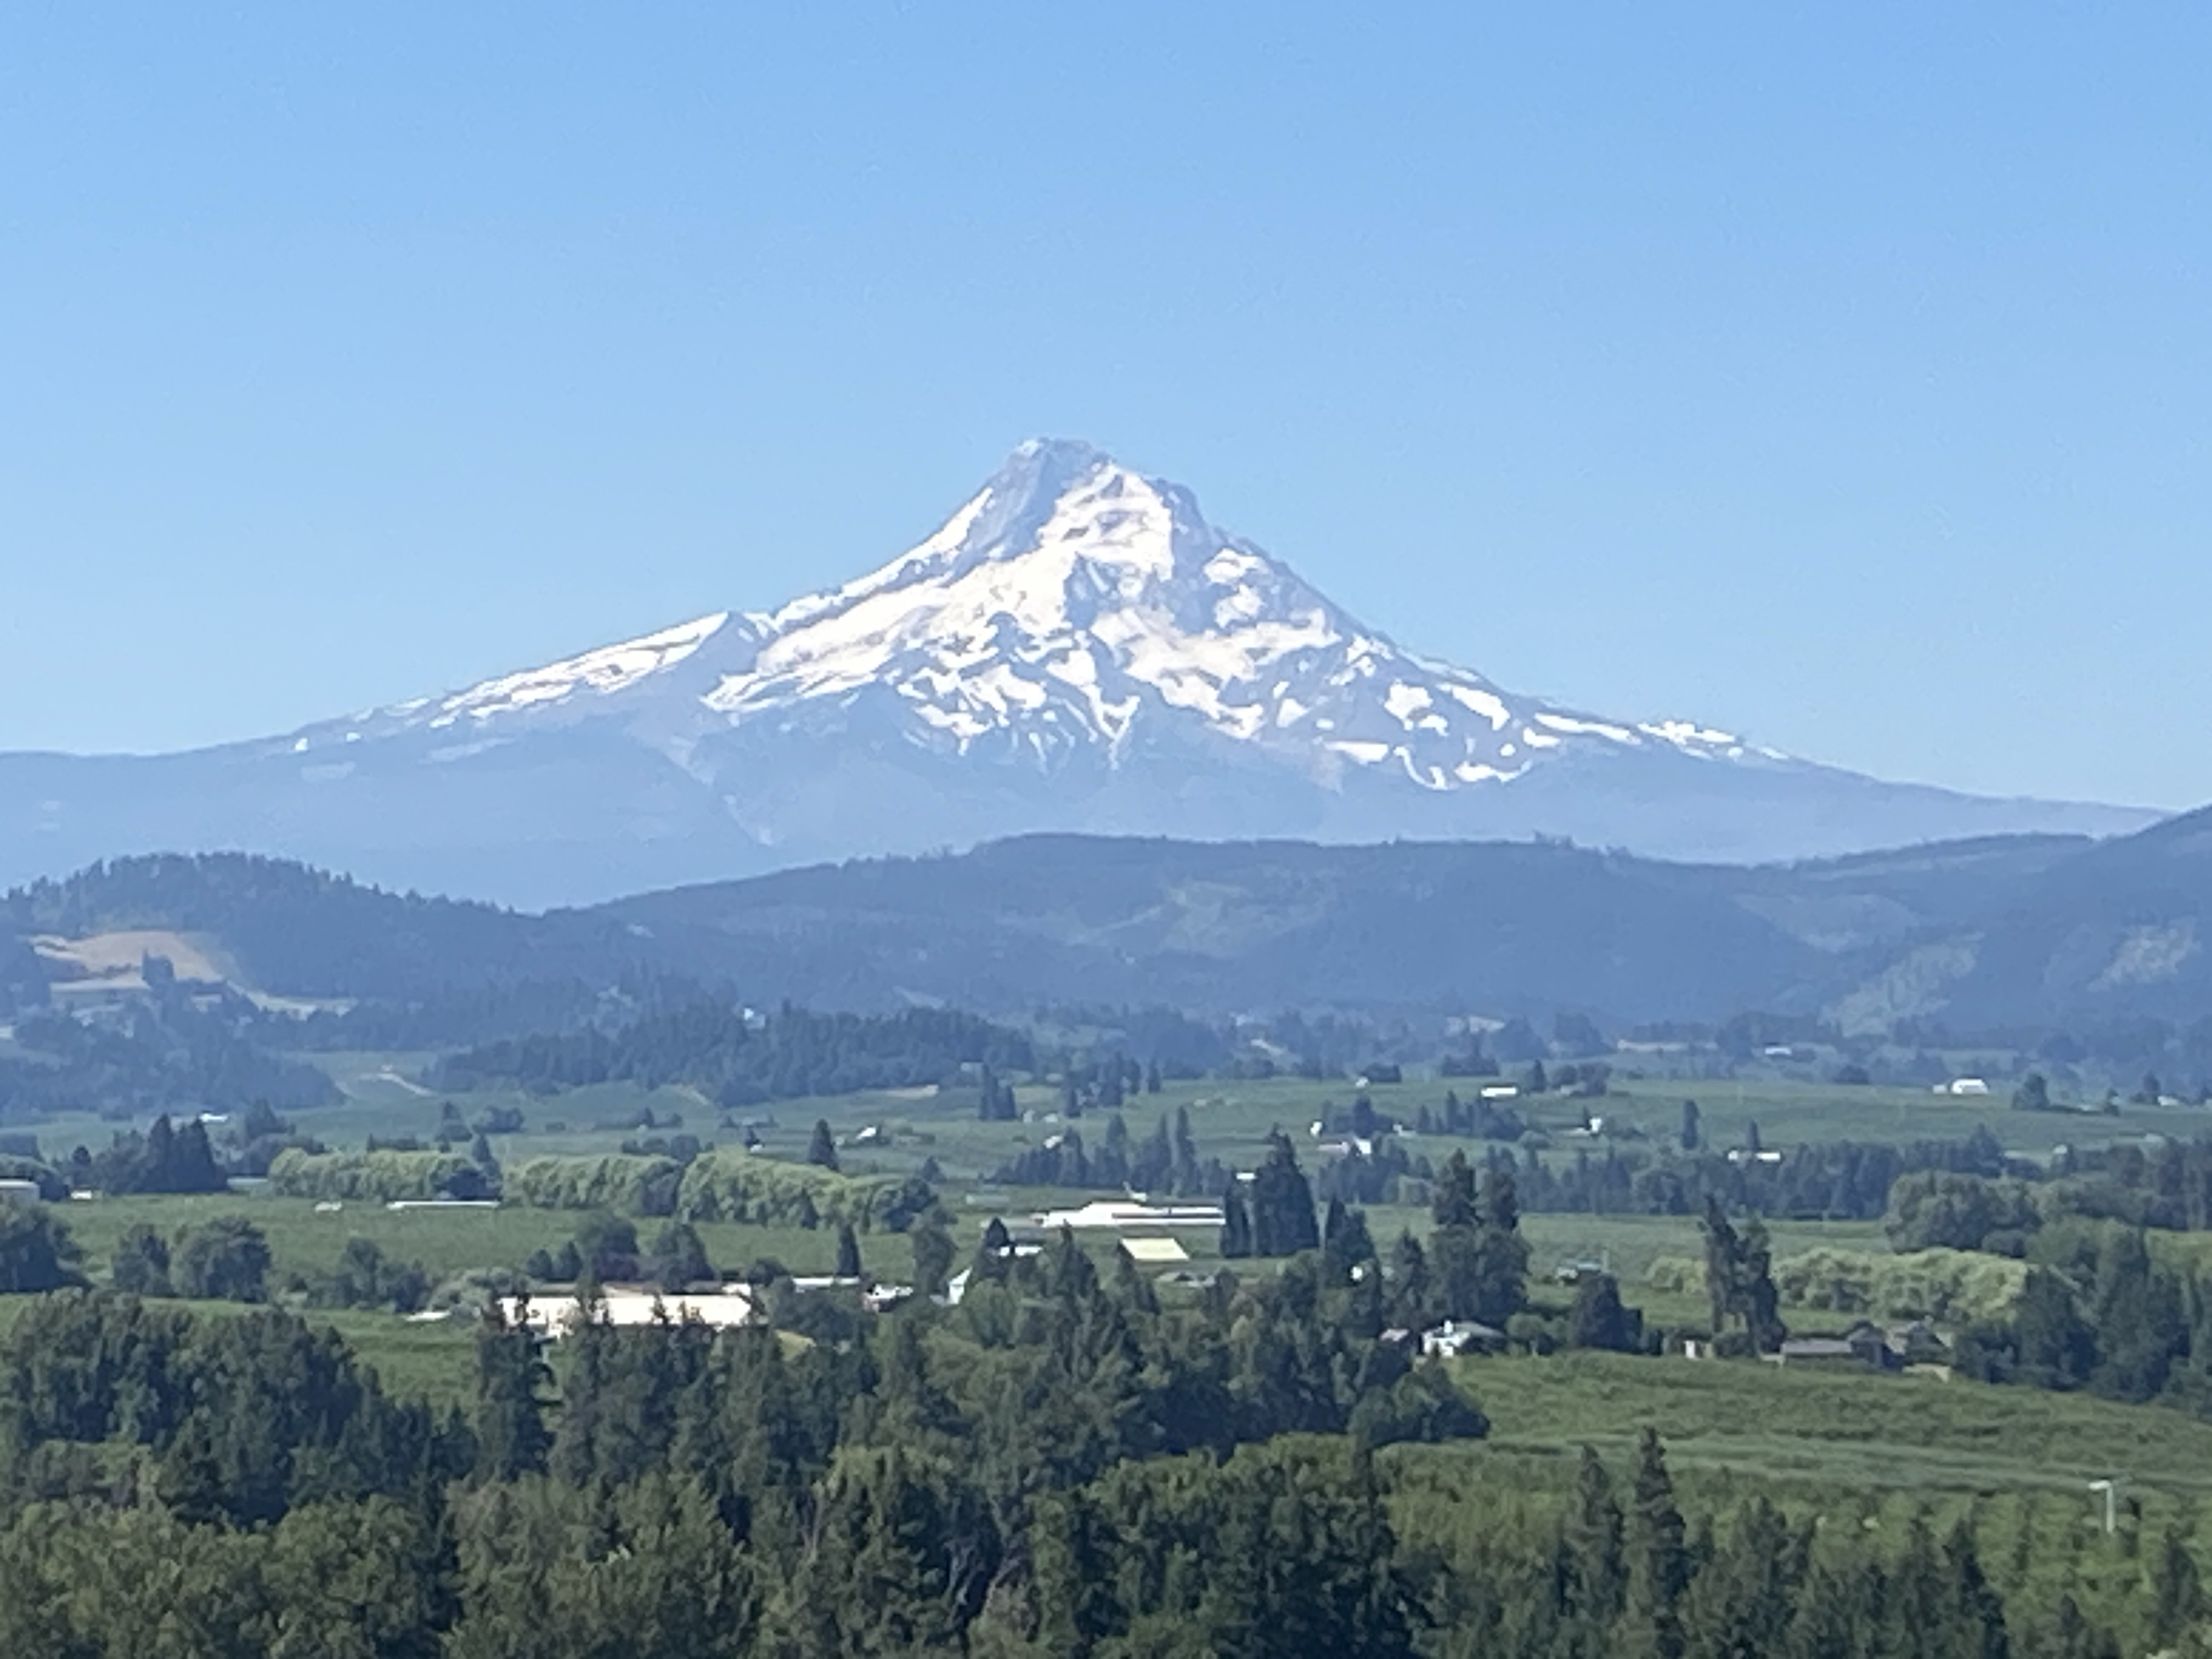
Once Quilt Camp was over, we packed and headed out west to explore places long on my travel bucket list – the Columbia River Gorge, Mt. Hood, Astoria and the Pacific Coast Highway. It was an incredible seven days. We flew into Portland (PDX), but didn’t spent much time in the city. What little I did see of downtown Portland was typical of any other large city – meaning I’d avoid the downtown area and shop/stay in the suburbs.
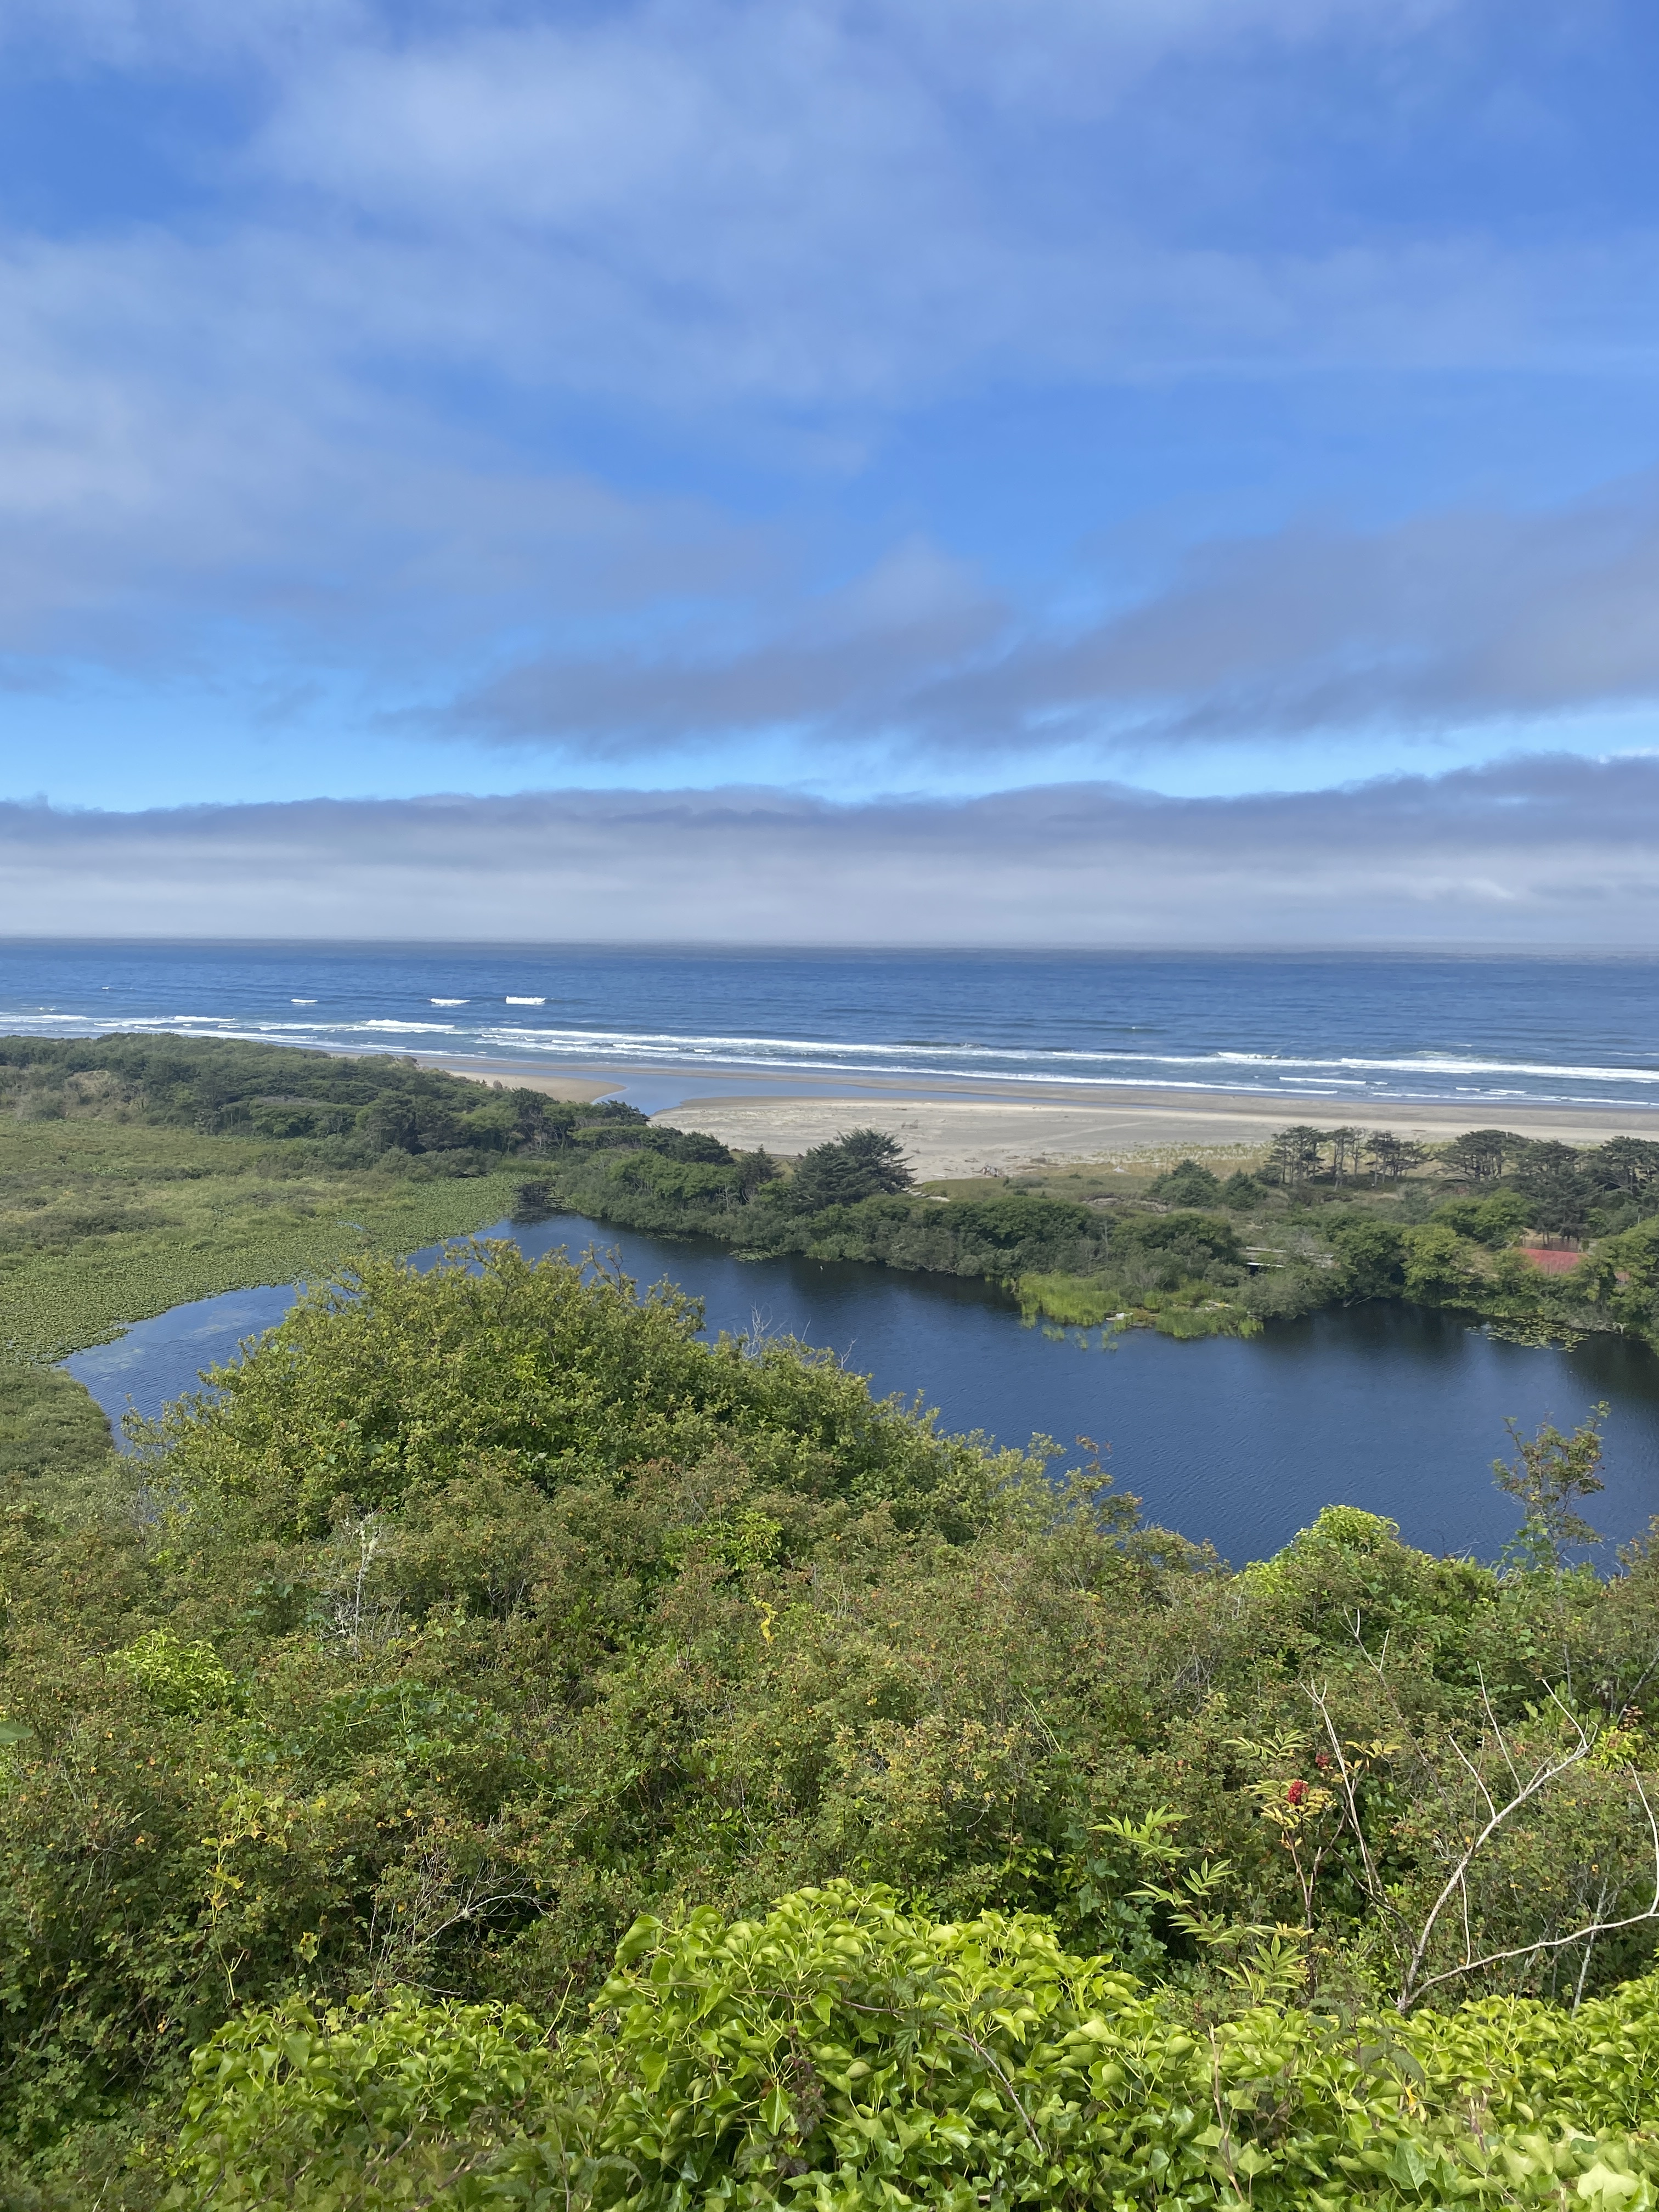
Our journey was basically one large loop – Hood River, The Dalles and back over to Astoria, following the Pacific Coast Highway as far as Newport, then over to Corvallis with a stop in Salem before heading back to Portland. Things we liked best: National Neon Sign Museum in The Dalles, Western Vintage Auto & Air Museum in Hood River, Columbia Gorge Maritime Museum in Astoria, Latimer Quilt & Textile Museum in Tillamook (just up the road from the Tillamook Creamery), Evergreen Aviation & Space Museum in McMinnville and the Deepwoods House & Gardens in Salem.


Oregon has no state sales tax, plus had great end of season sales, so we did some much needed shopping at the only full-fledged Eddie Bauer retail store in the state. At Montavilla Sewing Center, I also found the left bi-level 9mm foot for my Janome 8900 that none of the 3 Janome dealers near me had. While there, I also asked for a price quote on the Janome 9480 with the ASR. Extremely competitive, but as this model’s now been available for over two years, I expect prices will drop again soon.
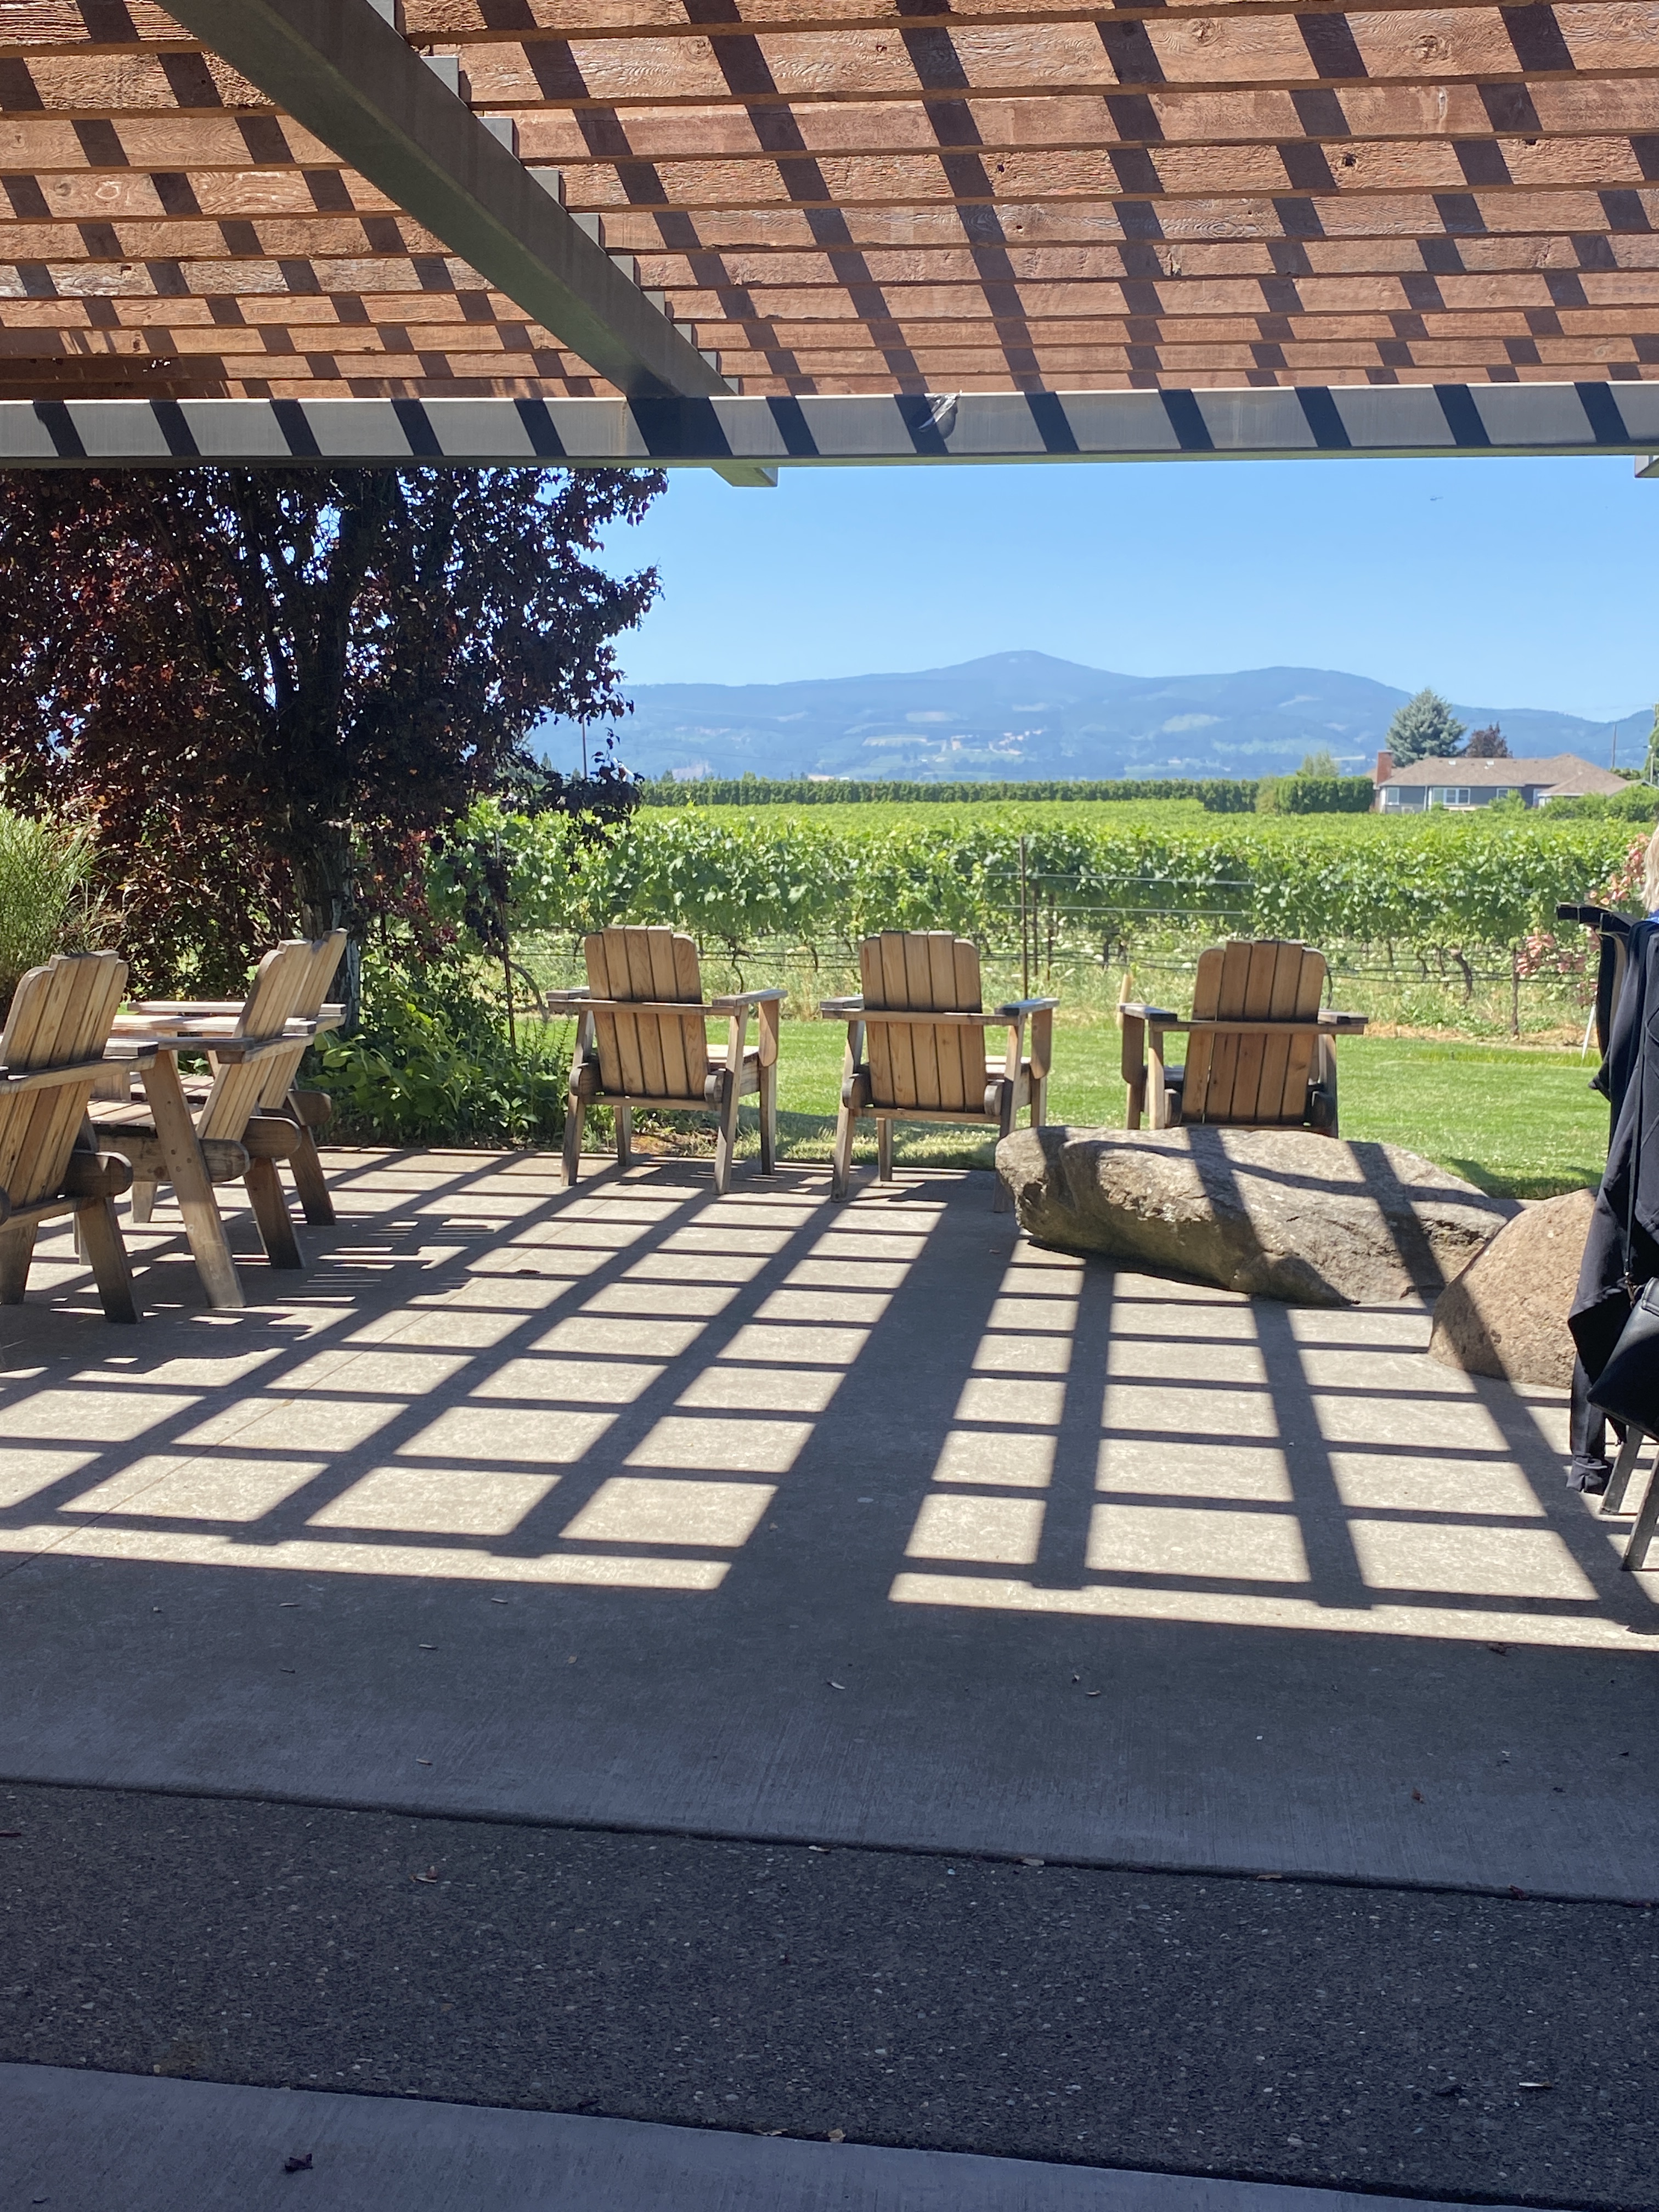
Our last day/night was spent in Vancouver, Washington – just across the bridge from the Portland airport. This also the home to Connecting Threads, in case you receive their quilting catalog in the mail. We thoroughly enjoyed dining out on the patio at the The Cove and walking the along the river trail. I also visited the lone quilt shop of our trip – Fiddlesticks Quilt Shop where I purchased all the fabric needed for the upcoming Giant Dahlia class with Michelle Yeo.
Are you familiar with The Country Register? It’s a national publication focusing on individual states or regions. A number of quilt shops, textile museums and craft events have printed copies available. I always like to pick up a copy whenever I travel. When browsing through the Oregon, Washington, Idaho edition, I noticed that Michelle Yeo is also teaching at a shop in Oregon the week after she’s with my guild in Atlanta. I didn’t fully appreciate how much my guild subsidizes the cost to bring teachers to us until I saw the fees to attend the same class in Oregon.
Make time to travel – it forces you outside your comfort zone and allows you to experience new sights, sounds and tastes that you probably won’t experience at home. Dining al fresco on the waterfront of the Columbia River and enjoying huckleberry jam on my toast are two things that come to mind. Well, a jar of huckleberry jam did make the trip home with me.