Kid’s project: BBQ Aprons for Father’s Day
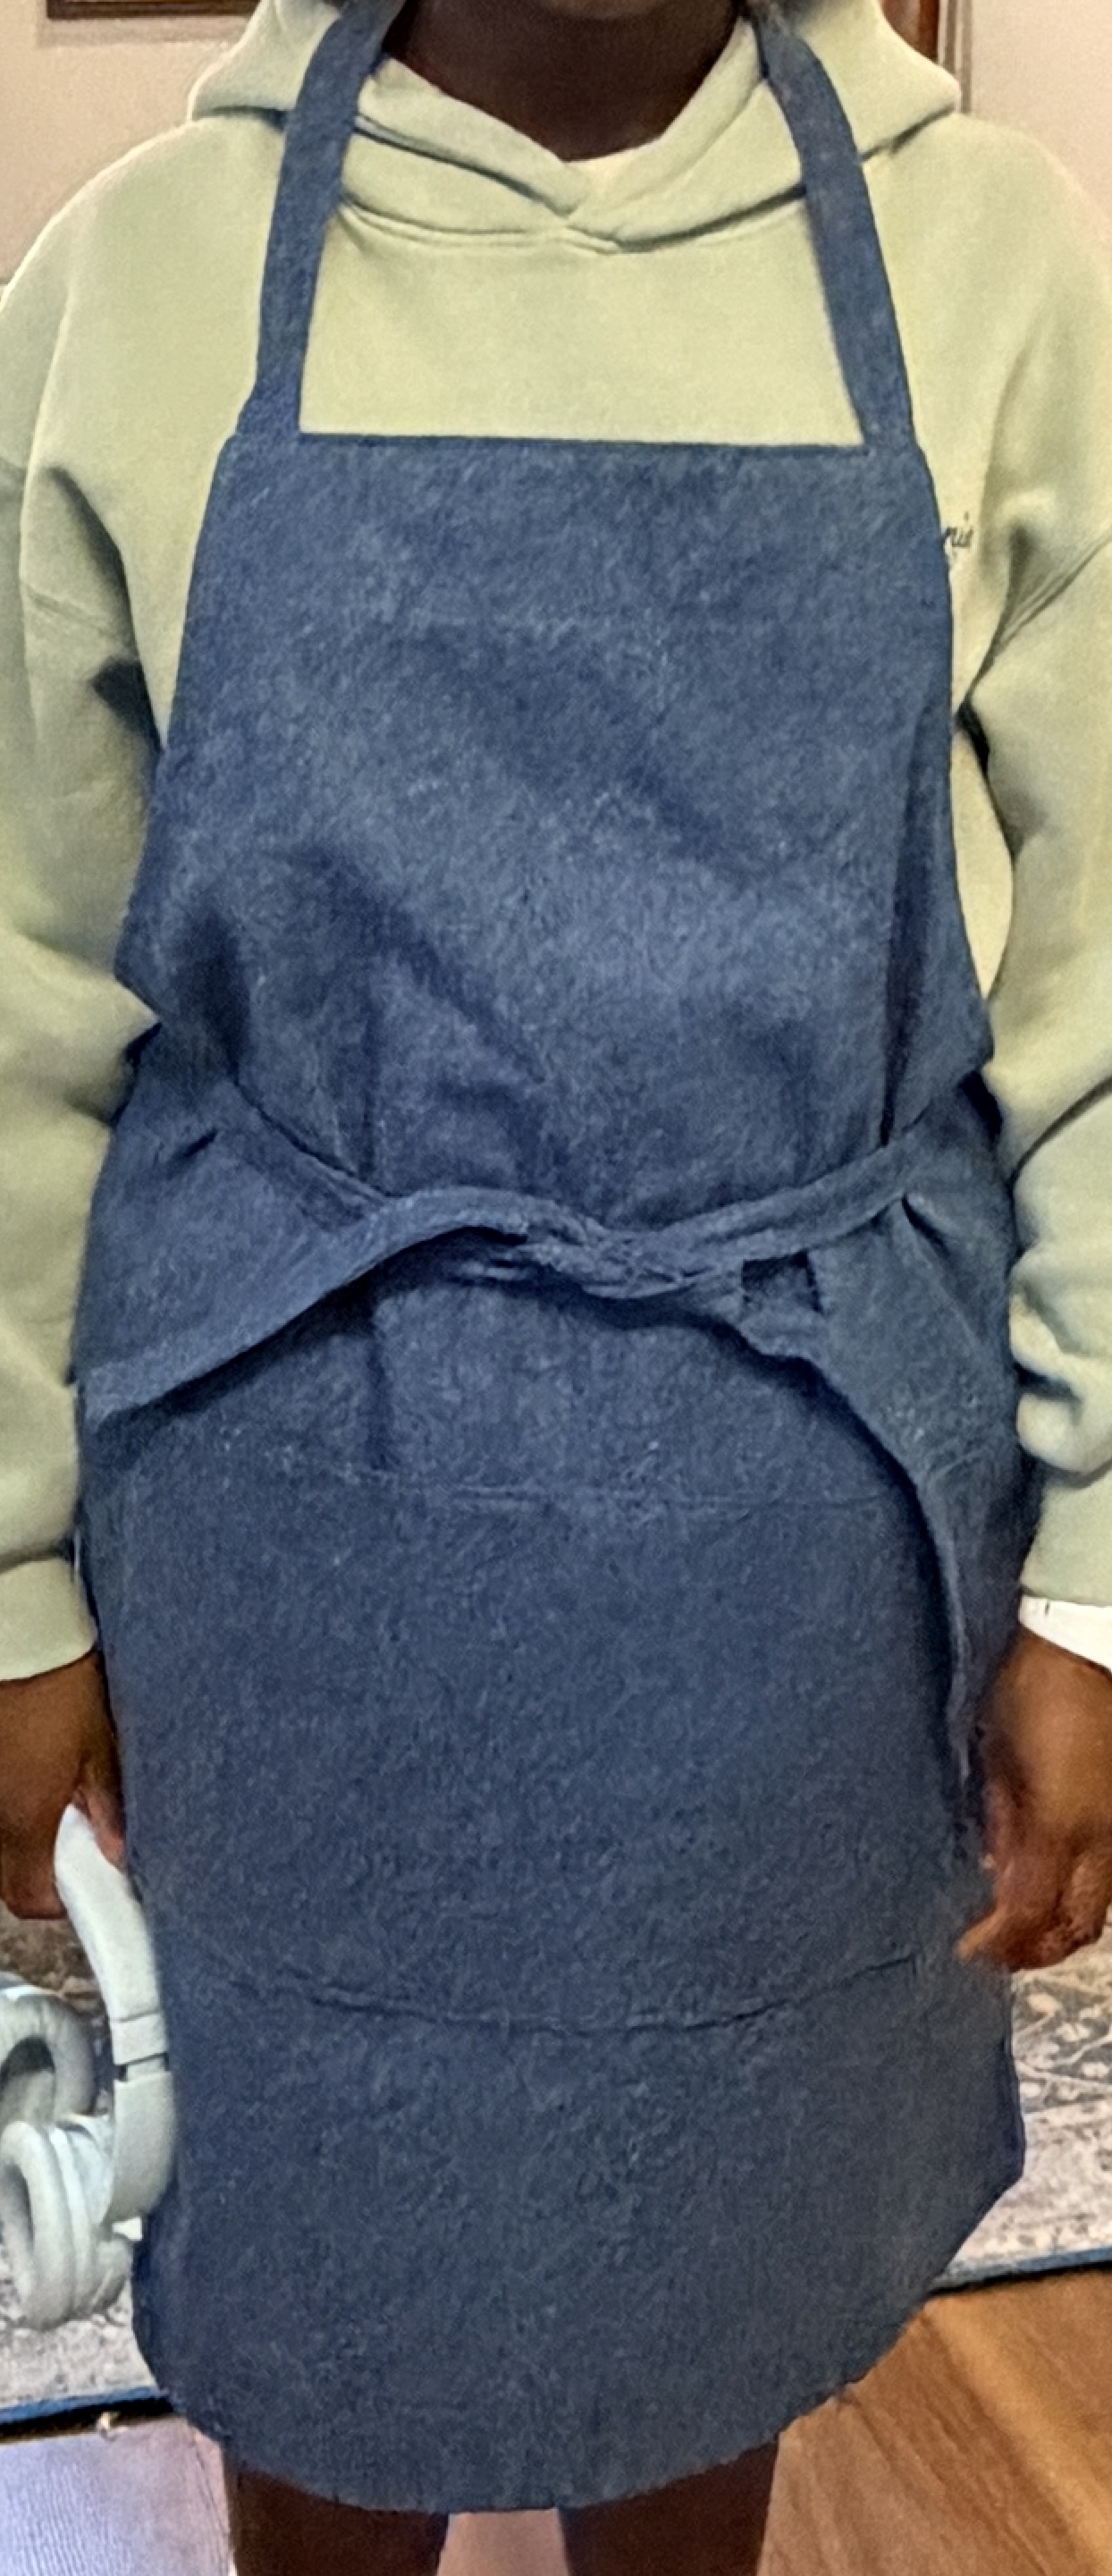
In CraftLAB, we made aprons using the free pattern and video instructions from Made Everyday. (Thank you for a well-fitting, easy to follow project.)
Note that it will probably take you longer than 30 minutes to make the apron on your first try. Allow a couple of hours if you are sewing with kids or are a beginning sewist.
The fabric shown is a heavier-weight denim with minimal stretch I found at Hobby Lobby. The girls chose to add a contrasting cotton fabric for the pocket lining. Thread used exactly matches the denim to help hide topstitching variations.
Three suggestions:
(1) Two ironing stations will make the process flow much more smoothly when sewing with friends.
(2) Use a tube turner to make the ties and neck band. Cut the fabrics as indicated on the pattern, but fold fabric in half RST lengthwise and stitch along one side and across the bottom of one end of the tube. Clip the corners before turning. Love how this video explains things.
(3) If sewing with kids, consider lining the apron. This will eliminate all of the folding and pressing required to finish the raw edges. Shorten the main pattern piece by 2″ before cutting out. Omit the facing piece. Add front pocket as directed. Create ties and neck band as desired. Attach ties and neck band in positions as indicated in video instructions. Place front and lining RST and sew around using a 3/8″ to 1/2″ (or edge of presser foot) seam allowance. Leave a 6″ opening along the bottom to facilitate turning the project right side out. Press and topstitch around the entire apron using 1/4″ seam allowance (or whatever you prefer).
I’ll be making one for me with some personalized touches: contrast pocket lining and matching flower applique on the bib. I’ll also shorten the neck strap by 2 inches because I want a little more coverage.