Parents: PLEASE consider spending few bucks more to get a higher quality sewing machine

I know…I know…money’s tight and you don’t want to spend a lot of $$ on something that could be a passing fad.

Pssst:  Chances are it’s not a passing fad – especially if your little stitcher has already been to a couple of sewing events and really, really wouldn’t shut up about the great time he or she had.

While I encourage you to support your local sewing machine dealer, there’s nothing wrong with purchasing your machine from a big box mass merchandiser, internet retailer or your local fabric store.

Purchasing helps for newbie stitchers:

–  Keep it simple.
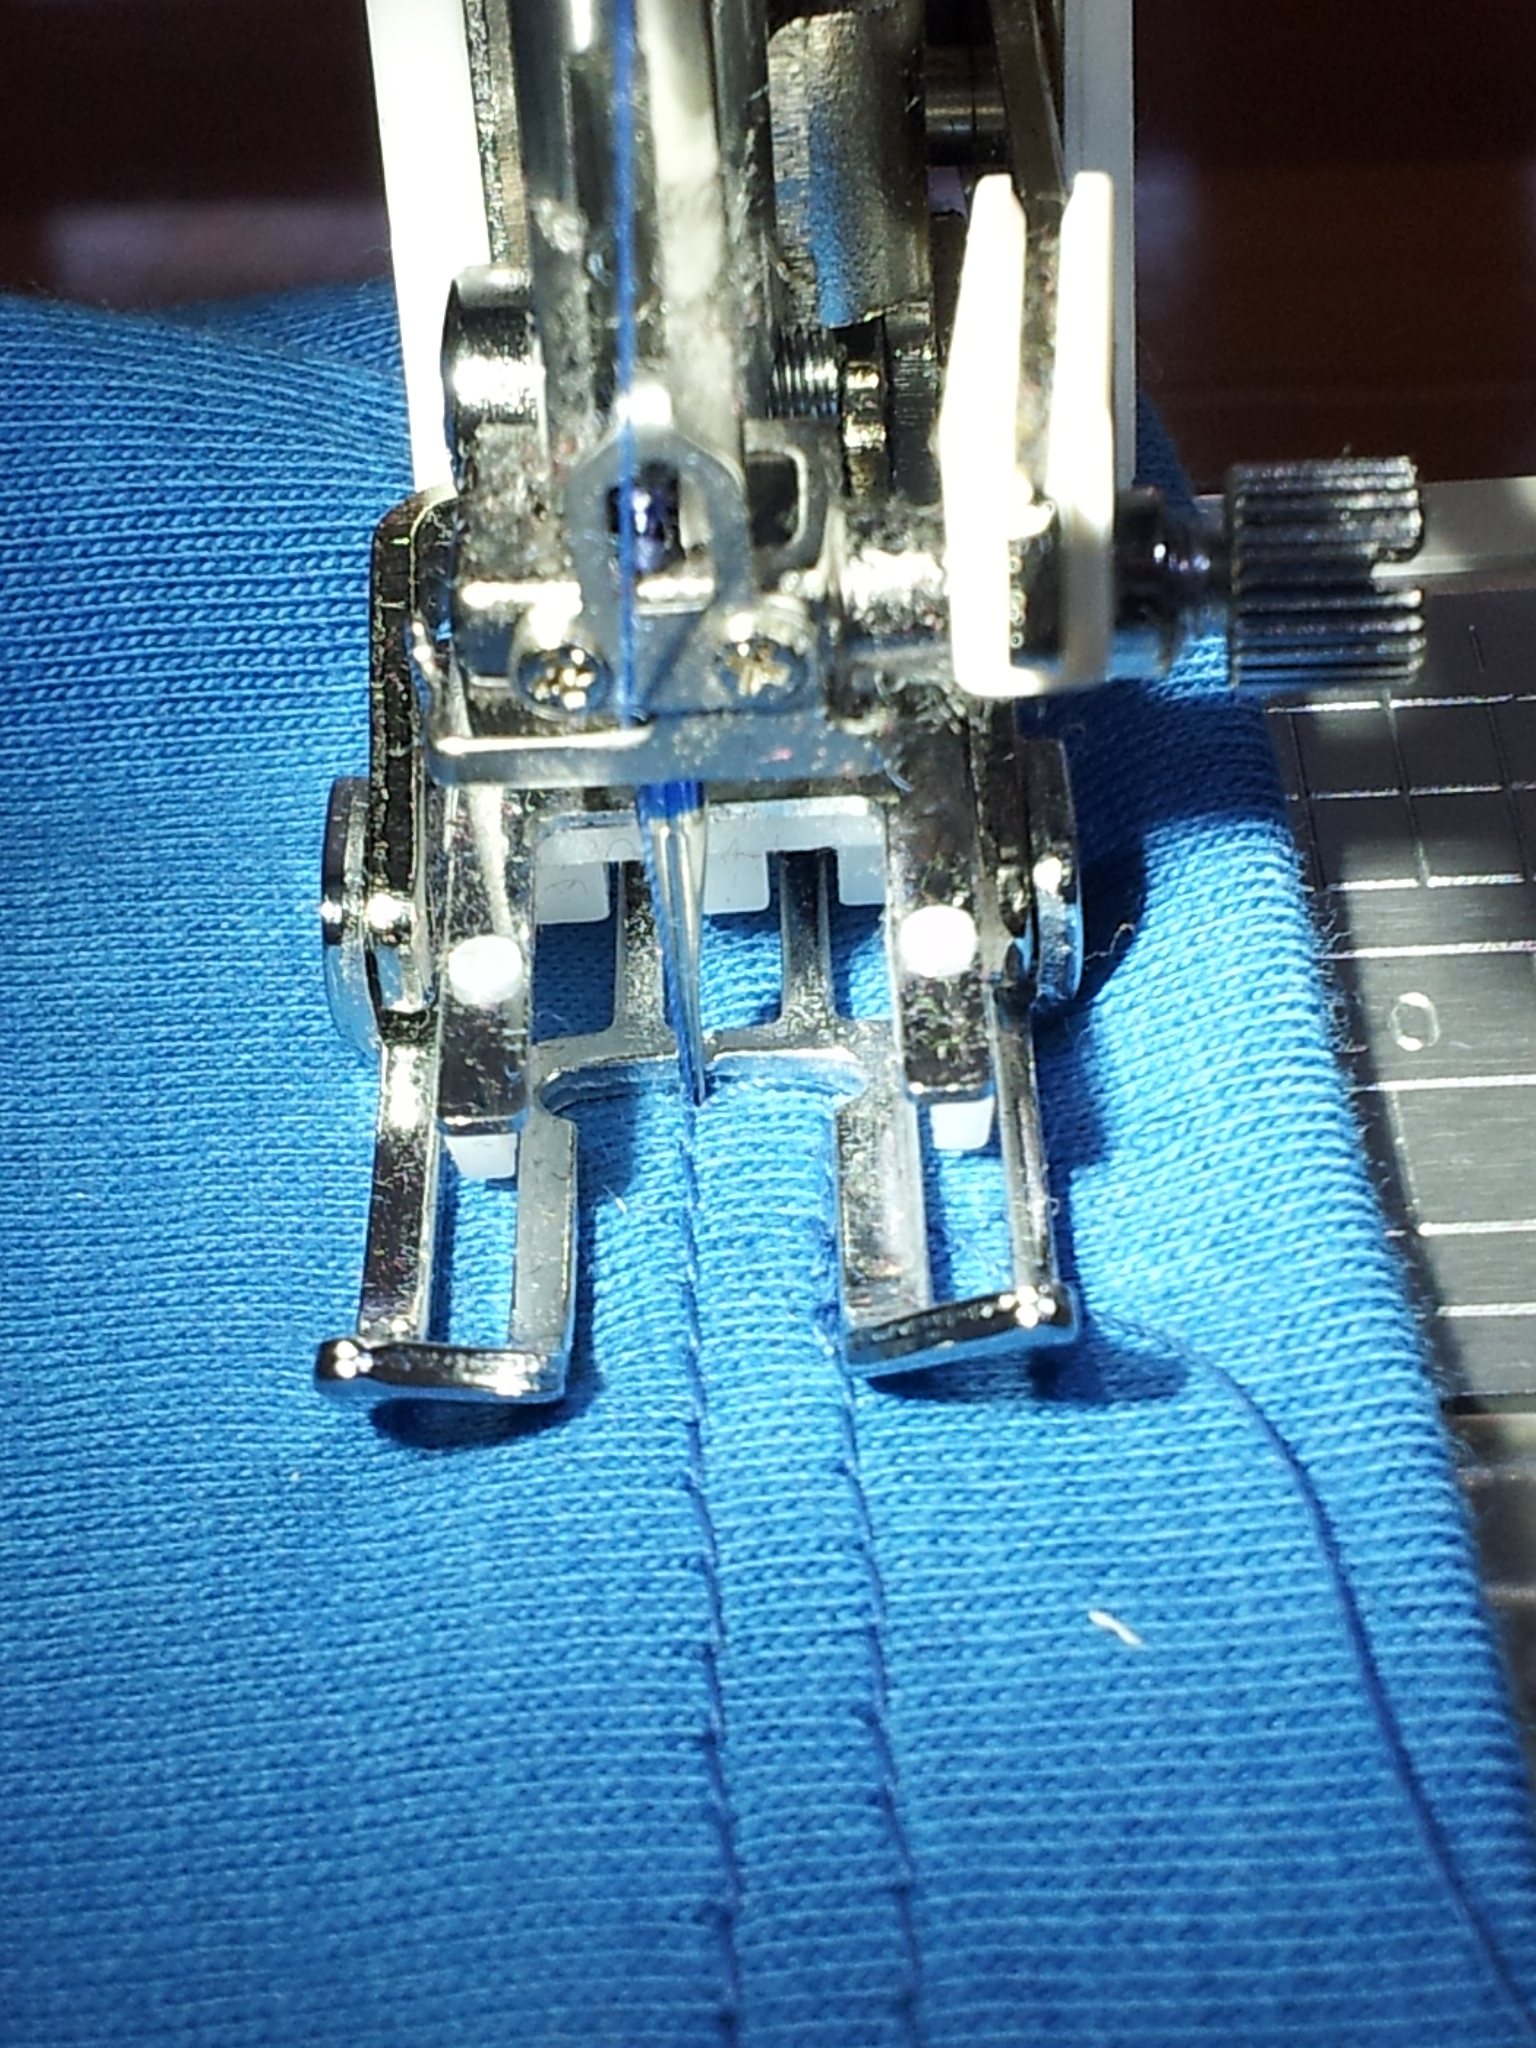
–  Mechanical machines like the Janome Jem Gold 660 ($199) are excellent, user-friendly machines.  I’ve taught 3 different groups of kids using a Jem Gold 660 or Jem Gold 3.  I can say without hesitation that kids really catch on fast to this particular machine.  It’s simple to operate, stitches beautifully and comes with a built-in needle threader (more for the adult helper than the kid).
–  If you have been eyeballing those < $100 machines at Wal-Mart, I would resist the temptation unless you can actually sew on one before buying.  Two girls in my Saturday sewing class brought in machines that fit this category.  A very frustrating experience all the way around, plus N-O-I-S-Y!!!  Many of the girls remarked how quiet my Janomes were compared to these machines.  Instead, look at the Janome JW5622 (similar to the Janome 2222).  It can be shipped to the store or might even be at your local Wal-Mart already. As much as I prefer top loading bobbin machines, I am very impressed with this one. (Yes, I sewed on this model, too!)

A vertical front loading bobbin machine will be noisier than a top loading machine.  You could stuff a clean dishtowel in the accessory compartment to muffle some of the noise coming from the bobbin area. Adding a drop of sewing machine oil to the hook area might also help.  What I really like about this machine was the fact that it has adjustable stitch width and stitch length, a one step buttonhole and a carry handle – all things the Jem Gold 660 doesn’t have. Of course it has a built-in needle threader!  It’s also about $60 less than the Jem Gold 660 – making it more budget friendly.  If you need a good, all around basic sewing machine for your home – this one would definitely fit the bill, more so than the Jem Gold 660 IMHO.

FYI – sewing machines range in price from < $100 to well > $10k.  More bells, whistles and computer components generally mean a much higher price tag for a sewing machine.

News & Such

Last Saturday’s t-shirt quilt class at Stitch N Quilt was a lot of fun.  Great group of ladies who hopefully learned a few things about making a t-shirt quilt.  I know they had a good time experimenting with my steam press!  I was also encouraged to try the quilt as you go method for a change.  I might just do that for my next shop sample…but I need some more t-shirts first.

Remember: Making a t-shirt quilt is nothing to be afraid of.  If you can sew a straight 1/4″ seam and use an iron, you have the skill set necessary to make the top.  Many of my students were worried about the quilting design before they ever cut the first t-shirt.  Don’t worry about the quilting design until you get through with the top!  Quilting by checkbook (i.e., send it out to a longarmer) is perfectly acceptable.

Sewing a Ready to Wear Look Hem on Knits (with a regular sewing machine)

20150329_124154My husband had some long sleeved t-shirts that he took back to the store to trade for short-sleeved versions.  However, there was one long-sleeved t-shirt left in a beautiful shade of blue that he couldn’t find in a short-sleeve version.  You know what’s coming next right?

“Honey, can you make this a short-sleeved t-shirt?” hubby asked.  Sure, I thought, I’ll just whip out my cover stitch machine – NOT!  I do not own a cover stitch machine and iI’s been AGES since last sewed on knit fabrics…but not with my 3160QDC.  Unlike my 6600, this sweet little machine will tackle knit fabrics without puckering – provided you set the machine correctly.

Here’s what I did:

Stretch (blue tip) needle in size 75/11 or 80/12
Straight stitch with stitch length of 3.5, center needle position
Walking foot

Mettler Metrosene thread
Foot pressure adjusted to 4 (or 2 if you only have 3 settings)

Turned up a 1″ hem on the sleeve.  I didn’t have a twin stretch needle handy, so I sewed the right side first using the “10” mark on my needle plate as the guide.  To sew, the second row of stitching, I let the previous row of stitching ride just on the inside edge of the right toe of the walking foot.  I trimmed any excess fabric with my applique scissors. Worked like a charm!

Here you see the newly hemmed sleeve on the left compared with the factory sewn bottom of the t-shirt.  Not too shabby, huh?  I think my stitching looks much neater than the factory sewn hem.  Don’t you?  To make the distance between the lines of stitching truly mimic the RTW hem, I could have moved the needle to the left just a little bit to make the distance wider between the rows of stitching.   Something to keep in mind for the future…but I’m pleased with how it turned out. 20150329_124434