Memory Pillows from T-Shirts
February 17, 2017
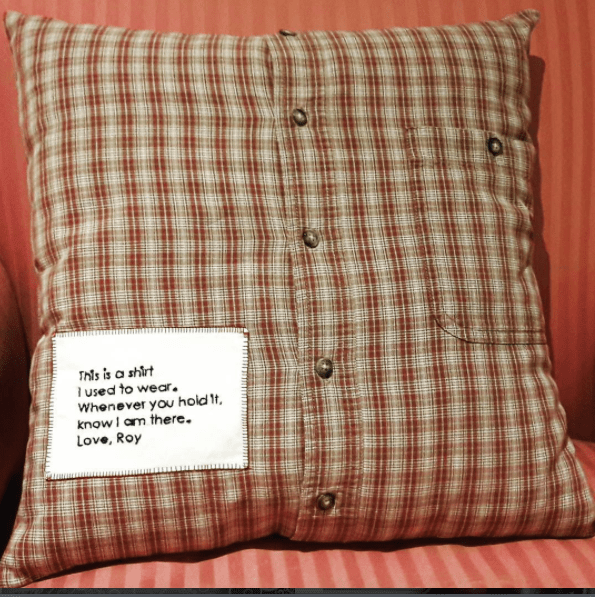
Unlike a memory pillo w made from a button front dress shirt, a memory pillow made from a t-shirt will require some additional planning and prep work:
- Let the size of the main graphic help you determine overall pillow size.
12″, 14″ or 16″ are the most common sizes; however, pillow forms in sizes up to
24″ x 24″ are available at the big box craft stores. - Determine your desired closure method before making the first cut in the t-shirt: hand stitched closed, envelope style or zipper.
- Launder the t-shirt without fabric softener before cutting.
- Fuse lightweight interfacing to the back of the pillow front. Back is optional.
- Fuse 1/2″ strip of lightweight interfacing to the “closure” edge of the back if planning to sew closed by hand or insert a zipper.
Construction Hints:
- Use polyester or cotton-covered polyester thread and a universal/ball point needle.
- Use a lightning stitch (or tiny, long zig zag – W=1.0 and L= 2.5) to avoid puckers.
- Loosen the foot pressure a notch or two if your machine offers that option.
- A walking foot or tricot foot can also help with smooth seams.
Directions a hand-stitched closed pillow:
- Determine size finished size of pillow. Cut interfaced t-shirt front & back sections to this measurement plus 1/2″ seam allowance (or desired measurements for envelope closure).
- Sew on any decorations, patches or special labels as desired.
- Pin front and back sections together. Along the closure edge, place a pin 3″ in from either side. This will mark your starting and stopping points.
- Sew around 3-1/2 sides of the pillow, backstitching at beginning and ending of seam.
- Clip corners, trim loose threads and turn right side out. Press.
- Insert pillow form.
- Sew opening closed using an almost invisible ladder stitch.