Next week is my long awaited “retirement” trip – 3 days at the Garden of Quilts at Thanksgiving Point in Lehi, Utah. This event is an outdoor quilt show sponsored by Riley Blake Designs. It features classes taught by several of Riley Blake’s designers and is reported to have an outstanding shopportunity for attendees (like I need any more quilty stuff!).
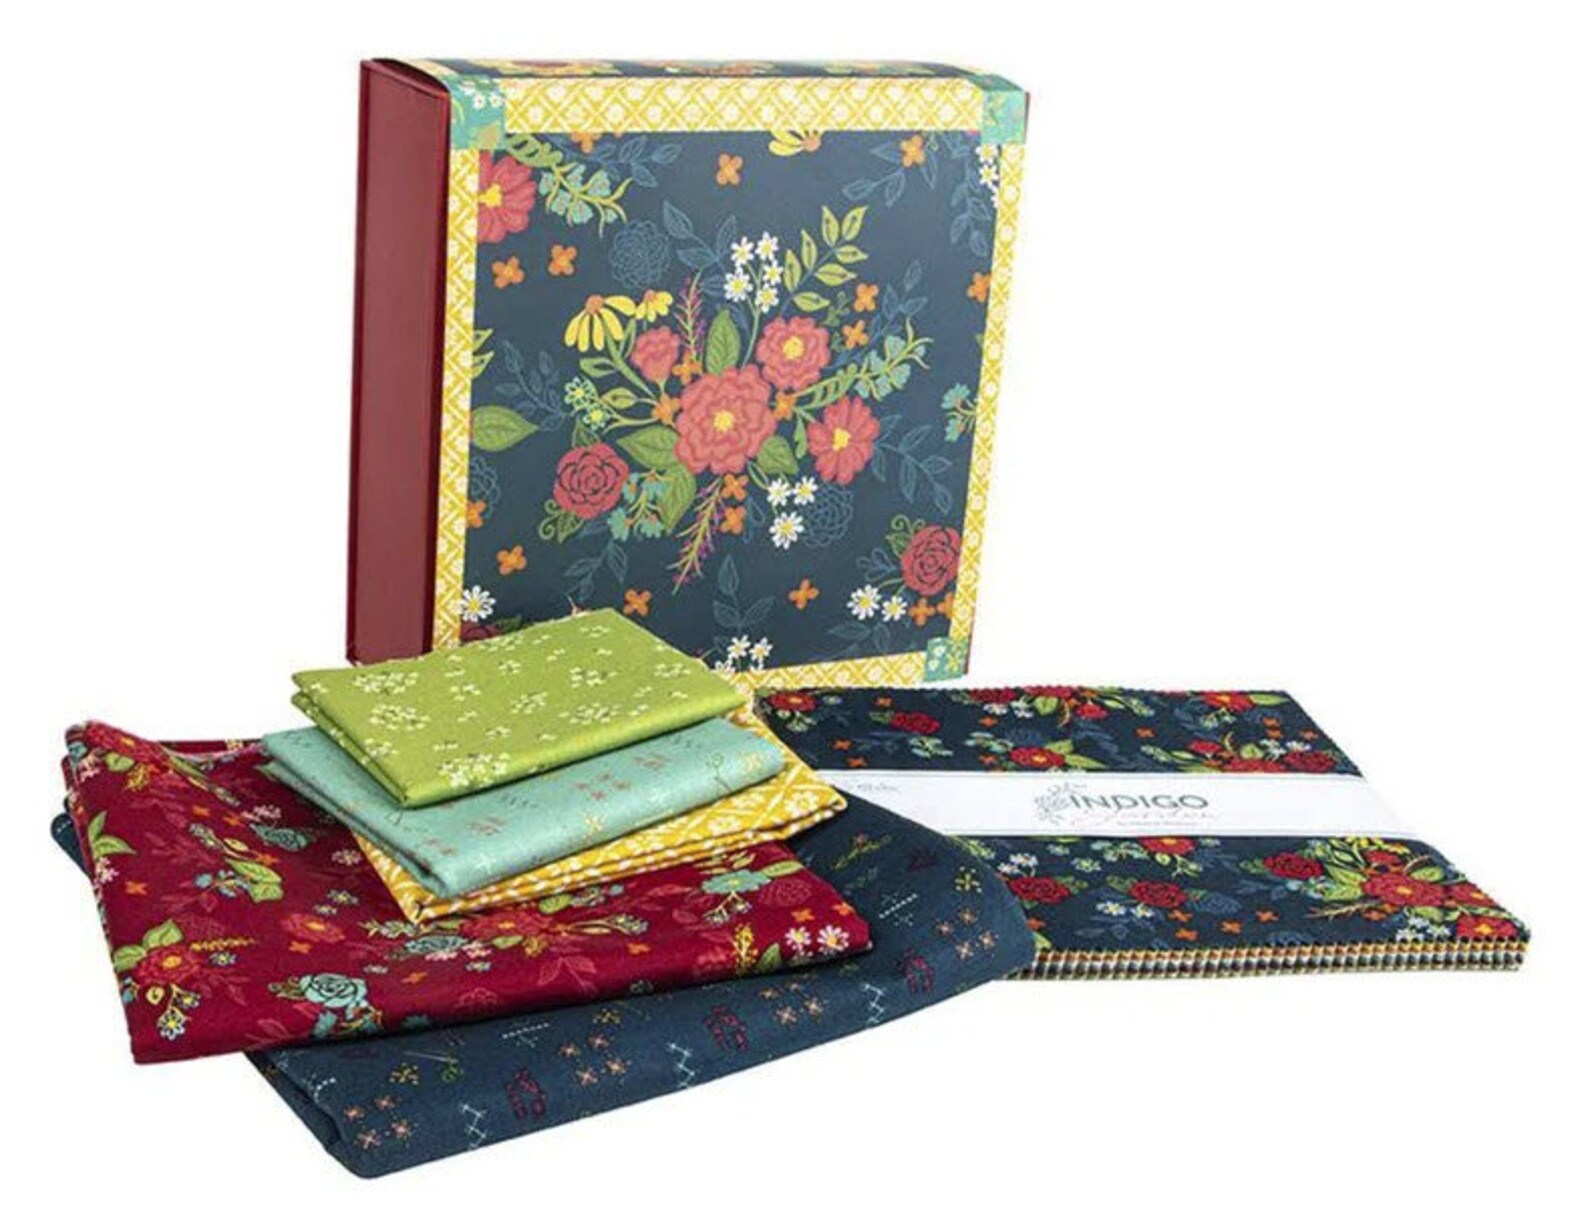
UPS delivered surprise on Thursday. Inside said box was a quilt kit from Riley Blake with instructions to precut all pieces prior to class on Thursday afternoon – per the designer. So, I’ll be spending this rainy Saturday cutting all the pieces for the throw kit. The instructions also stated to bring the box and its entire contents to class. Nope. No room in the suitcase for a bulky box I’ll be placing the bits in marked ziploc bags, organized by step in the process. I’ve done enough table runners by this designer to know the best way for me to work her patterns. Looking forward to her class. The quilt is cute!
As it was this time two years ago, the ads are vicious. There’s a lot of money flowing into the state from those who have absolutely no skin in the game. Some of the TV spots are so inaccurate that they’re laughable. I thought the media had a duty to at least fact check some of what is aired. Guess it doesn’t apply to commercials.
There are two differences this election cycle. The good: no politics in the mainstream quilting/sewing universe that I’ve seen so far. The bad: there’s no getting away from the political ads, period. I can turn off the television and radio. But there’s one on a billboard along the highway. The ads are still on FB, websites and even when I watch a YouTube video. Perhaps I’ll need to invest in a 3 month subscription to YouTube premium to avoid the commercials.
I find it ironic that I didn’t see that many political ads when I was in Kentucky. The ones that I did see were tolerable. It was so refreshing. Perhaps it’s because both political parties don’t see Kentucky as a key battleground state? I don’t know. We’ve been debating where we’d like to wind up next. Away from Atlanta for certain, but perhaps out of Georgia, too. Time will tell.
Last week, my sister-in-law and I headed to Murray, Kentucky to attend a Sew Purty Workshop hosted by Ray Elkins. The focus of this class is vintage machine restoration. Ray is unique in that he welcomes nonworking machines at his workshops. His rationale is you’ll learn more from a seized up machine. I tend to agree. My sister-in-law took a Singer 27 treadle machine from 1899 to work on. It was a lot of HARD work, but my SIL was able to get her seized up machine to turn freely and sew a nice stitch!
I took a 1935 FW (Jane) that was originally purchased at a local estate sale to be my repaint machine. The lead time for good FW painters is at least 2 years. I figured I would use her as my learning machine during that time. Well…after this weekend, I think it’s safe to say she’ll remain as she is. Ray was right. Jane (the FW) has a story and her wear marks tell it. I can take her anywhere and not worry about scratching up an expensive custom paint job. The old girl had a complete makeover inside and out. I’d performed a basic machine service when I first got her to get her stitching, but she never ran as well as the early Featherweights are reported to operate. Now she does!
Much of what I learned at the FW spa day class back in 2019 has served me well. This class took things to an entirely different level. I got inside the machine – taking out the presser bar and needle bar assemblies, light housing, complete stitch length lever assembly, hook assembly, and tension unit. (The only parts I didn’t disassemble were the mechanisms involving the toothed gears and motor.) Everything was cleaned, inspected, lubricated, repaired/replaced as needed and put back in place, except for the vintage thread cutter, which gets in my way! The exterior was cleaned using Ray’s methods and every bit of chrome was polished using my new, knock-off Dremel. I cannot tell you how much grime came off the machine. It was so gross. A coat of Renaissance Wax was applied and buffed out. Her after picture is what you see in this post.
Learning how to properly set the presser foot height, needle bar height, hook timing and how to put the old-style tension assembly back together (without a picture) were huge for me. I have the adjuster/service manuals, but things didn’t click until I made the adjustments myself under his watchful eye. Ray also shared some tips for carbon brush replacement and motor maintenance. Others FW owners in the class advised giving the 221 case the “Ruthie” treatment prior to coating the box inside and out with Howard’s Feed & Wax. Let the case sit for several days and then wipe off any residue. No more stinky FW case!
Jane will get upgraded to a numbered tension dial and the bare spots on her bed touched up with black paint. She’s already sporting a new Superbelt, bed cushions and an LED bulb. Her foot controller is an early metal style, but I’m not sure if it’s original to her. It works, but needs some serious TLC. That’s a project for another day. I prefer the newer electronic foot controllers anyway.
Some of my stitchy friends have requested an introductory FW/maintenance class. Oh, I can certainly do that!