Giving back – volunteering at the local library

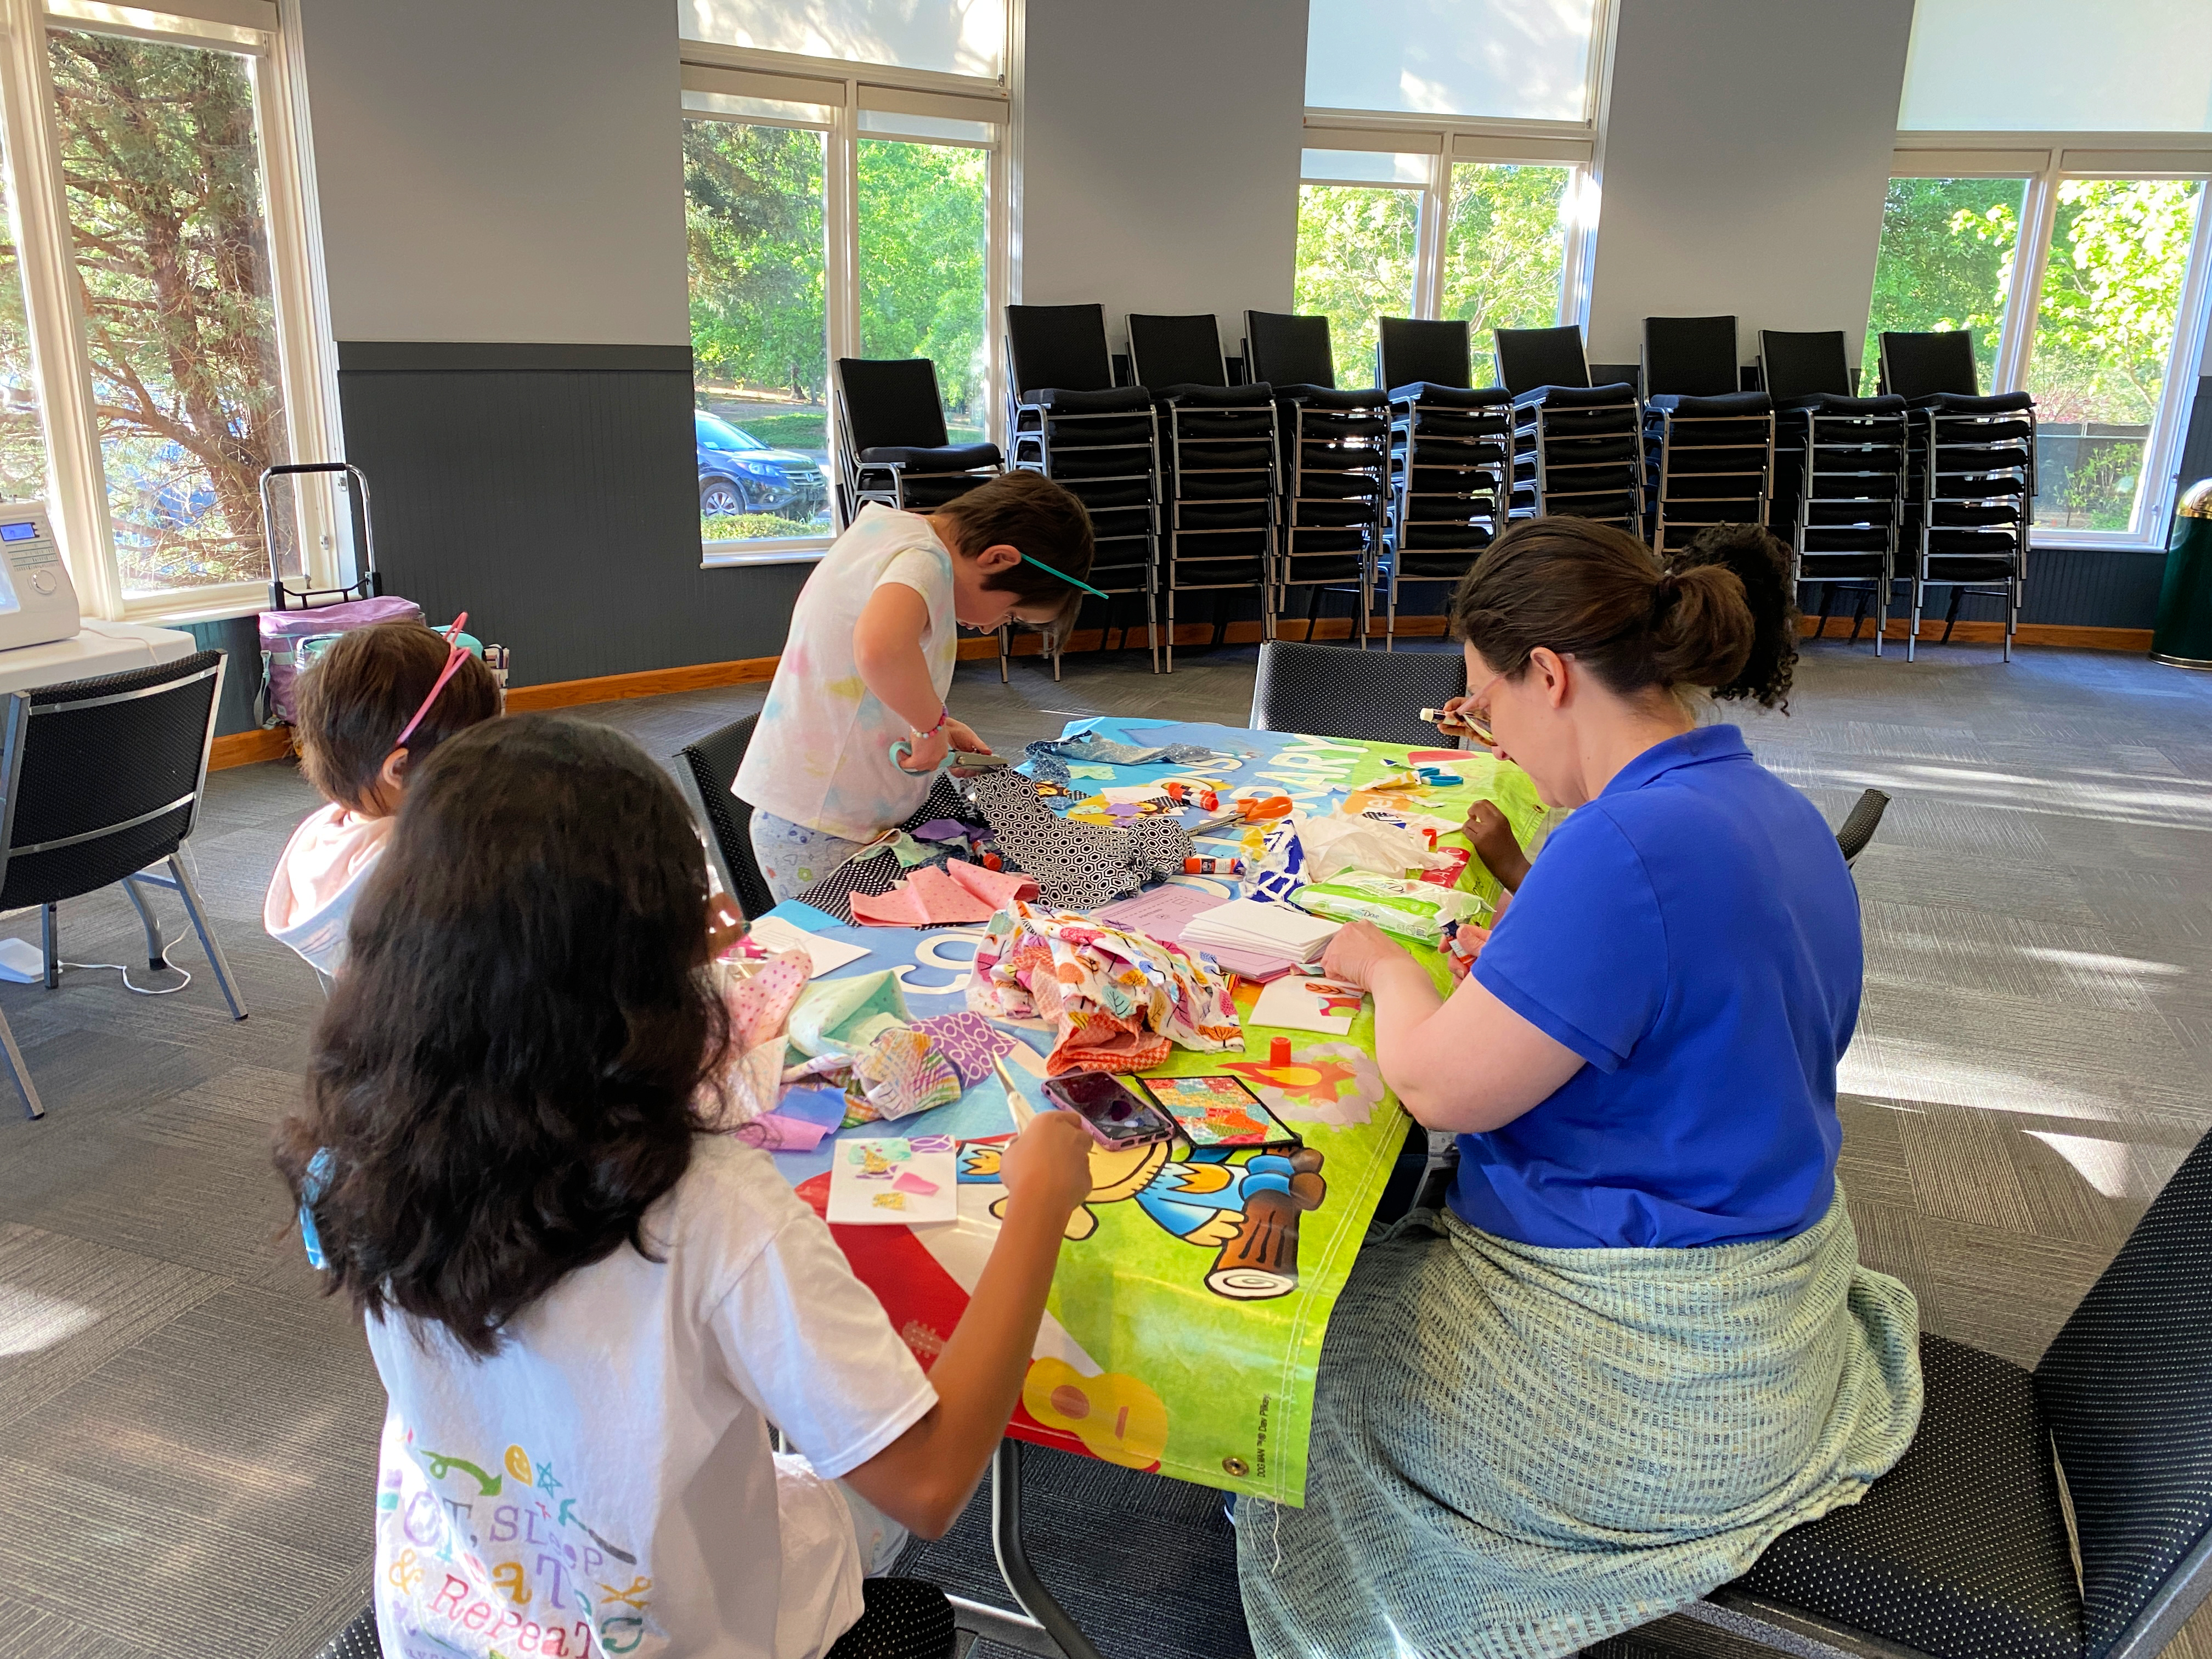
I volunteer at the Smyrna Library. I READ with Sadie, help with library maintenance and now plan/lead selected ‘Tween and Teen Craft Nights. I typically do sewing/STEM related maker activities. April is National Card & Letter Writing Month. This month, I worked with Miss Amy to do fabric postcards with the ‘tweens. We’ll be doing this activity with the teens, too!

This is a great scrap-buster project that requires a minimal amount of supplies.

Gather:
Cardstock
Fabric scraps
Peltex (#71 – one sided fusible)
Permanent glue sticks (super important if doing like we did and not stitching the front of the card)
Scissors
Postcard template of your choice. We used one provided by TinkerLabs.
Iron & pressing surface
Sewing machine with zigzag stitch and black polyester thread.
A6 or A7 envelopes

Make:
1. Print out postcard template on cardstock. Trim designs to 4″x6″ and set aside.

2. Trim blank cardstock into several 4″x6″ rectangles. You will need 1 per fabric postcard plus 2 extras.

3. Trim Peltex into 4″x6″ rectangles. You will need 1 per fabric postcard.

4. Fuse Peltex (bumpy side) to one side of cardstock. I use a dry iron on a cotton setting. Cover the cardstock with a blank card to protect it. Iron on cardstock side for 10-15 seconds. Repeat if necessary. Allow to cool.

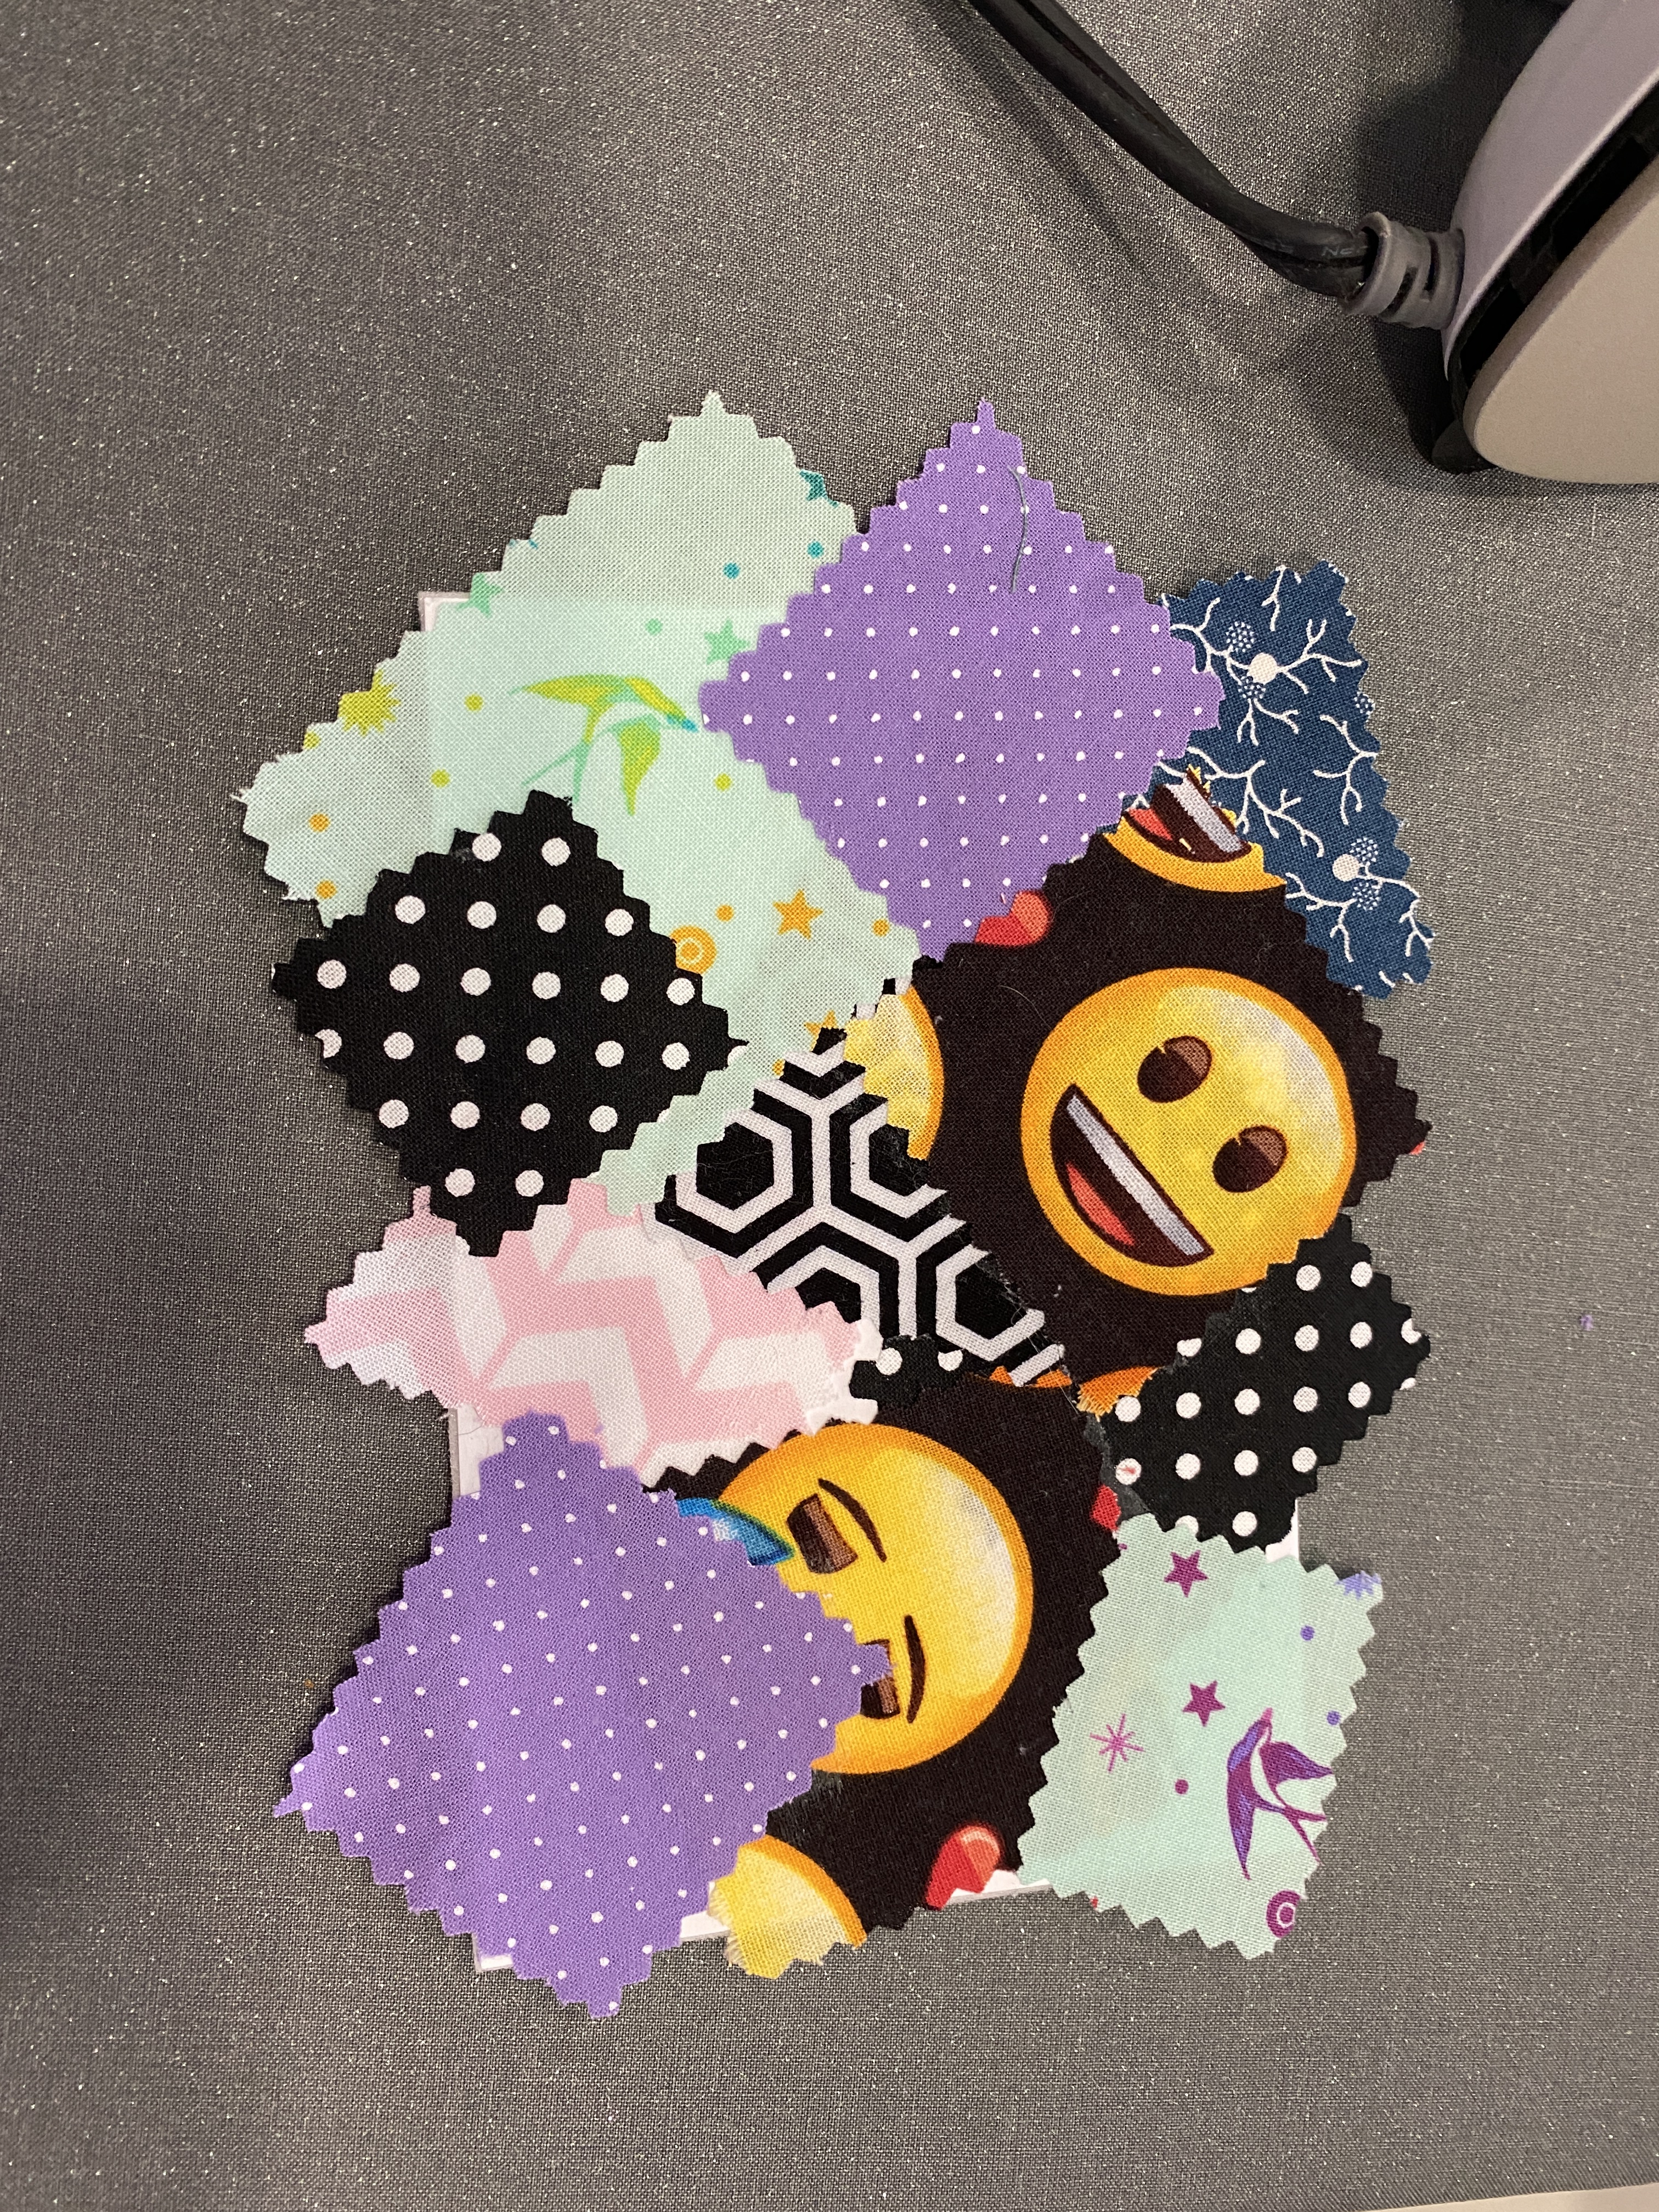
5. Apply fabric scraps in a collage or improv style to the cardstock side (not the fuzzy side). Tip: decide layout before applying glue stick to your fabrics. Be generous with the glue. Extend your design beyond the edges of the card. Press fabric scraps firmly to surface using your fingers.*

6. Quickly heat set the glue by covering front with a card and running over it with a hot, dry iron for about 5 seconds. Allow to cool and trim to 4″x6″ using rotary cutter and mat.

7. Select postcard and gluestick it to the back of your project. Heat set the glue following procedure in step 6.

8. Stitch around outer edge of postcard using zigzag stitch on sewing machine. Ours were set for widest zigzag (5-7mm) with a stitch length of 0.5 (not quite a satin stitch). I dropped the upper tension to 2.5. Sew around the outer edge 2x. Adjust the stitch length to 0.4 or 0.6 as necessary on the second time around to provide desired coverage.

9. Trim loose threads and touch up with a black Sharpie marker around the edges as needed.

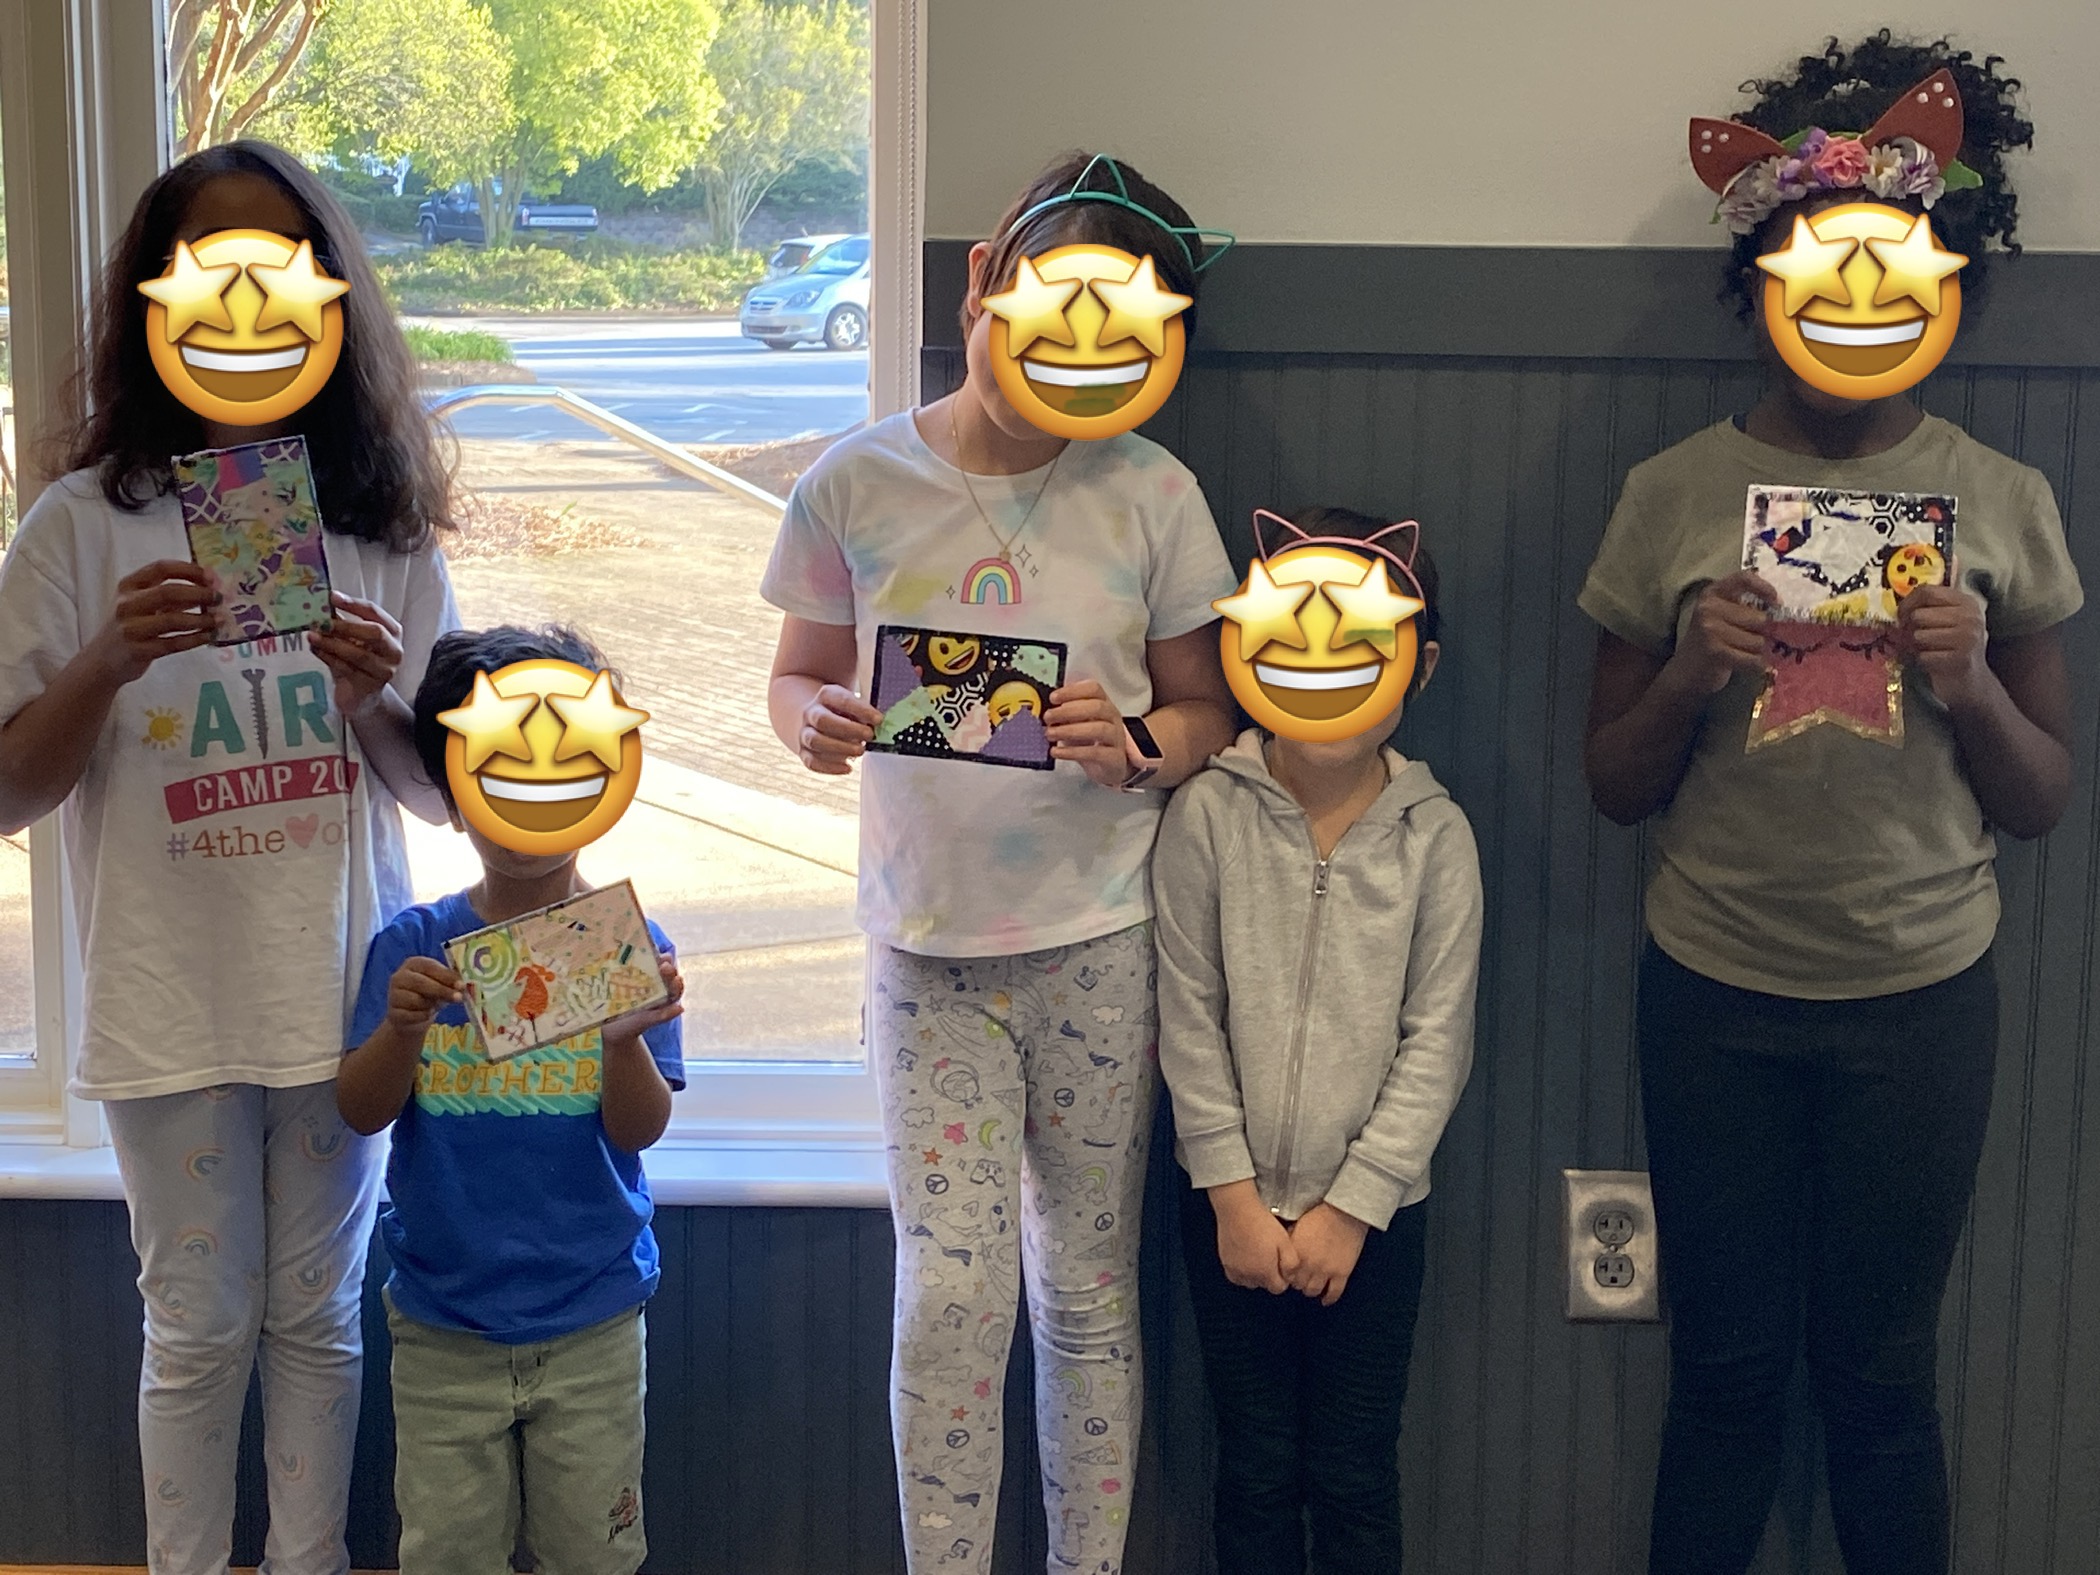
10. Admire your creation and snap a picture.

11. Write a note on the card, place it in the envelope and mail to someone one to brighten their day!

* You can quilt/decorative stitch the front of the postcard at this point, if desired.

Learning new things

Mastering EQ8 (a quilt design software program) is one of my retirement goals.

I have a basic working knowledge of EQ8 software. Pre-COVID, I took a class where I learned all sorts of shortcuts and hacks…which I promptly forgot because I didn’t use those particular features again. I’d originally planned to take an in-person refresher course locally or at one of the larger regional quilting shows. When the in-person options didn’t work out, I purchased a couple of EQ8 at Home classes offered by the Electric Quilt Company.

Online classes are quickly becoming my go-to when a class isn’t offered locally. Digital instruction has really improved since my grad school days. Once you get the hang of the virtual classroom set-up, it’s really easy to follow. I like that I can refer back to the instructional videos at any time to review topics covered. I can complete the course on my schedule. I don’t have to worry about travel costs. Course fees are usually quite reasonable.

Today, I worked my way through 1/2 of the first class. It was a welcome refresher to all things EQ8. I did learn a couple of new things as I went along. I’m a Mac user. In the past, this software program focused on PC users. Usability has definitely improved for Mac folks, especially if you use a mouse! It was really helpful to view the video lessons on my iPad while I did the actual activities on my laptop. I’m glad the instructor shared this tip in her welcome video.

EQ8 allows me to audition fabrics virtually before cutting anything out. I can also see how changes in border and sashing sizes/designs will impact the overall quilt. The program ballparks fabric requirements (which often have to be tweaked depending on your preferred construction method). It also allows me to create graphics that I can import into instructional materials I use during my classes.

Garden of Quilts registration opens 4/15/23

If you’ve never attended this event put on by Riley Blake Designs and Ashton Gardens, it’s definitely worth going at least once. I chose this event as my retirement celebration trip last year. I had so much fun!

Registration opens Saturday 4/15. Psst: the class list is already up if you want to take a peek at the class offerings.

The VIP packages are a really good value if you want to take classes. I purchased the Ultimate Quilter’s Getaway ($999) and made sure to choose classes that included the kits. This year I’d do the Quilter’s Weekend Getaway package if I were going. Hubs and I really wanted to return this year, but we couldn’t make it work with our upcoming trip to Alaska.

Edited to add: It appears that many of the classes have a bring your own fabric rather than a kit requirement this year. If you take a 3 hour class, realize that you are only going to have enough time to make 1-2 blocks during that session. For most classes, you need to only bring or precut enough fabric to make 3-4 blocks – not the entire quilt. Label the pieces and place them in a ziplock bag for easier transport. Also pack a small power strip with a 3′-6′ cord and a travel iron & pressing mat. You’ll thank me later.

Bummer for me, yes. I will definitely miss seeing all of the gorgeous quilts hanging in the gardens! However, there’s a good chance several of the instructors will also be teaching at an event closer to me within the next 18 months. Instructors often teach at multiple events – OSQE, AQS, QuiltCon, Mancuso shows, regional quilt shows, quilt retreats, larger quilt shops, etc. Peruse the Garden of Quilts class offerings and make note of any classes that catch your eye. Perhaps you can catch a live class closer to home. If not, there are probably online classes or a YouTube tutorial.