Both the kids and club sponsors had a blast! We made one incredible mess of the classroom we use for our club meetings, but today’s experience definitely fit the definition of learner engagement. Club members learned to do quick division in their heads the old school way (sorry Common Core) to figure out roughly how many spiders we could get out of a skein of yarn. Students learned how to measure 10 yards of yarn using yardsticks and using the 12″ floor tiles. Real life experience!
At work, we were required to set a personal and professional goal for the school year that will be tracked. I meet with my accountability partner once a month to review my progress. Of course, my personal goal is craft related. (Big surprise huh?) My goal is to learn one new skill or complete a small project each month between now and May.
September is Pom-Pom Month.
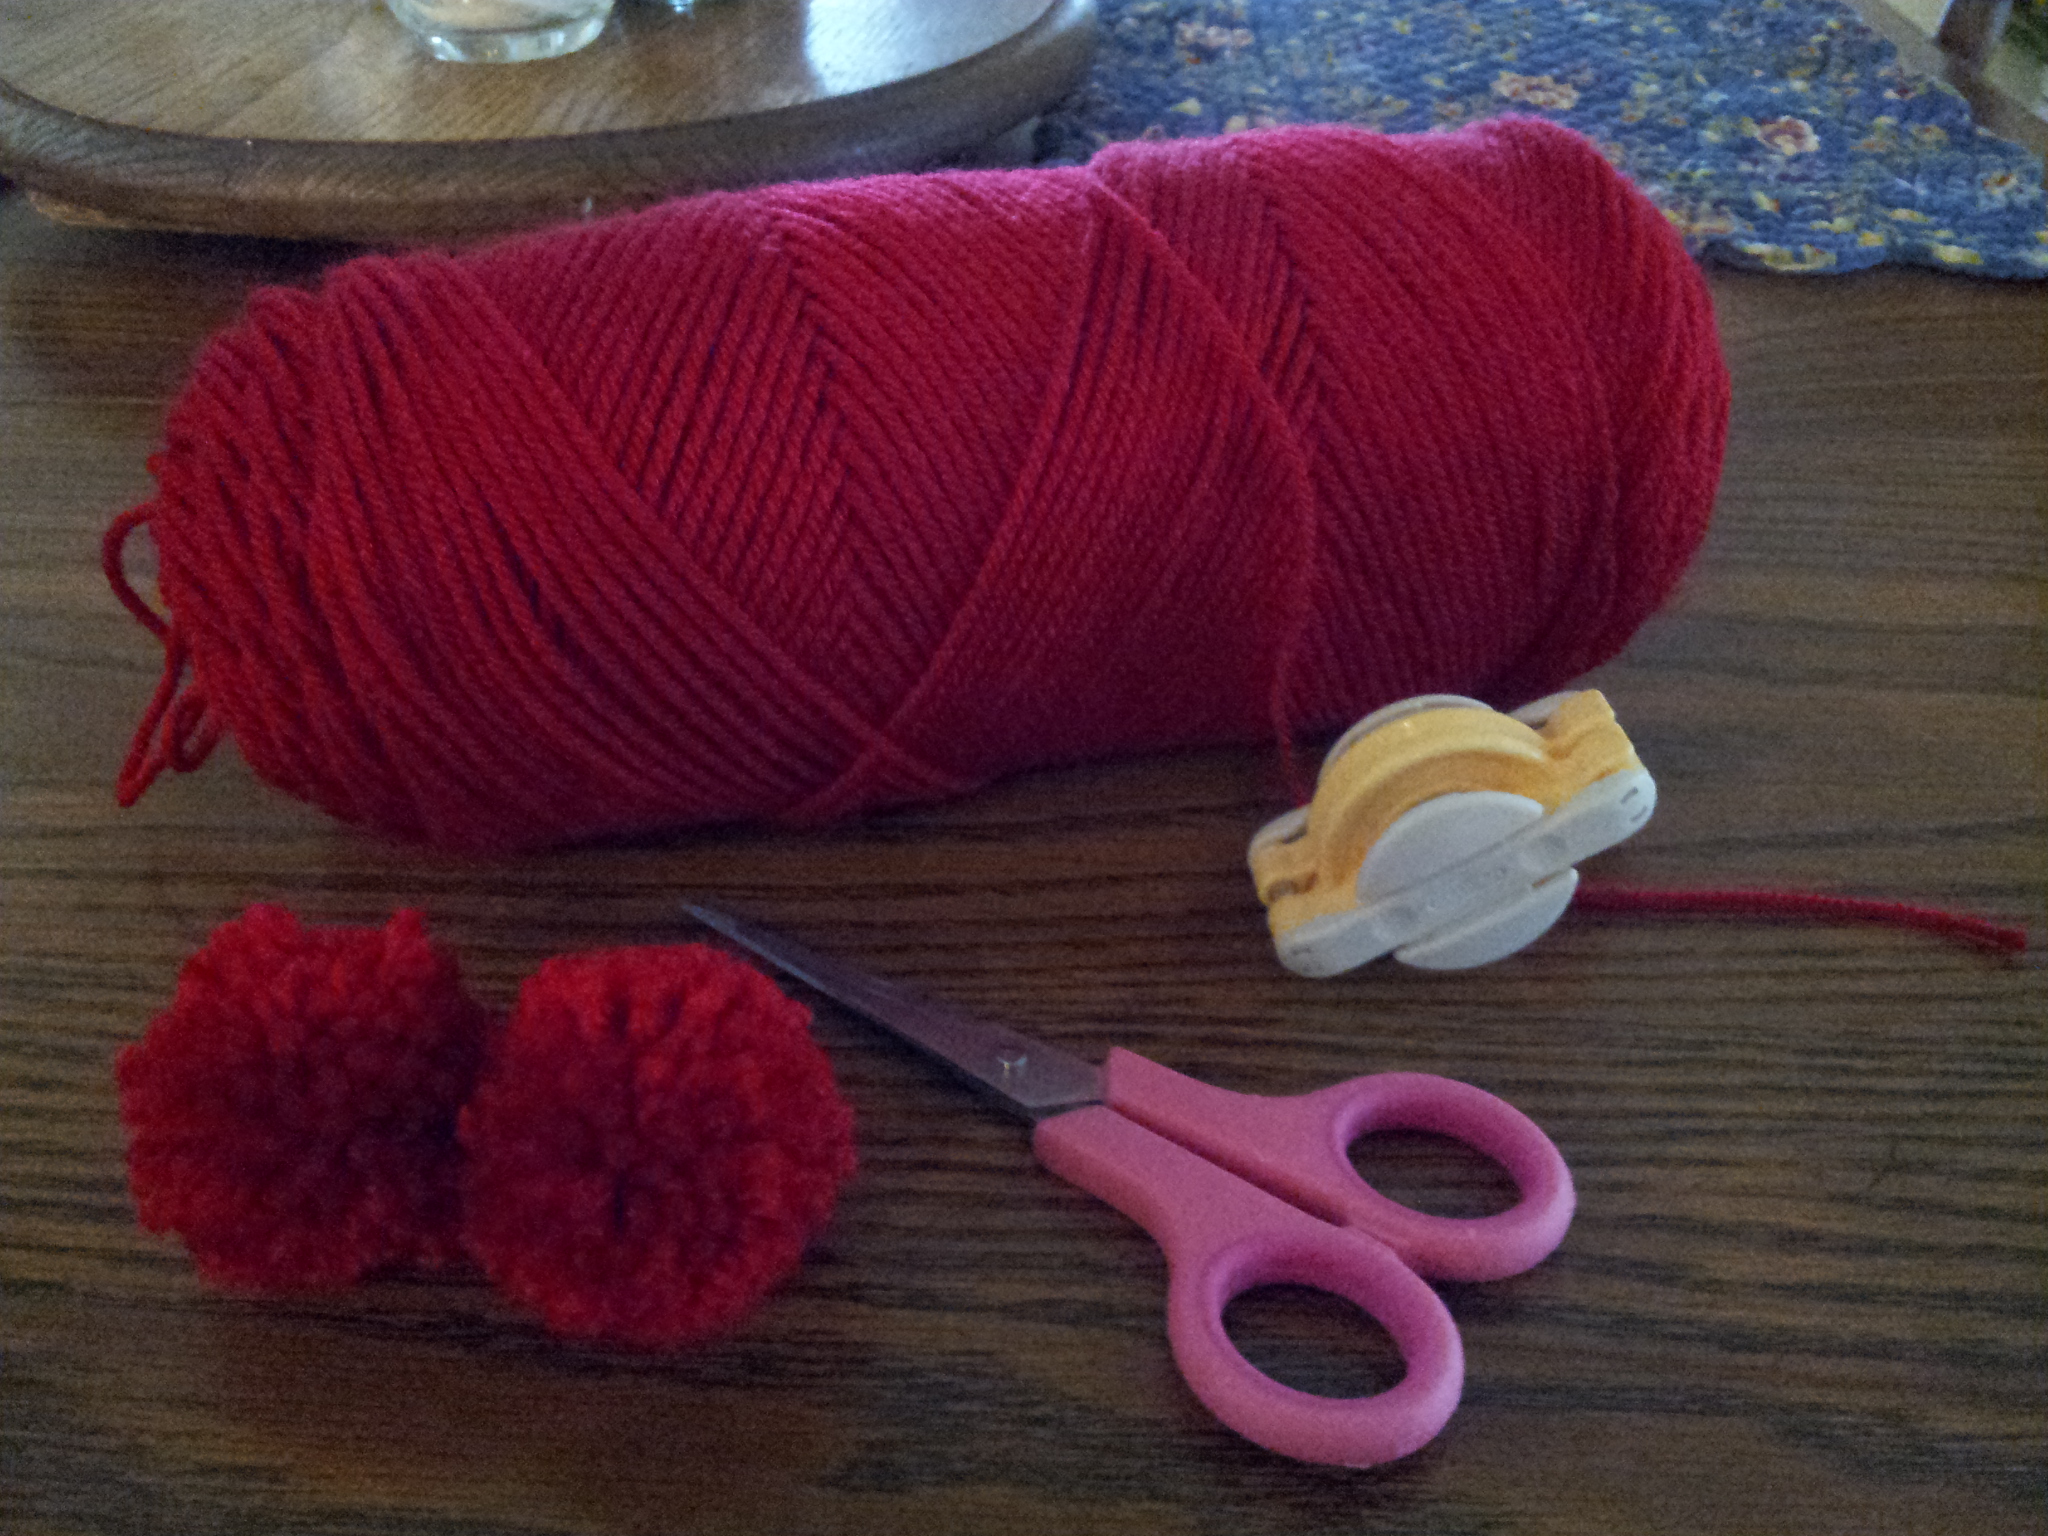
There are various ways to make pom-poms. I happen to score this small Clover pom pom maker on a recent trip to Tuesday Morning. The packaged instructions aren’t that great. Here’s a video that I found helpful to explain the methodology.
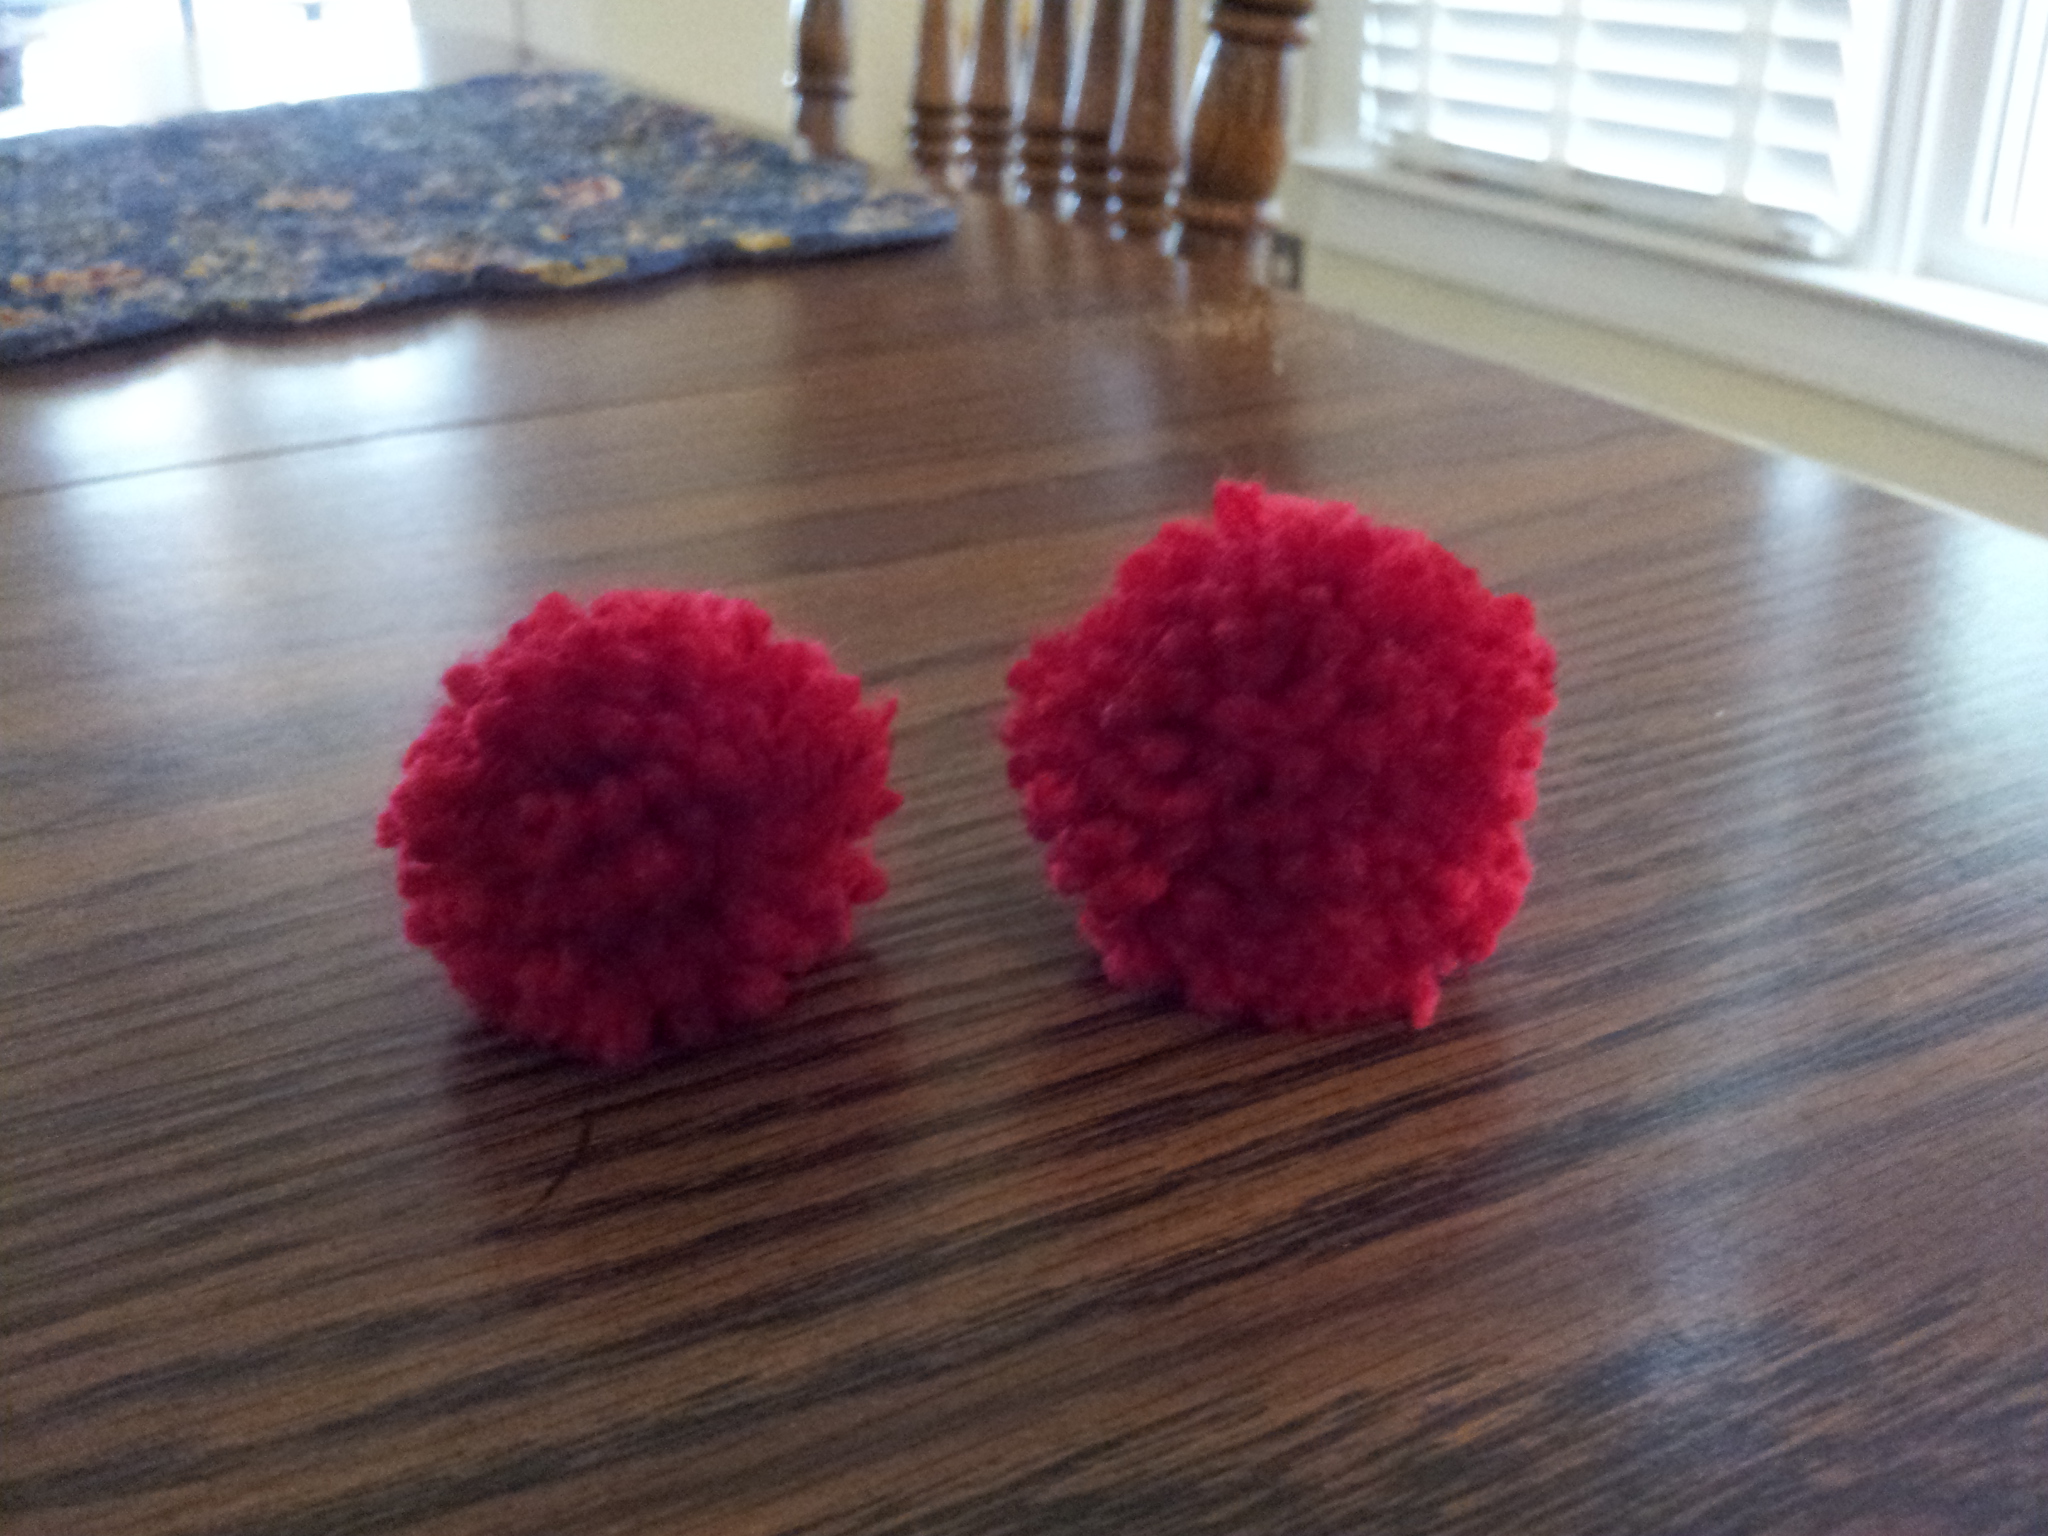
A pair of small super sharp scissors is essential when cutting the yarn. I used the “brand on sale” acrylic yarn in this example. I made pom-poms wrapping one time, two times and three times over each arm. One wrap fell apart, but you can see the different in pom-poms made with two wraps and three wraps in this picture:
More wraps = fluffier pom-poms 2 wraps on left and 3 wraps on right
Personally, I like the fullness of the three wrap pom-pom the best with the thin acrylic yarn I used. Chunky or eyelash yarns might only require 2 wraps to get the desired amount of fullness. I can already see this as an activity for my Crafty STEM club members. We will experiment with different methods for making pom poms including using your hand, a dinner fork and a DIY cardboard template/cardboard donuts and of course, a commercially available unit. Does technology really make it easier? Short answer: yes, but you don’t have to buy the commercial gizmos to make fabulous pom-poms! Stay tuned!
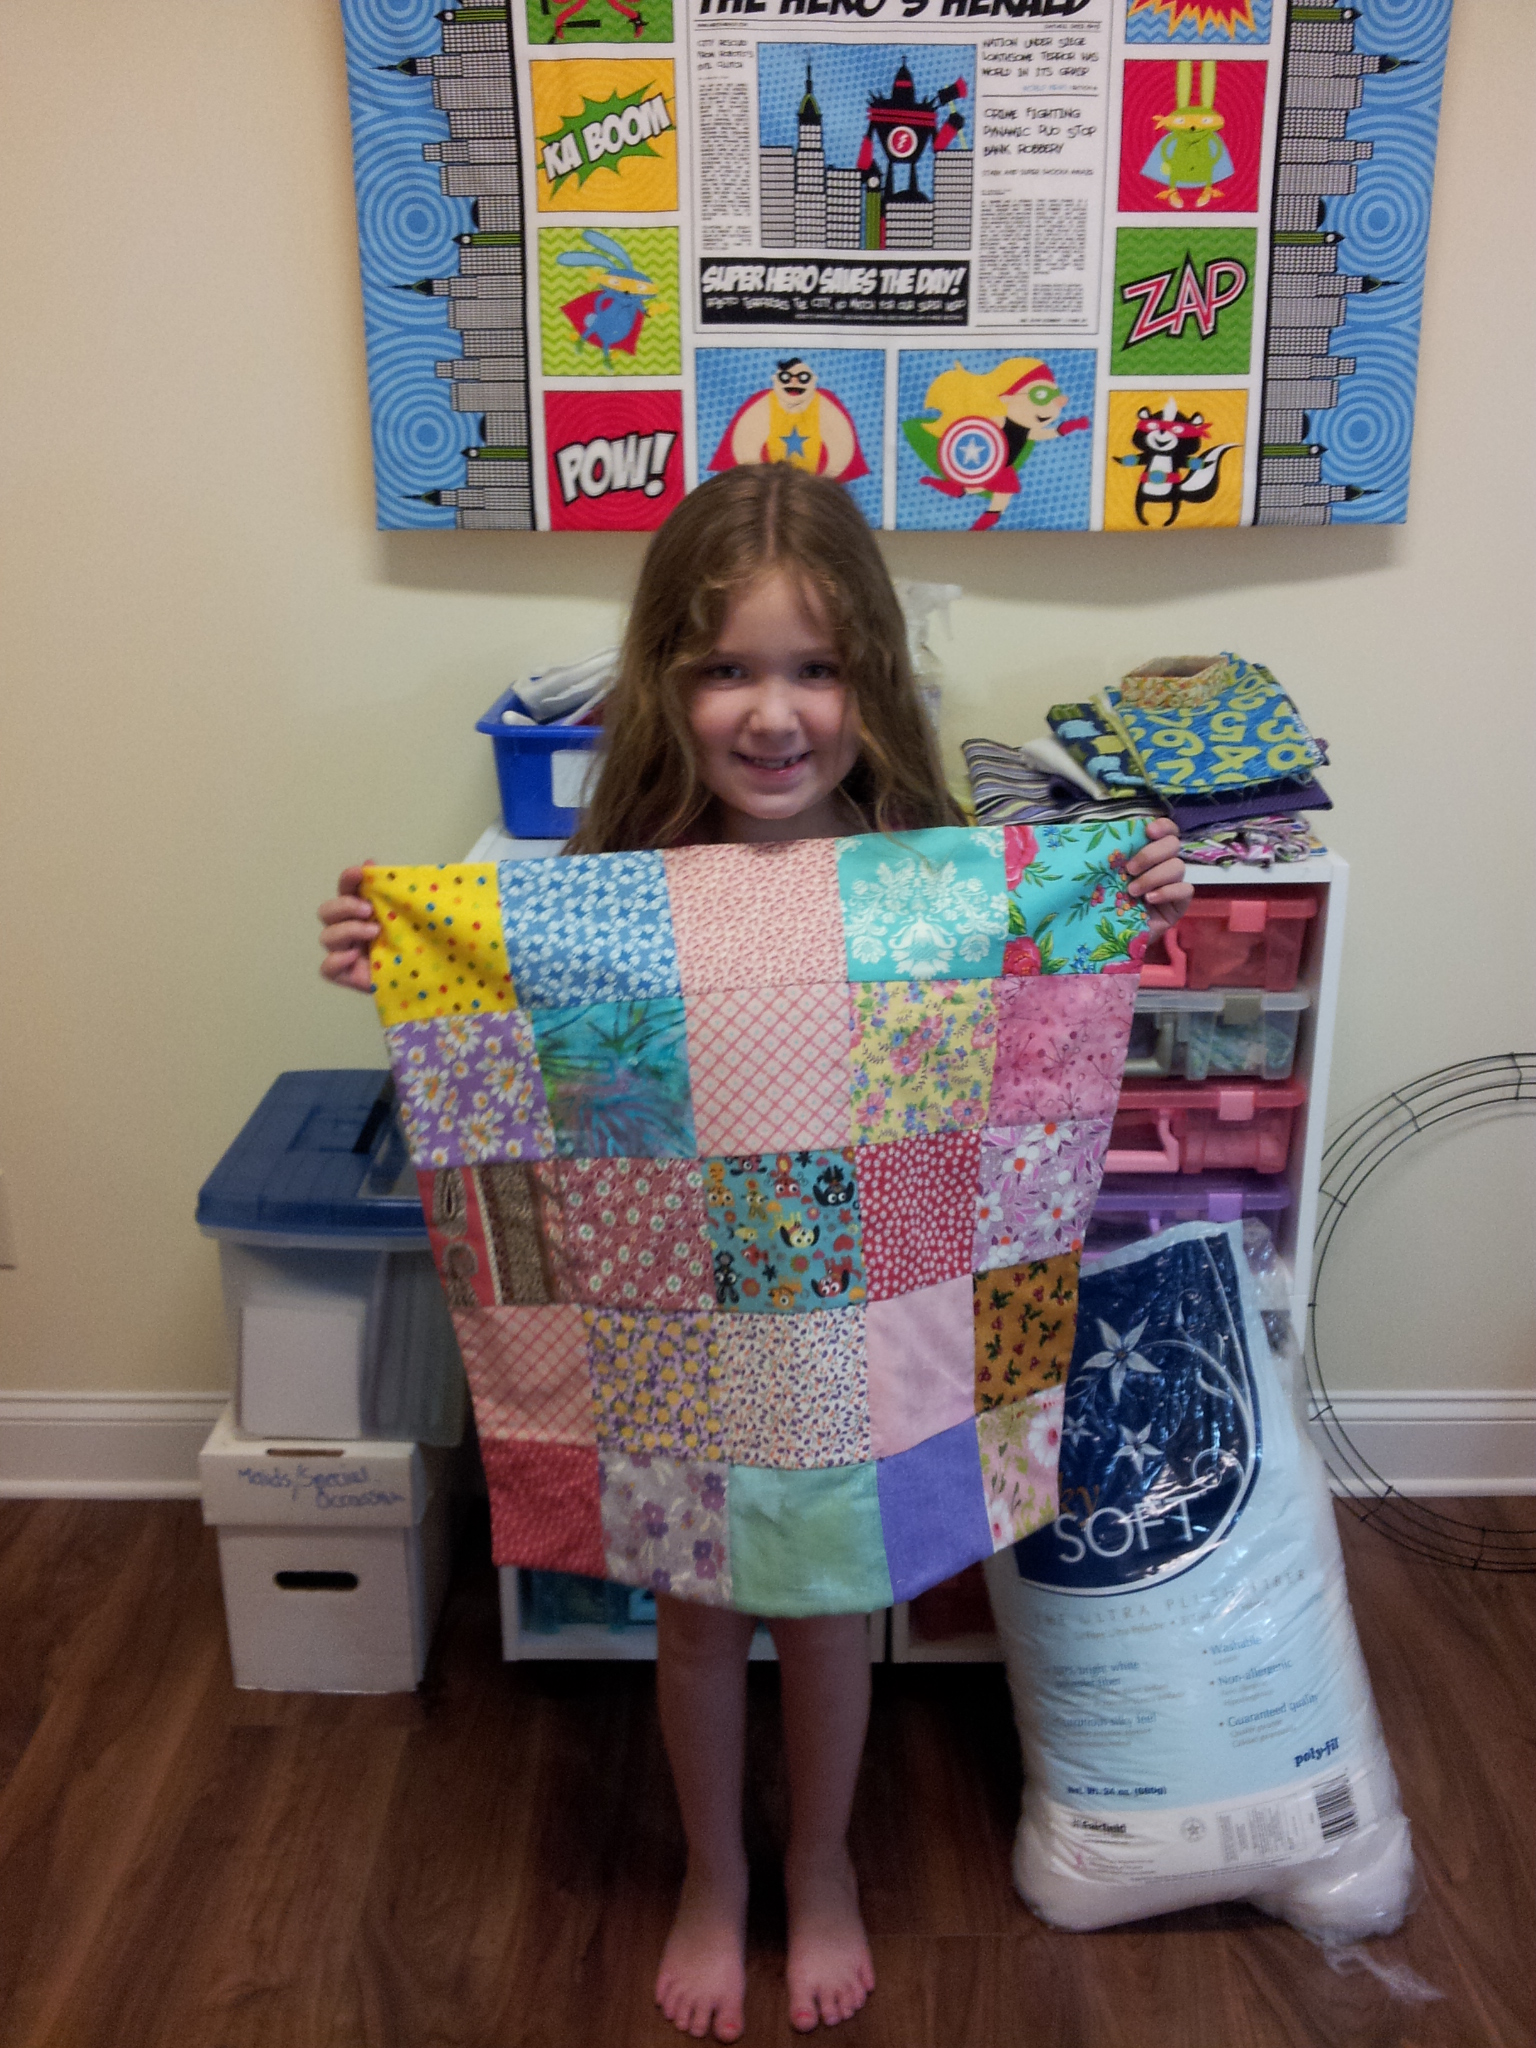
My 7-year-old niece and I now have the first of two planned summer sewing camps behind us. For two days, we stitched, cut, ripped out, stitched again, played, laughed, ate out and made a big old mess of Aunt ‘Resa’s sewing room. Our adventure also included a sleepover – her first at our new house. Here are some pictures from our sewing spectacular:
Carefully pressing her fabric.Mission accomplished! Quilt for her AG doll.
We probably spent about six hours total in my sewing room actually sewing in the 24 hours she was here. Her top was pieced as “homework” between January and Easter. Our goals were to (1) complete her quilt using the envelope method and tie it by hand with yarn and (2) make a pillow case from Hello Kitty fabric she’d received for Christmas. I nixed the yarn tie method when I realized her chosen yarn had metallic thread shot through it. It wouldn’t stay tied. She’s also not into hand stitching at this point, so she learned how to tie via the clasp (a big star) stitch on my Janome 6600. It worked great!
She chose the complementary color fabrics for her Hello Kitty pillowcase from my stash. I cut out the fabrics, but she helped pin and did all of the sewing by herself. She was so proud when she mastered pivoting the corner! Marking pivot dots with a sharpie marker helped her to see where to plant the needle before lifting the presser foot to pivot. I wouldn’t necessarily recommend this marking method for your competition quilts, but it serves as a great visual reminder for new stitchers.
On my Janome machines, I’ve discovered that the edge of the metal presser foot (A or general purpose foot) is the best seam allowance minder for my younger stitchers when making projects that require a 1/4″ seam allowance. It’s close enough. For wider seam allowances, the metal screw on guide is a real help!