Oreo Cookie Bag CLASS Notes

We are making an unlined/exposed seam bag with zipper tabs.

Needle: Universal 80/12
Thread: Polyester, 50wt (some swear by cotton thread – I’ve had mixed results)
Presser foot: All Purpose
Other adjustments: Lengthen stitch length to 3.0
If quilting: loosen upper tension to 2.5-3; reduce foot pressure; walking foot or dual feed with be helpful.

Use clips instead of pins for sewing!

  1. Wash bag thoroughly and allow to completely dry.
  2. Square front panel first, then lay face down on top of back panel and trim back panel to fit.
  3. Fuse vinyl between sheets of parchment paper.
  4. Use glossy vinyl (Heat & Bond or Pellon is fine).
  5. Optional: Add batting and backing to each section and quilt.
  6. Trim zipper to 3/4″ less than top edge. Use 2″ wide fabric to make tabs. Add tabs to each end. Glue stick or double faced basting tape may help hold zipper in place while sewing.
  7. Install zipper, face down with right edges aligned. Attach zipper foot and adjust needle position as necessary. Sew zipper, moving pull out of the way as needed. Fold edges back along zipper and topstitch.
  8. Sew bag together using 3/8″ or edge of presser foot as seam allowance. OPEN ZIPPER ALL THE WAY BEFORE SEWING SEAM. Backstitch at beginning and end of seam. Do not sew zipper tabs into seam.
  9. Turn bag right side out, poking out corners and zipper tabs with finger or point turner.

Link to video for reference.
When the teacher becomes the student

This past week, I attended the Kansas City Regional Quilt Festival. It was AWESOME! Part of the awesomeness was no doubt due to the fact this was the first big, in-person quilting event I’ve been able to attend since summer 2019 (due to COVID-19 and hubby’s cancer surgery/recovery).

I chose to take hands-on classes for ruler work and mastering machine stitches. I also attended a number of seminars and product demos. It was fun, inspirational, and I learned a great deal.

Takeaways for my own teaching practice:

  1. Visuals matter. Students need a physical object or a detailed image/diagram of the completed project and each major step along the way.
  2. Don’t be so determined to get through your lesson plan that you leave your students floundering.
  3. If a student is frustrated, offer help, but let the student work through the frustration at their own pace. Walk away. Realize they’re done for the moment and heavy pushing from you is only going to further exacerbate the problem.
  4. Passing out materials as needed for some classes might be better than distributing all project materials in one big kit at the beginning of class.
  5. Keep it simple. Provide the essentials to get students started. Don’t overwhelm them with every little detail.
  6. If a component of your advertised class will be omitted for some reason (materials arriving late or unavailable), let your students know.
  7. Carefully review any discounts you plan to offer. A 15% discount for class attendees on same day/future purchases seemed the norm. End of show discounts for equipment used during the show is typically 35-50% (not the 10% offered by one instructor).

What does your dream quilting space look like?

“For the experienced quilt maker, having a dedicated space in your home to sew can foster creativity and provide uninterrupted concentration. While having a large space comes in handy, any small area in your home that can accommodate fabric storage, machinery, craft tables, and working space is all you need.

If you are looking to create a quilting room in your home, look no further. Redfin reached out to quilting experts from Vancouver, BC to Miami, FL, including myself, to get our best tips on creating the ultimate quilting room. Click here to see what we had to say.” 

Yes, Redfin really did reach out to me for a contribution to the article!

I was so surprised and flattered to be asked to contribute – especially when I saw the names of some of the other contributors. I guess I really am considered an industry professional now! [Still pinching myself.]

My current studio is located in our basement. I designed the space while we were still in the blueprint stage of building our current home. I love the large, open space in my main studio area and the amount of natural daylight that pours in. I teach privately out of my home studio and I also quilt most of my own quilts, so the space frequently serves multiple purposes at the same time.

Enter my 6-foot folding table and chairs from Costco. This gets set up for classes, sewing with friends, or even extra desk space when I am making project kits for students.

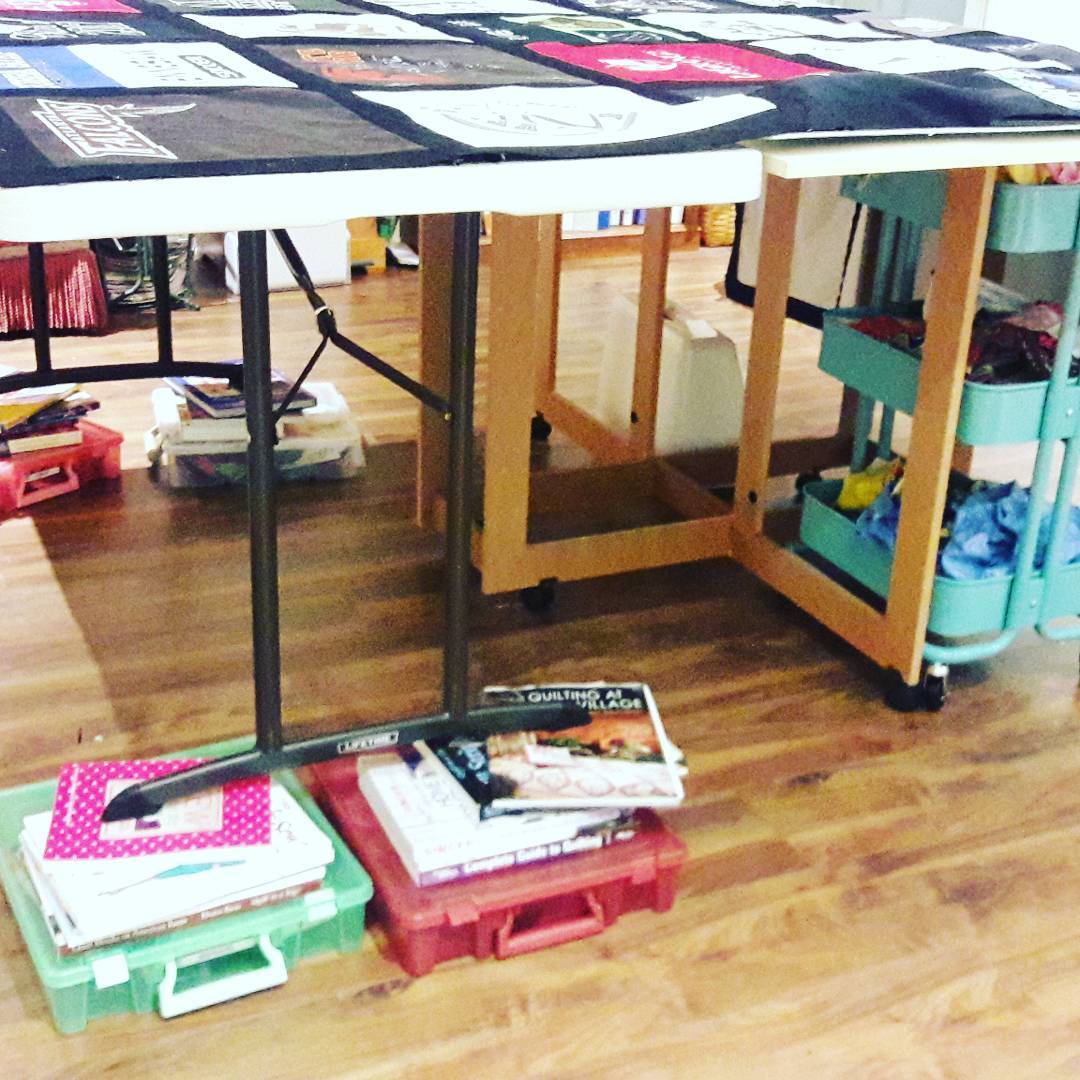
It also serves as an extension table when I need to baste a large quilt. I was desperate after a particularly painful “on-the-floor” quilt basting session. I needed to find a stand-up solution for my larger quilts. I could baste baby/lap quilts on my existing cutting table, but needed more surface area to handle larger quilts.

Here’s what I came up with to test drive my idea to raise up the folding table to match the height of my cutting table:

Testing suitability of folding table as additional work space

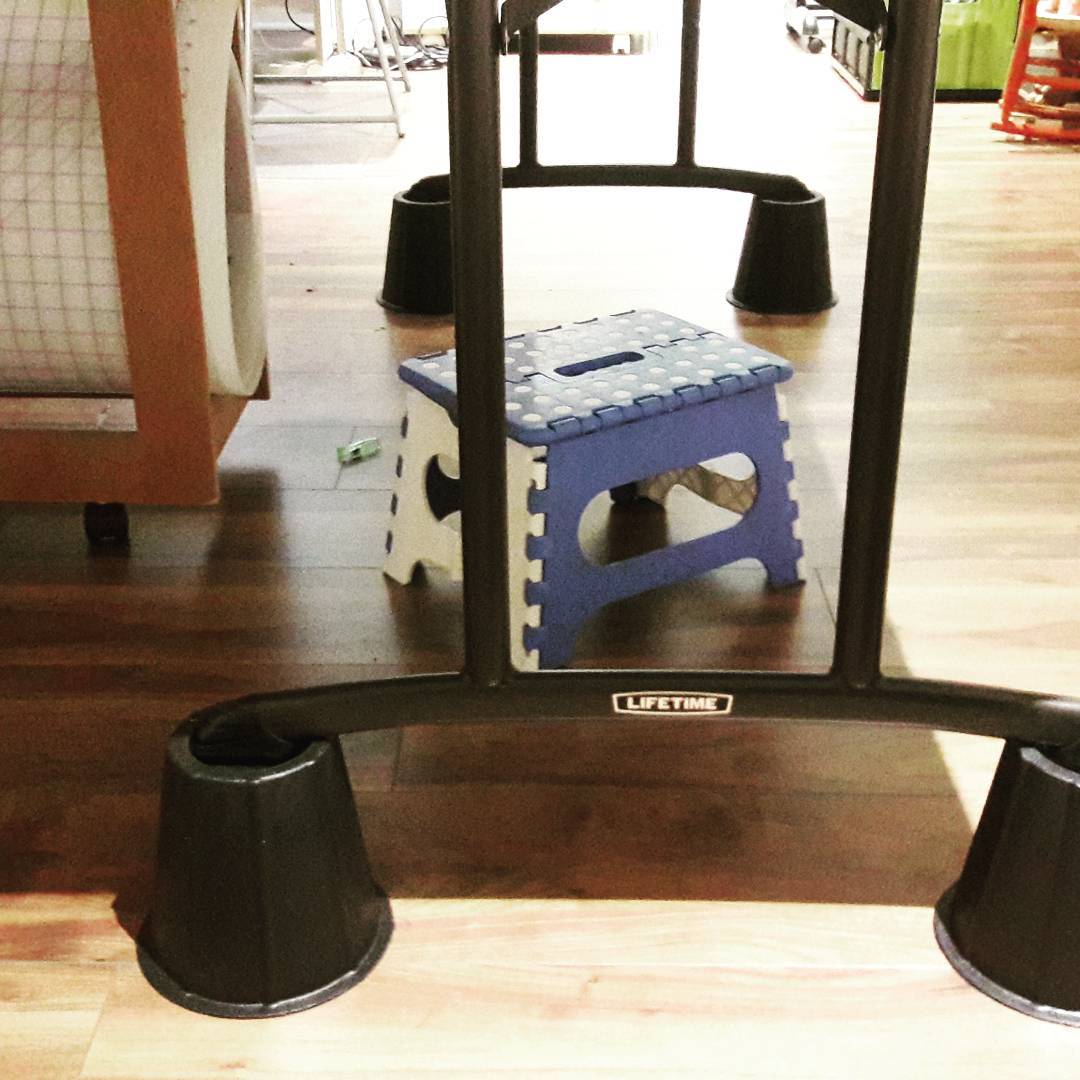
Not pretty and not sustainable, but enough to know I had a solution to increase my cutting table surface area whenever I needed it. Now, to figure the best way to provide the needed lift. Answer: bed risers from the local Ace Hardware store.

Bed risers turned out to be the perfect solution!

Needs change over time. Thanks to COVID-19, hubby has claimed the home office. The kitchen table and outdoor patio set work in a pinch, but it’s not a long-term solution. I’m working on reconfiguring my studio space to install a dedicated office area for me. 🙂