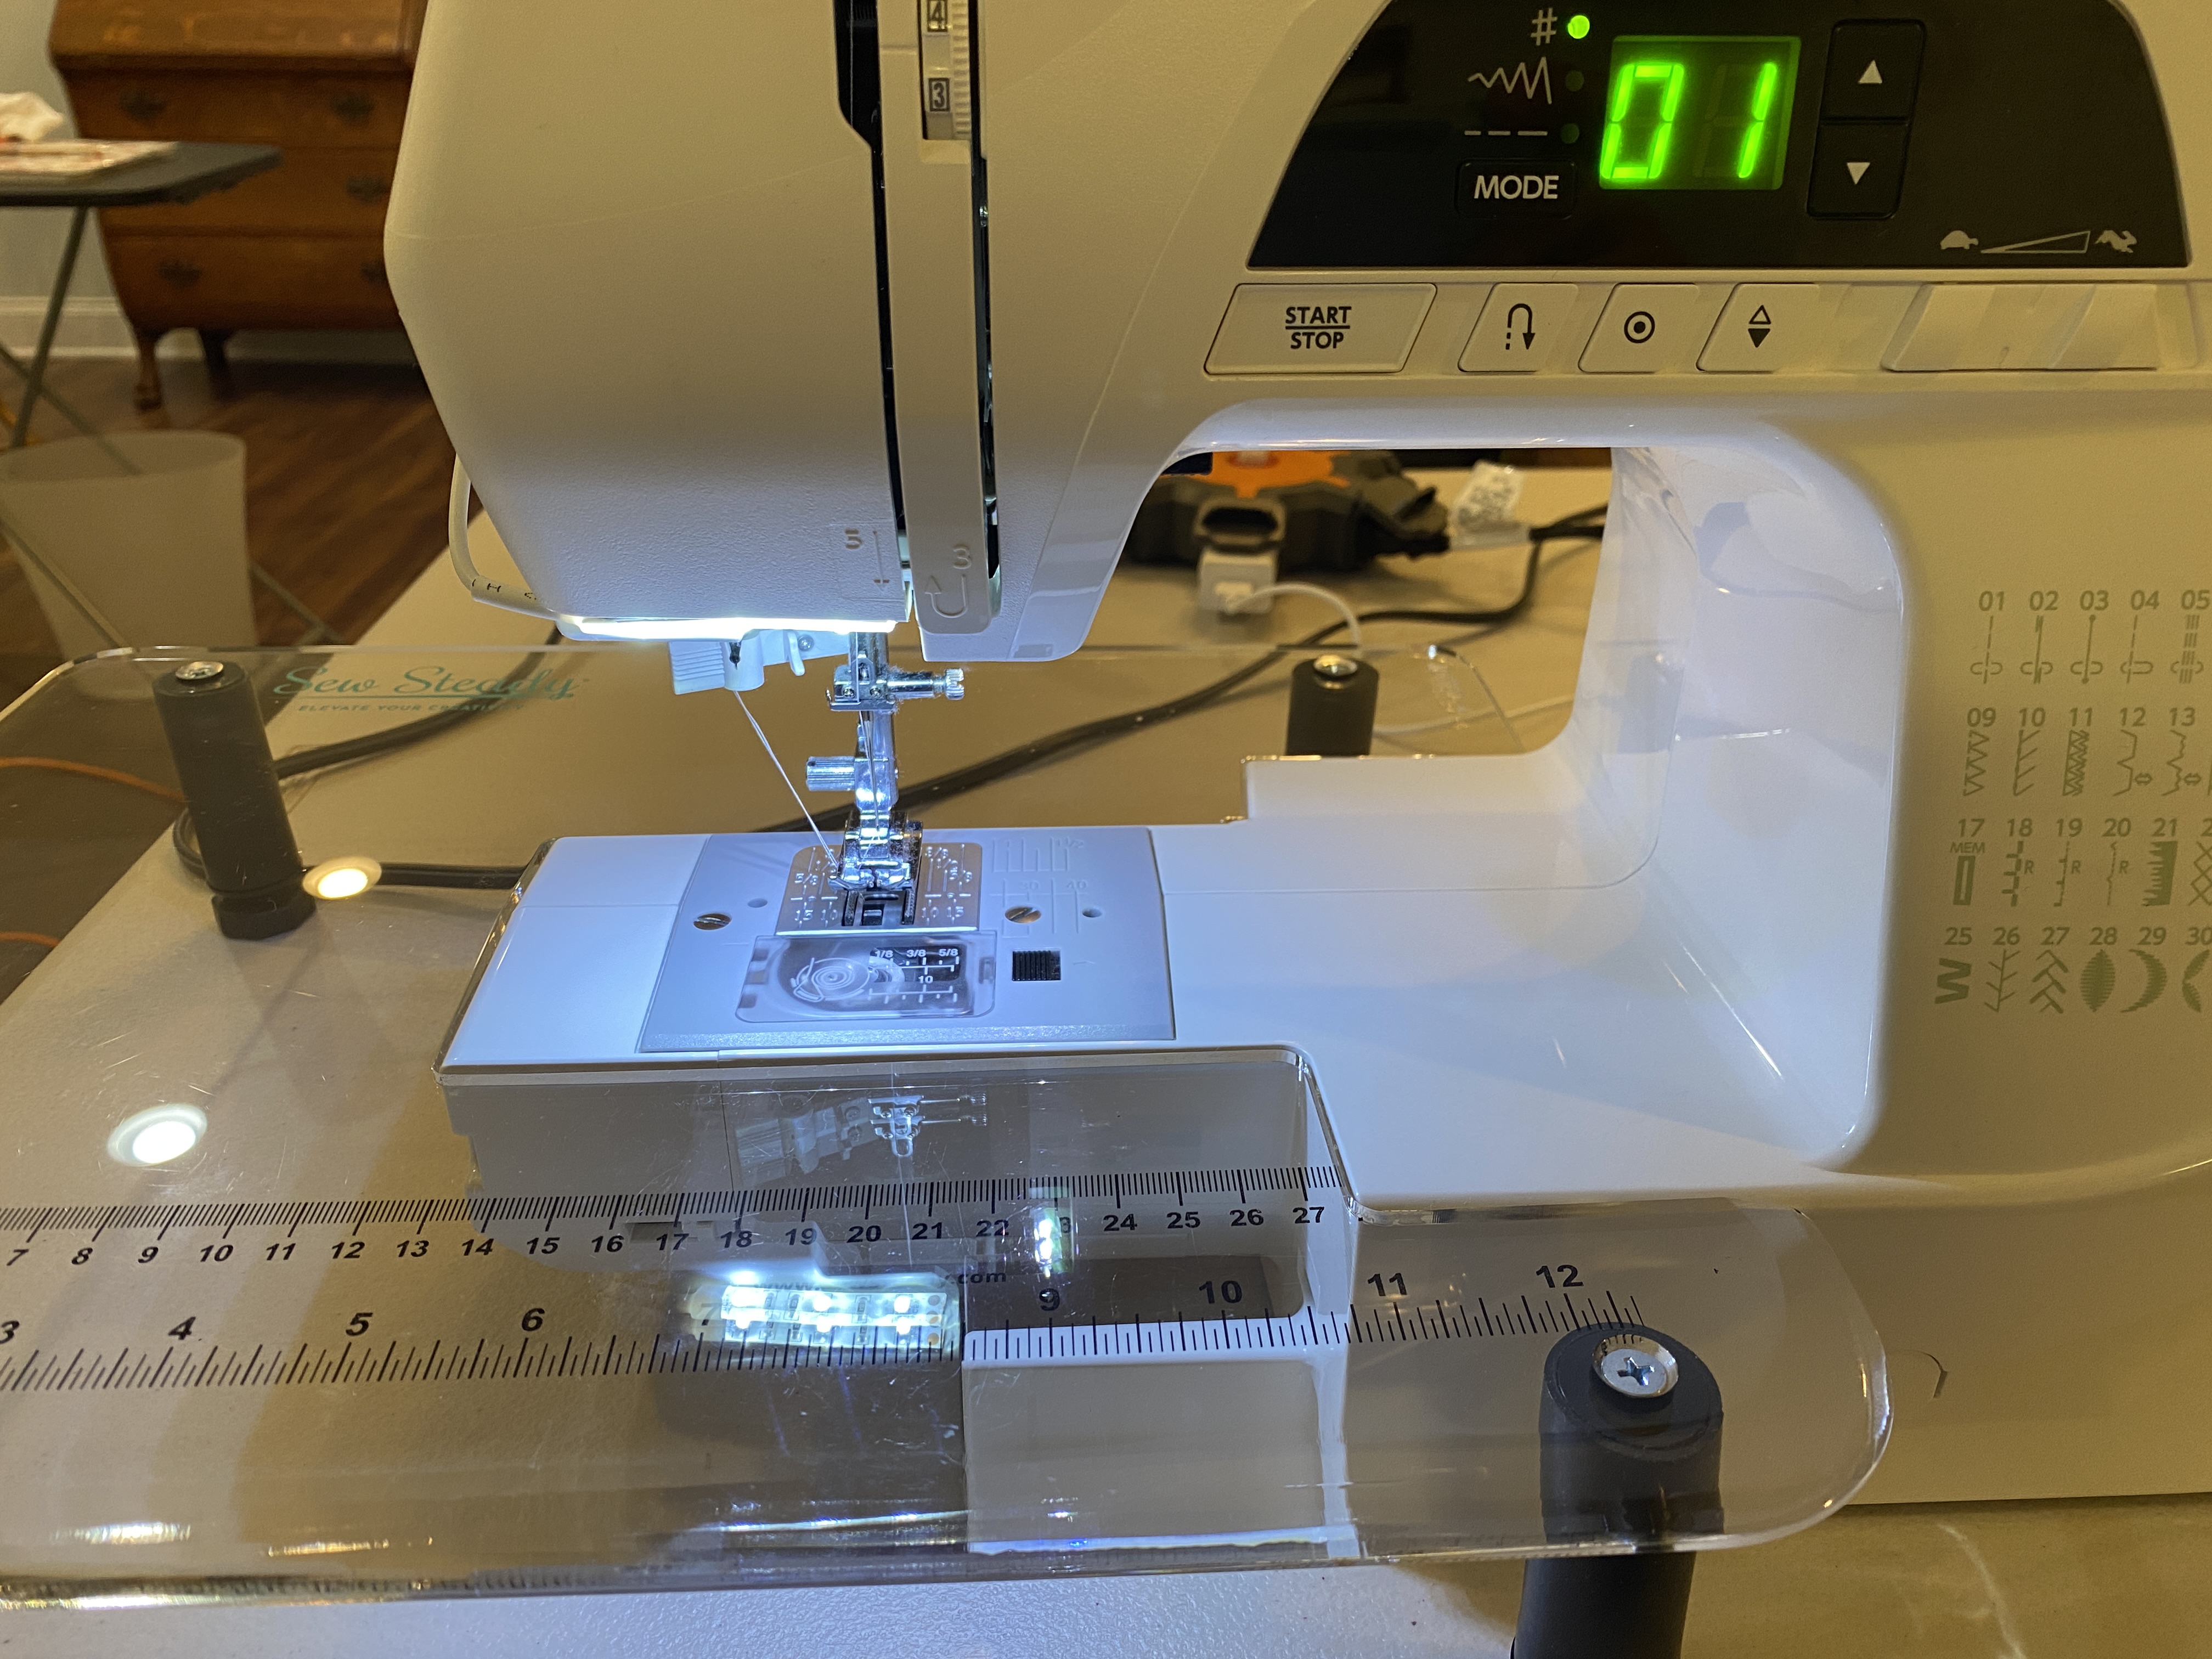
Bye-bye Bendable Bright Light! This dimmable LED kit purchased from Amazon fits my needs so much better. It’s about $10 and I only used 1 section of the light strip because I needed additional lighting over the needle area only. Of course, this would be a non-issue if sewing machine manufacturers would just install brighter lighting when the machines are made.
Why all the fuss? I teach with this machine and students complained the Bendable Bright Light got in their way. The on/off button was also not working. I tried the new set-up out at my Friday Sew with Friends Day. Sweet! Plenty of light and the switch is easily accessible/dimmable to the desired amount of light. No more intense beam and glare like we had before. The kids should be happy. I know I am. This small hack now makes this sewing machine a true contender for air travel. The Elnita EC30 is a more versatile machine – and only about an inch wider than my Elna STAR. This means it’ll fit in the same rolling tote that I take on the plane.
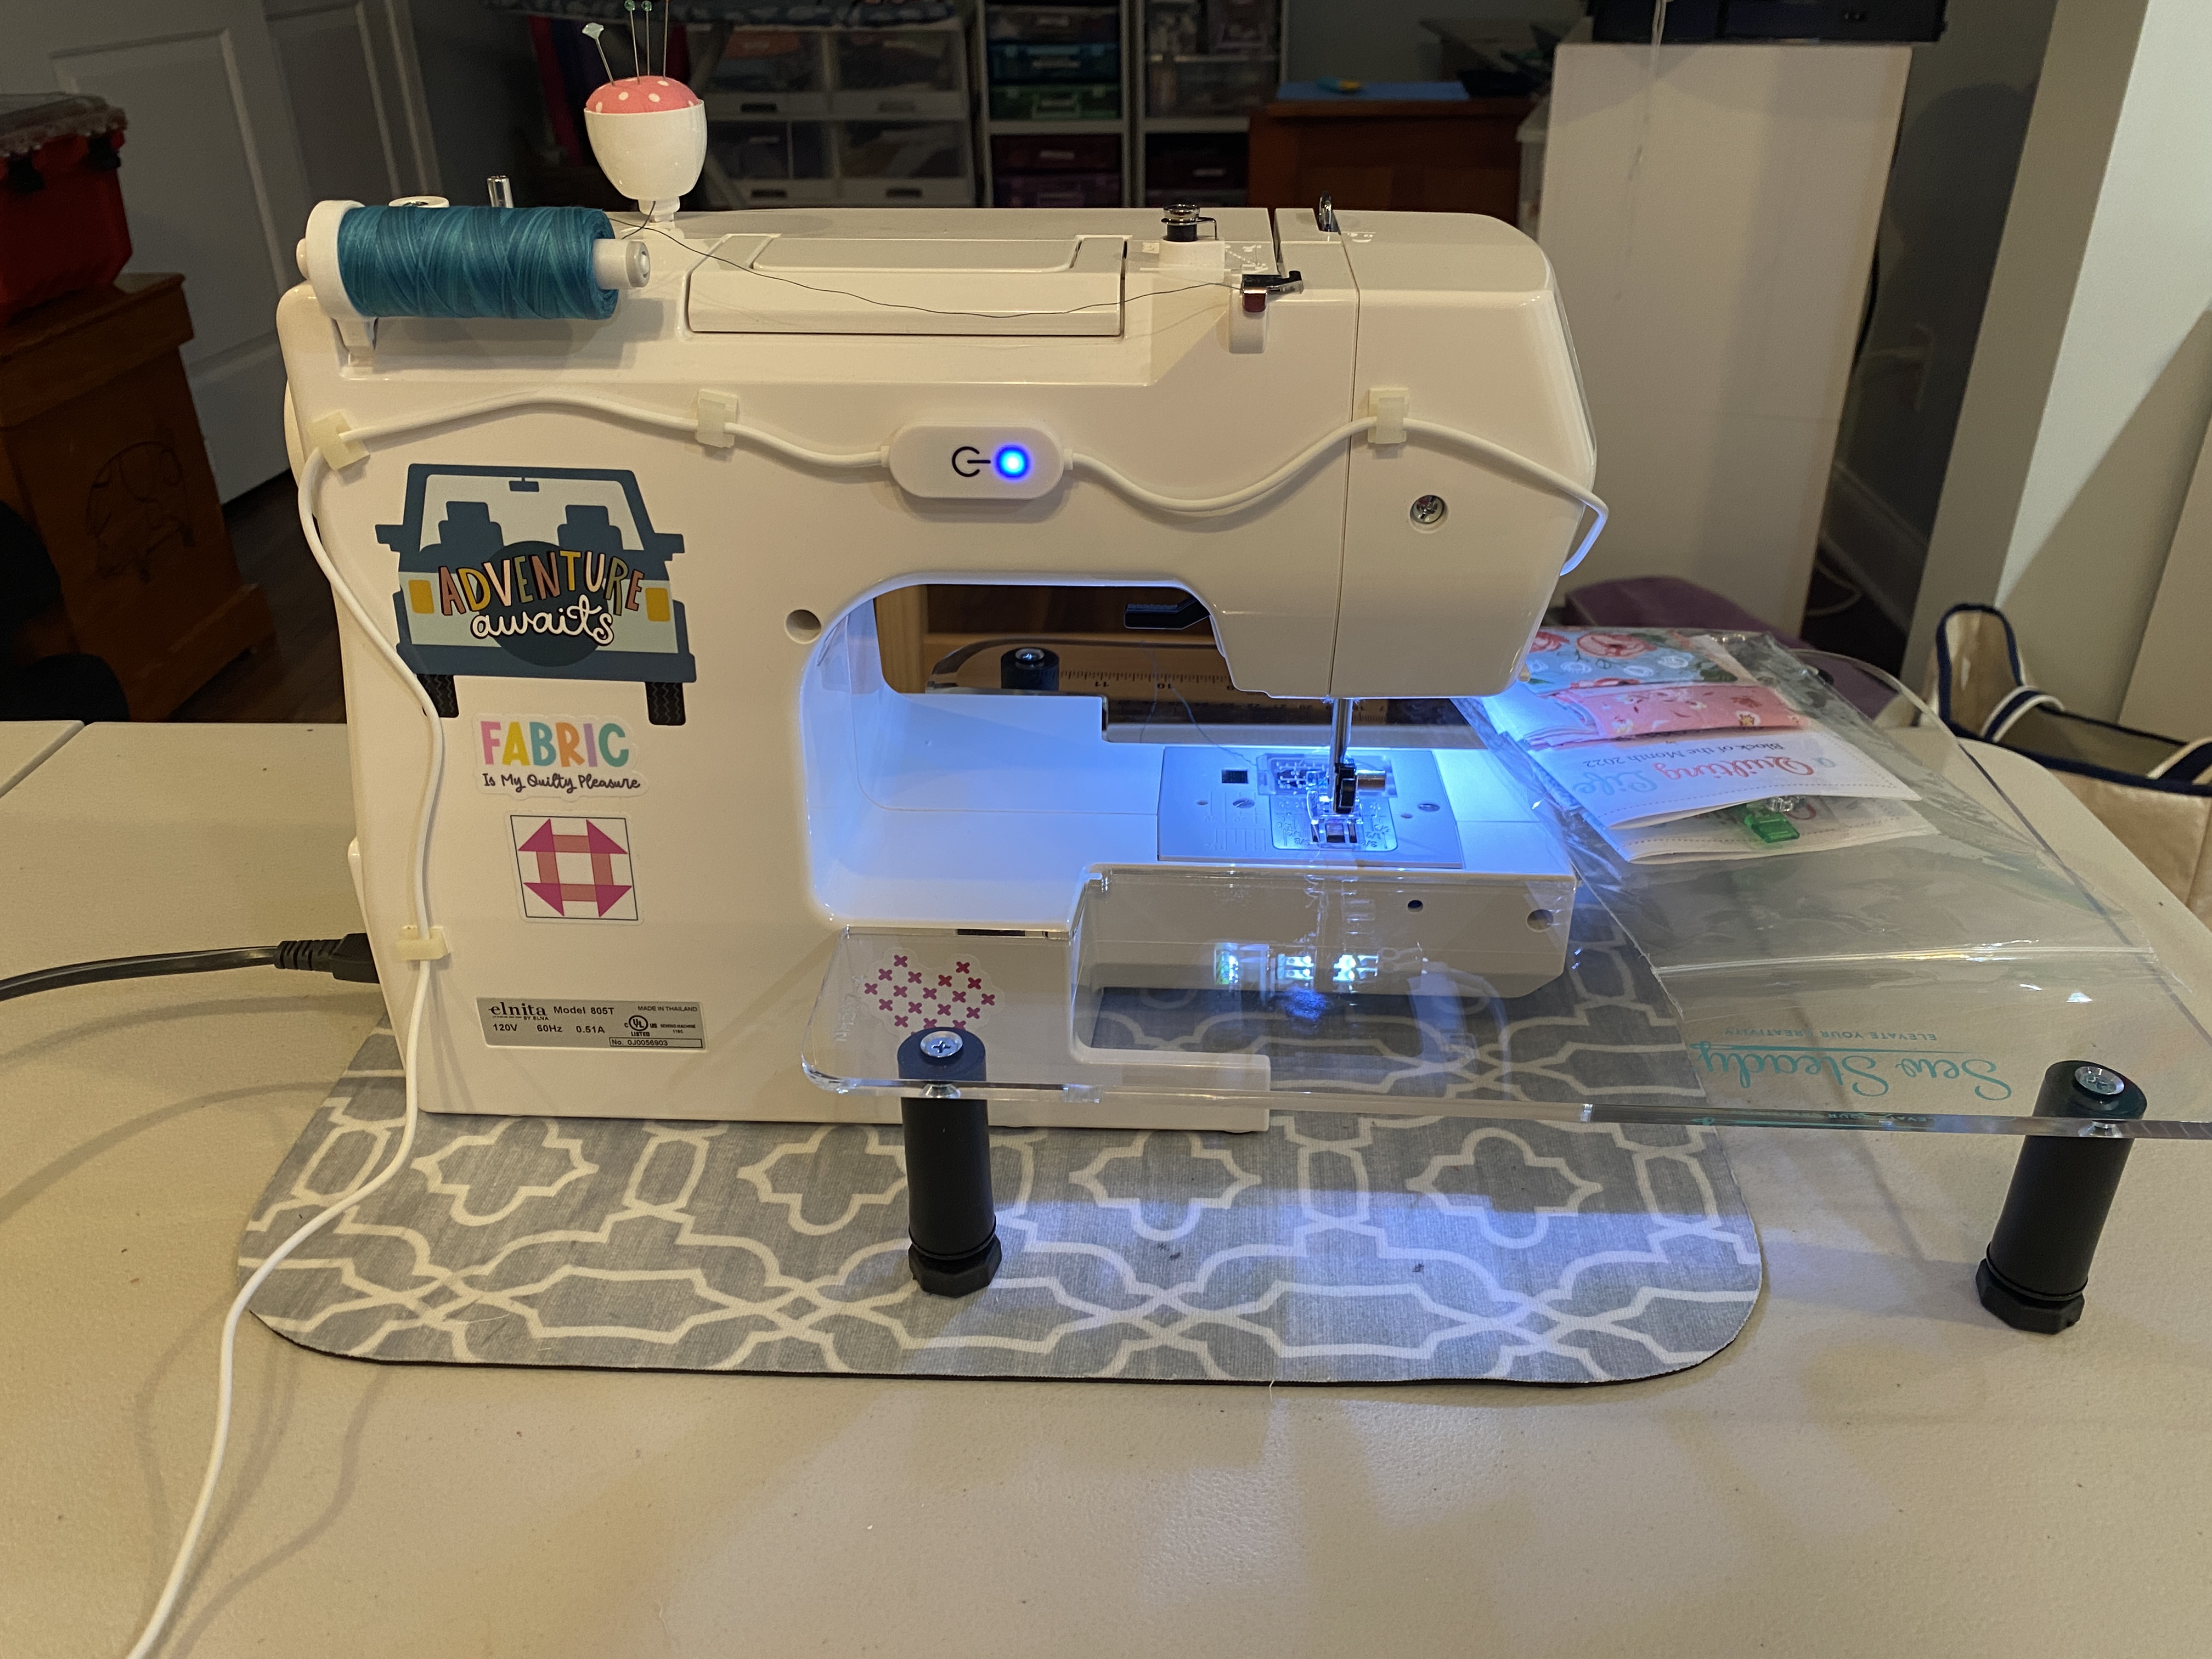
Here’s how I affixed the wiring and on/off switch across the back of the machine. Power button is easily accessible and wiring is out of the way.
One of my favorite features of our daily school news show was the “Today is…” segment. The kids and I highlighted the weird and wacky celebrations taking place that day, week or month (all school appropriate, of course). So, let’s have a March edition for sewing, quilting and crafting. All events are pulled from the National Day Calendar site.
March is National Craft Month – try a different craft or work on one skill for 10 minutes every day this month.
March 6th – National Dress Day – wear your favorite or sew your own
This week is also National Read an e-Book Week. Use your Libby app to see if your library has a good quilting mystery!
March 14th – National Children’s Craft Day – make something with your favorite little person
March 18th – National Quilting Day – visit your LQS, sew with friends or join a virtual QAL
This week is also National Button Week – organize your button stash.
March 31st – National Crayon Day – break open that new box of crayons and color away
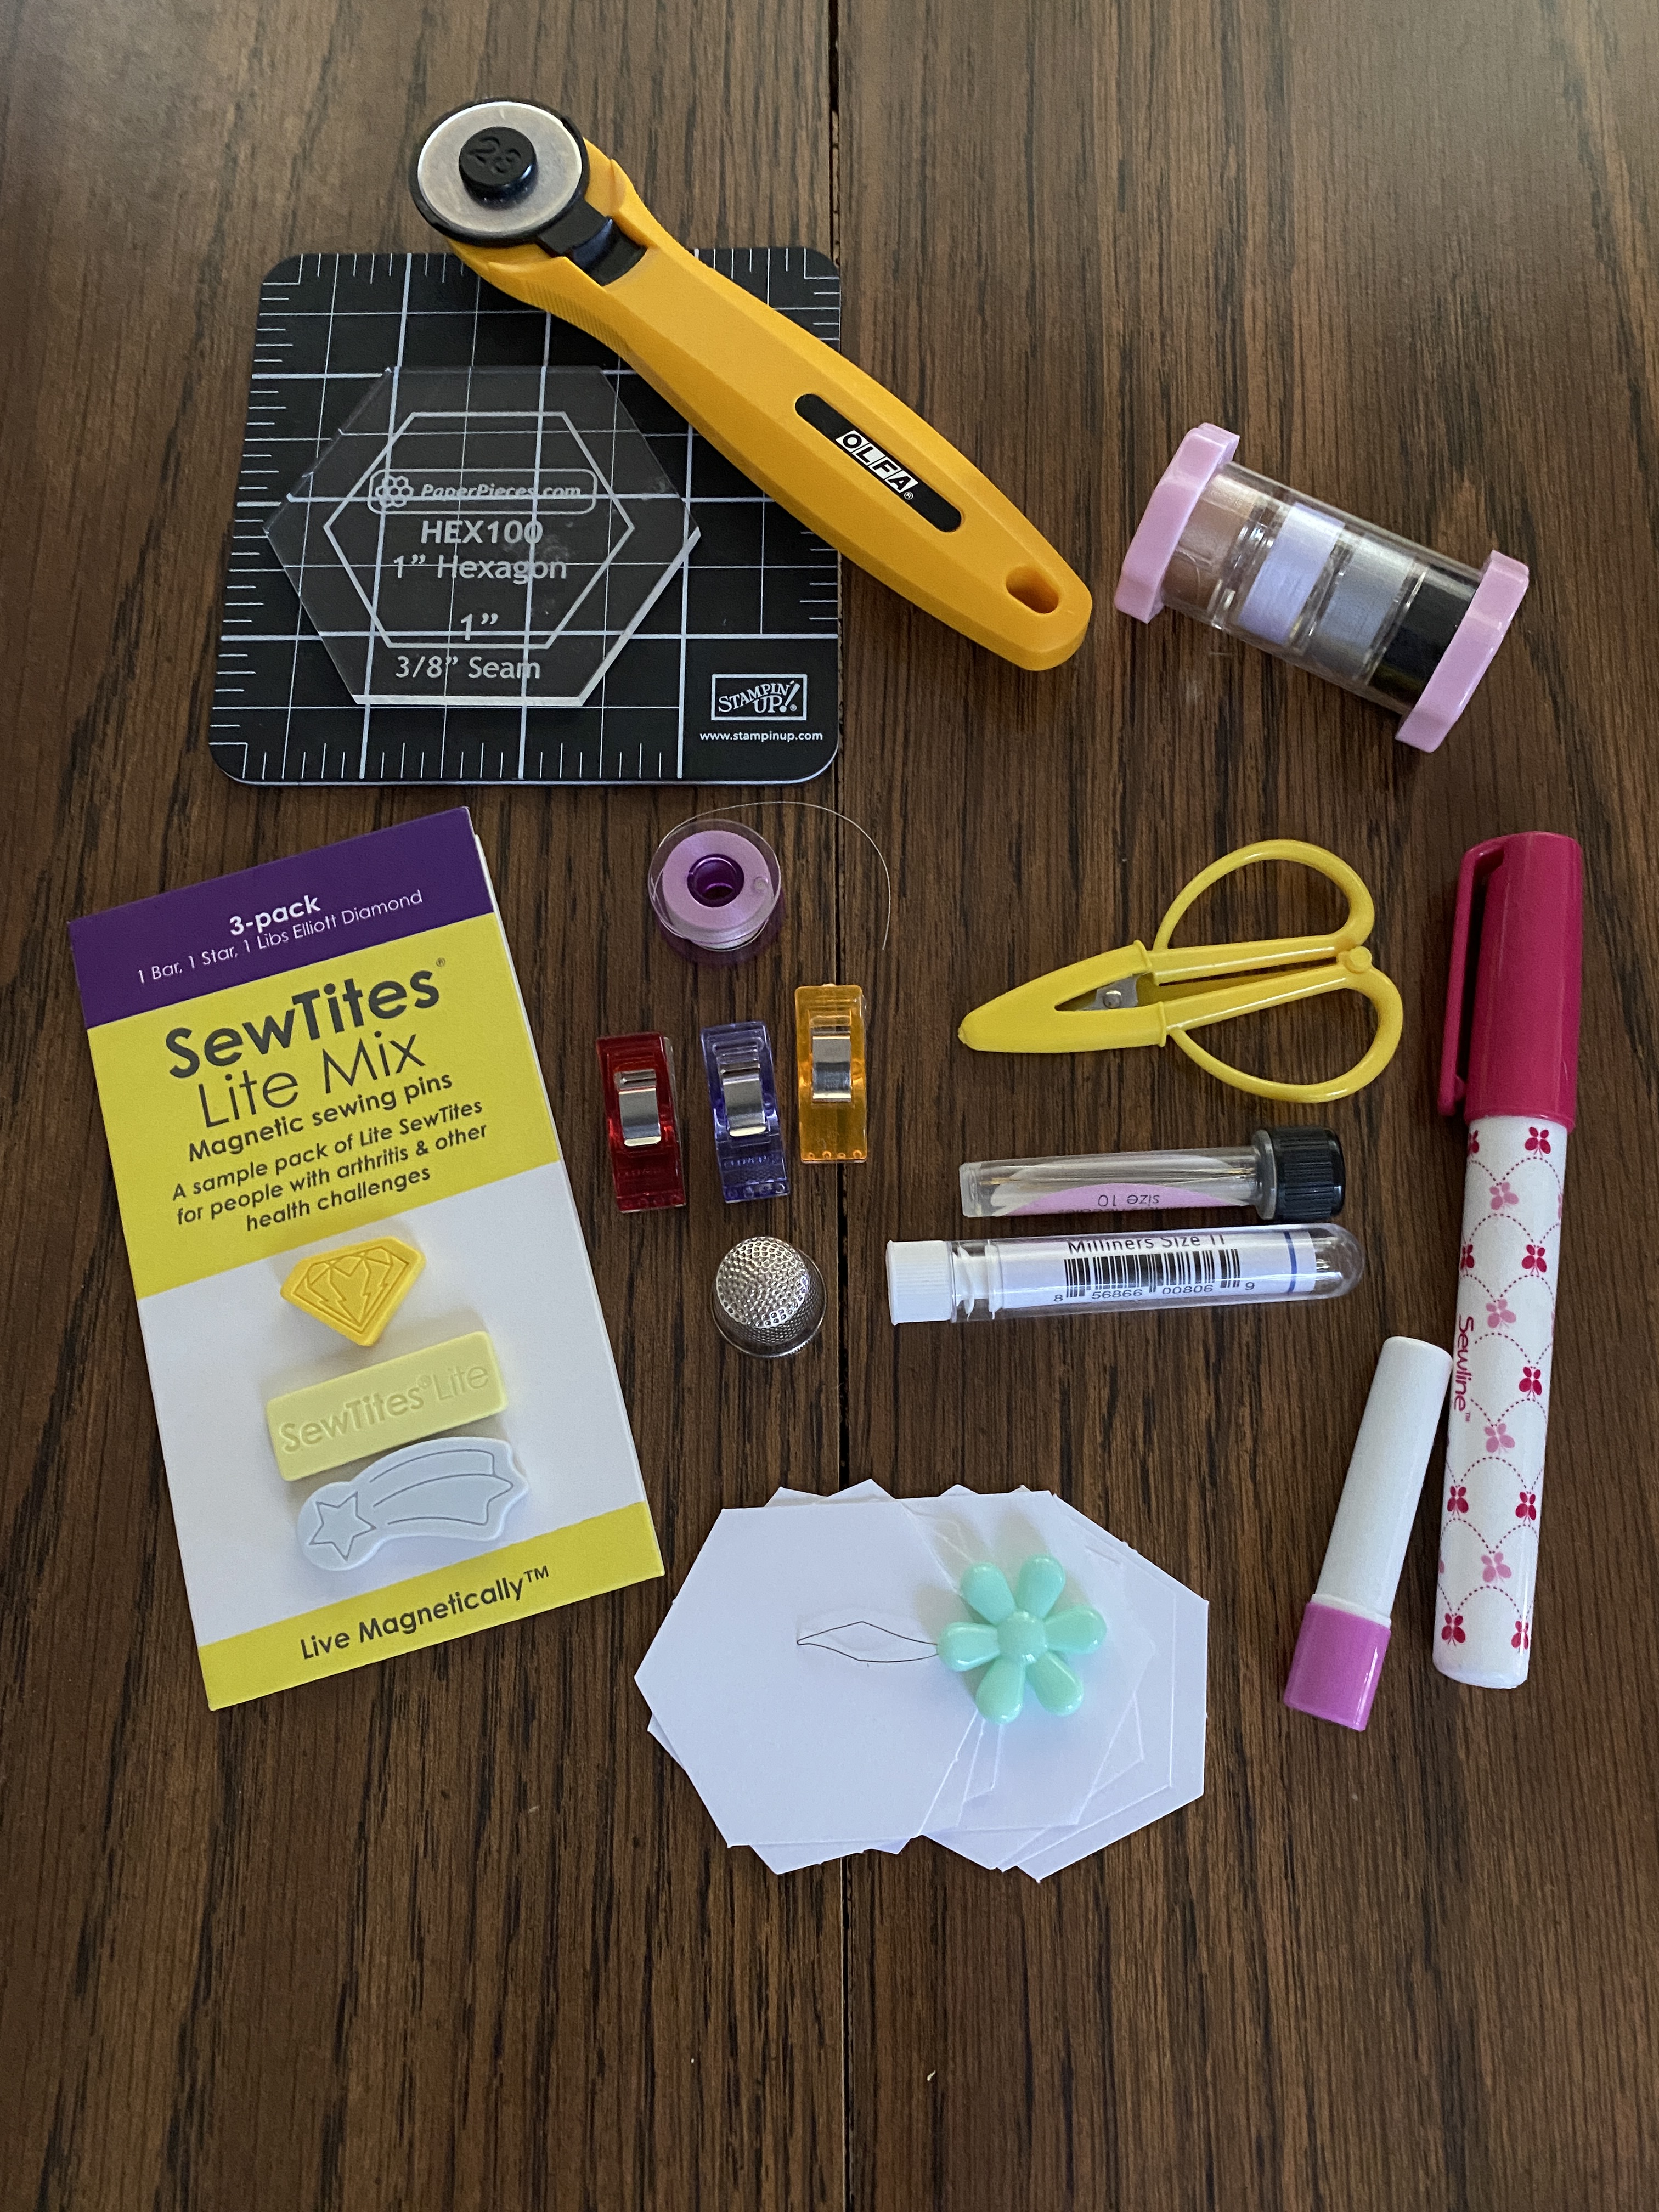
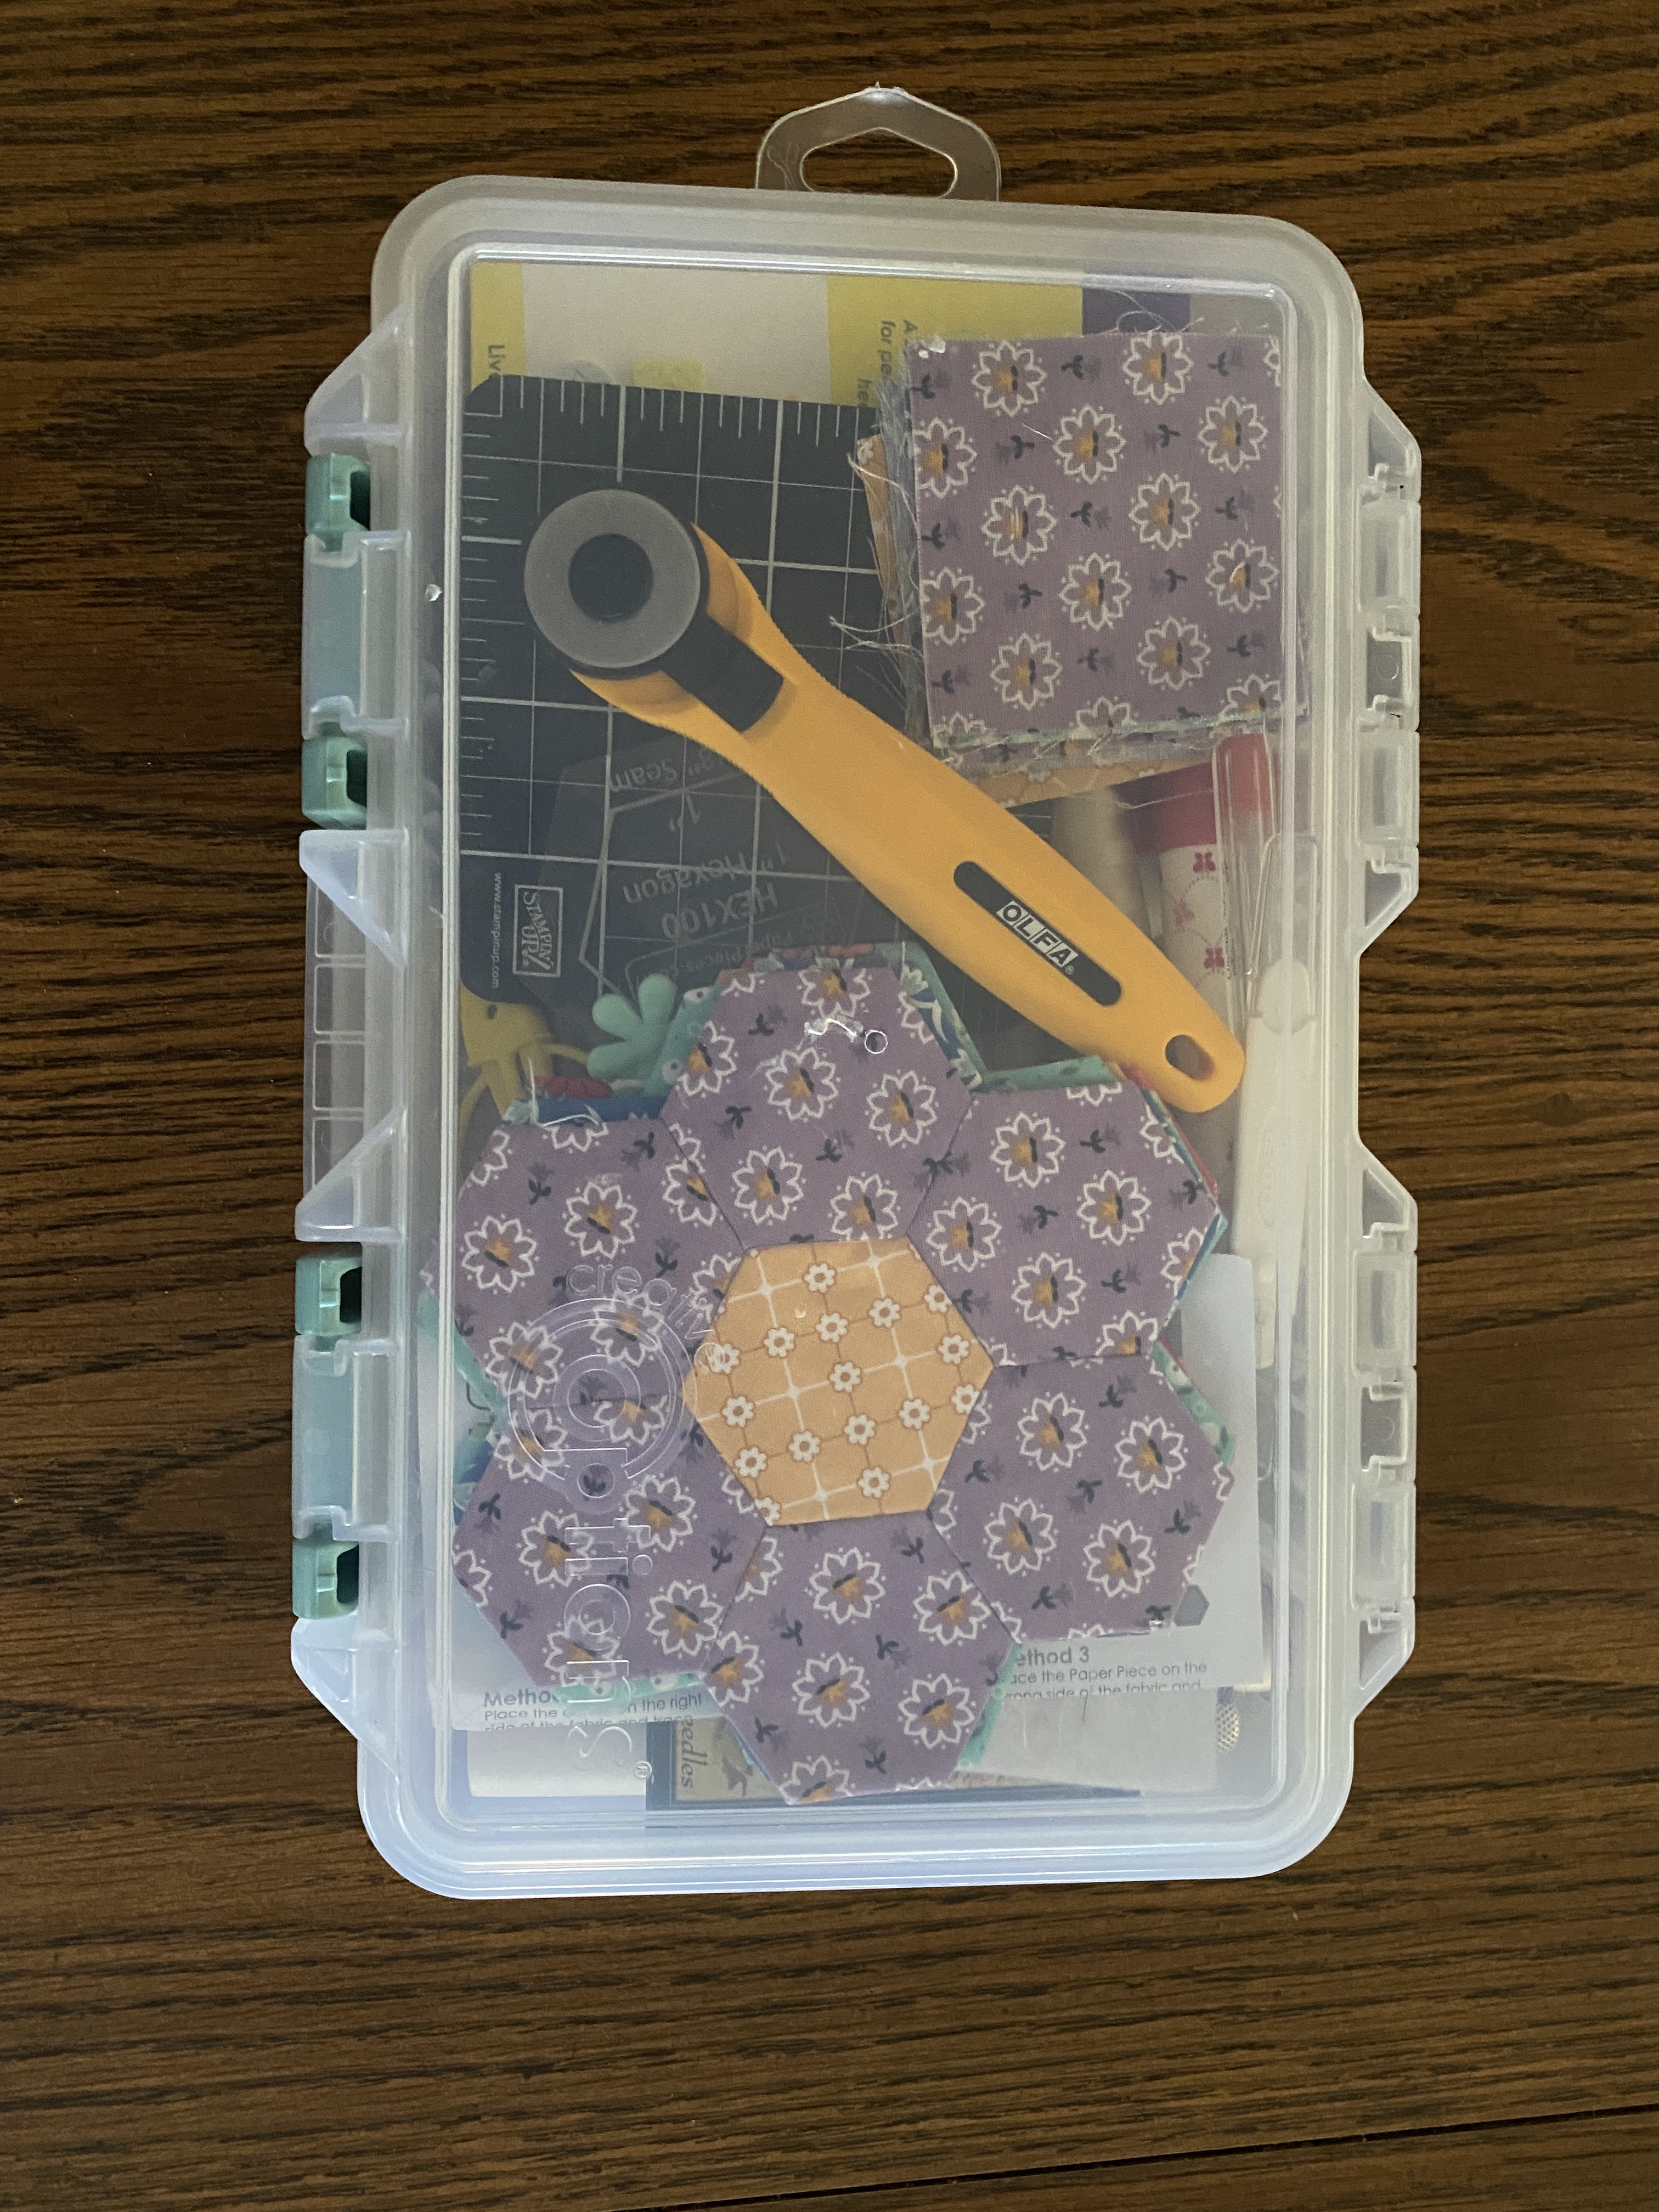
My essential supplies for EPP. Just add fabric (and a small pack of baby wipes)!
Supplies:
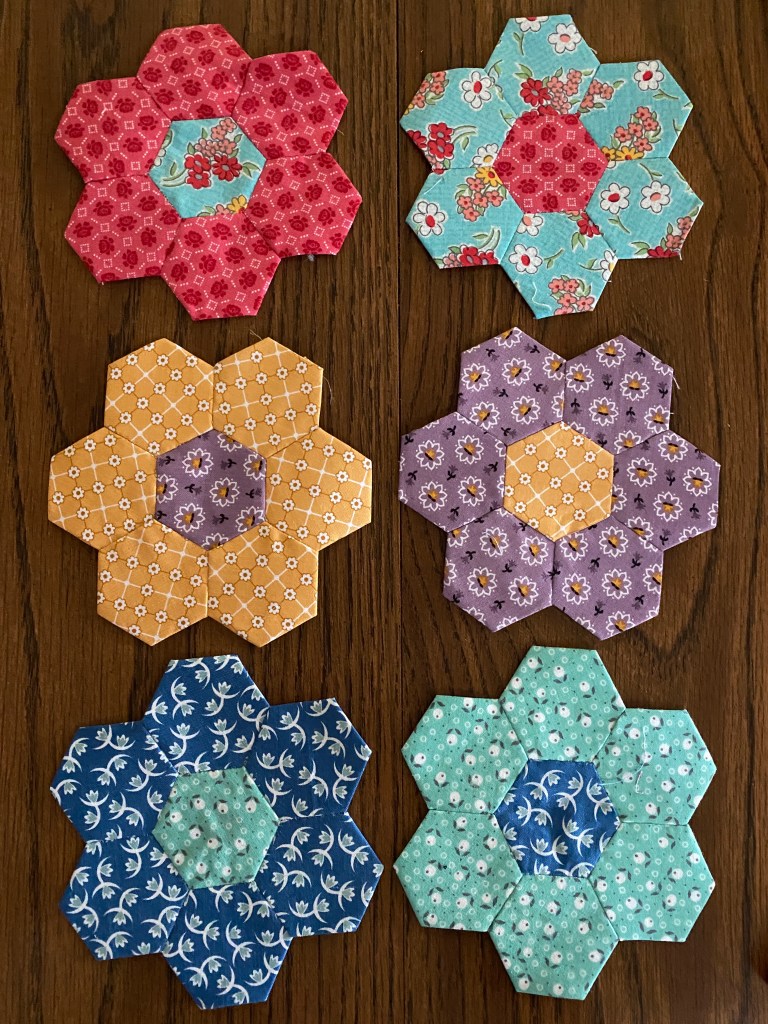
There are a myriad of ways to do English Paper Piecing (EPP).
I prefer glue basting, but hate sticky fingers, so I carry baby wipes for clean up.
I use a combination of Wonder clips and Sew-Tites to hold my pieces in place while I stitch.
Needles: Size 11 Milliners
*Thread: Deco-Bob (80 wt) from Wonderfil in Antique White or Nude
Thimble- vintage sterling silver thimble bought at Renningers Mt. Dora Flea Market many years ago.
Needle threader – a must have for me nowadays!
Scissors – Tiny snips from Tacony work great in my travel EPP kit
Papers – 1″ hexies from Paper Pieces.
Glue pen/refill – Sew Line is preferred, but I have used purple disappearing glue stick in a pinch
*Personally, I think polyester thread holds up better than a cotton thread when it comes to EPP. I’ve tried them all from 50wt to 100wt, cotton to silk to polyester. 80wt DecoBob from Wonderfil is my favorite, but it can be hard to find, Check your LQS for 60 wt from Superior Threads or Quilter’s Select. Some big box craft stores also carry a 60 wt from Coats & Clark (often referred to as fine thread). Any of these should give you satisfactory results.
Cutting fabric for EPP
1″ hexie papers is a very common size. This is what I’m currently using. Fabric for this size hexie is usually cut from a 2-1/2″ strip. Mini-charm packs (pre-cut 2-1/2″ squares) work great. If you think you might want to do some fussy cutting of your fabrics, then investing in a hexie acrylic template is well worth it. I purchased mine from Paper Pieces. The mini cutting mat is 4″ square (one this size that turns would be ideal). I use a 28mm for cutting fabrics with my hexie template.
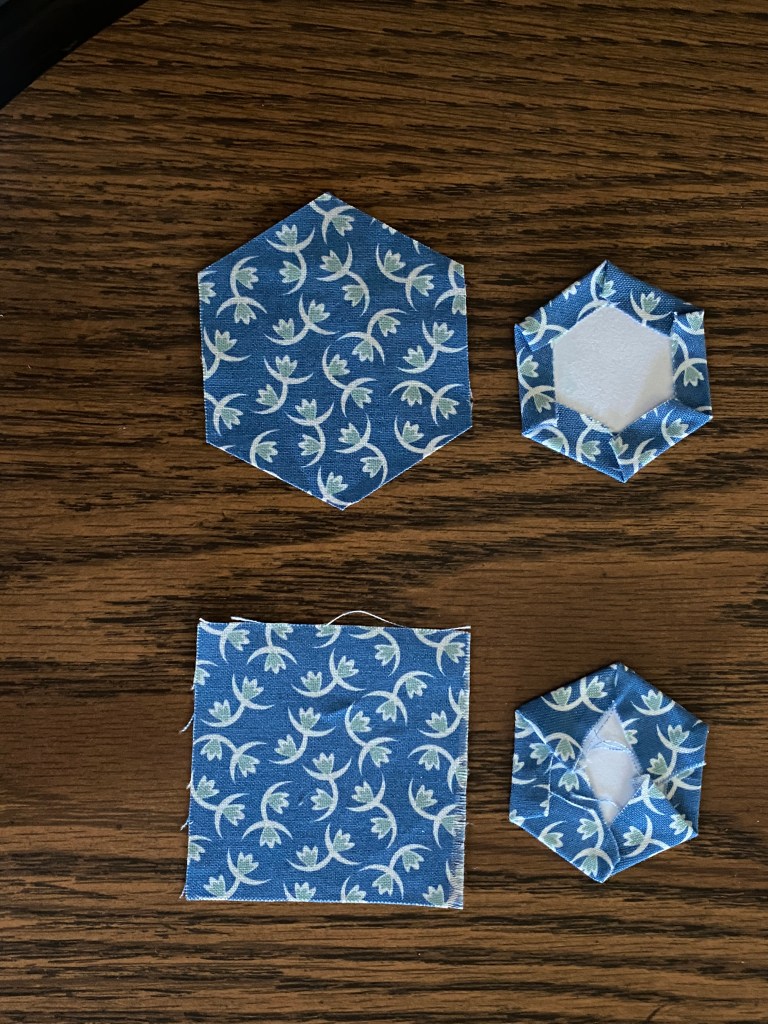
Here’s the difference in using pre-cut hexies versus pre-cut squares when basting over the paper template:
There’s absolutely no difference on the front – the only difference is how things look on the back. Mini-charms are SO convenient, but I’ll admit I much prefer the look of the pre-cut hexies on the back. I might even be tempted to thread baste my hexies if the edges were all even like this. 🙂
Tip (see pic #3 in slideshow): If you stitch like I do using the flat back method, don’t glue all the way to the edges of the paper. Leave a slight gap between your glue line and the edge of the paper. It will make your work easier to stitch and lay flatter once stitched.
EPP makes a great take-along project, especially if you precut your fabrics. My supplies travel in a 7″x11″ box from Craft Options. This box is only 1-1/2″ deep and I find this size works best for me. I place the box in my lap, using the top as a work surface. If traveling by air, I remove the rotary cutter and add a mechanical pencil and small pair of scissors in case I need to cut fabric using the acrylic template.