1. Your local public library – You can borrow books to your heart’s content (or the library’s limit). Ask a librarian if you can borrow books via interlibrary loan.
2. Digital block collections – bookmark these sites for future reference. Quilt guilds often use blocks found on these sites for guild challenges and charity projects.
3. Social Media – Peruse Pinterest, FB and IG for inspiration. Search YouTube for a video on how to make the block.
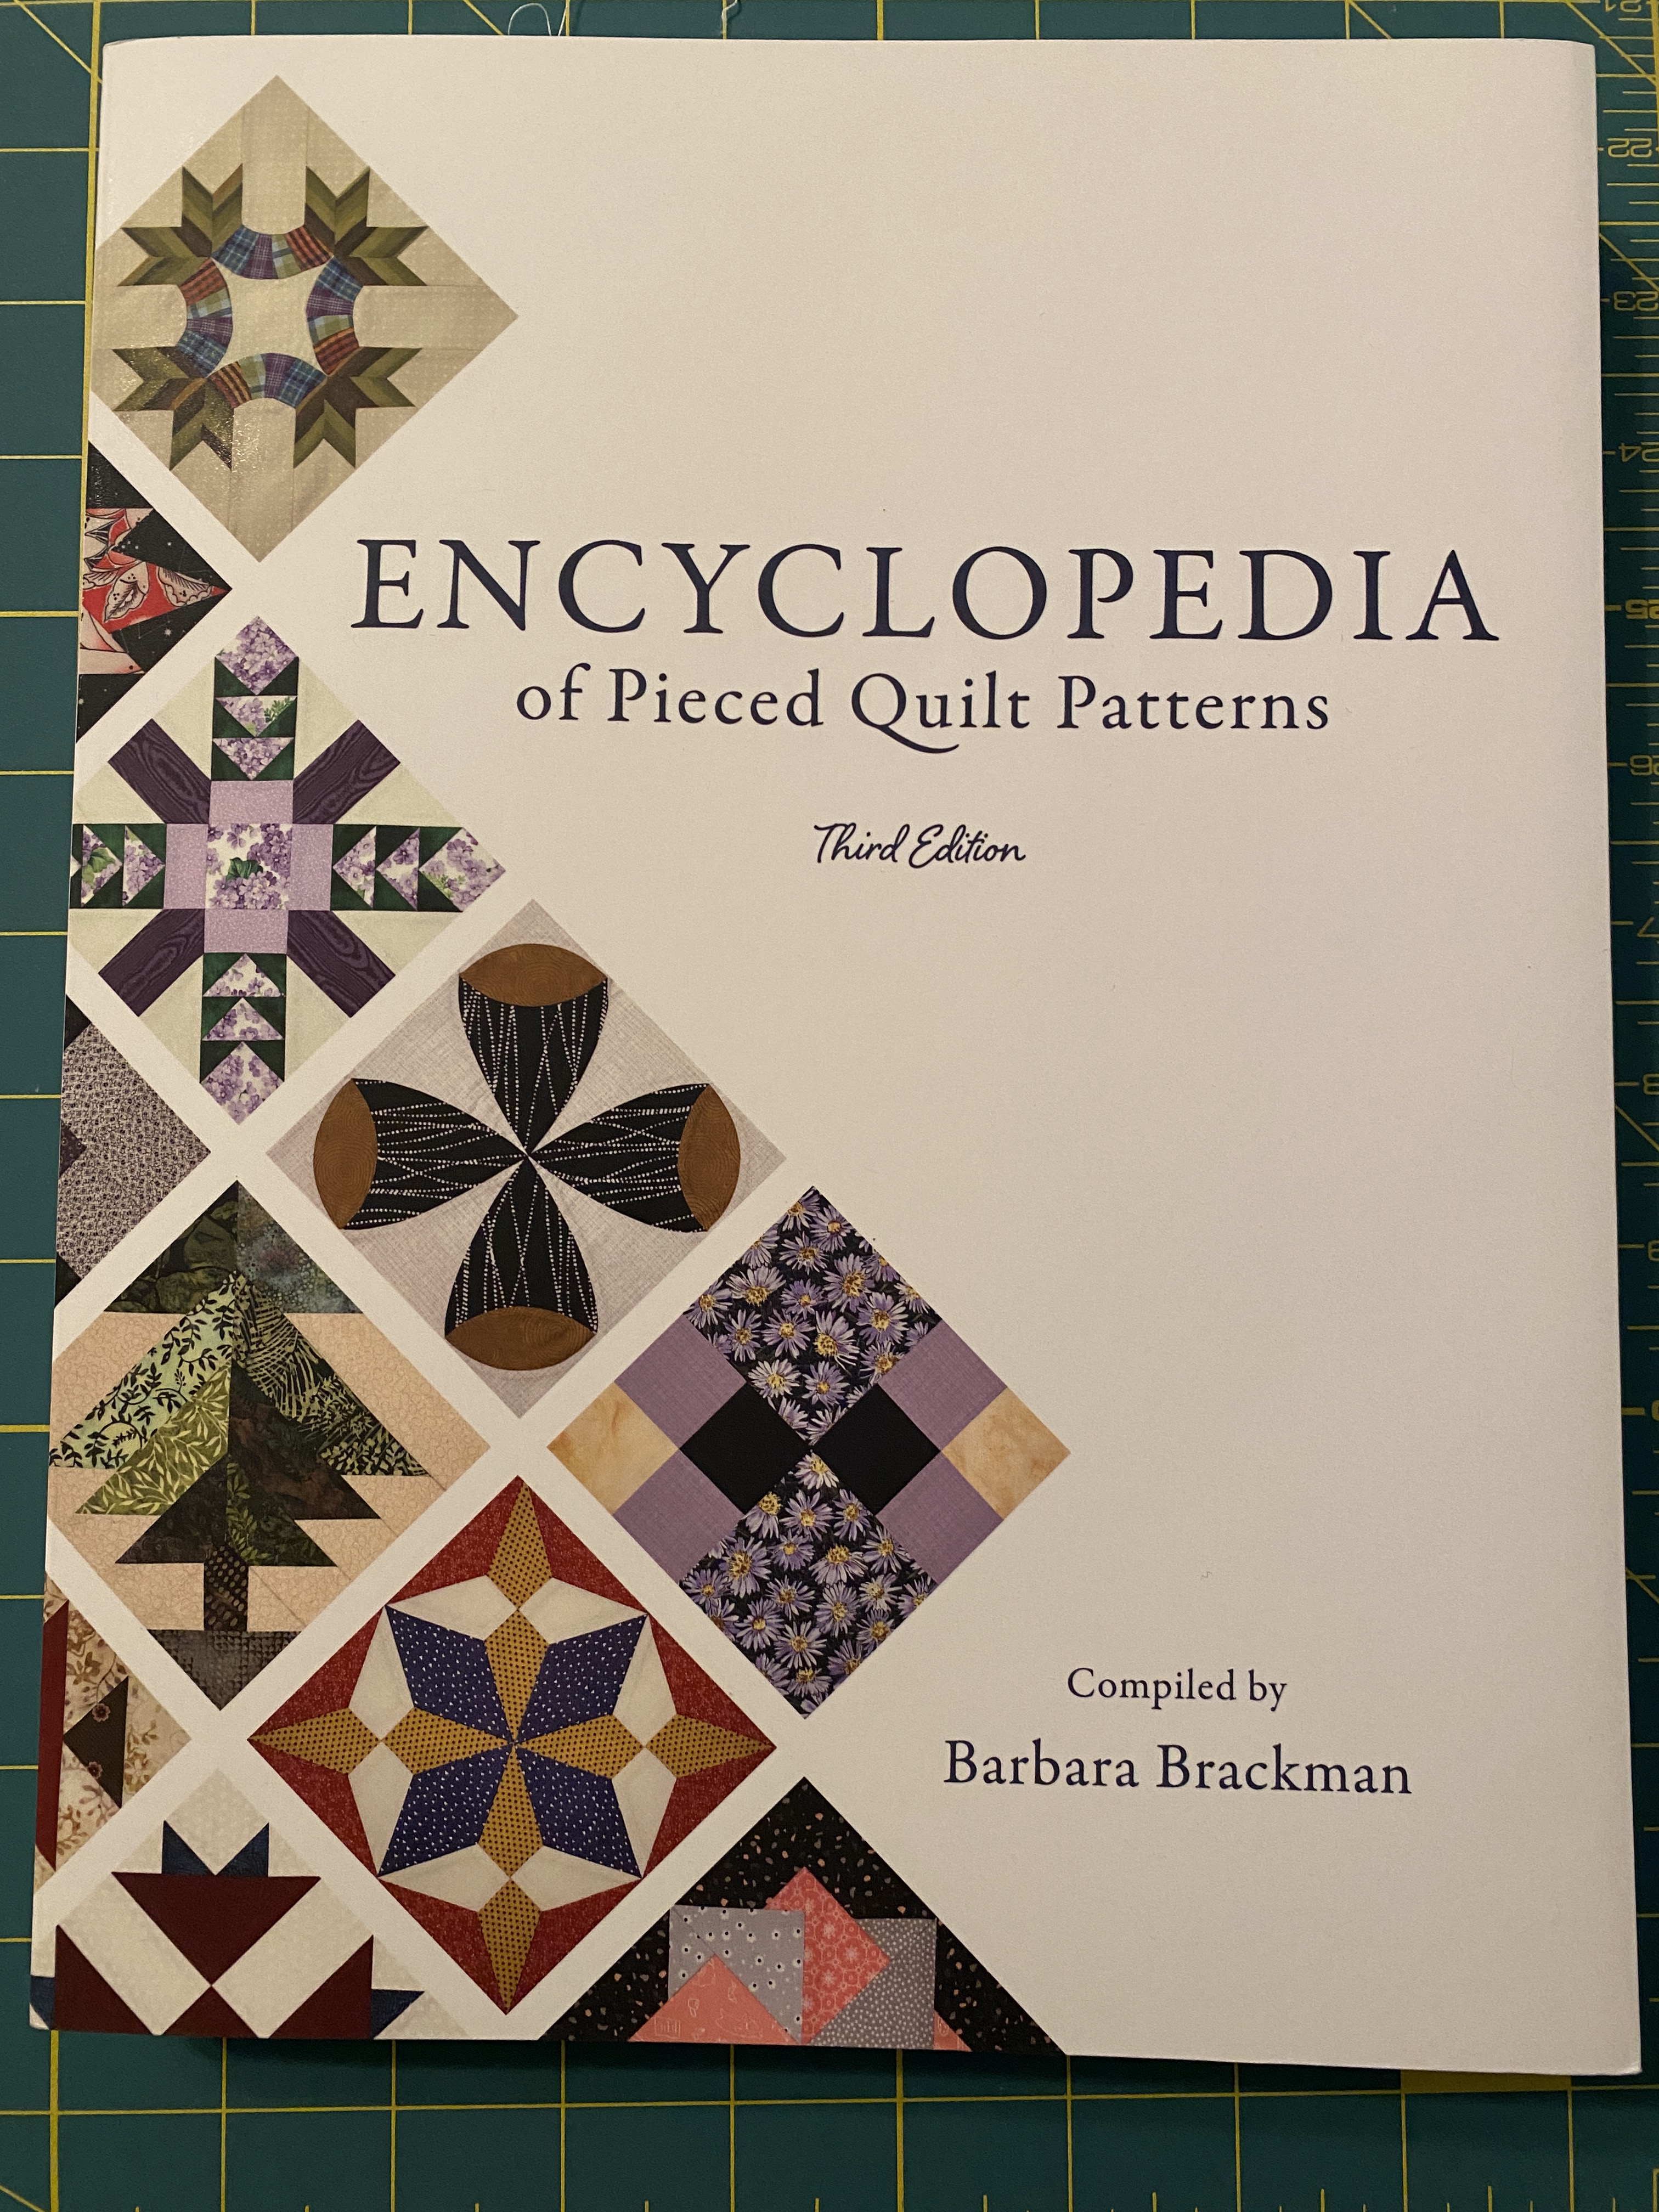
4. Books for your Quilting Reference Library – Yes, you can find just about anything online, but having some basic reference books in print is still a good idea. Sometimes your wifi doesn’t work! Here are two books I find extremely helpful:
Add this one if you are absolutely obsessed with quilt blocks and their history:
Although I have no current plans to return to teaching full-time, I heeded the advice of several folks to renew my current educator certificate one last time. It gives me options should I need to return to work in the future. There’s absolutely no doubt it will be converted to a retired educator certificate at the next renewal!
Believe me when I say it’s much easier to renew if you are employed by a school district at renewal time. They upload your application, along with an employer’s assurance that you’ve met the state requirements for professional development during the preceding 5 year period. The GaPSC then usually renews your certificate within 24 hours. I filed my application on 3/3 and the certificate was renewed today (4/20). Seven weeks!
My initial application was put on hold, pending a form the certification evaluator requested. This meant I had to get my former employer to fill out the form. Everything is done via email now. The issue is that many organizations automatically send any email to SPAM that’s not from within the organization itself. My request sat in SPAM purgatory for an extended time while I tracked down an actual human who could assist. My request was then sent to yet another person to fill out and return to me.
If the state places your case on hold, you have 45 days to complete any requirements or your case is automatically closed. This means you have to apply again and pay another fee. I reached out to the certification office to ask what would happen if my former employer didn’t fill out the form in time. I also reminded them that I had actually completed my ESOL endorsement during the time period in question. Wouldn’t this count as meeting the PD requirements?
After a second review by a certification evaluator, they determined that yes I did meet the PD requirements when I earned my ESOL endorsement. Certificate was renewed. Good thing, ’cause I’m still waiting on that form from my previous employer.
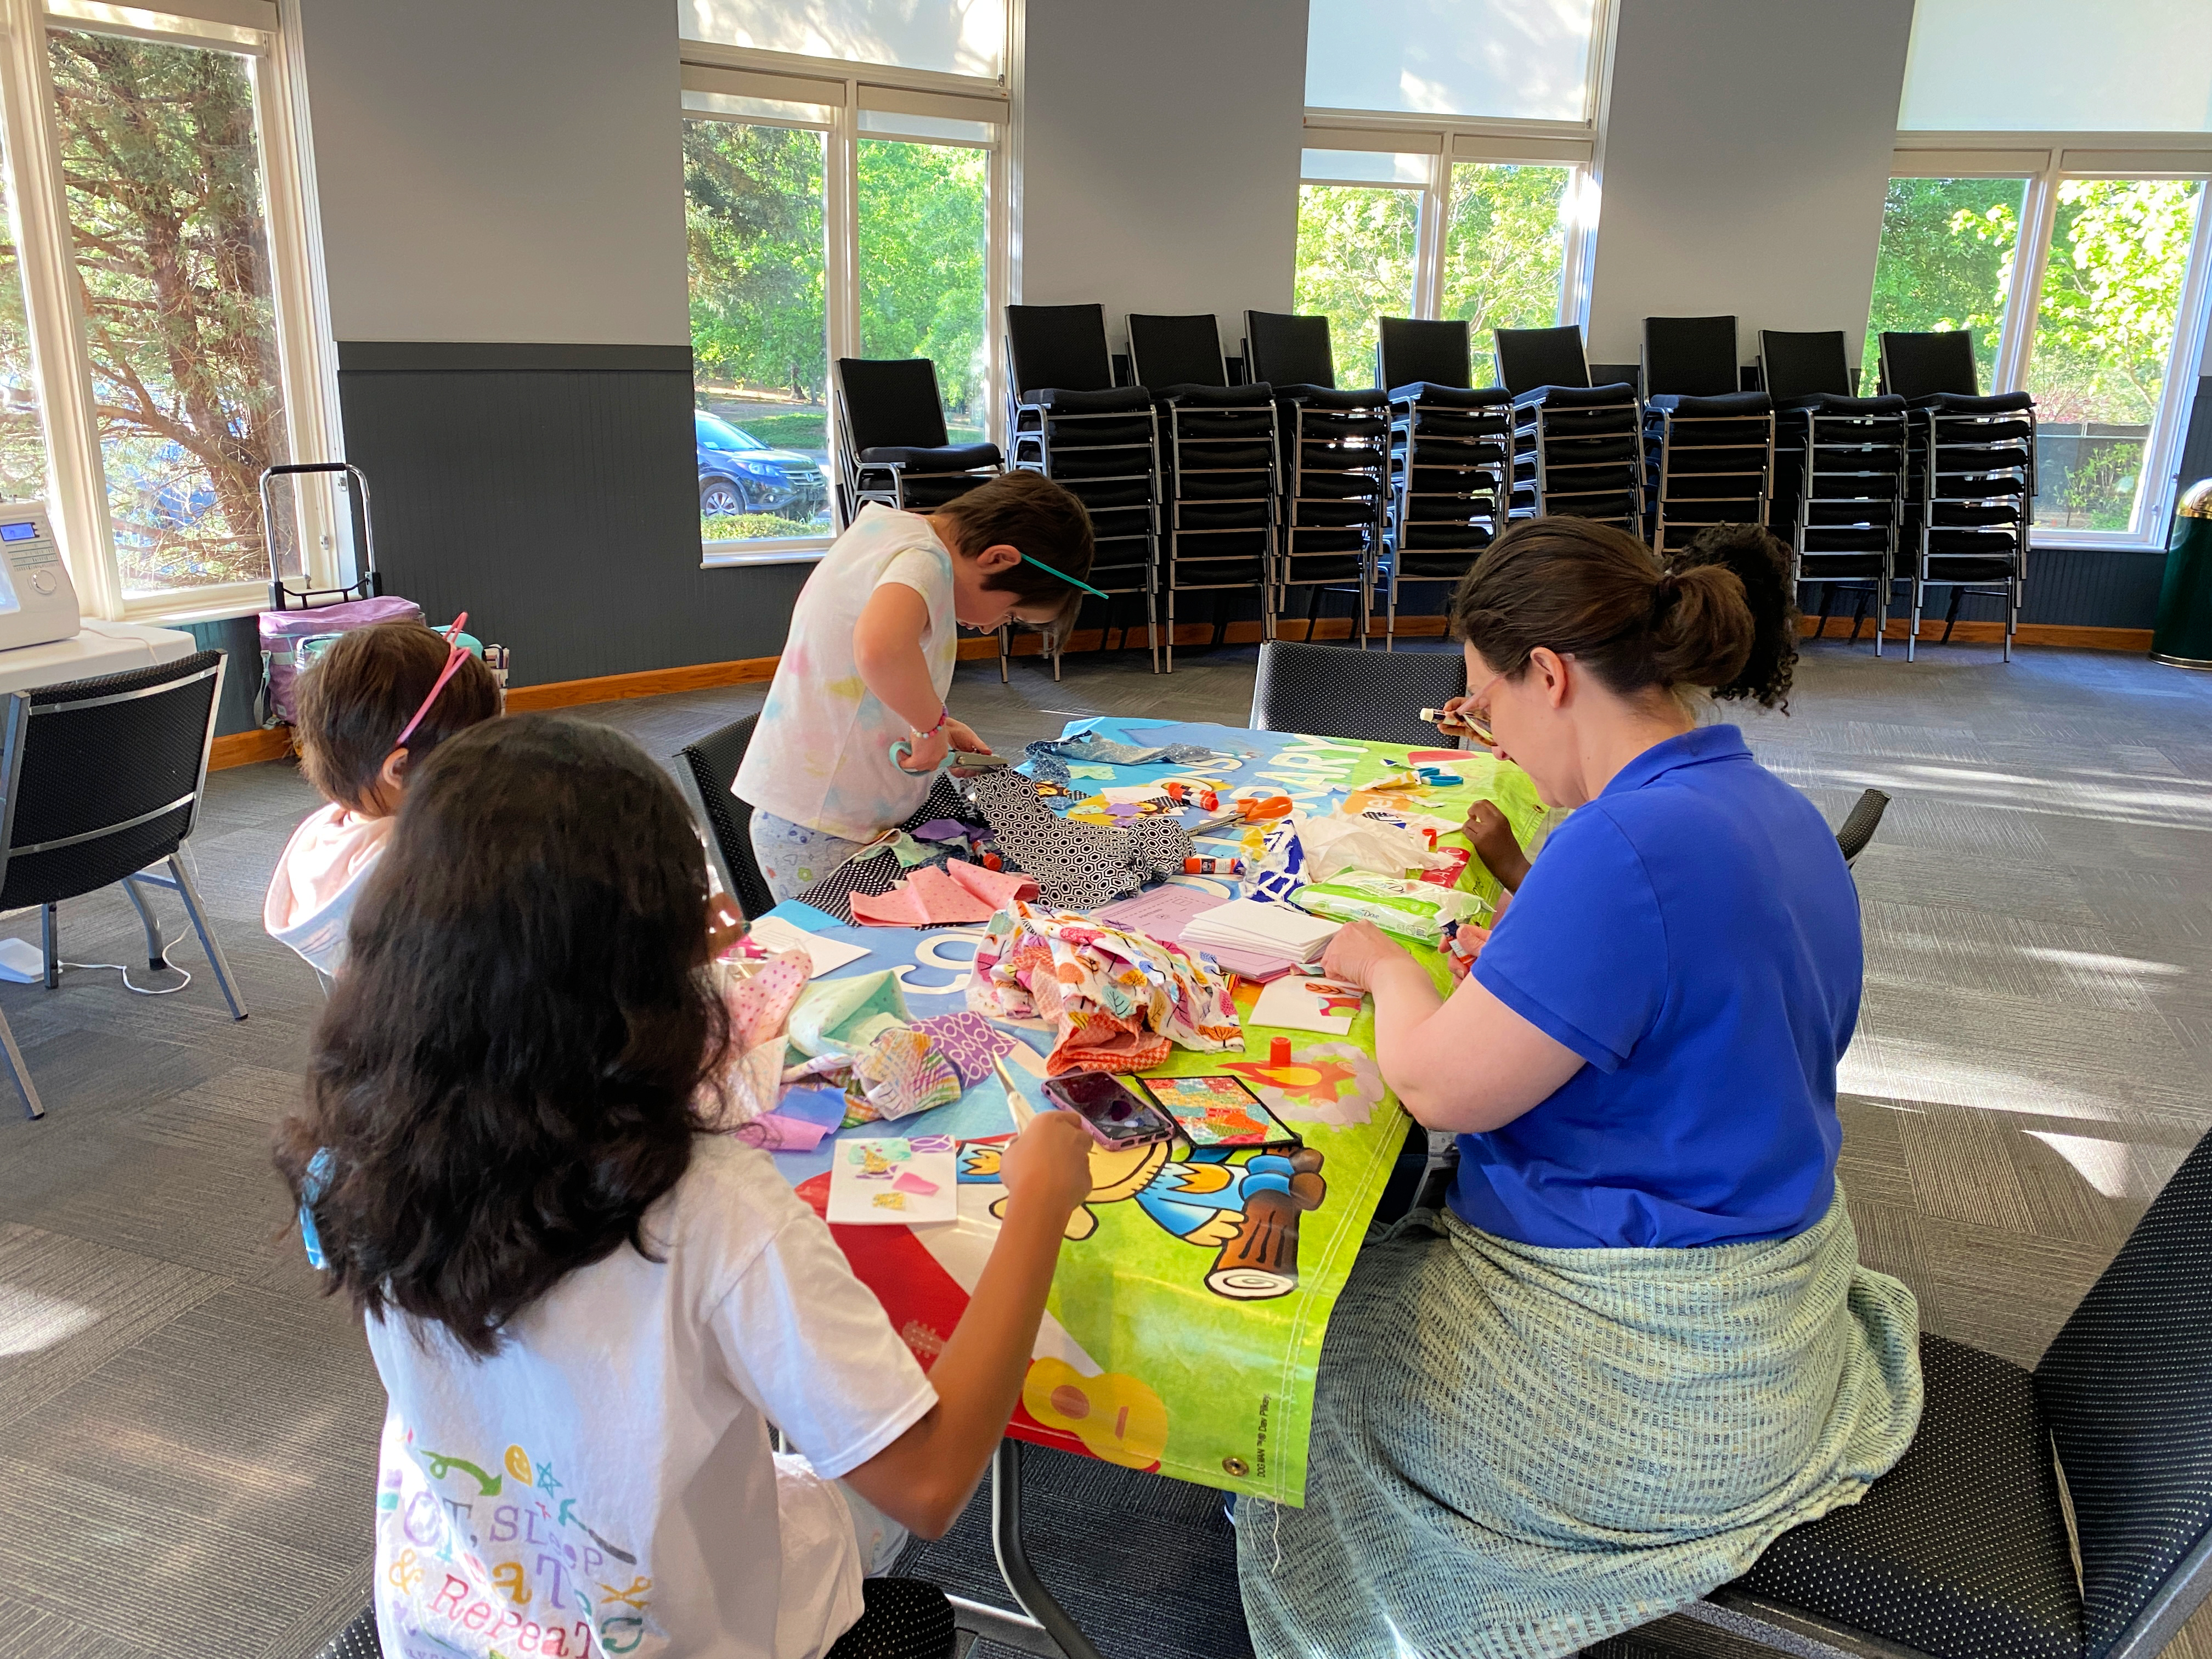
I volunteer at the Smyrna Library. I READ with Sadie, help with library maintenance and now plan/lead selected ‘Tween and Teen Craft Nights. I typically do sewing/STEM related maker activities. April is National Card & Letter Writing Month. This month, I worked with Miss Amy to do fabric postcards with the ‘tweens. We’ll be doing this activity with the teens, too!
This is a great scrap-buster project that requires a minimal amount of supplies.
Gather: Cardstock Fabric scraps Peltex (#71 – one sided fusible) Permanent glue sticks (super important if doing like we did and not stitching the front of the card) Scissors Postcard template of your choice. We used one provided by TinkerLabs. Iron & pressing surface Sewing machine with zigzag stitch and black polyester thread. A6 or A7 envelopes
Make: 1. Print out postcard template on cardstock. Trim designs to 4″x6″ and set aside.
2. Trim blank cardstock into several 4″x6″ rectangles. You will need 1 per fabric postcard plus 2 extras.
3. Trim Peltex into 4″x6″ rectangles. You will need 1 per fabric postcard.
4. Fuse Peltex (bumpy side) to one side of cardstock. I use a dry iron on a cotton setting. Cover the cardstock with a blank card to protect it. Iron on cardstock side for 10-15 seconds. Repeat if necessary. Allow to cool.
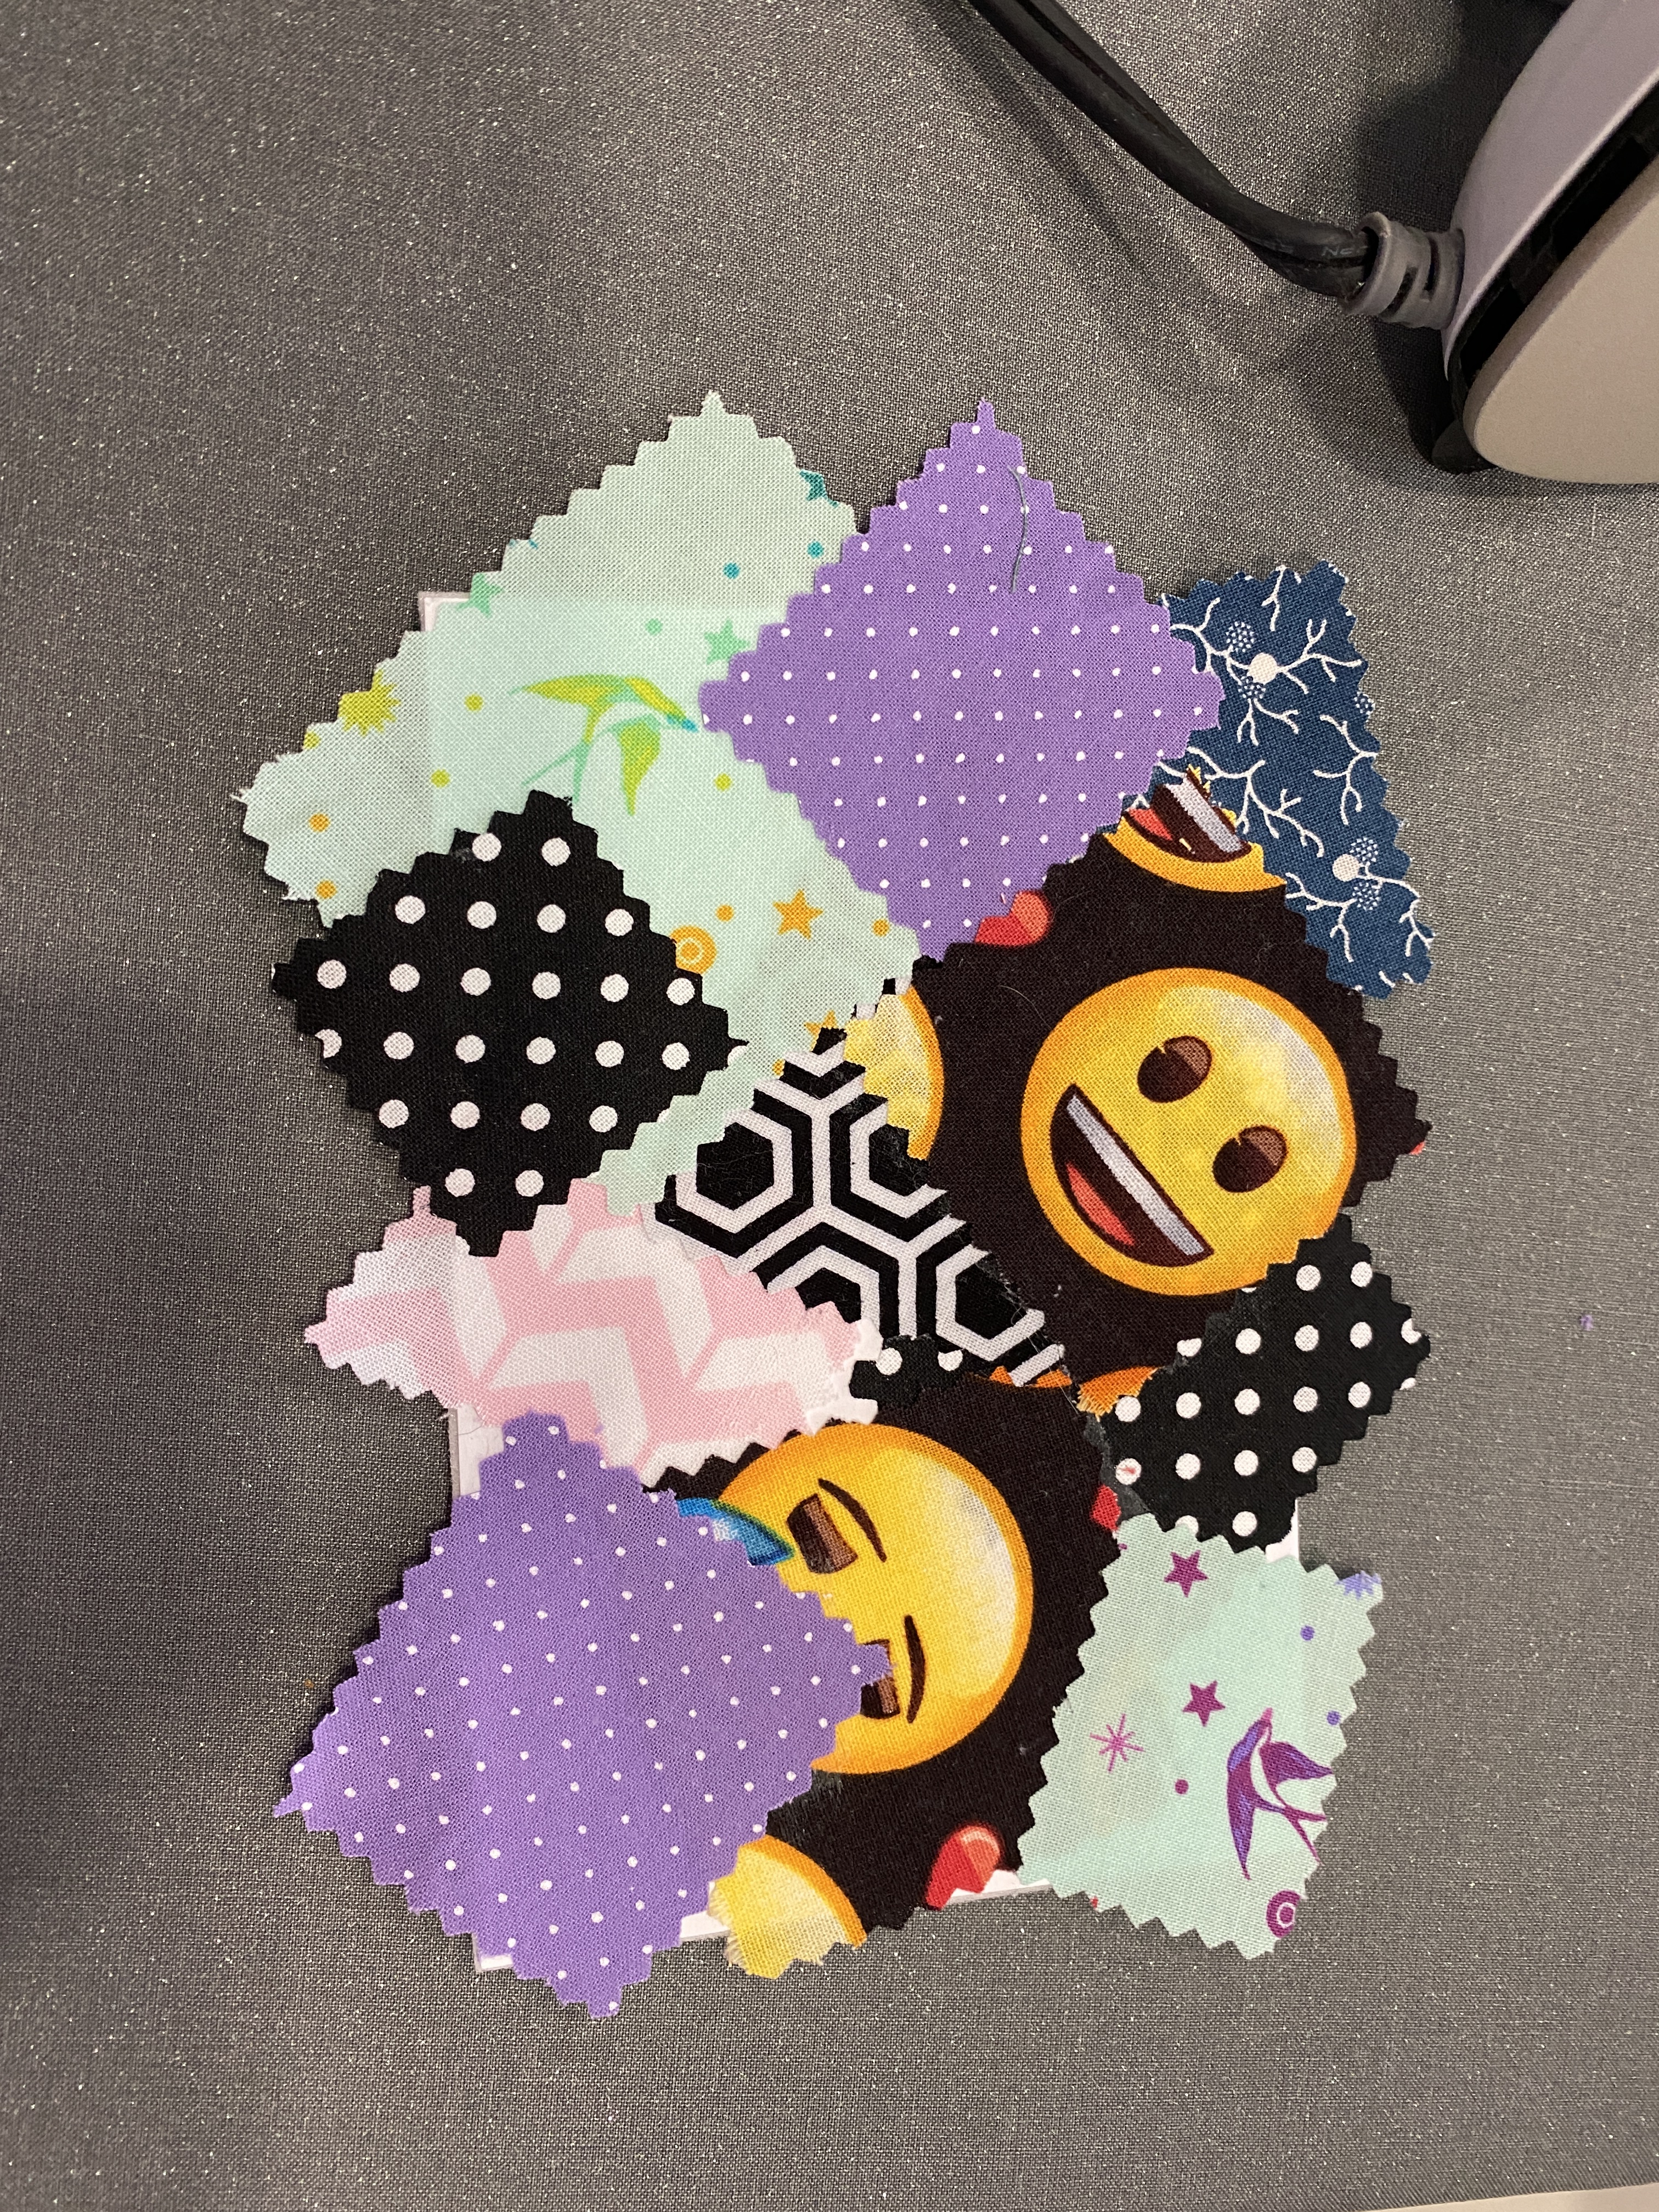
5. Apply fabric scraps in a collage or improv style to the cardstock side (not the fuzzy side). Tip: decide layout before applying glue stick to your fabrics. Be generous with the glue. Extend your design beyond the edges of the card. Press fabric scraps firmly to surface using your fingers.*
6. Quickly heat set the glue by covering front with a card and running over it with a hot, dry iron for about 5 seconds. Allow to cool and trim to 4″x6″ using rotary cutter and mat.
7. Select postcard and gluestick it to the back of your project. Heat set the glue following procedure in step 6.
8. Stitch around outer edge of postcard using zigzag stitch on sewing machine. Ours were set for widest zigzag (5-7mm) with a stitch length of 0.5 (not quite a satin stitch). I dropped the upper tension to 2.5. Sew around the outer edge 2x. Adjust the stitch length to 0.4 or 0.6 as necessary on the second time around to provide desired coverage.
9. Trim loose threads and touch up with a black Sharpie marker around the edges as needed.
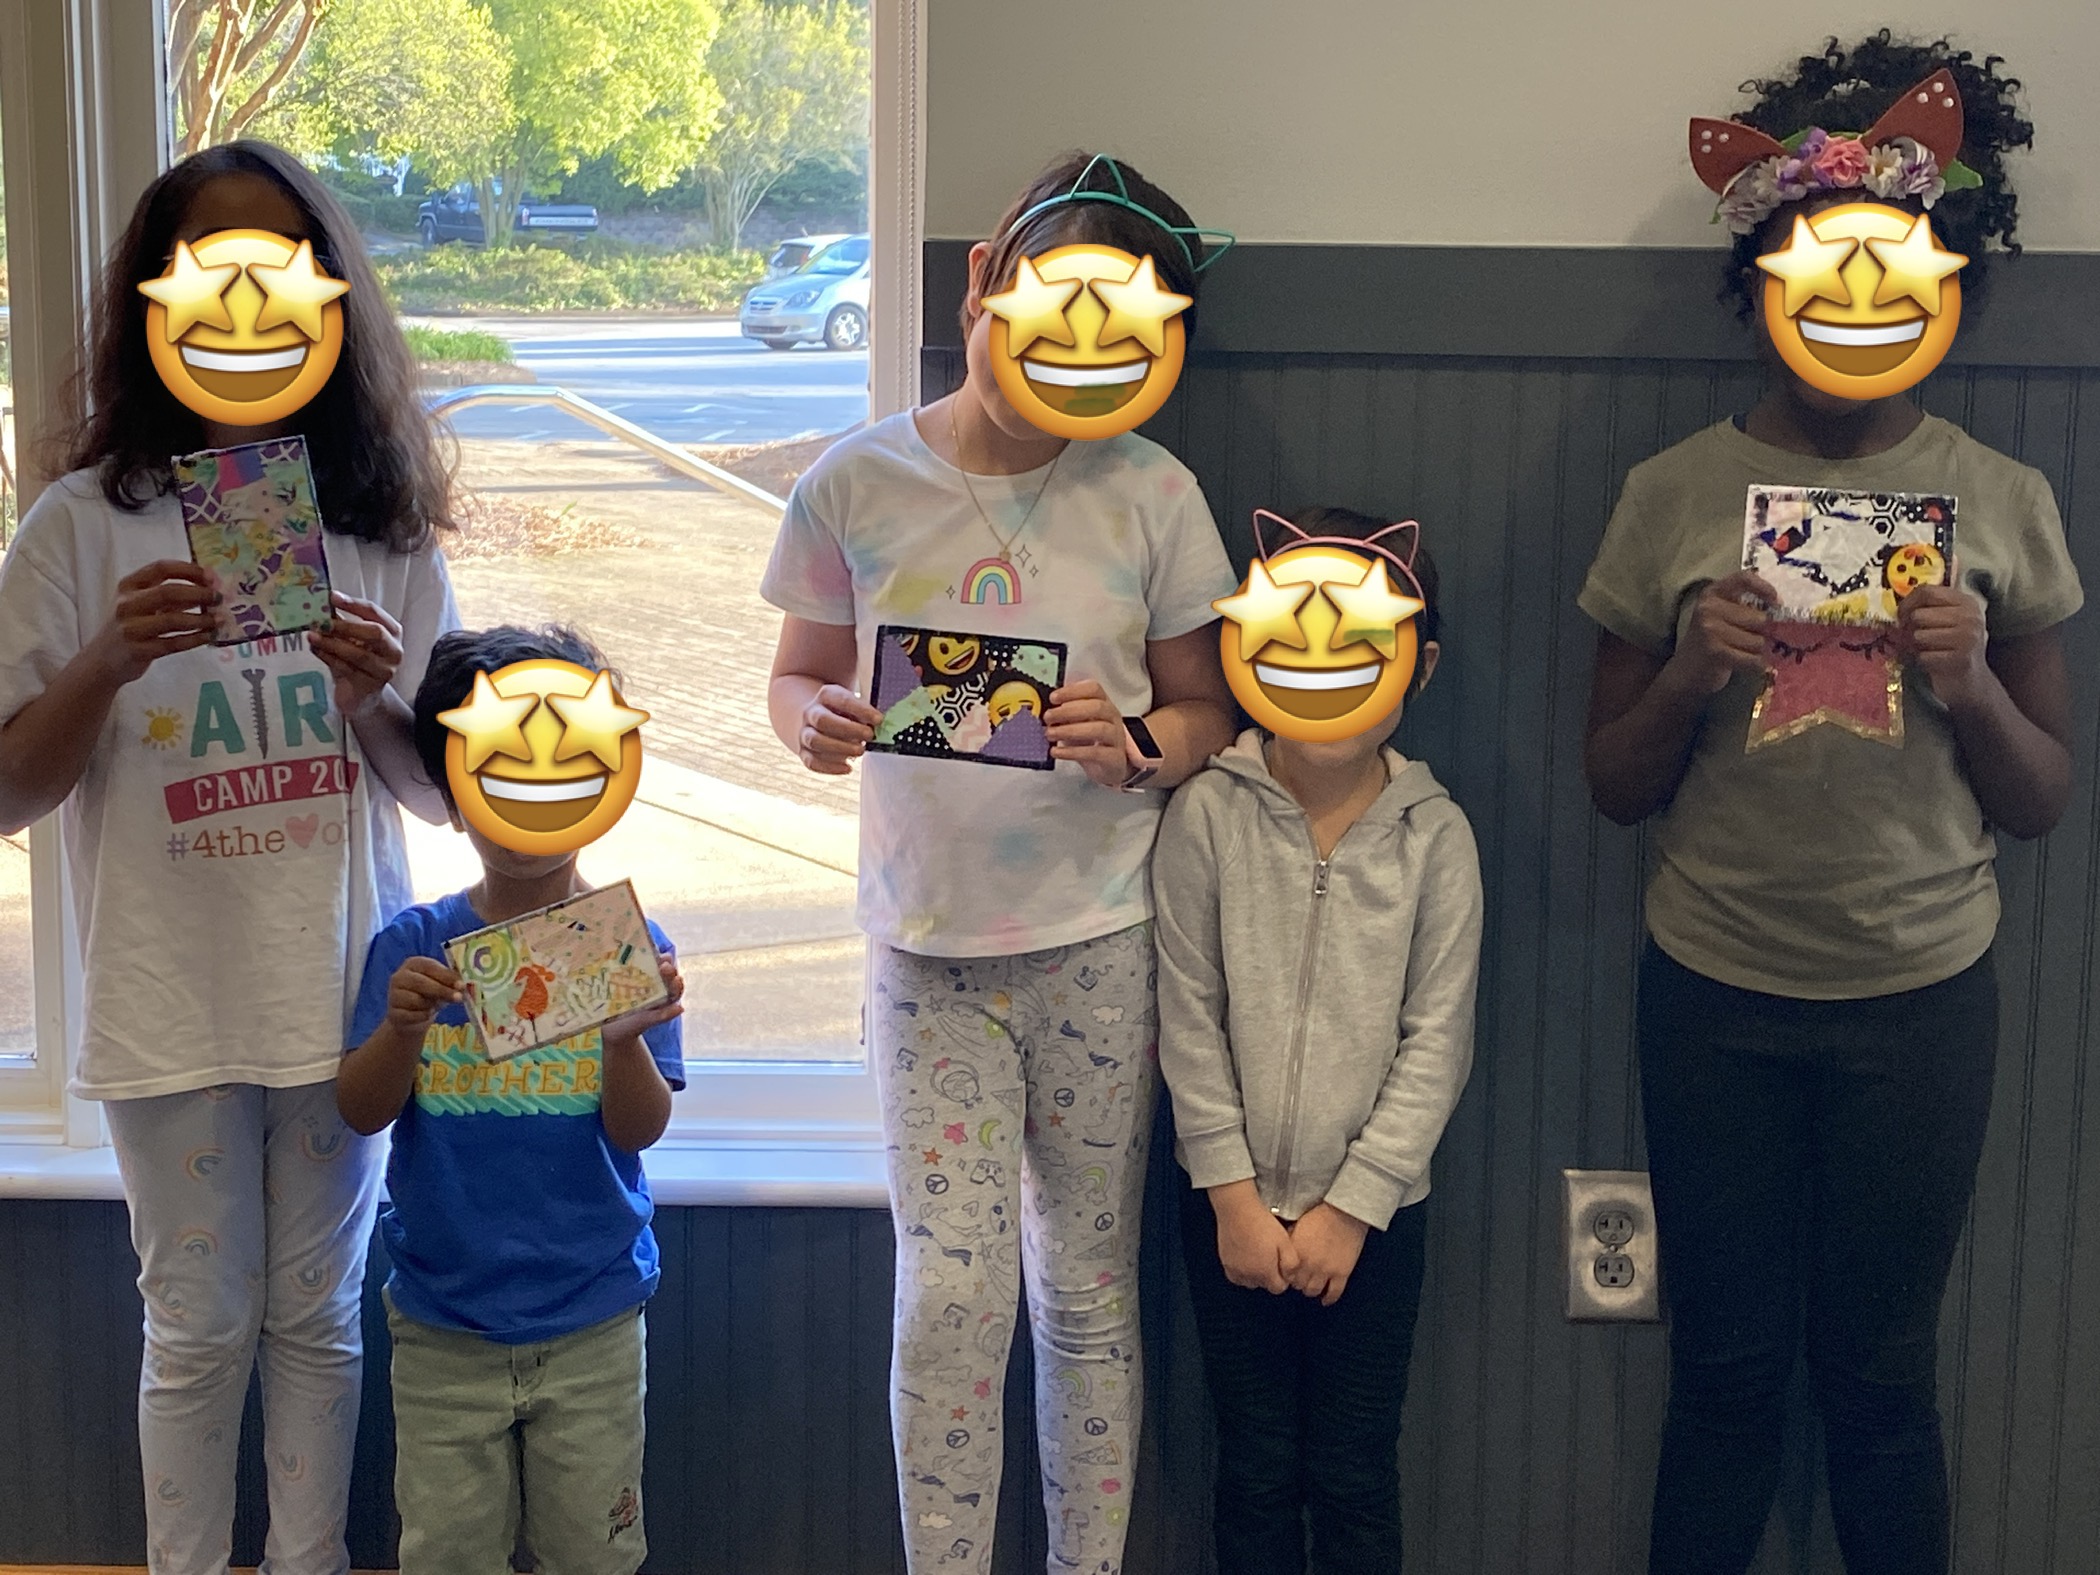
10. Admire your creation and snap a picture.
11. Write a note on the card, place it in the envelope and mail to someone one to brighten their day!
* You can quilt/decorative stitch the front of the postcard at this point, if desired.