I LOVE a foot with a flange on the right side to help me keep a consistent 1/4″ seam, as does most every child I’ve taught how to sew. Need a scant 1/4″ seam allowance because I’m making FG and HSTs? No problem! Increase the stitch width 1-2 clicks to move the needle over and keep on sewing.
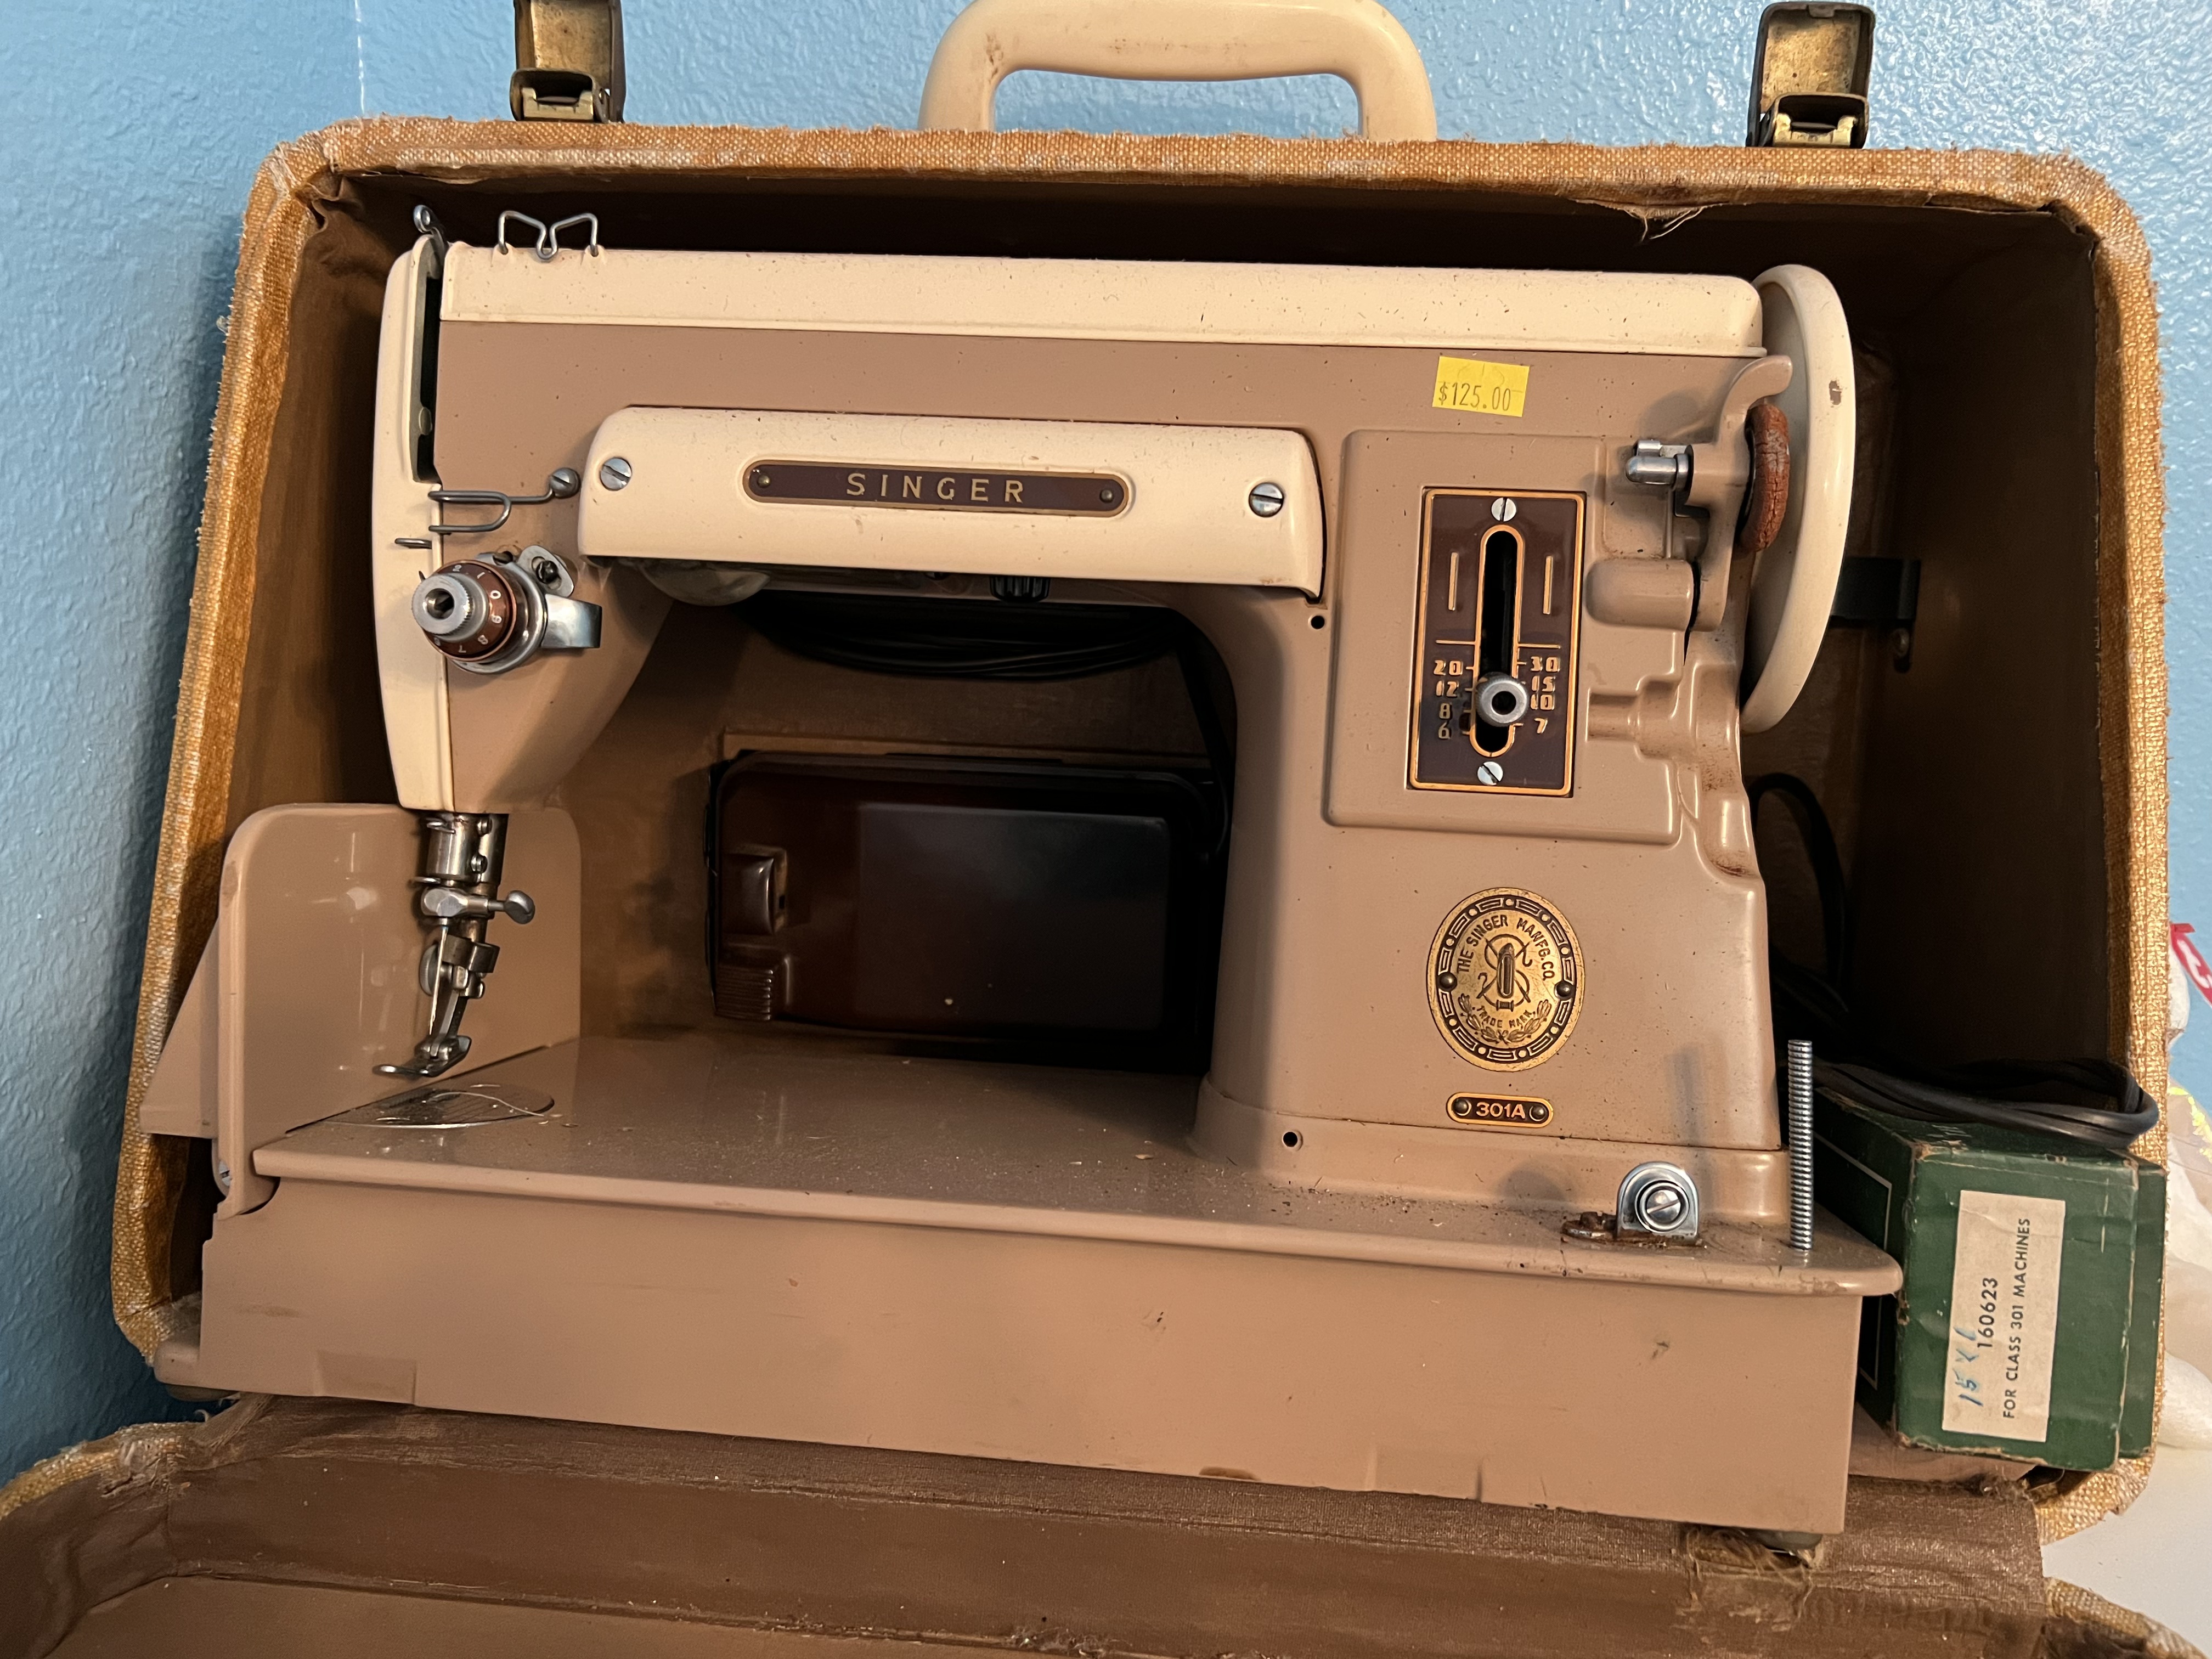
What if you have a vintage or modern mechanical machine where you can’t adjust the needle position on a straight stitch? The needle position remains in the middle or left and that’s it. Think Singer Featherweights, Singer 301, some entry level Brother machines. Even the Janome Jem Gold 660 doesn’t allow any adjustment to the needle position.
For the Janome Jem Gold 660, look into an O2 snap on presser foot. It is designed for a scant 1/4″ seam allowance.
For others, there is a scant 1/4″ foot offered by the Featherweight Shop and other online vintage machine retailers. Before you hit the purchase button, test your machine to make sure your machine sews a true 1/4″ seam using the markings on your needle plate. Is your seam allowance a true 1/4″? If so, the scant 1/4″ foot should work with your machine.
Some machines actually sew a generous 1/4″ seam when doing this test. My Singer 222 and 301 are this way. Nothing is wrong with my machines. They merely came from the factory this way. As long as I use the same 1/4″ foot consistently through my project, the quilt might be a little smaller, but it will be fine. For me, the scant 1/4″ foot is actually a true 1/4″ seam with my 222. It doesn’t matter if I use the snap-on or low shank scant 1/4″ foot. Surprisingly, the snap-on scant 1/4″ foot I use with my FW DOES provide a scant 1/4″ seam IF I use the snap-on slant shanks made with a 3D printer. This was a great discovery for me because I prefer piecing on my 301.