How often do you buy quilt patterns?

I don’t buy quilt patterns very often and this week I bought two!

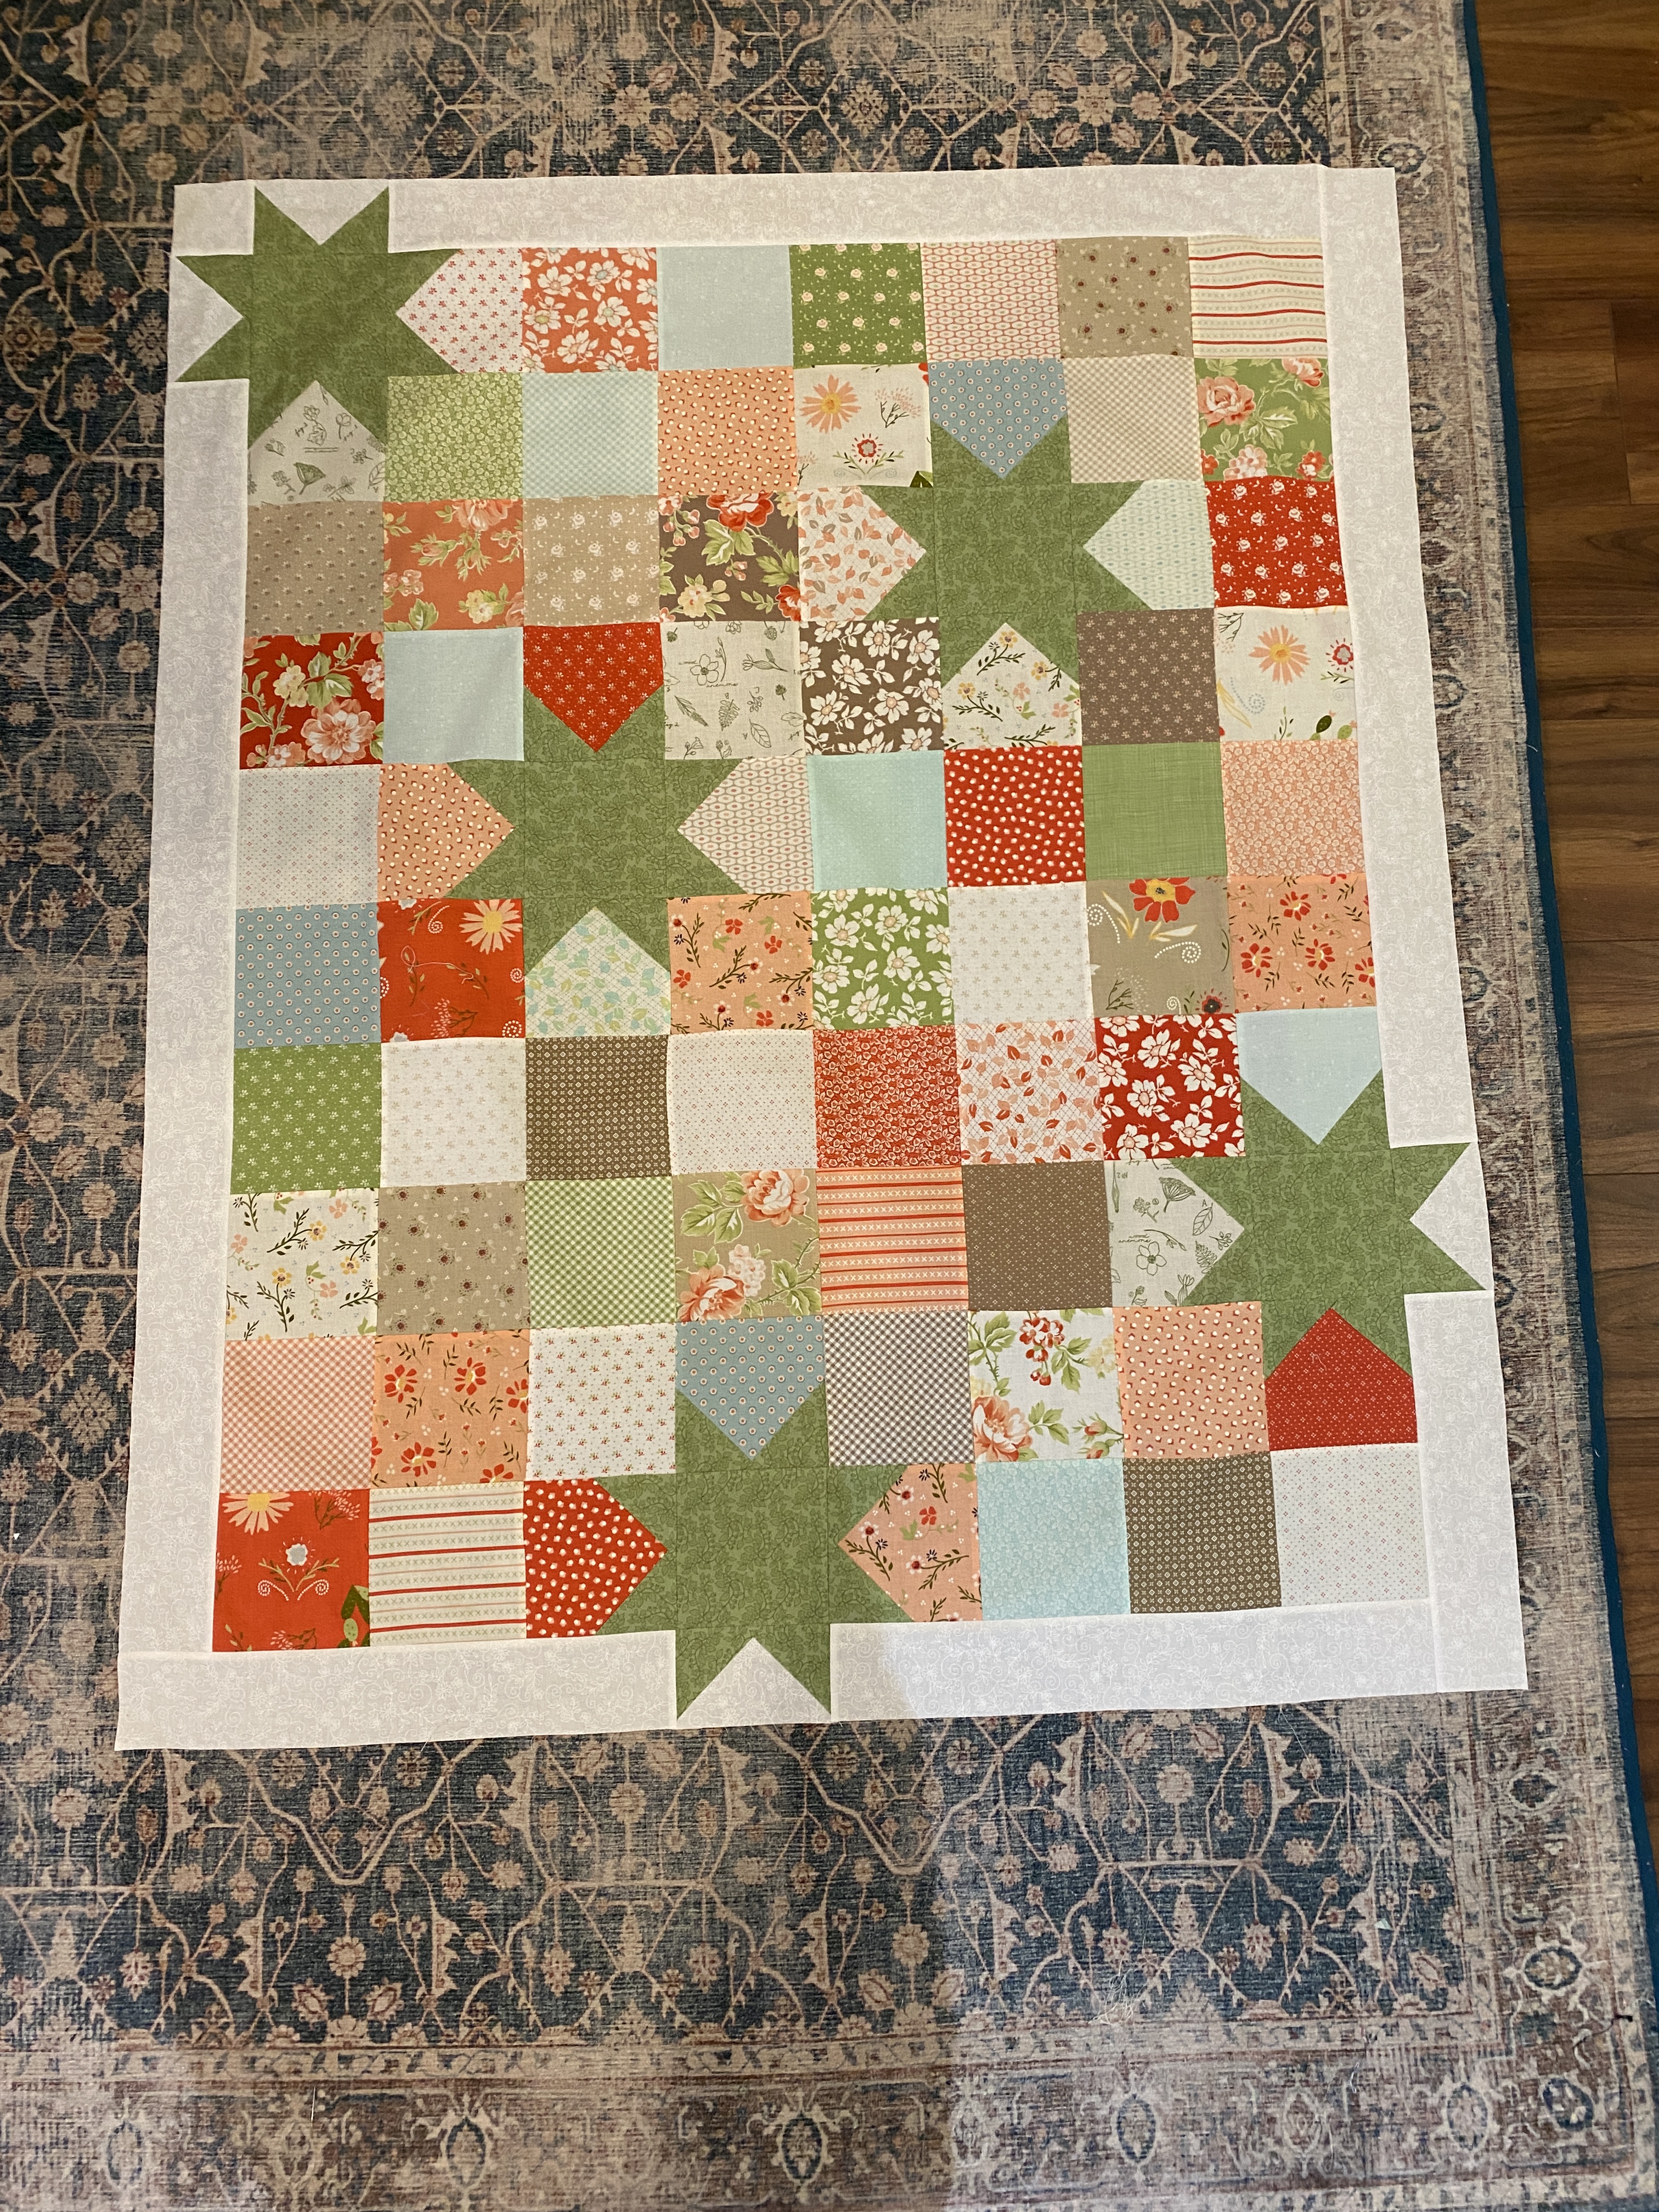
One is Silver Lake by Wendy Sheppard, which is part of a fundraiser QAL with Pat Sloan to support the Virginia Quilt Museum. It starts in January, 2026. When I saw the pattern, I knew it would be perfect for the layer cake bundles I’d been saving. I’ve already pulled all the 10″ squares I plan to use. In fact, I even purchased and cut out the background fabric this afternoon. Hint: the background yardage requirements are on the generous side. You could get away with 3.5 yards, if you cut carefully.

As usual, I made a sample block before cutting everything out. Notes: (1) If you are using 10″ squares, you have enough wiggle room to starch your fabric before cutting. (2) Use a scant 1/4″ when piecing. (3) The pattern doesn’t indicate which way to press seams. Consider pressing HSTS and major seams open to reduce bulk.

The other pattern is Clippings by Thimbles & Needles. The pattern’s controlled scrappiness is definitely my vibe. To me, the consistency of the same QST fabrics throughout the quilt is key to tying everything together. The quilt’s a single a block design, making it great for retreats, sew days or when I just want to sew without thinking too hard about it. I discovered the pattern while perusing class listings for the upcoming Myrtle Beach Quilt Party – and bought the pattern & printed out the registration form just in case!

The block – Combination Block, Split HST, Three Color HST or whatever you call it – isn’t hard to make. It’s one side of an HST married with one side of an Hourglass block. If you are a member of Team Oversize & Cut Down, then you’ll want to upsize cutting measurements given in the pattern. I added 1/8″ the HST cut square measurement and 1/4″ to the QST cut square measurement. Proceed to cut and sew the units together as directed in the pattern. Give the block a good press and trim to the required size. Tip: A square-up ruler in the exact size needed or the Tucker Trimmer will make the trim down part go much faster.

This time of year, I deliberately plan projects and activities to get me through to mid-February because the holiday season can be hard at times. Having an involved project like the Bonnie Hunter mystery quilt I did last year helps keep me engaged. I have a cross-stitch and two potential quilt show entries to finish this year. The January QAL with Pat Sloan and potential beach retreat at the end of January give me something fun to look forward to.

Quilt Patterns for Charity Projects

Oh My Stars! free quilt pattern from Pat Sloan

We all have our favorite patterns to use when making charity quilts – I certainly do. A fellow quilter, who is a prolific maker of things for different charity groups, highly recommended the pattern pictured above as one I should try. She mentioned that it’s fast to make, stash-friendly and the pattern’s free. So, I did.

All fabrics came from my stash. The charm squares are a mix of packs from Fig Tree and Sheri & Chelsi, plus some random 10″ squares I cut to size. The colors just went together.

Now that the top is completed, I’m not as crazy about the white border, but I think it will be fine with the scrappy binding I made. The goal for this quilt is to use what I have on hand. This means the backing will be made by creatively refashioning a 2-1/2 yard piece of green polka dot fabric into the size I need.

My friend was spot-on about the suitability of this pattern for making charity quilts. It’s easy to make and lends itself to any number of color ways and themes. Bonus? The components fit into a quart size zipper bag, making it a great candidate to take for a retreat or sew with friends project.

Now that I’ve made one, I thought I’d share some tips:

  1. Select a light to medium tone-on-tone or small print for the border that contrasts well with the star fabric.
  2. Utilize the “float the star points” option by cutting the border fabric 1″ wider that called for in the original pattern. Pat Sloan offers a separate free download with instructions for this modification. The 1″ of extra fabric helps avoid cutting off the star points when applying back-to-front binding.
  3. If using pre-cut 5″ squares, confirm they are indeed the correct size and trim as necessary.
  4. Arrange all 80 charm squares in the order you’d like them in the quilt. Take a photo with your phone. Stack the squares in order and label each row.
  5. Pay close attention to how borders are pieced and the order in which they are sewn to the top.

And yes, I added this pattern to my core collection of charity quilt and gift quilt patterns!

Not feeling it

I’ve been in kind of a “meh” mood the past week. Nothing seems to be going as it should from quilting projects cut wrong to therapy dog events still in limbo to estimates to repair a leaking master bath shower that are coming in a lot higher than anticipated. I won’t even go into recent events in the news. Makes me want to hole up in my house and not go anywhere. However, I made commitments to certain folks. Sadie & I must appear for those events, but I can opt out of the rest.

At this week’s R.E.A.D. visit with the public library, the librarian’s expression matched mine. I remarked she must not be feeling it either. She agreed. By the time our last reader left 90 minutes later, I was in much better spirits. So were several patrons and library staffers. All due to the simple act of sharing my dog with others.

Thursday morning, we presented a program on therapy dogs as community helpers to a local kindergarten class. Several upper elementary students were waiting in the lobby as Sadie & I stepped off the elevator. Their faces lit up when when they saw us. Everyone had to come say hi. Big Girl was definitely in her element. After the kindergarten class, we found the 2nd grade classroom where many my former Monday enrichment regulars are now learning. It was wonderful to see them again.

Still showing up even when I wasn’t feeling it pulled me out of the funk that was starting to settle in.

I finally figured out where I screwed up on the Aloha Mystery Quilt – and am extremely grateful I had another jelly roll of the same fabric line in my stash. I spent most of Sunday fixing my mistake and getting the different bits color coordinated to make a controlled scrappy version of the Aloha Spirit design. There’s a celebration at the sponsoring quilt shop on October 11th. I plan to be there to share my completed quilt.

Now on to making pillowcase for my guild’s community service program.

Photo by Pixabay on Pexels.com