Back to school time – will your kids be sewing this fall?

Hard to believe, but our local public schools start back later this week. Classes for my hybrid homeschool group resume 8/19 and I’ll be teaching “Travel Stories” – exploring maps & geography through picture books. I’ve had a lot of fun researching read-alouds and activities for this class. The number of students in each class will decide how many “craft” activities I can do with them. I’m hoping for a sewing unit with my 4th & 5th graders!

CraftLAB and private lessons resume in late August. Most of my students are now middle school age – which is great. They’re more independent and our projects are definitely driven by their interests. I do require a community service project – which is to make a pillowcase for Ryan’s Case for Smiles or a placemat for Meals on Wheels. My guild makes up the pillowcase kits and I provide materials for the placemats. If you are in Smyrna, Vinings, or NW Atlanta, you are invited to reach out about lessons. I have limited openings for students in third grade & up. After school sessions are available.

I’m on email lists for just about every fabric shop, quilt shop, sewing machine dealer and maker studio in the area. Not much has been advertised in the way of fall kid/teen classes just yet. Here’s what I have found:

  • If you’re in Loganville, Monroe or Watkinsville and homeschool, Sew Sew Studio in Bogart has a reasonably priced 6 session course available for homeschool students. Everything is included in the class fee.
  • If you live in the Suwanee and Duluth areas, several stitch schools have recently launched. Google “sewing classes Gwinnett” to find them.
  • For those closer in to the city, Fabricate Studios (Howell Mill Rd/Chattahoochee Industrial area) and Topstitch Sewing Studio (newly reopened in Decatur) also offer kid and teen classes at times to suit working families (after school and weekend classes).
  • If you live in Cobb County, the local library system offers free sewing classes at the Switzer and Northwest Regional library branches several times per year. These classes, designed for teens and adults, are led by volunteers from the American Sewing Guild and other experienced sewists. Feedback on classes offered through the library has been very positive.
  • Cottontail Quilts and Tiny Stitches offered youth sewing classes over the summer. The Stitcher School sponsored summer sewing camps at Covenant Church (located near Campbell Middle School). So far, I’ve not seen or heard about any plans for fall sewing classes.

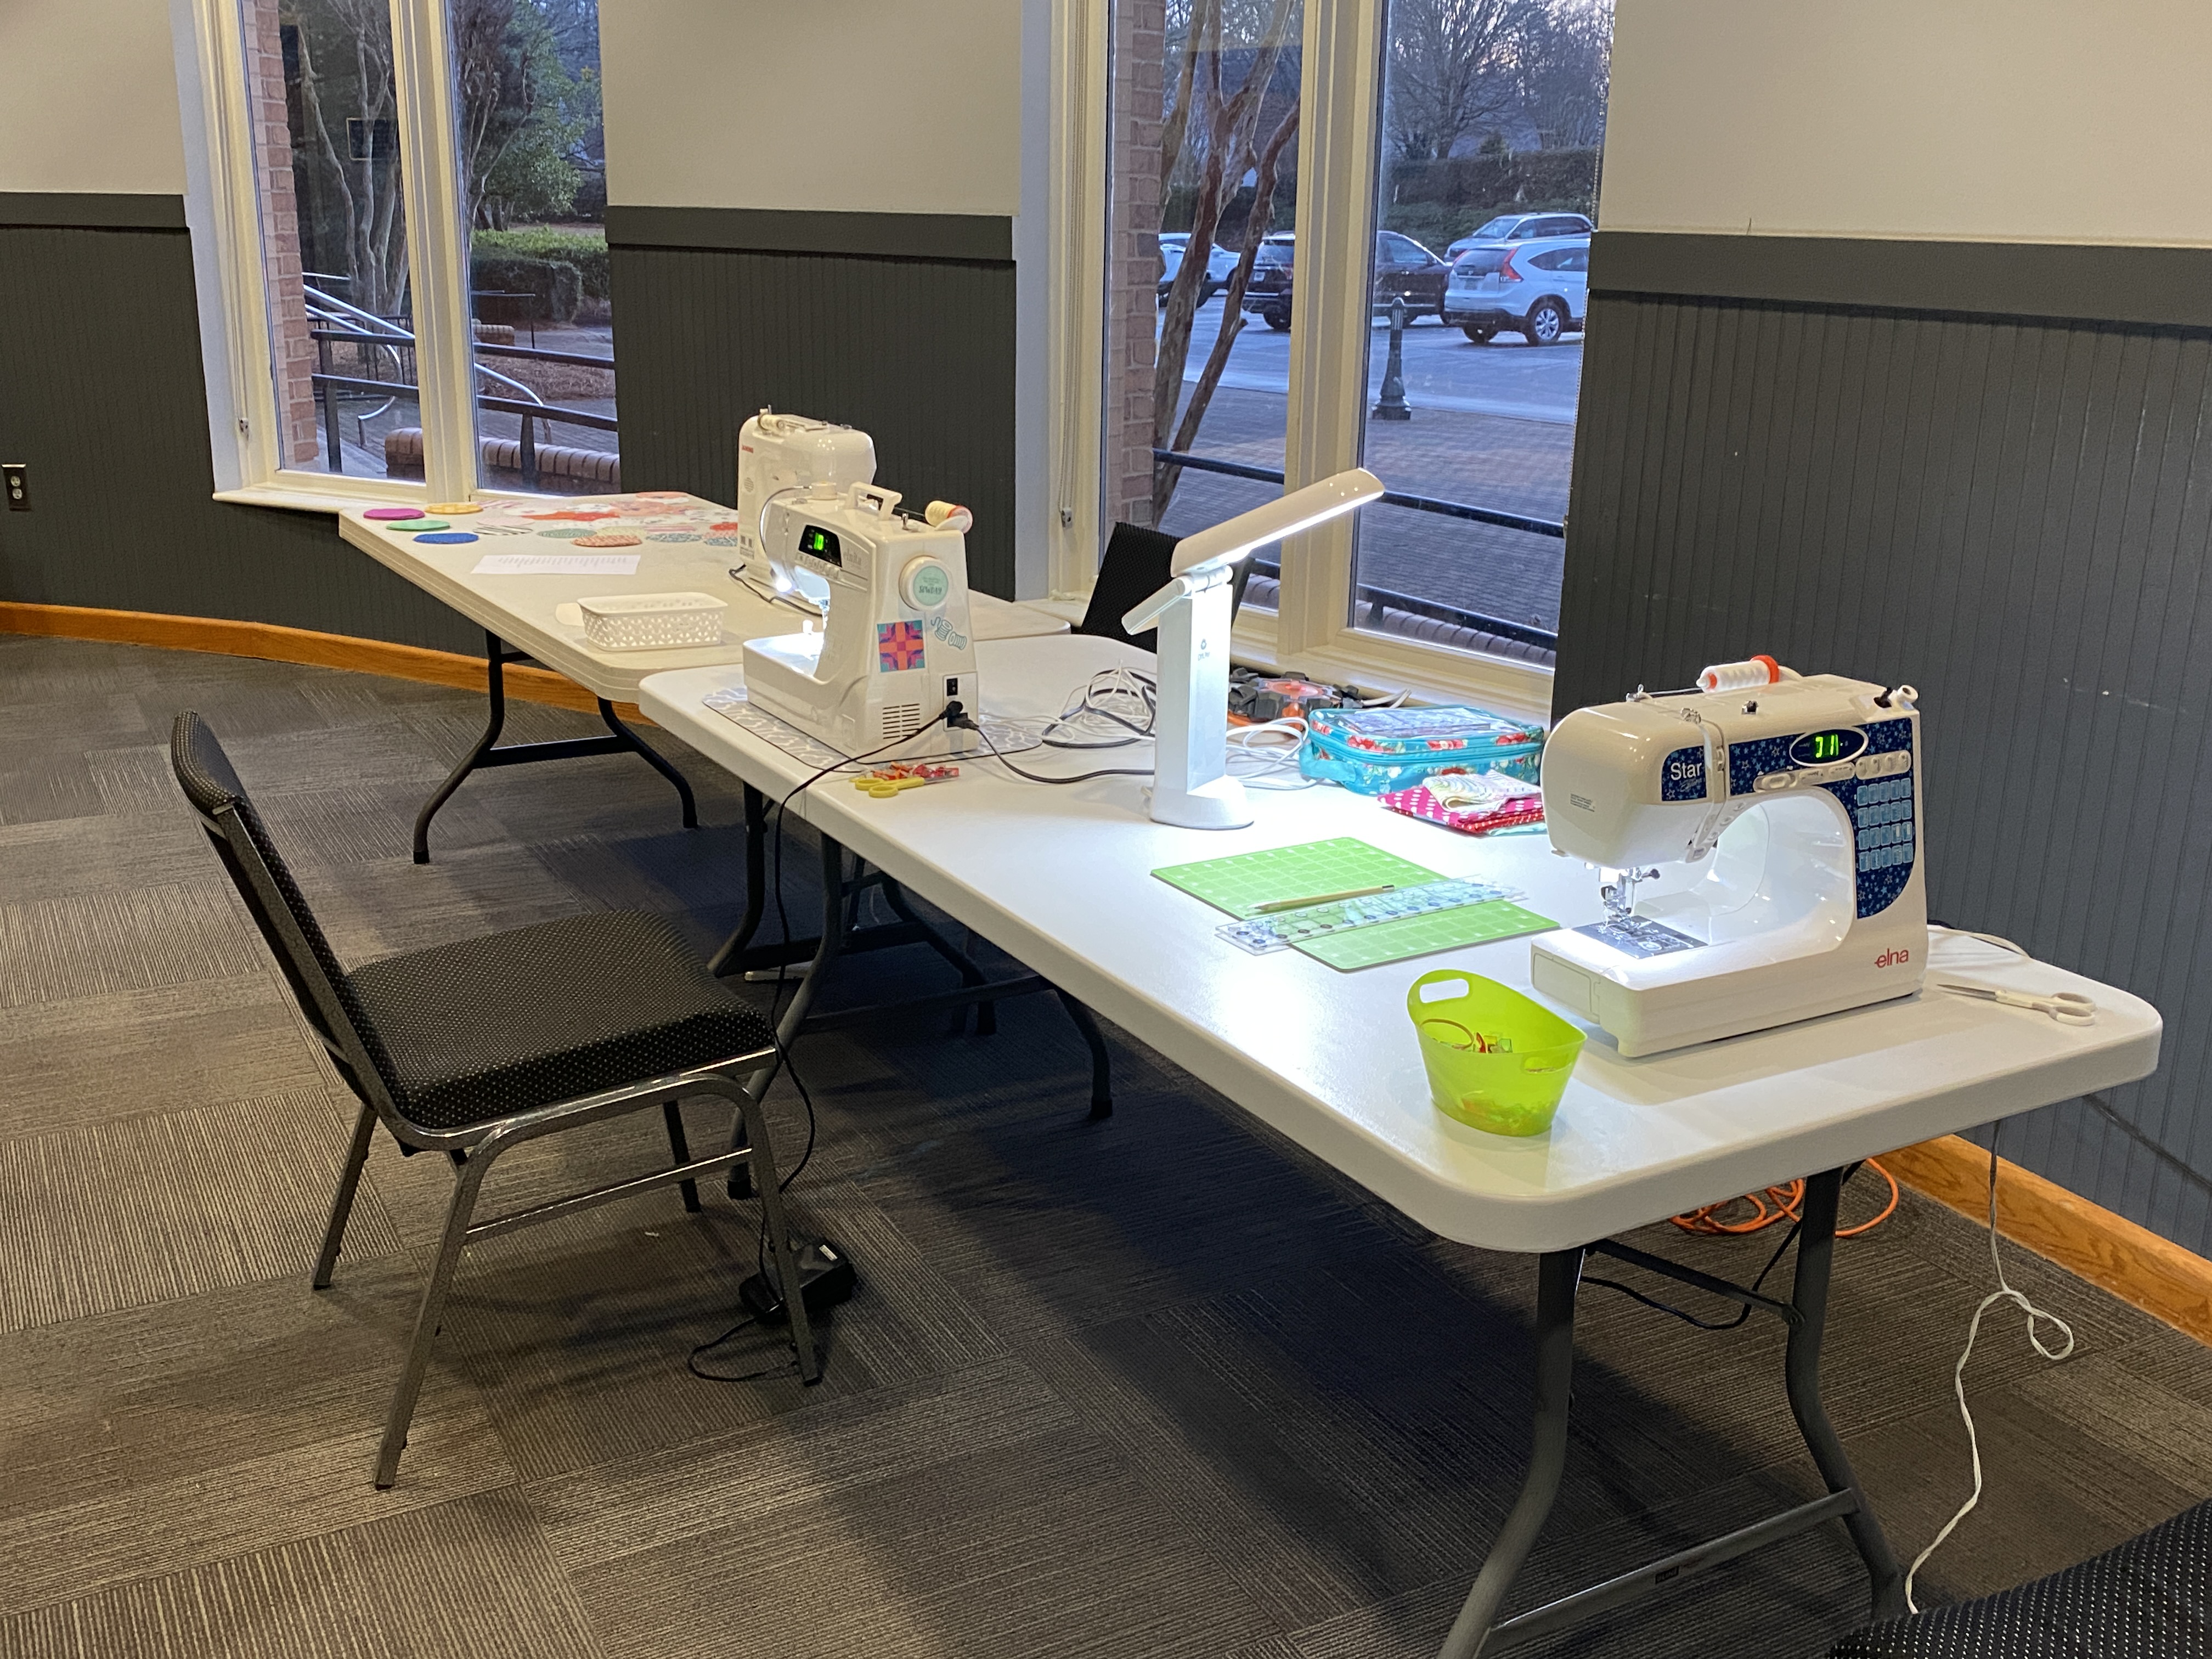
There is one more option: if you have a sewing machine, rudimentary sewing knowledge and patience, you CAN teach your child (plus a friend or two) how to sew. Classes can be expensive. Classes can be offered at times that don’t work with your schedule. Classes may be too far to justify the drive in Atlanta’s notorious traffic.

Show your child how to use the machine. Start them stitching on notebook paper without thread in the machine (or search for free printable cute sewing practice pages online). Beginner projects like a pillowcase, pocket tissue holder, bookmark, drawstring bag or simple tote bag are confidence builders for newbie stitchers. A small investment of time spent researching tutorials/projects for kids on Pinterest and YouTube will be well worth it. The money you’ll save by teaching the basics can go toward your child taking more advanced classes to learn skills you’re not comfortable teaching or for attending sewing camps.

Technology can be helpful when quilting…

1) This morning, I spied a quilt on a YouTube stream that I liked. I used it as inspiration for my own quilt, which I designed in EQ8:

Image of quilt designed using EQ8 software.
Aflutter quilt designed in EQ8

It finishes at 50″x60″ – which is my preferred size for a throw quilt. I’ll make one to use during our R.E.A.D. sessions with Sadie, plus one from scraps to donate to my guild’s community service. If you don’t have EQ8, then you can always draw by hand or research any number of quilt design apps (free & paid) available online.

2) You can also use the Google Lens feature with the Chrome browser. Simply download the app/extension and add it to Chrome. It helps when trying to identify the pattern you saw in a FB post. Non-quilting related – it helped me identify the silverplate patterns on some serving utensils my mother sent home with me recently. They were my great-grandmother’s dating back to around 1910. Mom said they hadn’t been polished in at least 50 years. I believe her. It took almost an hour to get them back to the original silver.

3) Special interest groups on FB are full of helpful information. Machine specific groups help one another troublehsoot sewing machine issues, designer enthusiast groups often sponsor QALs using previous books/patterns and still others offer a way to destash items directly to a target audience. I rarely post on FB anymore. Instead, I use it to follow therapy dog, quilting and vintage sewing machine groups. I learned this morning of an upcoming Lori Holt QAL sponsored by an enthusiast group I follow. I know I have the book and I think I have the templates. If not, I know someone who does!

4) Apps like Libby allow you read quilting books and magazines for FREE on your device with only a public library card. Quilting apps like the QuiltingCalc app from Robert Kauffman Fabrics helps you figure out how much fabric you need for a project. Chances are, your favorite online quilt shops also have an app available for download. If not, you can bet they are over on Instagram. Pinterest is also a great app for keeping track of projects and tutorials that inspire you.

Lately, I’ve been limiting my use of social media on purpose. It’s just easier this way. I’m still in the loop as to what’s going on in the world, yet I am more productive and sleep better.

Why you need a quilting plan for finishing your quilts

Basically, a “quilting plan” helps you convert more flimsies into finished quilts. It can be as general or detailed as you wish.

Your quilting plan might be to send the top to a longarm quilter. If so, there’s some prep work you’ll still need to do before delivering the top and backing fabric to the longarm quilter. Consult your longarmer for any special instructions.

If you decide to quilt the top yourself, will you do straight-line/walking foot quilting or free motion quilting? Either method requires different planning and prep.

Personally, my quilting plans for FMQ are more detailed than straight line designs using my walking foot. I write my quilting plans down in a 5″x8″ journal. I’ll sketch the top, add in any inspiration photos or quilting details, make notes on the quilting design, spacing, thread, needle, bobbin, etc., along with my plan to divide and conquer maneuvering the quilt sandwich through my machine (I have 11″ to the right of the needle). Right now, my FMQ is to use the same design all over my quilt. As my skills grow, I’ll add semi-custom details in the sashing and borders. Those will be indicated on my quilting plan. It’ll definitely be a while before I reach the stage where each individual block is custom quilted, with each unit having a separate quilting design – like the photo below I took of a quilt at the Omaha Quilt Show .

Photo of a quilt showing quilting detail.

Close-up of quilt showing detailed custom quilting.

Next up on my quilting agenda is my husband’s retirement quilt. Yes, it’s two years after the fact, but I couldn’t decide on the quilting design. I really wanted to do this one all by myself rather than sending it out. I finally saw a quilting design I liked in a collection of straight line quilting designs, but couldn’t figure out how to stitch it. My gut told me this was the design, so I waited. Recently, some YouTube video I streamed had a segment of someone demonstrating how to quilt that exact design. Well, duh! Things finally clicked. Sadie & I will be basting that quilt this afternoon.