Handling economic uncertainty

One thing is for sure: there will always be economic uncertainty. It’s a part of life. What happens in the stock market is out of your control. All you can do is plan/prepare to the best of your ability, adapt when needed and get on with your life.

How might the current economic uncertainty from tariffs and blowback from other countries impact quilters and sewists? Who knows? I fully expect the price of things from fabric & thread to quilt retreats to increase across all sectors of the marketplace – whether you get your stuff online, Wal-Mart, Hobby Lobby or your LQS.

Rest assured, I’ll still continue to quilt, make projects for charity and take classes to hone my skills. This won’t change. What may change is where I buy fabric & notions and where I take classes/attend retreats. Like you, I have a finite amount of money to devote to quilting activities. My goal is to make the money stretch to include the quilty activities that make my heart sing.

New fabric in my area quilt shops averages $14.00/yard. For me, fabric has now achieved the same status as certain items in the grocery store. I’m not paying full price for those items. I can wait for a sale, buy it elsewhere at a cheaper price or substitute something else. Amazing how well this strategy works for fabric, too.

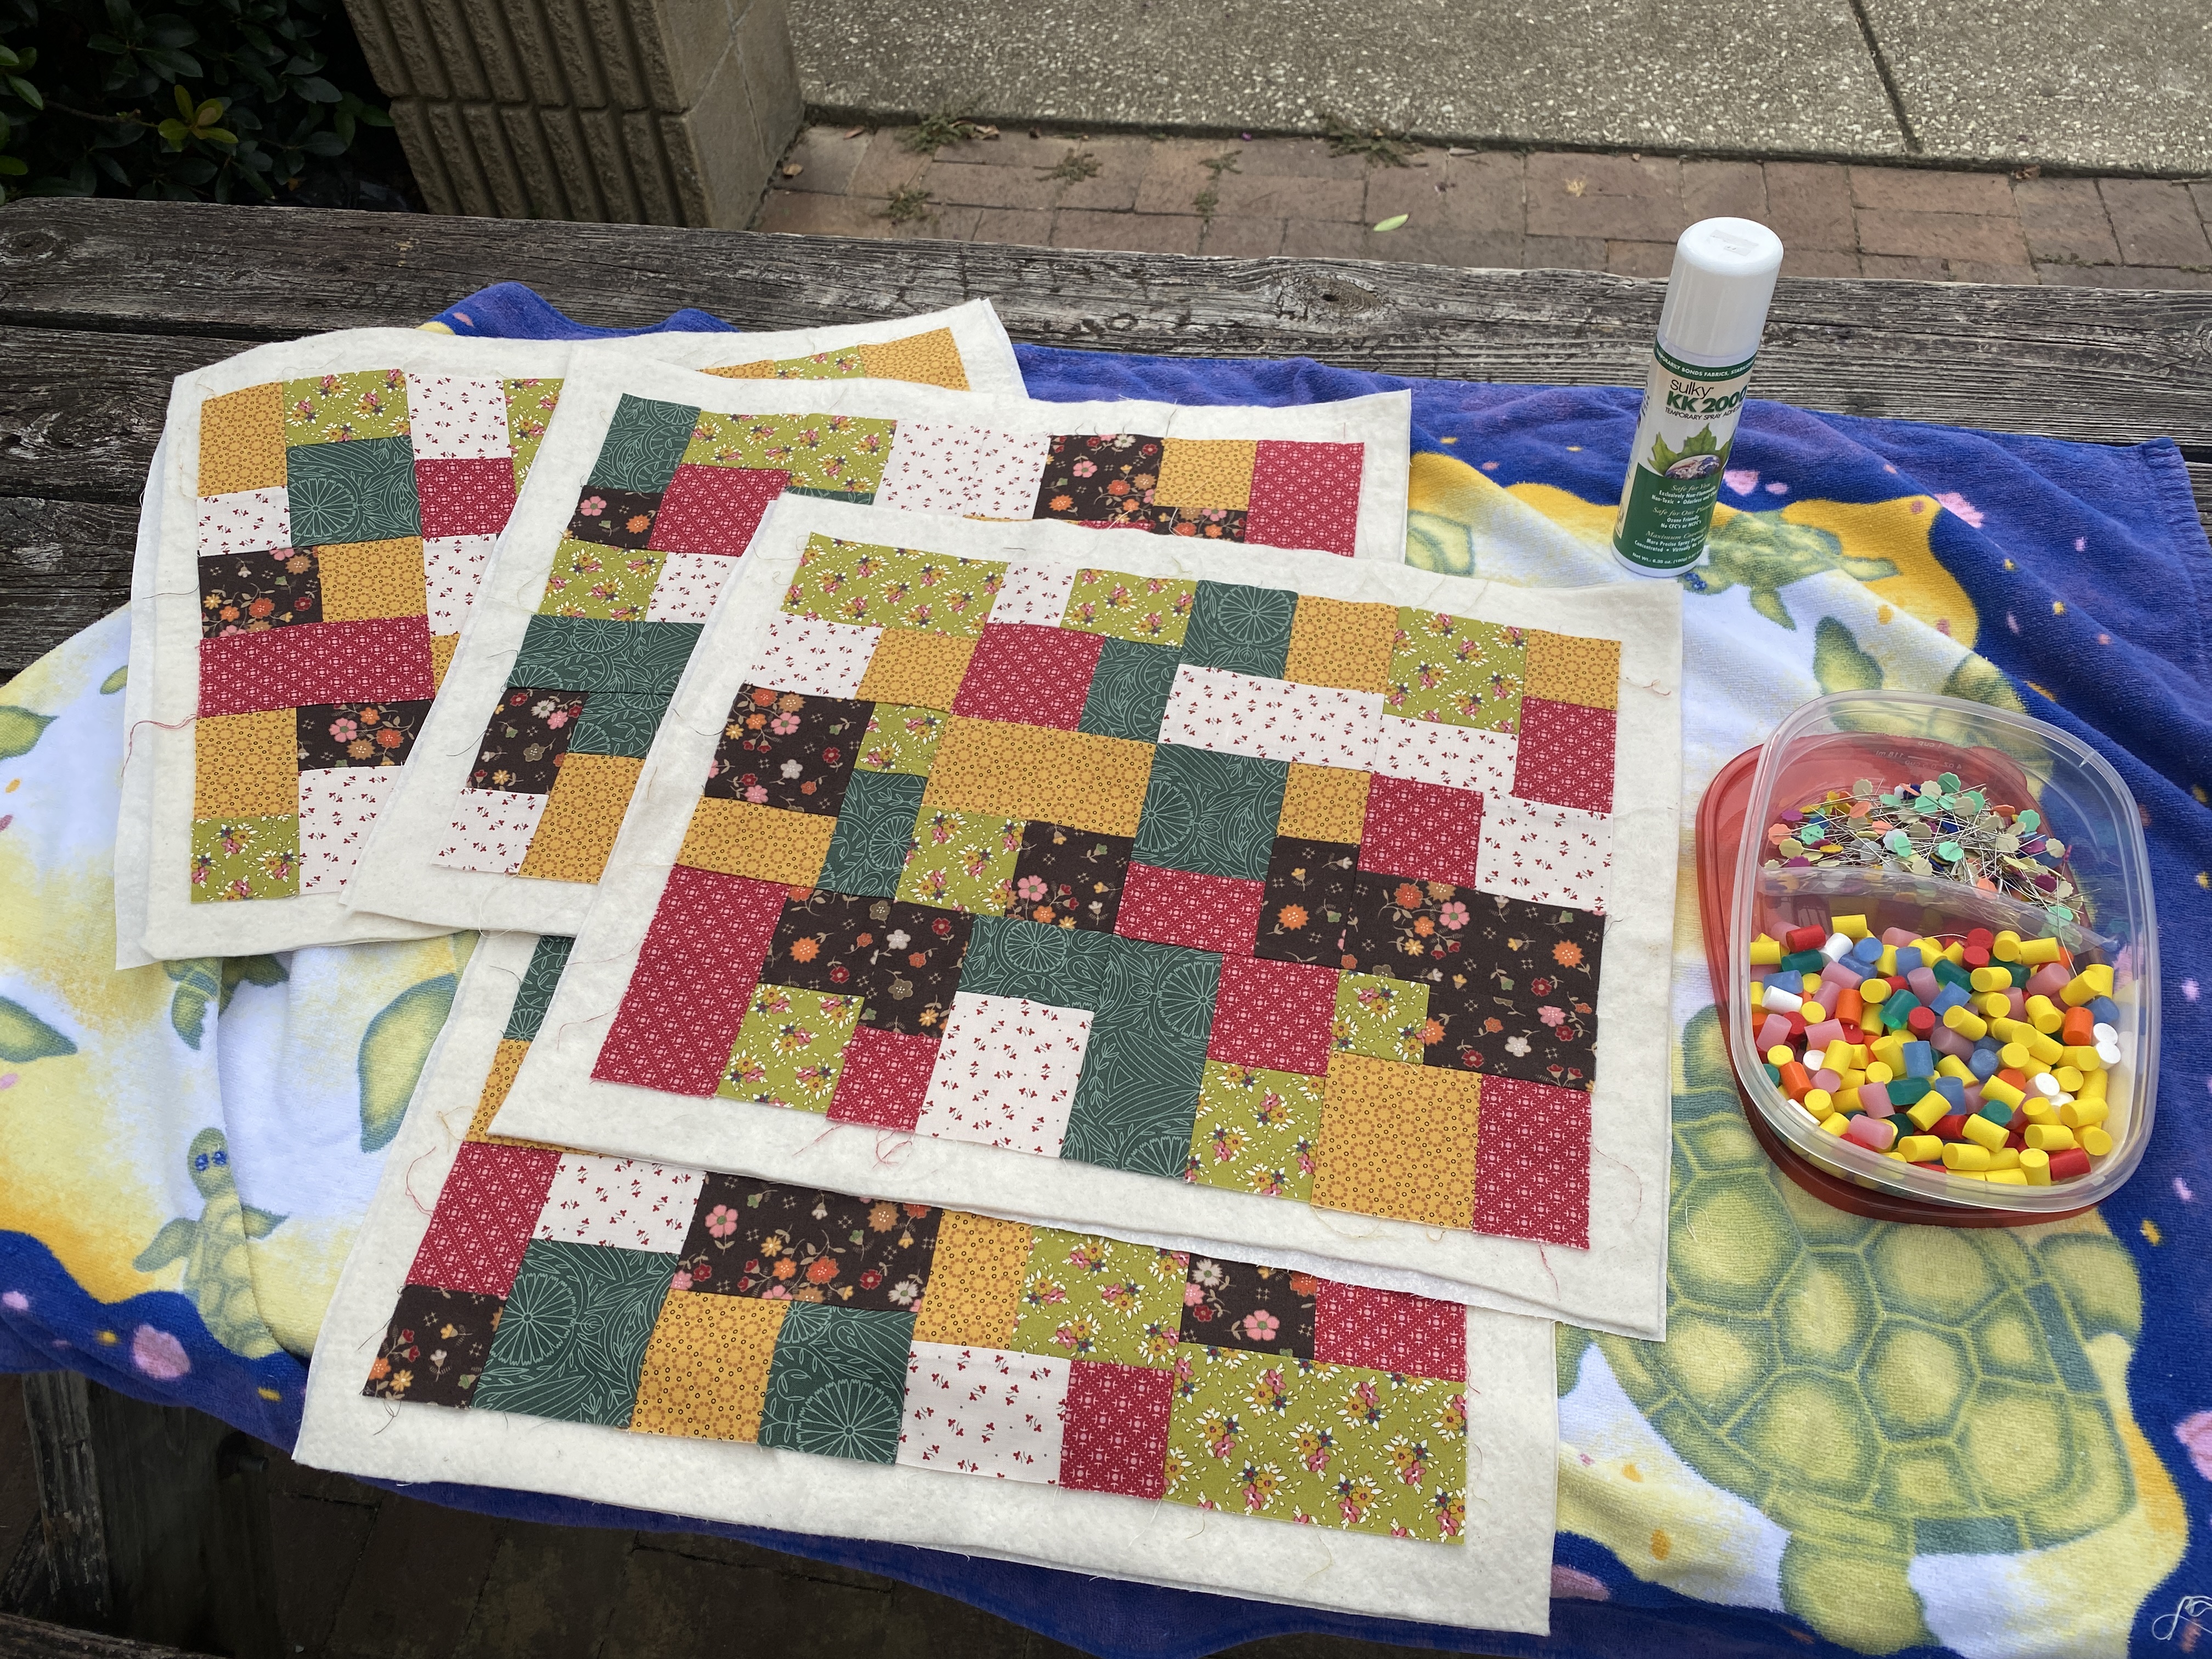
Quilt classes have increased in price. While my guild’s class prices have remained steady at $55 for members, most pattern and supply fees are now paid directly to the instructor, rather than being included in the class fee. I typically take at least 1 guild sponsored class each year. This week’s class with Tara Miller was awesome! The other class I want to take is in late July with Michelle Yeo. She’ll be in the US over the summer and my guild was lucky enough to book her. Her Giant Dahlia quilt is gorgeous. The acrylic templates and 2 patterns with shipping from Australia were just under $100.00 USD. A friend and I split the cost.

Quilt retreat/travel has also gone up. Retreat fees are up about 20% over last year – as are hotel prices. I’m in a quilt retreat group on FB and some organizers are having a hard time filling all their spaces. One organizer even admitted she should have planned for a private room option. Thank you. Some of us prefer private rooms – not 3+ twin beds stuffed in an alcove. As several FB retreat group members have indicated repeatedly, I’ll be happy to pay a reasonable extra amount for a private room.

This is why I tend to stick to events held at conference centers. In a couple of weeks, I’m headed to Idaho for a spring retreat with the JK Quilts girls. This will be my third retreat with them. It’s held at a local hotel & conference center in Boise. Always a great time! I’d like to try their fall retreat – held at a lodge about an hour north of Boise. In June, I’ll be taking 2 classes at Mountain QuiltFest in Pigeon Forge (TN). Points and incentives earned from my Idaho hotel stay will help cover some of the hotel cost of my Pigeon Forge trip. The rest of my summer/fall quilty adventures will be local or within a 3 hour drive.

The economy may be having a hissy fit at the moment, but I’m still living my best retirement life. I can’t do all the things, but I can do all the things I really want to do. Sometimes, it requires a little creativity, but that’s half the fun.

DIY Project Bags

My upcoming quilt retreat has a project bag exchange as one of the activities. It’s optional. Attendees can make or buy a bag for the swap. I considered buying a project bag from my largest local quilt shop to take. That is, until I saw a YouTube video showing how simple they are to make.

My project bag finishes at 10″ x 13″. I merely made it the same size as my favorite ready-made vinyl project bag.

Project bag first attempt

This was my first attempt at making the bag. I used random vinyl I found in my stash along with leftover fabrics from samples I’d made for the Beginning Sewing classes. This bag was constructed entirely on my 301. I will say that I learned a lot about my 301 during this project. I also chose to attach the binding separately rather than doing the self-binding method shown in many tutorials.

Project bag second attempt

This was my second attempt. Much better! I used By Annie 16 gauge vinyl in this one. OMG, what a difference! I also used my Elnita EC30 with a walking foot to do the sewing. In hindsight, a red or yellow zipper would have added a little more zing to the bag, but my options at midnight were limited to what I had on hand in the correct length.

Supplies you’ll need to make my version:
Zipper: regular nylon zipper minimum 14″ length (longer is actually better)
Fabric for zipper insertion: (1) 2″x13″ strip and (1) 4″x13″ strip
16 gauge vinyl for front: (1) 8-1/2″ x 13″ (leave tissue paper on)
Quilted piece for back: 10″x13″ (make a quilt sandwich with 2 FQs and quilt with a simple design; trim to size)
Binding: (2) 2-1/2″ x WOF strips

Make front piece: Fold 2″ strip in half lengthwise and press. Fold 4″ strip in half, bring raw edges to middle and press. Fold over again and press (similar to making a strap). The single folded edges will be sewn to the zipper. The vinyl will be inserted into the double folded edges and topstitched in place. Here’s a video with a good explanation of how to sew the zipper and add the vinyl piece on the front. Start watching about the 19:20 mark in the video.

Assemble bag and bind: Lay the front piece on top of the back piece. Align raw edges and baste in place all the way around. Trim away excess vinyl, if necessary. Attach binding using back-to-front method (leave tissue paper on vinyl). Tear away tissue paper after attaching binding. Fold binding edges to the front. Use wonder clips to hold binding in place, fold miters for corners and stitch.

Wonder Tape (wash away 1/4″ wide double-sided tape) really helps with the zipper installation. I may also try using a tearaway stabilizer or tissue paper underneath when attaching the zipper to the folded fabric edges. Wonder Clips are a must as pins will leave holes in the vinyl. Also, tissue paper is a necessity when sewing requires the vinyl to be next to the feed dogs – when you are attaching binding to the back and flipping it to the front to sew down. It keeps the vinyl from sticking and/or getting caught in the feed dogs.

No vinyl? No problem. Use a quilted fabric panel for the front piece instead of vinyl.

Since I didn’t have to buy anything to make these bags, I consider these projects as freebies. (Yes, it did take 45-60 minutes per bag to make). This means more $$ for shopping at my upcoming retreat!

Projects made from my fabric stash

Stitchin’ Heaven New Year’s Day QAL Blocks 1 & 2 made from fabrics in my patriotic bin
Curvy, lined zipper pouch for class sample. Pattern drafted by me using Boxed Bag template by Carolina Moore.
Placemats using Mini Yellow Brick Road pattern (basting outside at the library during Sew Day)

What do you do with leftovers from previous quilt projects?
How about using them in new projects? It doesn’t have to be an entire quilt.
1. Make mug rugs, pot holders, placemats, table runners, journal covers, pillow covers or zipper pouches.
2. Use the larger leftover bits make quilt sandwiches for FMQ practice.
3. Use some of the smaller leftover bits to make a practice blocks to try out new patterns before cutting into your project fabric.

How to store your scrap and leftover fabrics?
Your system can be as decorative and elaborate as you wish. Personally, I prefer simple. I keep small bits and partial strips in a pretty basket. Random 5″ and 10″ squares are kept with my charm packs and layer cakes. Cut strips that are WOF are stored with my jelly rolls. Larger chunks are stored by color with FQs and yardage. Novelty, dog and patriotic theme fabrics are kept separately.

Periodically, I will go through my scrap bin and cut the leftover jagged pieces into 2-1/2″, 3-1/2″ and 4-1/2″ squares. The smallest size kept is 1-1/2″ strips and I’ll cut 1-1/2″ squares from them as needed because they tend to get lost in the scrap bin.

With the current Bonnie Hunter Winter Mystery quilt, I’ve made good use of random charm squares, forgotten FQs, white/cream hunks leftover from previous quilt tops, and turning all the leftover triangles from trimming stitch & flip units into 1-3/4″ HSTs.

The key to managing your fabric scraps is to organize them, then actually use them.