Quilty Fun Row Along

When Fat Quarter Shop announced this QAL several months ago, I knew I wanted to participate. I’ve used several of the blocks from the book in other projects; however, I’ve never actually made this quilt. Already have the book and a bin full of scraps – why not?

Each month calls for making 1-2 rows. You can find all the details over on the The Jolly Jabber blog. I’m currently finishing up May’s Chubby Chevrons. If you’re looking for an intermediate level, scrap-buster quilt project that’s spread out over a year – here you go.

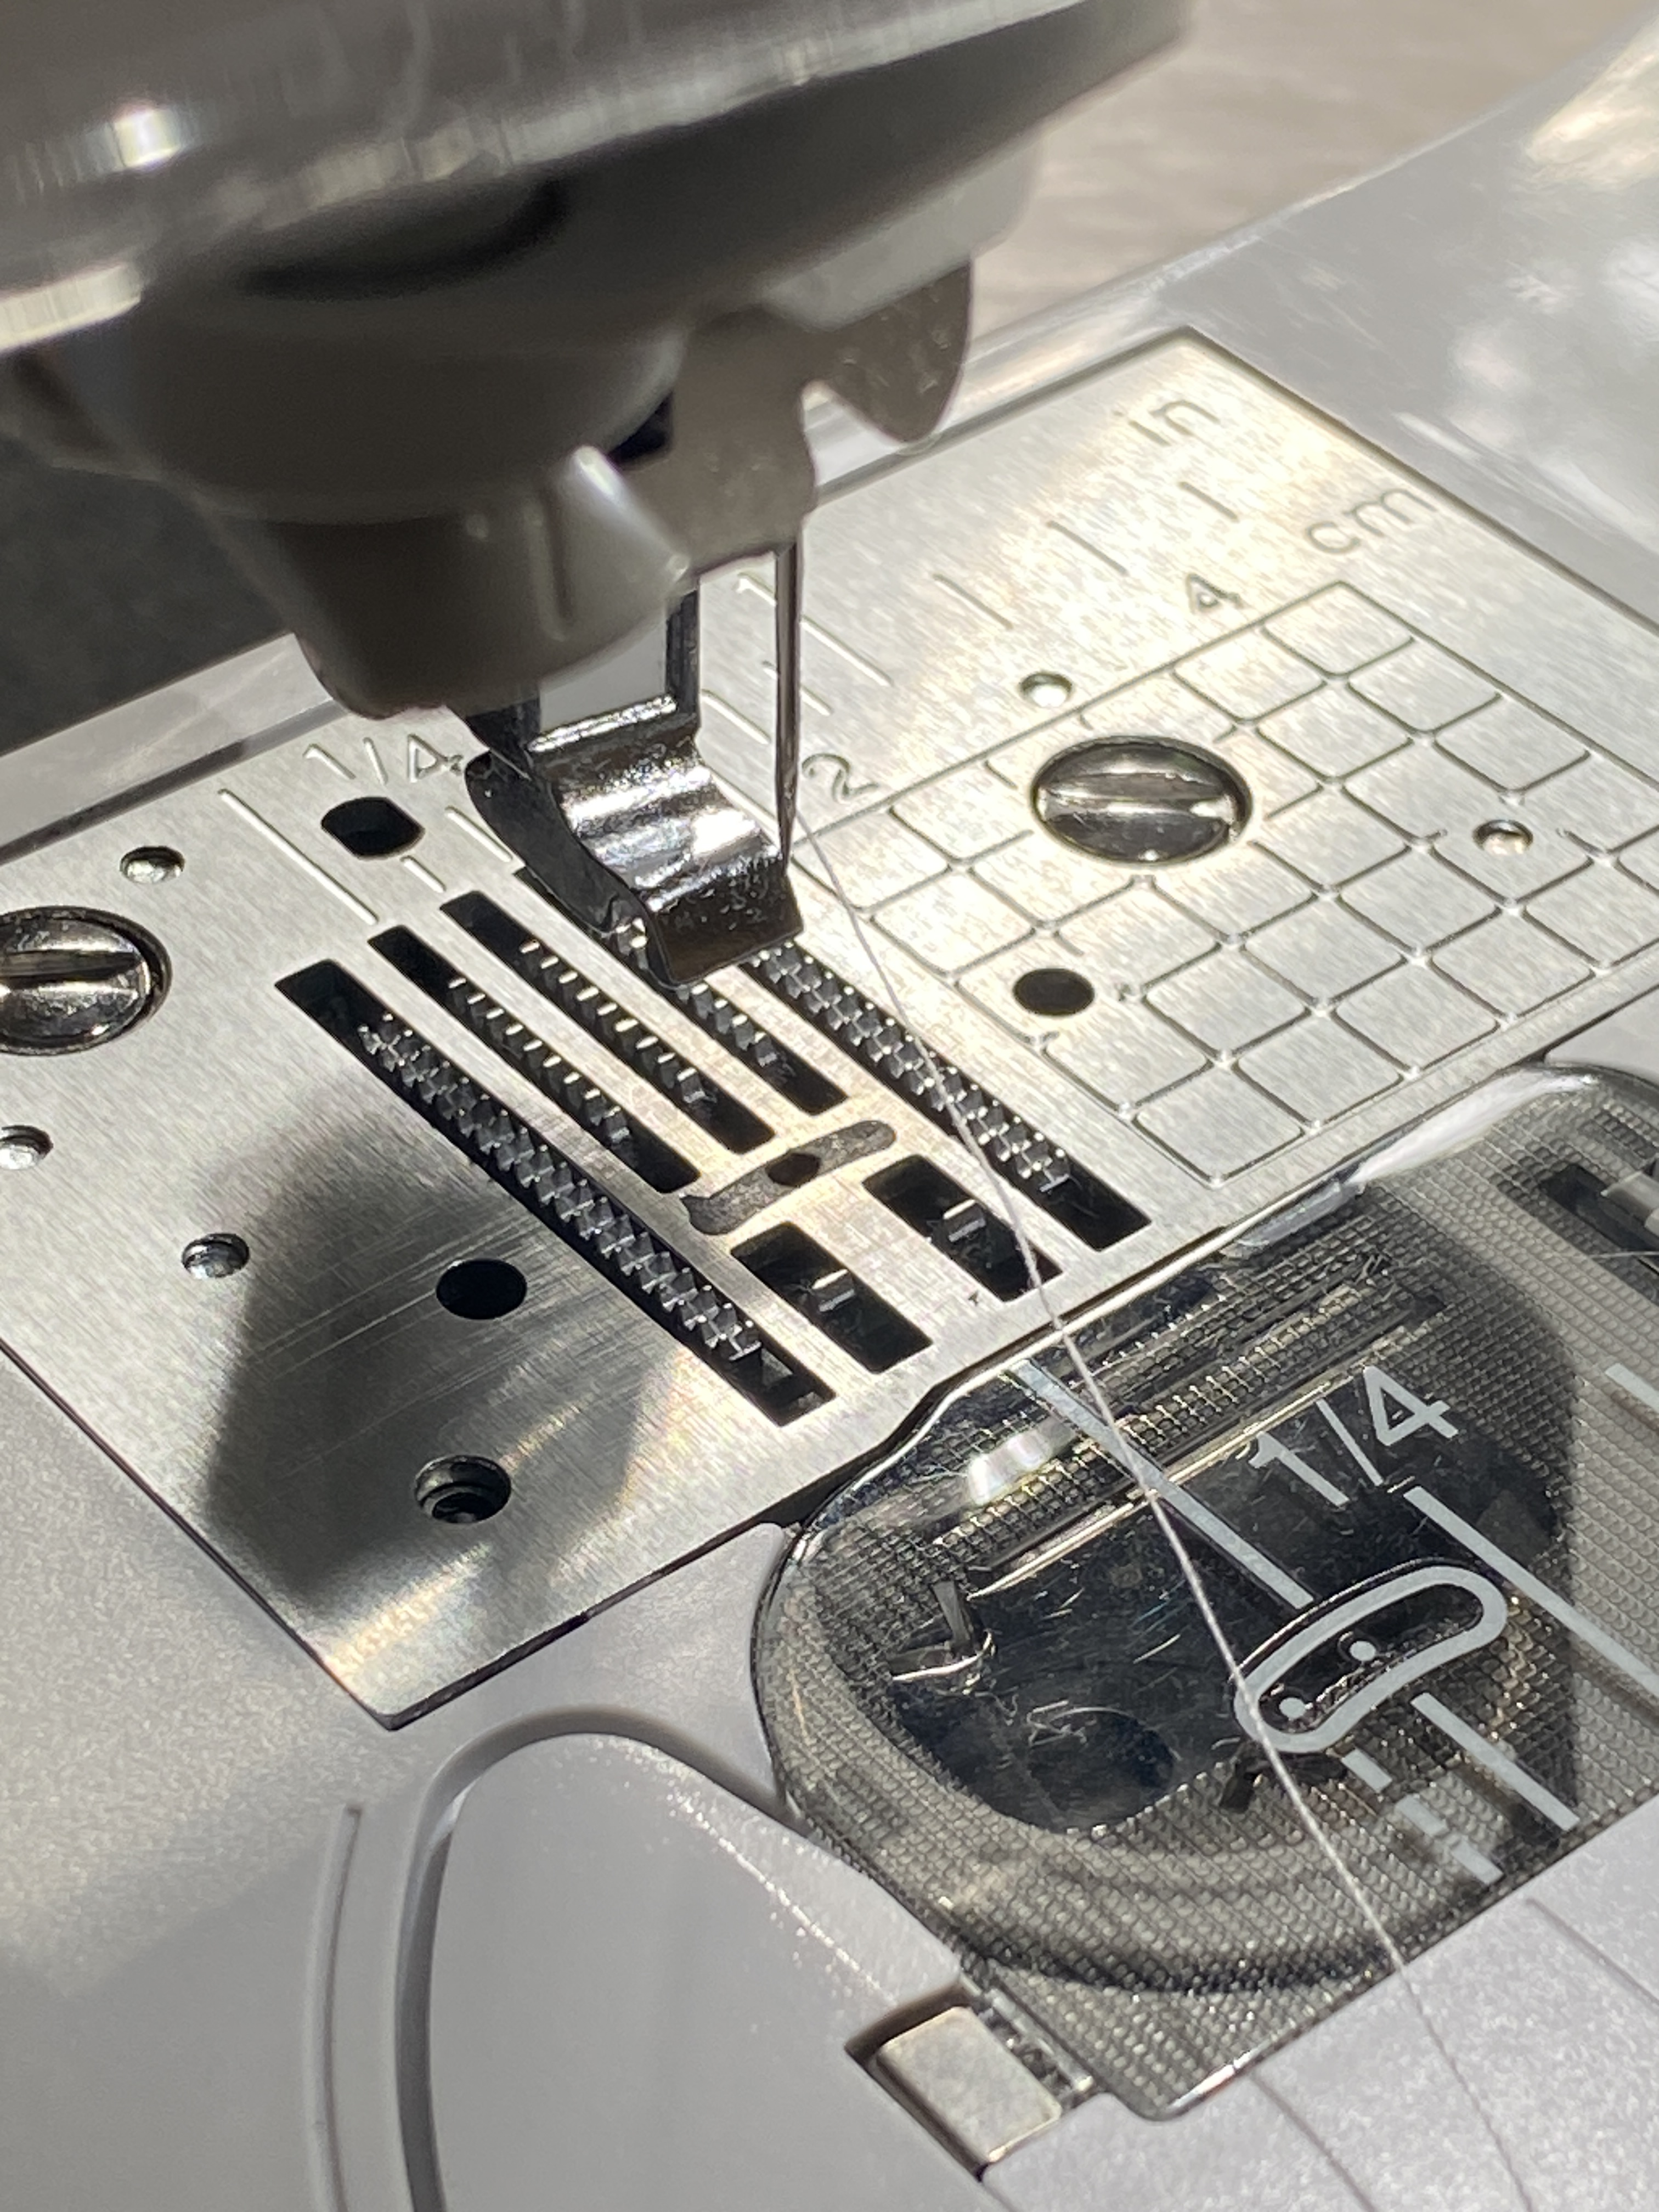
Tip: Sew this quilt with a full 1/4″ seam allowance.

I can’t stress this enough! I typically sew with a scant 1/4” seam allowance. You can still make individual units using a scant 1/4″ and trim to size. However, once you go to sew it all together, you’ll need the full 1/4″ seam allowance. My first row came out about 4″ too long. At first, I thought it was a pattern error and removed two 4-patch units to make it work. When the second row (butterflies) also came out significantly longer than it should have, I checked my seam allowance. With so many seams in each row, that extra thread or two width from the scant 1/4″ seam allowance really adds up. I restitched using a full 1/4″ seam allowance and things were much better. We’ll see how things work with the chevrons using a full 1/4” seam allowance.

Fun facts:
Lori Holt did an online QAL on her blog many years ago using a different setting for the quilt.

The sewing machine cover and mat that you see featured at The Featherweight Shop is made using instructions found in Quilty Fun.

Go have some quilty fun of your own!

DIY Straight Stitch Needleplate

What you see above is a modified zigzag plate for a Baby Lock Jubilant sewing machine. Yep, I now have my very own straight stitch plate. And it works marvelously, too! A little JB Weld SteelStik, toothpick, masking tape, gloves and a paper towel were all it took. Oh, and you will need an additional zigzag plate to modify. This video explains the process. Hubs thought the putty would be easier to work with than the usual tubes you have to mix to make the epoxy. He was right. Drying time was an hour. I filed off any extra using emery (metal) sandpaper from Home Depot and my honing stick from The Featherweight Shop.

So far so good. No error messages after installation of the modified needle plate. The machine stitches fine with no residue appearing on the thread or the fabric. Best of all? No more chewing fabric when I start stitching.

I reached out to Tacony and my local dealer a few times about a straight stitch needle plate option for the Jubilant as their existing straight stitch needle plate only works with machines having an 8″ or larger throat plate. Their response was to use a leader or starter strip. That didn’t work so well for me. I showed the video to hubs and he encouraged me to try it. After all, I’d modified needle plates for my Janome 8900 with success!

A straight stitch needle plate really does make a difference in my piecing and patchwork.

Analyzing Potential Quilt Projects

You see a quilt on Pinterest that catches your eye. Your social media feed is buzzing about an upcoming QAL hosted by a certain designer and quilt shop. By all means, download the free pdf info sheet and/or print off the pattern information. Before you hit the “buy now” button, take 5-10 minutes to really study the pattern details. I am all for supporting designers and publishers. However, many blocks (often renamed something catchy to sell a pattern) are in the public domain – meaning freely available to anyone. I challenge you to see if you can figure out how to make simple designs without automatically purchasing the pattern. This will help you better understand quilty math and quilt design, plus might free up your shekels for more challenging books, patterns, and fabric.

Why do I say this?

If the QAL project involves a single, classic, pieced block, you’ll find lots of online blog and video tutorials are available. You may even find the block in a compilation of quilt blocks book at your local library or quilt guild.

Also, the back of a pattern envelope/ free pdf project info download sheet provides a wealth of information with regard to: 1) finished project sizes, 2) detailed diagram of project and 3) any special tools/supplies needed to make the project. Use this information, plus any finished quilt photos you can locate online to determine the interior block layout, finished block size and guesstimate sashing and border widths.

Block size: Quilt patterns often come in multiple sizes. Merely subtract the finished size of one project from the next size up. For example, if the toddler size is 42″ x 54″ and the lap size is 54″ x 66″, your finished block size is 12″ x 12″. This rule of thumb works best if all blocks are the same size.

Border width: Straight set blocks with a single border makes it easy to figure out border width. Count the number of blocks across one row and down one column. Multiply this by your block size to figure out the interior quilt size. Our example uses 12″ blocks in a 3×4 layout. The interior quilt size is 36″ x 48″ The finished size is 42″ x 54″ so the border is 6″ total. Divide this by 2 and add 1 to 1-1/2 inches to that number. I would cut my border strips at 4 to 4-1/2″ wide in this example.

Personally, I’ve declared a moratorium on buying quilt books and patterns. FQS is currently sponsoring a bow-tie block QAL to market a new book/fabric line and my social media feed is full of bow-tie quilts. As commenters said on social media, “I don’t need that book to make this quilt.” True, but I will be adding yardage to the charm pack swag received at my recent quilt retreat to make this quilt in “mostly” the new fabric line featured in the QAL. Excellent marketing strategy, FQS!