Quilting through the holidays
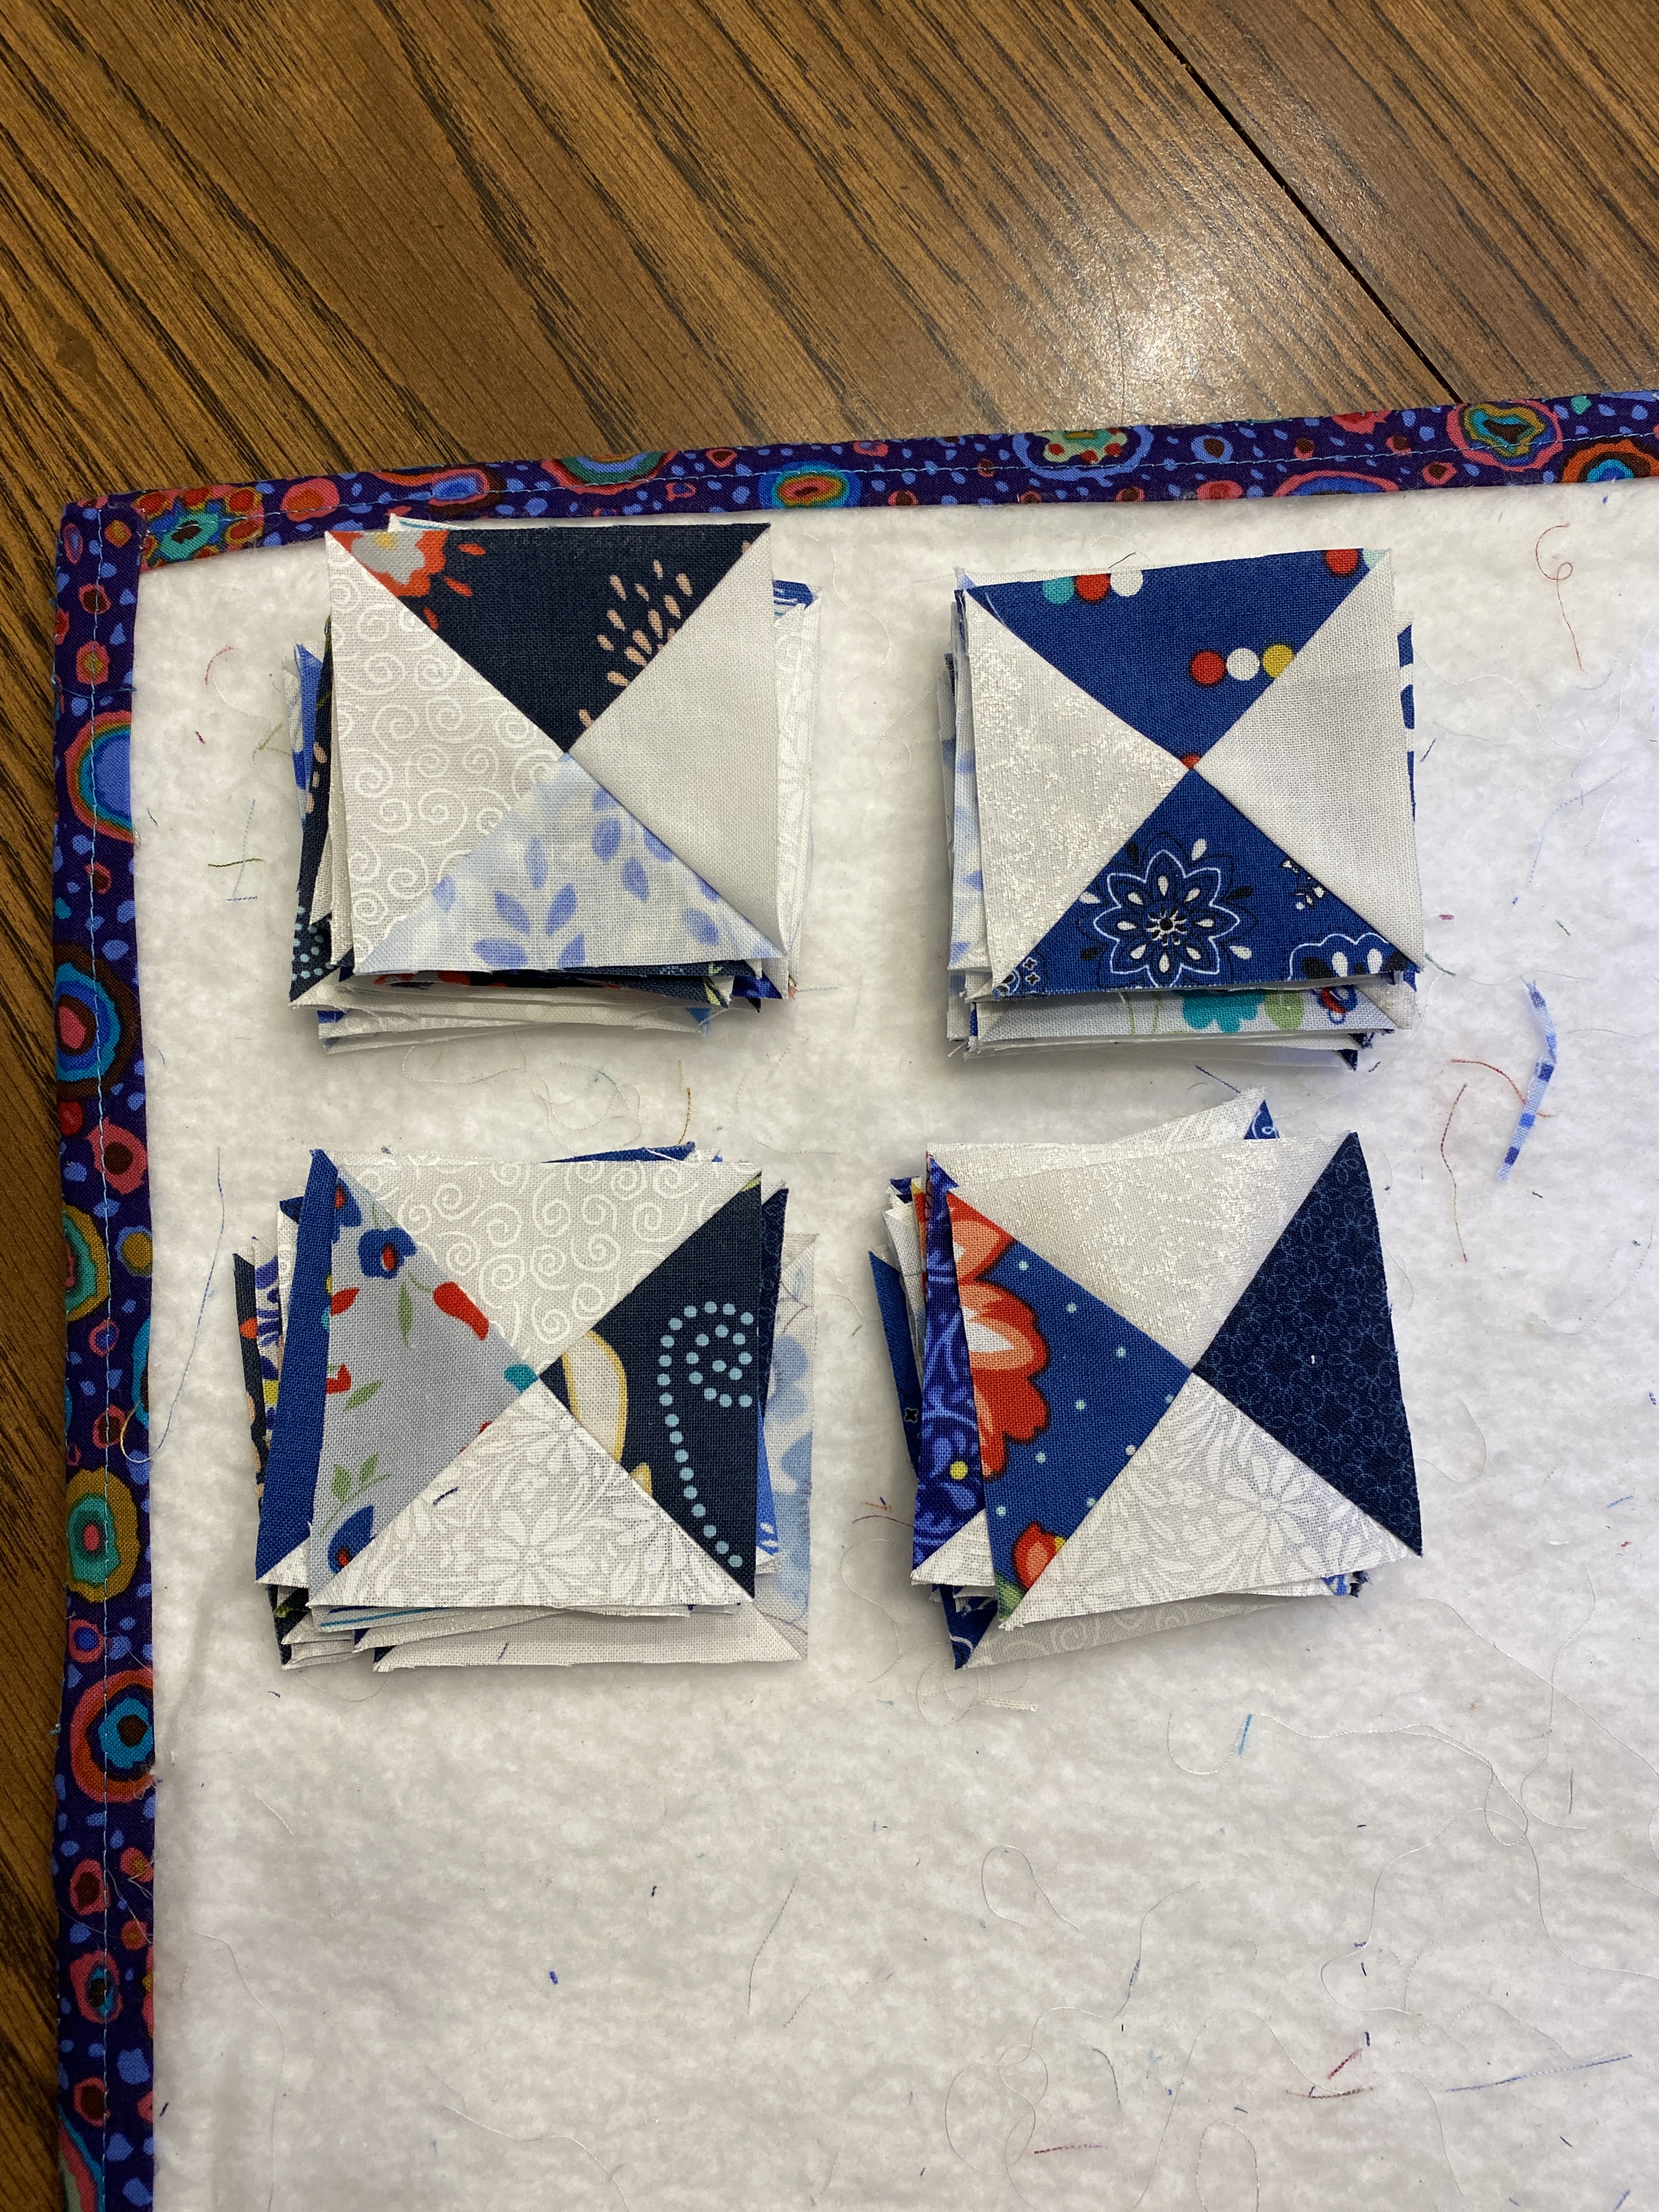
I’m tired. No wonder. I’ve made about 400 little bits in total for this quilt over the past two weeks. I’m all caught up and I’ve successfully figured out how to cut QSTs for the hourglass blocks using Bonnie’s Essential Triangle Ruler. Minimal unstitching and everything turned out the correct size, with only a tiny bit needing to be trimmed away. Last time, I used my Featherweight and the blocks turned out too small. This time, I used my Elnita EC30. Having the ability to adjust the needle position made all the difference for me.
I’m thankful that Bonnie Hunter offers a mystery quilt along during the Christmas season. This is my first time participating in one of her annual mystery quilts. The project has helped keep me engaged and in relatively good spirits during what can be a hard time of year. Family drama isn’t pleasant – especially when it causes a rift among family members on my side. Five years later, I will say the peace that comes with not having to deal with certain folks during the holidays is a gift in itself. This year, there are signs that some of the younger family members as they reach adulthood are interested in rekindling the familial relationship. This is welcome news.
The next two weeks will be a flurry of activity, but Christmas will be spent at home with hubs and Sadie. Christmas and New Year’s fall mid-week, so I’ll be able to stitch with some of my Friday Sew Squad at the library between Christmas and New Year’s. Are you joining the Stitchin’ Heaven crew on New Year’s Day? I’m with Team Rob and have already pulled my bin of red, white and blue fabrics. It’s a fun day and you don’t have to complete the quilt unless you want to. Last year, I made a handful of blocks, which became placemats to donate to Meals on Wheels. Placemats in patriotic colors are always welcomed by the staff.
Oh, and I’ll be working on the Bonnie Hunter Mystery Quilt until it ends in January.


