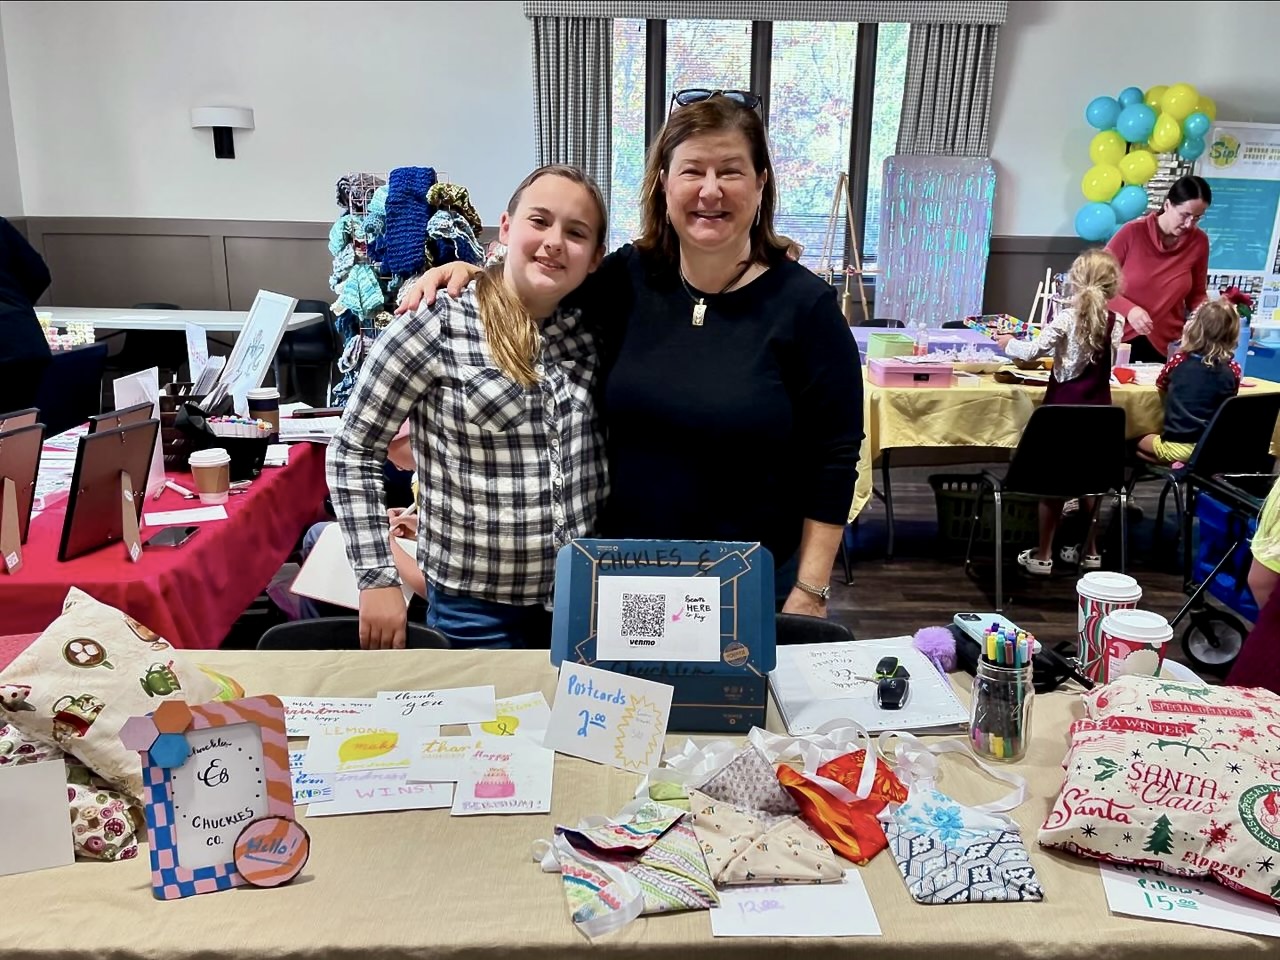
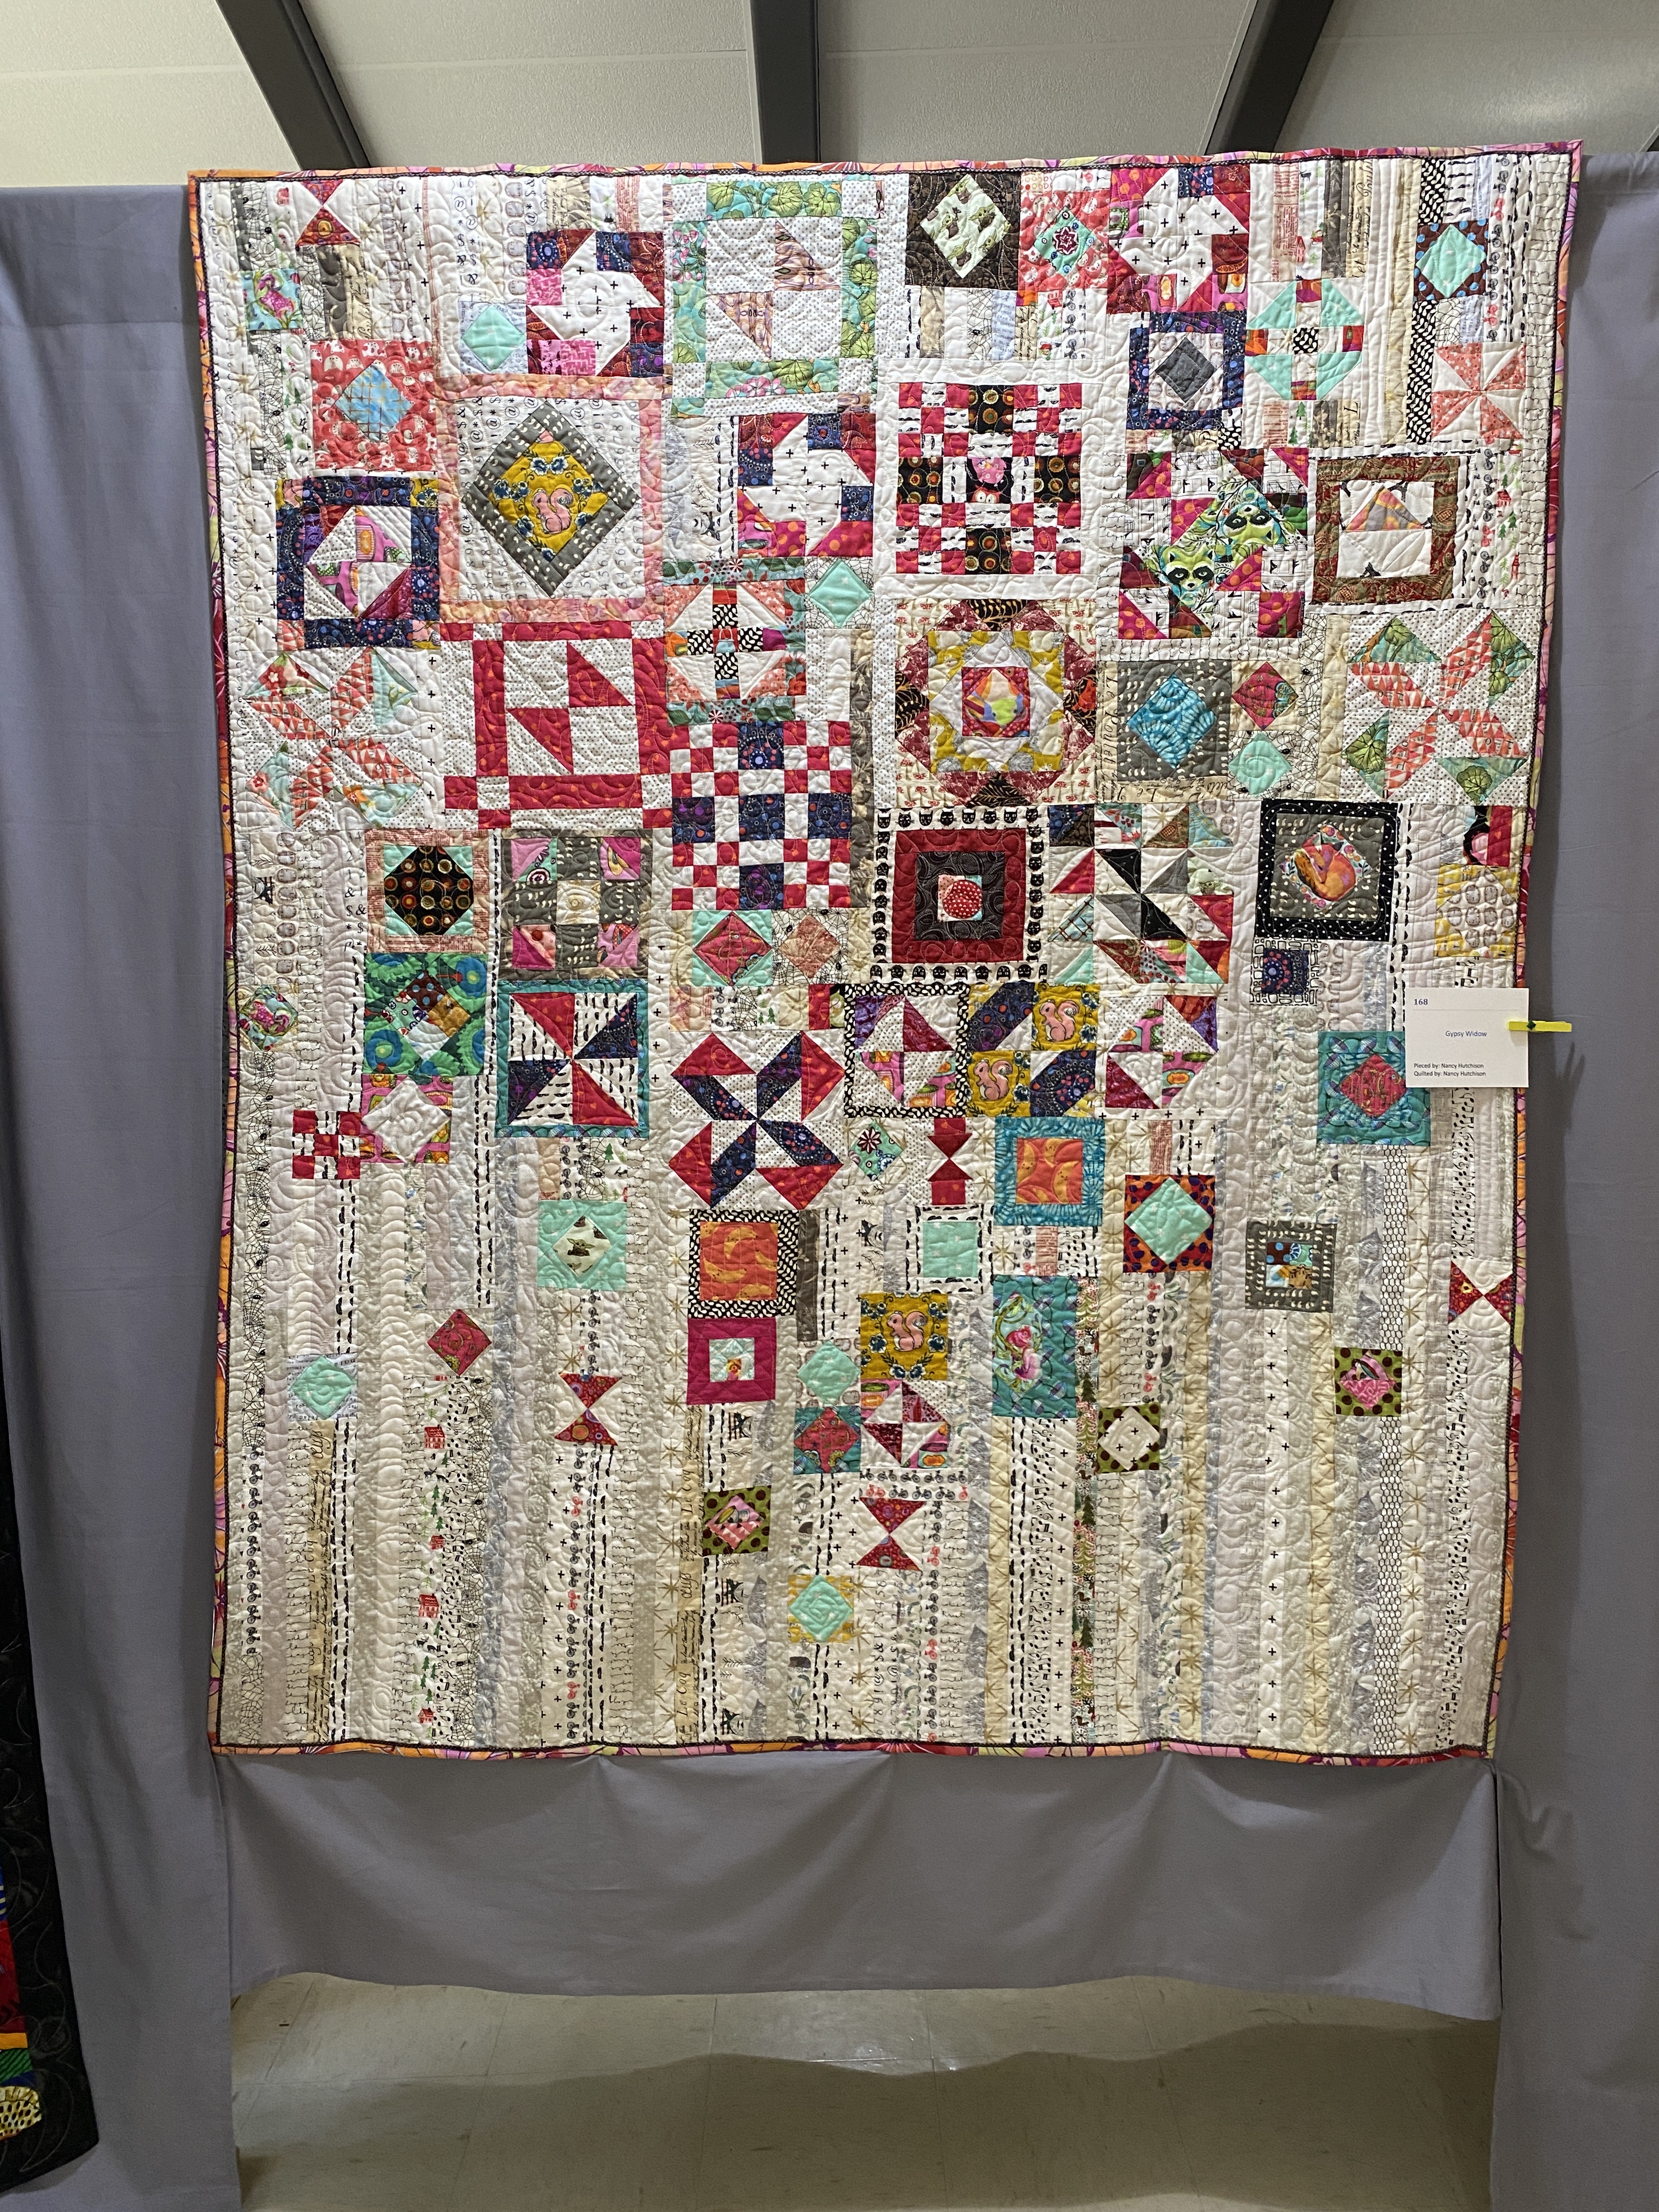
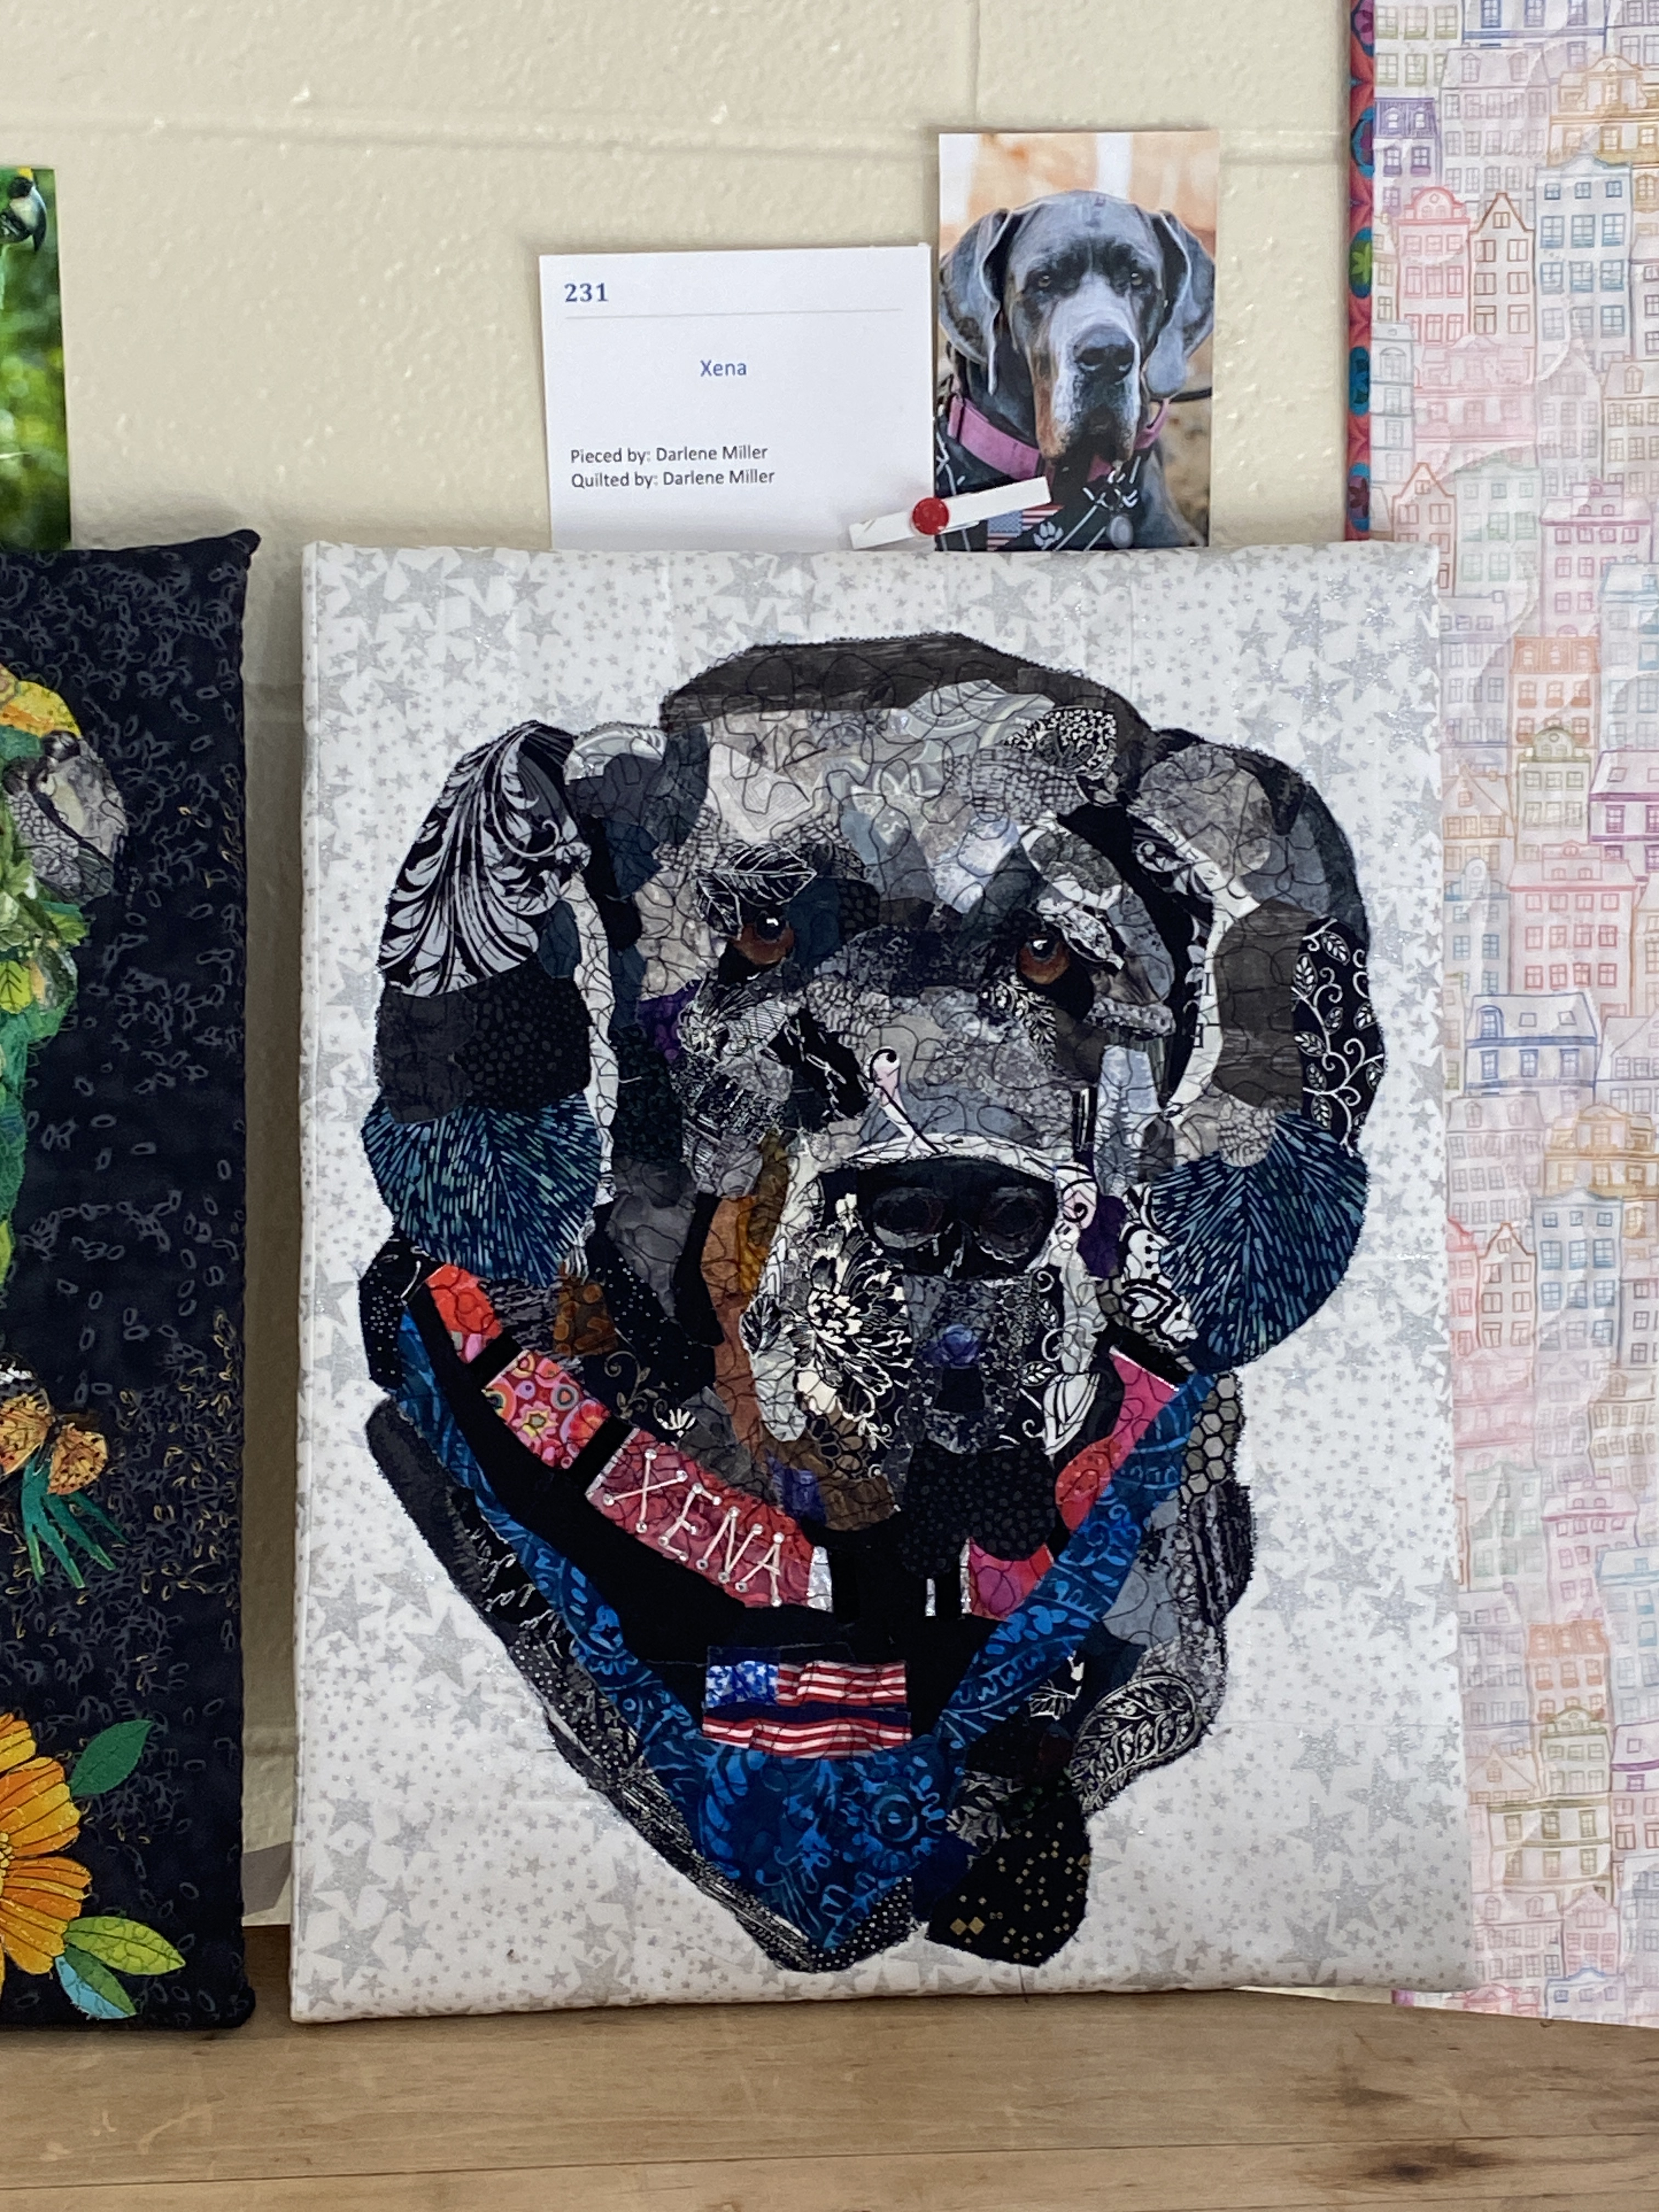
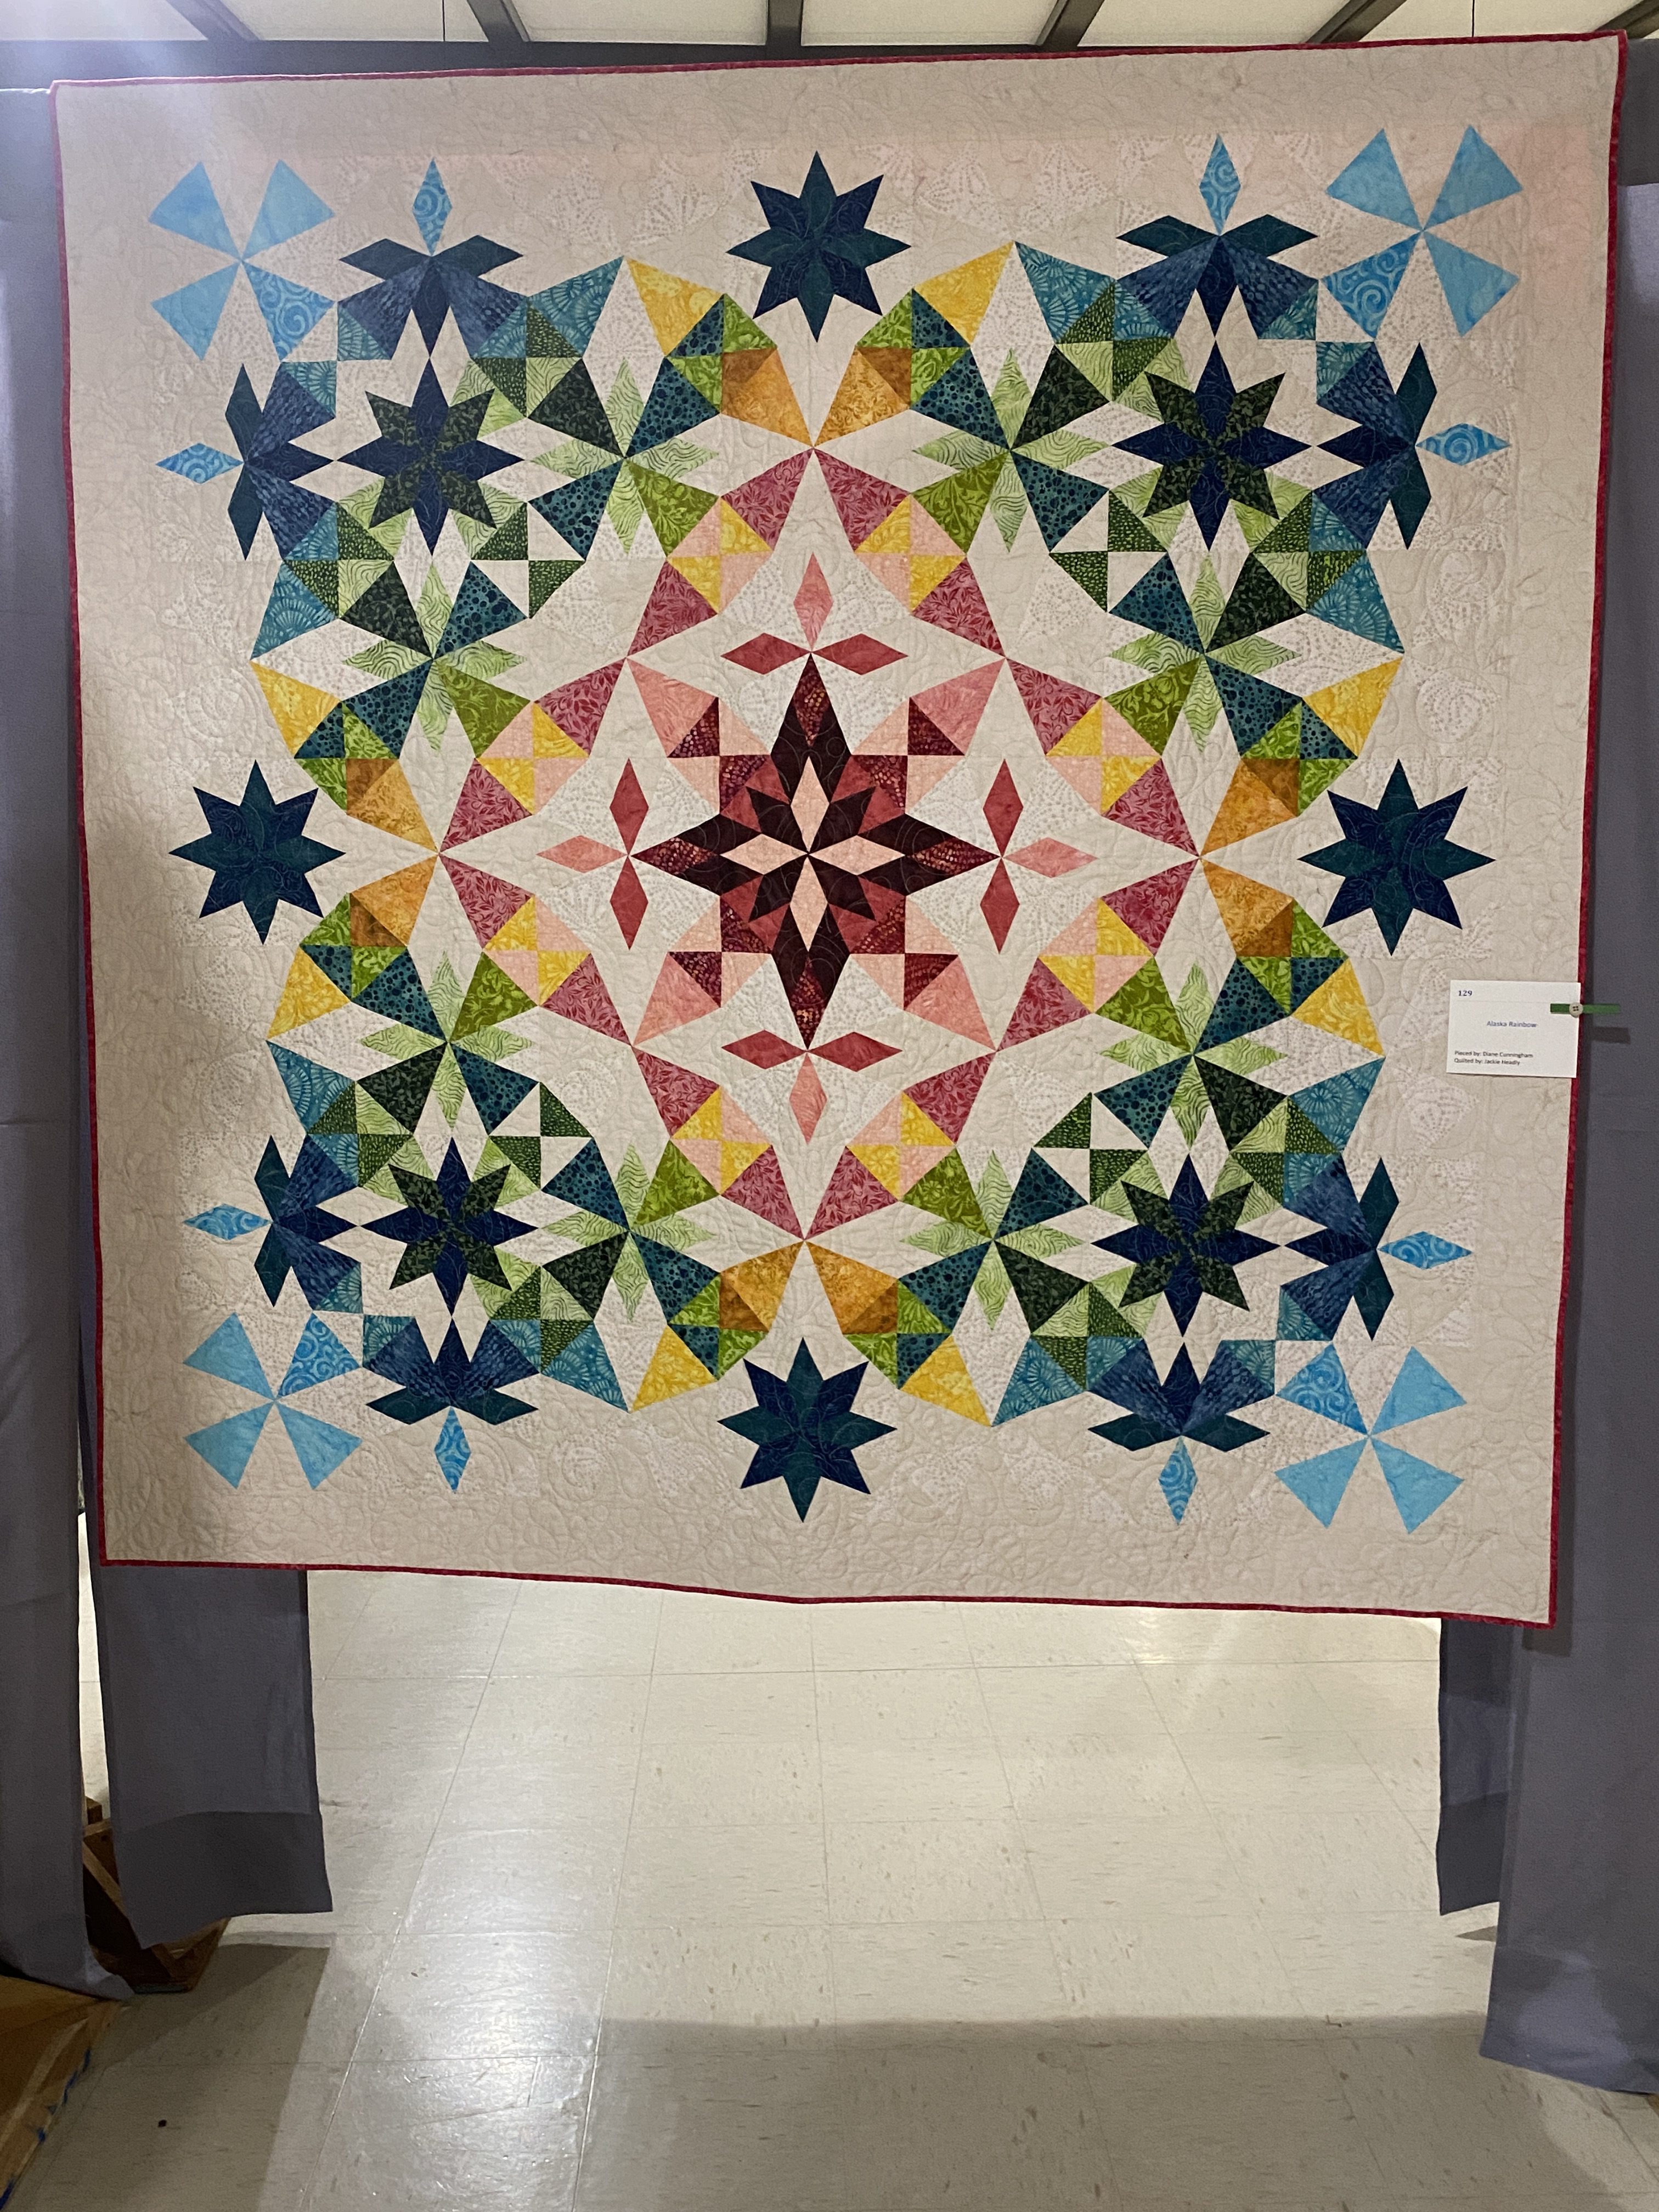
Today was fun. Sadie and I stopped in to see Charlotte’s booth at the Smyrna Mini Handmade Market and took a leisurely stroll around the nearby lake. After dropping Sadie off at home, I braved I-75 on a Saturday and drove an hour north to see the Etowah Valley Quilt Guild’s biennial quilt show. It was a small show, but decorated very well with sewing themed vignettes and fall decor throughout the exhibit hall. There was a vendor mall offering vintage machines, handmade sewing accessories, quilt kits, FQ bundles and some sewing books. I picked up a weighted 7′ square tailor’s clapper made by a local woodworker for $20.00. This will be so handy when pressing blocks!
I took the backroads home to avoid traffic and stop by Kohl’s to look at jeans. I found one pair that fit me perfectly! That made an already great Saturday even more awesome!
Now that Yellowstone’s new season has begun, several iterations inspired by Beth Dutton’s infamous quilt have shown up in my social media feeds. It’s essentially an alternating 9-patch block design set on point in a red, black and gray color scheme. I saw quilts in 6″, 8″ and 9″ finished block sizes with numerous layouts in all sorts of different sizes. Intrigued, I booted up EQ8 to see what I could come up with. Note: this is not a tutorial or pattern. I merely wanted to highlight what’s possible with EQ8 and share.
I wanted a throw size quilt that would use up my scraps (mostly leftover jelly rolls) for the 9-patch blocks. I prefer the floating look that a thin border provides, so that’s why I added a 1-1/2″ finished border before binding. Always remember: you are the boss of your own quilt. Make a quilt the way you like it!
Meet Rustic Retreat II (55″ x 64″ based on 6″ finished blocks)
Here are the essential components needed to make the quilt pictured above: (42) 6-1/2″ red & black 9-patch blocks (30) 6-1/2″ grey squares (22) grey side setting triangles (4) grey corner setting triangles (6) 2″ x WOF grey strips for border (7) 2-1/2″ x WOF grey strips for binding
The way you make the 9-patch blocks will depend on if you’re using up scraps or cutting yardage. Since this is based on 6″ finished blocks, your 9-patch components will be made from 2-1/2″ squares and/or strips.
Very loose fabric requirements (calculated by EQ8): Black – scraps or yardage – about 1 yard Red – scraps or yardage – about 1 yard Grey – 2-1/2 yards You will also need about 3.5 yards of backing fabric and a twin size package of quilt batting.
This quilt is essentially a simple alternating 9-patch design that is set on point. If you’ve made one or two quilts, you can make this one. There are numerous YouTube videos that describe the “set on point” process in great detail. Missouri Star, A Quilting Life and Fat Quarter Shop YouTube videos are good places to start. Here’s a blog post you might also find helpful from Diary of a Quilter.
Being able to take a basic design that inspires me and customize it to meet my needs and preferences is one of the reasons I love using EQ8. Yes, I still have to do some math to figure cut sizes and how to put it all together, but I’m willing to do that. It’s a real confidence booster when the project you’ve created turns out exactly how you envisioned.
We spent a long weekend on the Georgia coast exploring St. Mary’s and Cumberland Island. A four day dose of vitamin sea is exactly what my spirit needed. I’m so thankful Hurricanes Helene and Milton did not cause extensive damage to Cumberland Island. Can you believe it’s been almost two years since I last laid eyes on the Atlantic Ocean or the waters of the Gulf of Mexico? Much too long!
Visiting Cumberland Island National Seashore has long been on my bucket list. This long-time Georgia resident has been to the islands of Skidaway, Jekyll and St. Simon’s, but never ventured this far south. We spent a full day on the island, which was plenty of time for us. The National Park Service also allows tent camping for up to 7 days (not me!). The island’s history is so rich and the day long tour only began to scratch the surface.
Of course, I visited the two quilt shops in Kingsland – The Scrappy Rooster and Beyond Fabric. The Scrappy Rooster is strictly a quilt shop while Beyond Fabric does everything from quilting to garment sewing to crafts to home dec. Honestly, if you need some off-the-wall, obscure sewing/crafting doo-dad, chances are Beyond Fabric has it! There’s also a wonderful bookstore in St. Mary’s – Once Upon a Bookseller.
I’m thinking a trip to the Quilted Cow in Gulf Shores, AL and a trip to the 2025 AQS Show in Daytona Beach are in my future!