Projects made from my fabric stash


What do you do with leftovers from previous quilt projects?
How about using them in new projects? It doesn’t have to be an entire quilt.
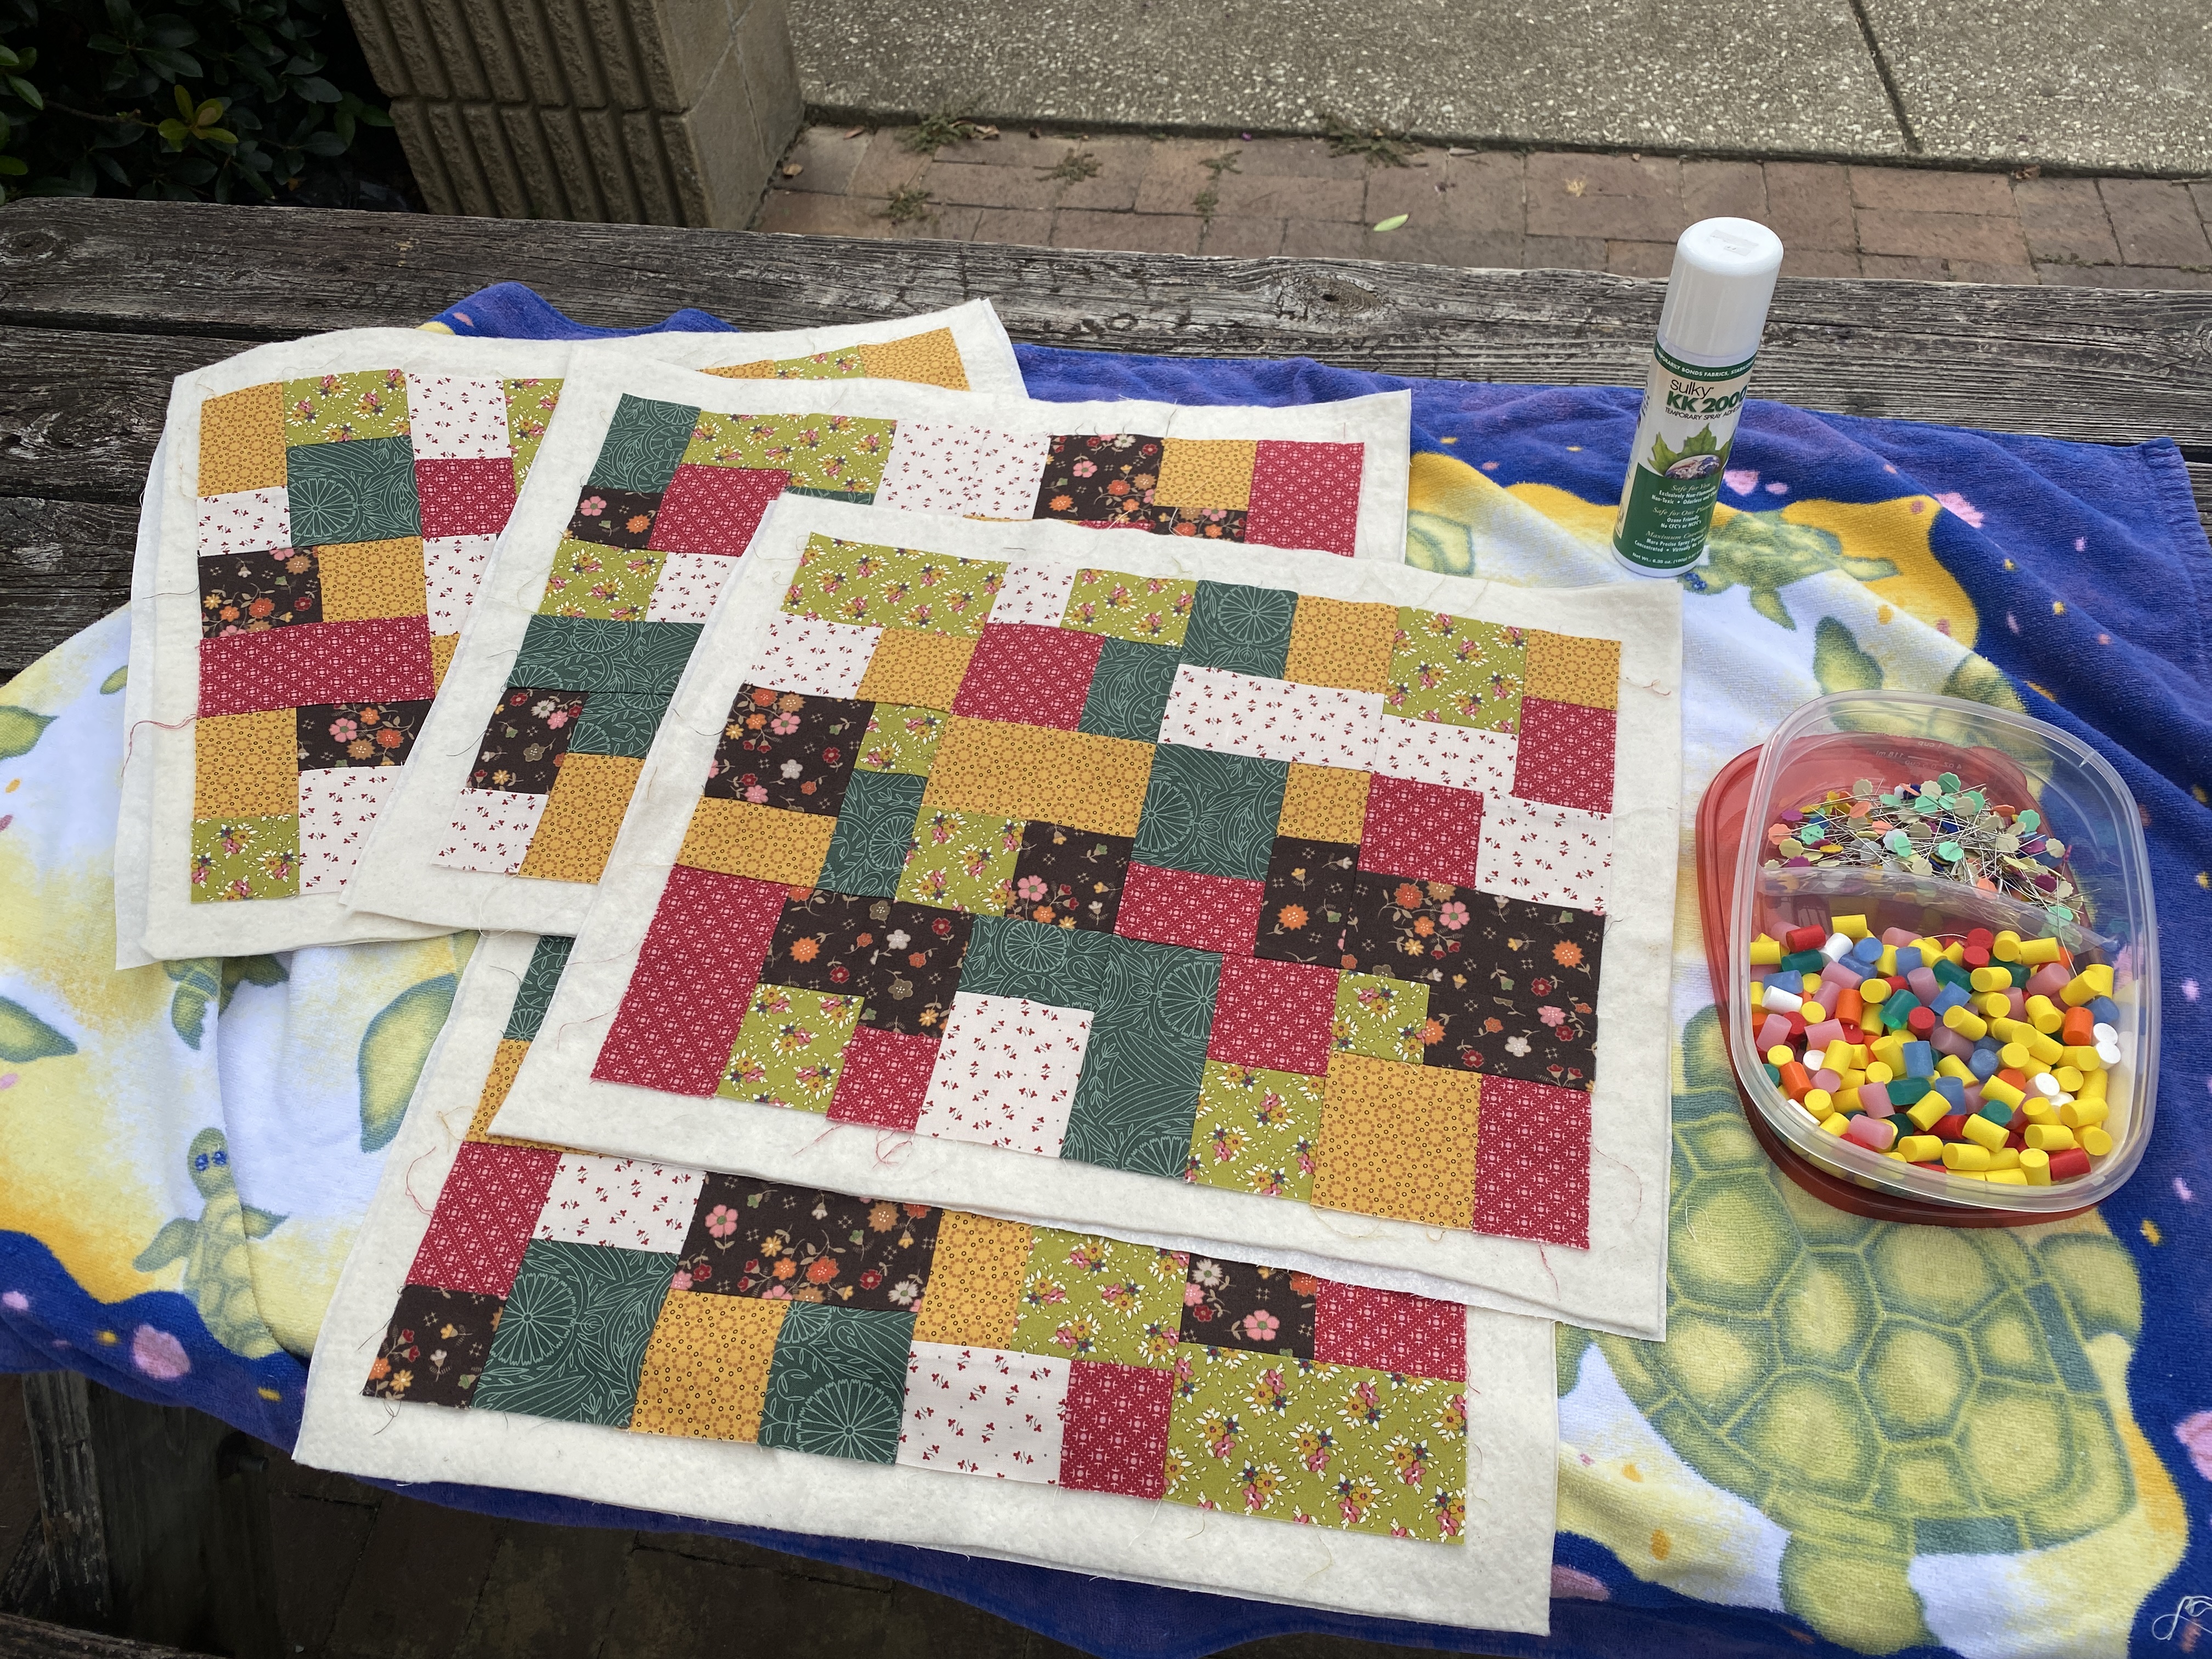
1. Make mug rugs, pot holders, placemats, table runners, journal covers, pillow covers or zipper pouches.
2. Use the larger leftover bits make quilt sandwiches for FMQ practice.
3. Use some of the smaller leftover bits to make a practice blocks to try out new patterns before cutting into your project fabric.
How to store your scrap and leftover fabrics?
Your system can be as decorative and elaborate as you wish. Personally, I prefer simple. I keep small bits and partial strips in a pretty basket. Random 5″ and 10″ squares are kept with my charm packs and layer cakes. Cut strips that are WOF are stored with my jelly rolls. Larger chunks are stored by color with FQs and yardage. Novelty, dog and patriotic theme fabrics are kept separately.
Periodically, I will go through my scrap bin and cut the leftover jagged pieces into 2-1/2″, 3-1/2″ and 4-1/2″ squares. The smallest size kept is 1-1/2″ strips and I’ll cut 1-1/2″ squares from them as needed because they tend to get lost in the scrap bin.
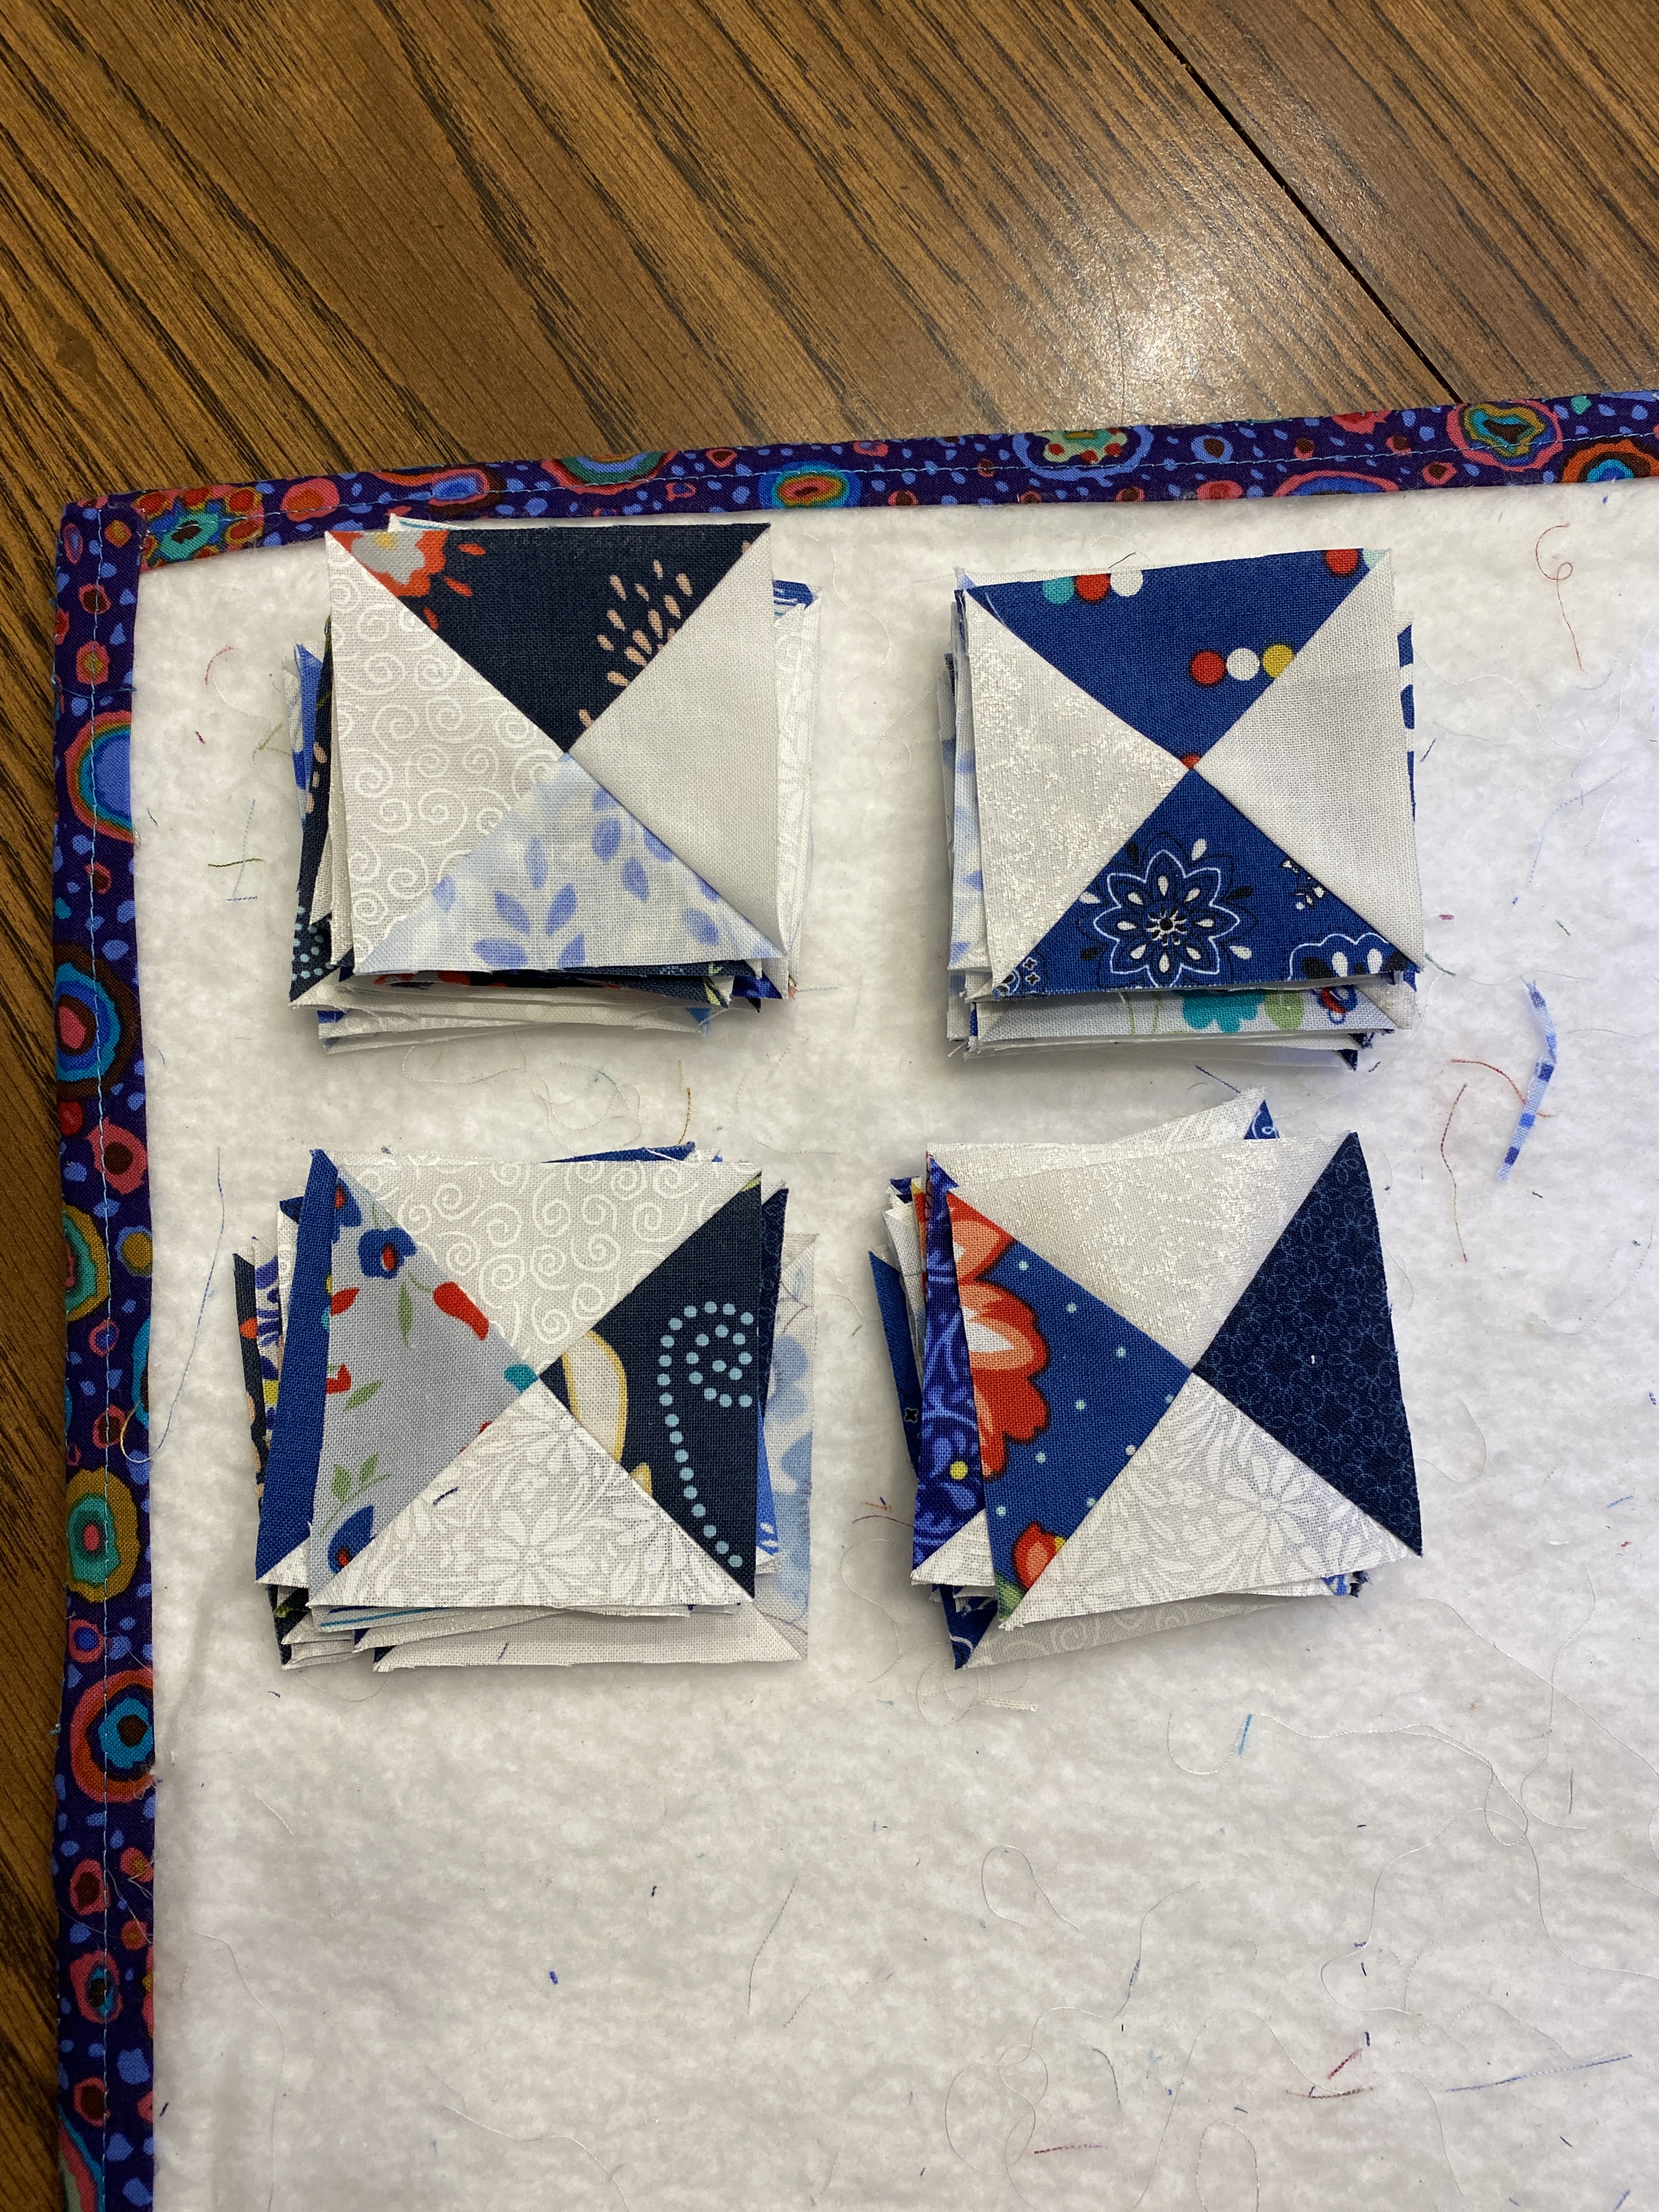
With the current Bonnie Hunter Winter Mystery quilt, I’ve made good use of random charm squares, forgotten FQs, white/cream hunks leftover from previous quilt tops, and turning all the leftover triangles from trimming stitch & flip units into 1-3/4″ HSTs.
The key to managing your fabric scraps is to organize them, then actually use them.