Community and connections
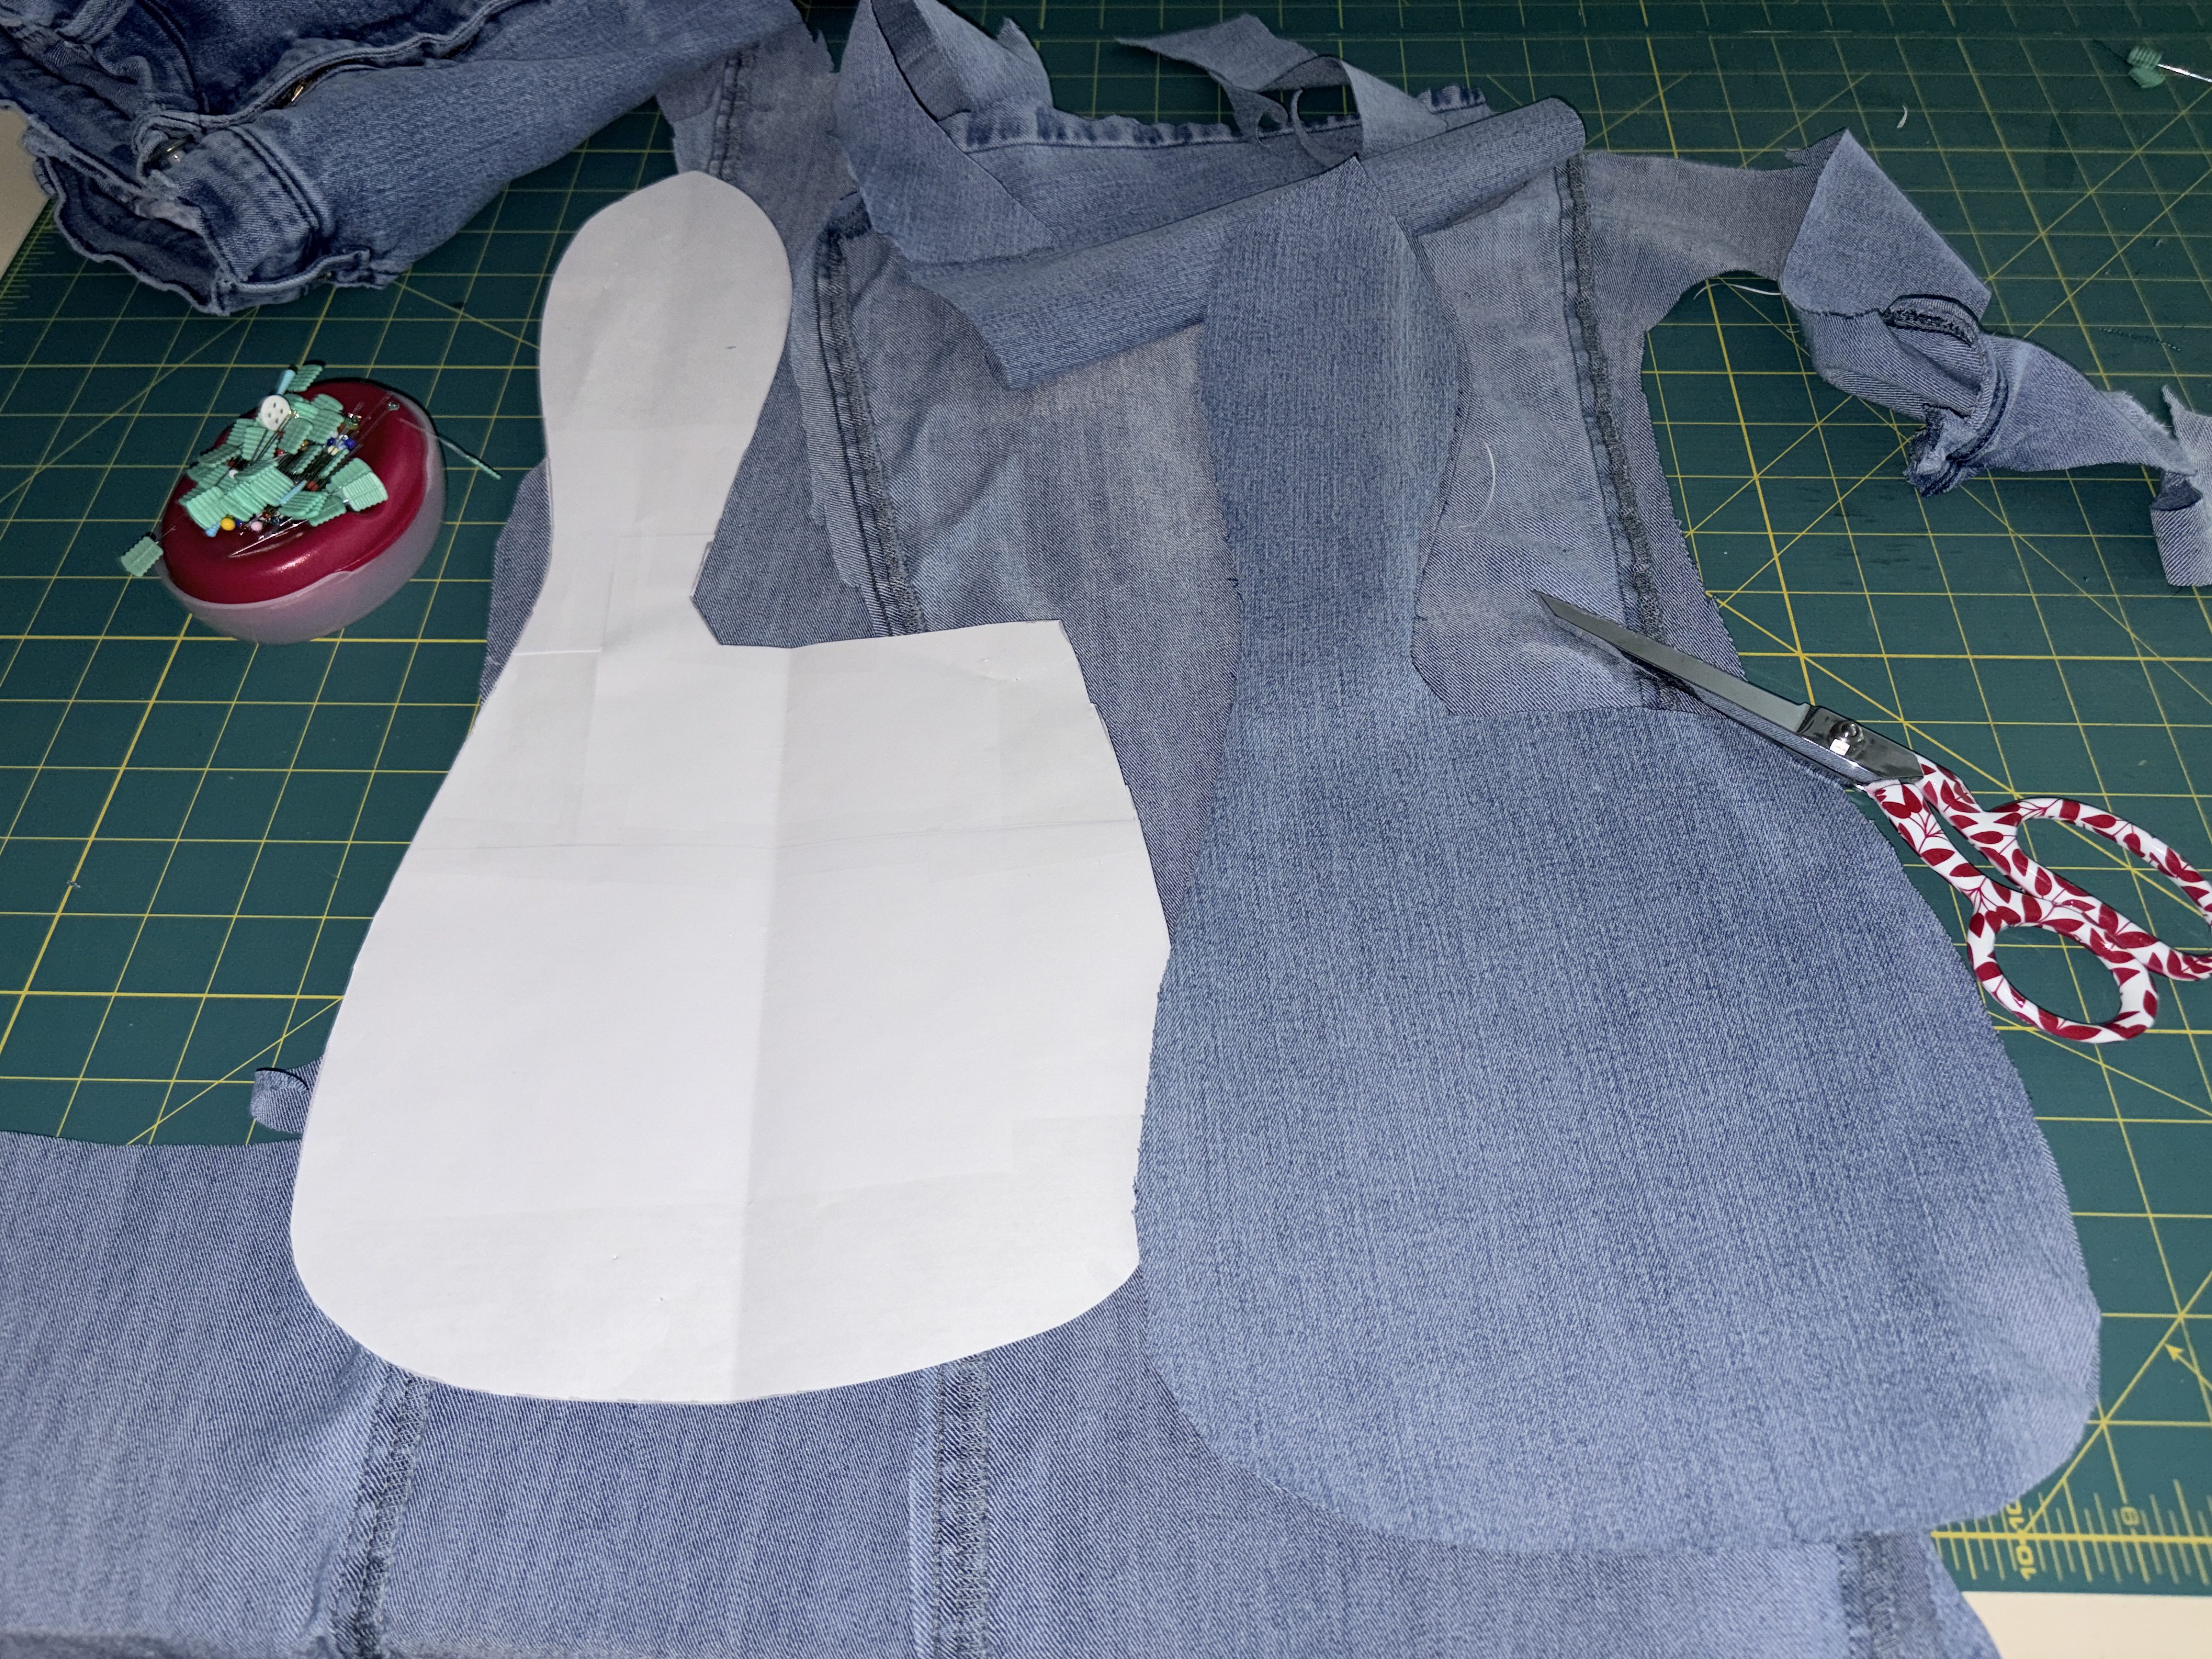
About five weeks ago, I helped clean out the sewing studio house of someone who needed to move into assisted living. (Her entire 2 bedroom cottage was her sewing space. I kid you not.) Two SUVs crammed full of stuff came to my house for sorting. You can read about that escapade here.
Over the past month, I have shared the largesse with my Friday sewing group, library teen sewing programs, a quilts for veterans group, my bee group, and the community service arm of my own guild. Anything left went on the guild free tables this morning. It didn’t last long. I have finally reclaimed the basement. My husband will be so happy.
This quilter’s generosity has touched so many different folks – from the teens learning to sew at the library, to patients at the local children’s hospitals sleeping on a special pillowcases, to quilts for foster children, adults in recovery and women healing from domestic violence.
Community is what made this happen. The donor’s son put out a request for help in his neighborhood FB group. A member of my book club happens to live in his neighborhood and saw the post. She shared his contact info with me. It went from there. We helped keep useful items out of the landfill and the projects sewn from the re-homed fabric will go back into the local community. There was no need to hire a junk removal company, either.
Over the weekend, I’ll be quilting a 60″ x 80″ top made by my bee group. Backing fabric and batting came from the donated supplies, too. FYI, five yards of quilt-shop fabric and a twin size package of Warm & Natural batting normally run about $100.
Community and connections are an often overlooked type of wealth discussed in this post. In fact, safety and security wealth (e.g. money and health) only account for 20% of all wealth categories described in the graphic. A sense of purpose, autonomy, personal relationships/connections and moments of joy account for the other 80%. Hmmmm. I honestly say that I experienced all 5 types of wealth during this project. I’ll save money by not having to buy backing fabric and batting for a few quilts. I had a purpose in sorting, organizing and delivering the items. I also got a workout lifting, sorting and carrying the bins! I had time to devote to the project and set my own schedule for completion. I interacted with community groups and other sewists & quilters to distribute the donated items. Moments of joy came with seeing the excitement on guild members’ faces at the donated fabrics on the free table and returning home after said guild meeting to a cleared out basement.
I realize we’re in challenging times. You’re grinding it at the day job with minimal raises and healthcare costs that keep going up. The cost of everyday essentials is ever increasing. Our country is politically polarized. Carefully curated social media makes you think you’re behind.
STOP. Put down your phone. Turn off the TV. BREATHE.
Go outside. Take a walk. Listen to the birds. Look up at the night sky.
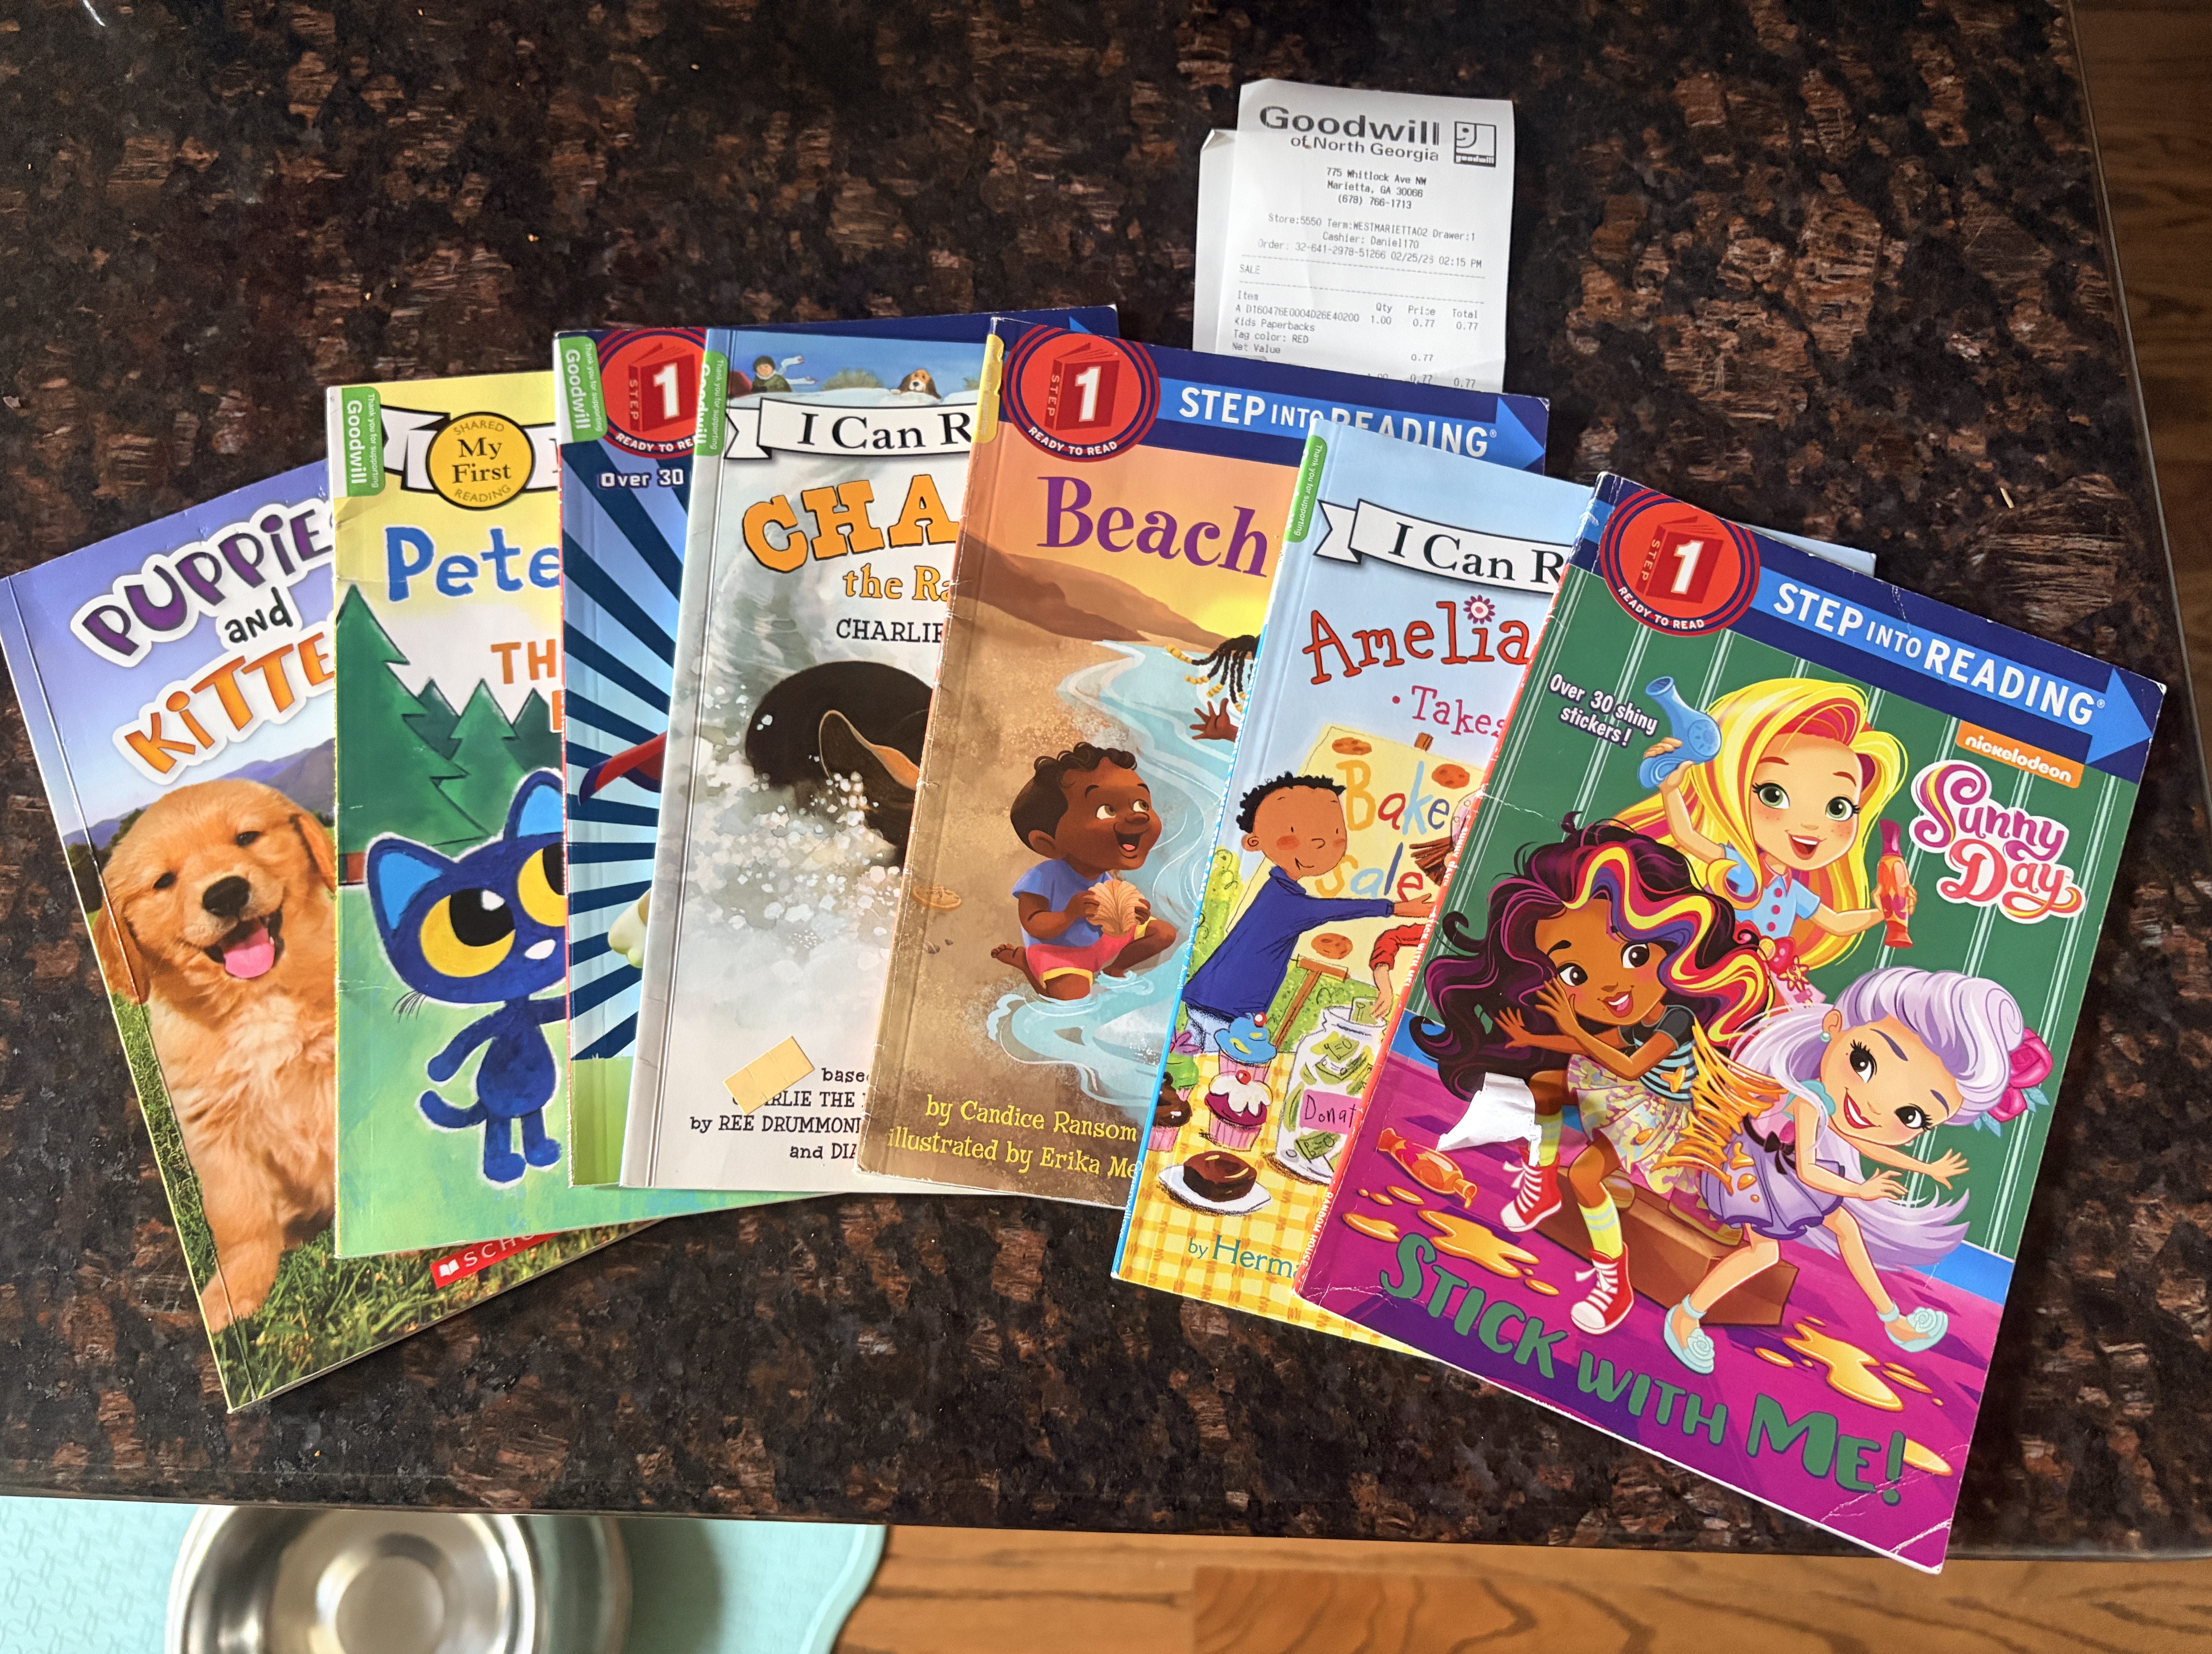
Find your library card. Go check out a book or DVD to read/watch later.
Talk with a neighbor. Strike up a conversation with a complete stranger you meet on your walk.
Spend 10 minutes doing something with your hands – crossword puzzle, word search, solitaire (with real playing cards), knit, crochet, EPP or other needlework, etc.
Do you feel better? You’ve just experienced the five types of wealth (walking – health, free activities – money, conversations/library visit – community/connections, choice of activity and time for activity – significance & freedom, plus small pleasures like listening to the birds sing or getting lost in a good book – joy).
Remember, you always have options. Life is a series of choices. Work is not inherently bad. It provides income, benefits (hopefully) and at least one partner-in-crime for a social connection. Bonus if your job provides a sense of purpose and a bit of autonomy. Taking time to develop interests and activities outside of work can shore up the types of wealth missing from the day job, too.