DIY Design Boards
Design boards are essentially a hand-held version of a design wall. I first learned about design boards at a retreat with Lori Holt back in 2019. We actually made our own design boards as one of the retreat projects. For quilters, they are great for holding bits and pieces of blocks or smaller projects. Ready-made design boards in a variety of sizes are available through Riley Blake Designs. Retail prices range from around $15 to $30 per design board.

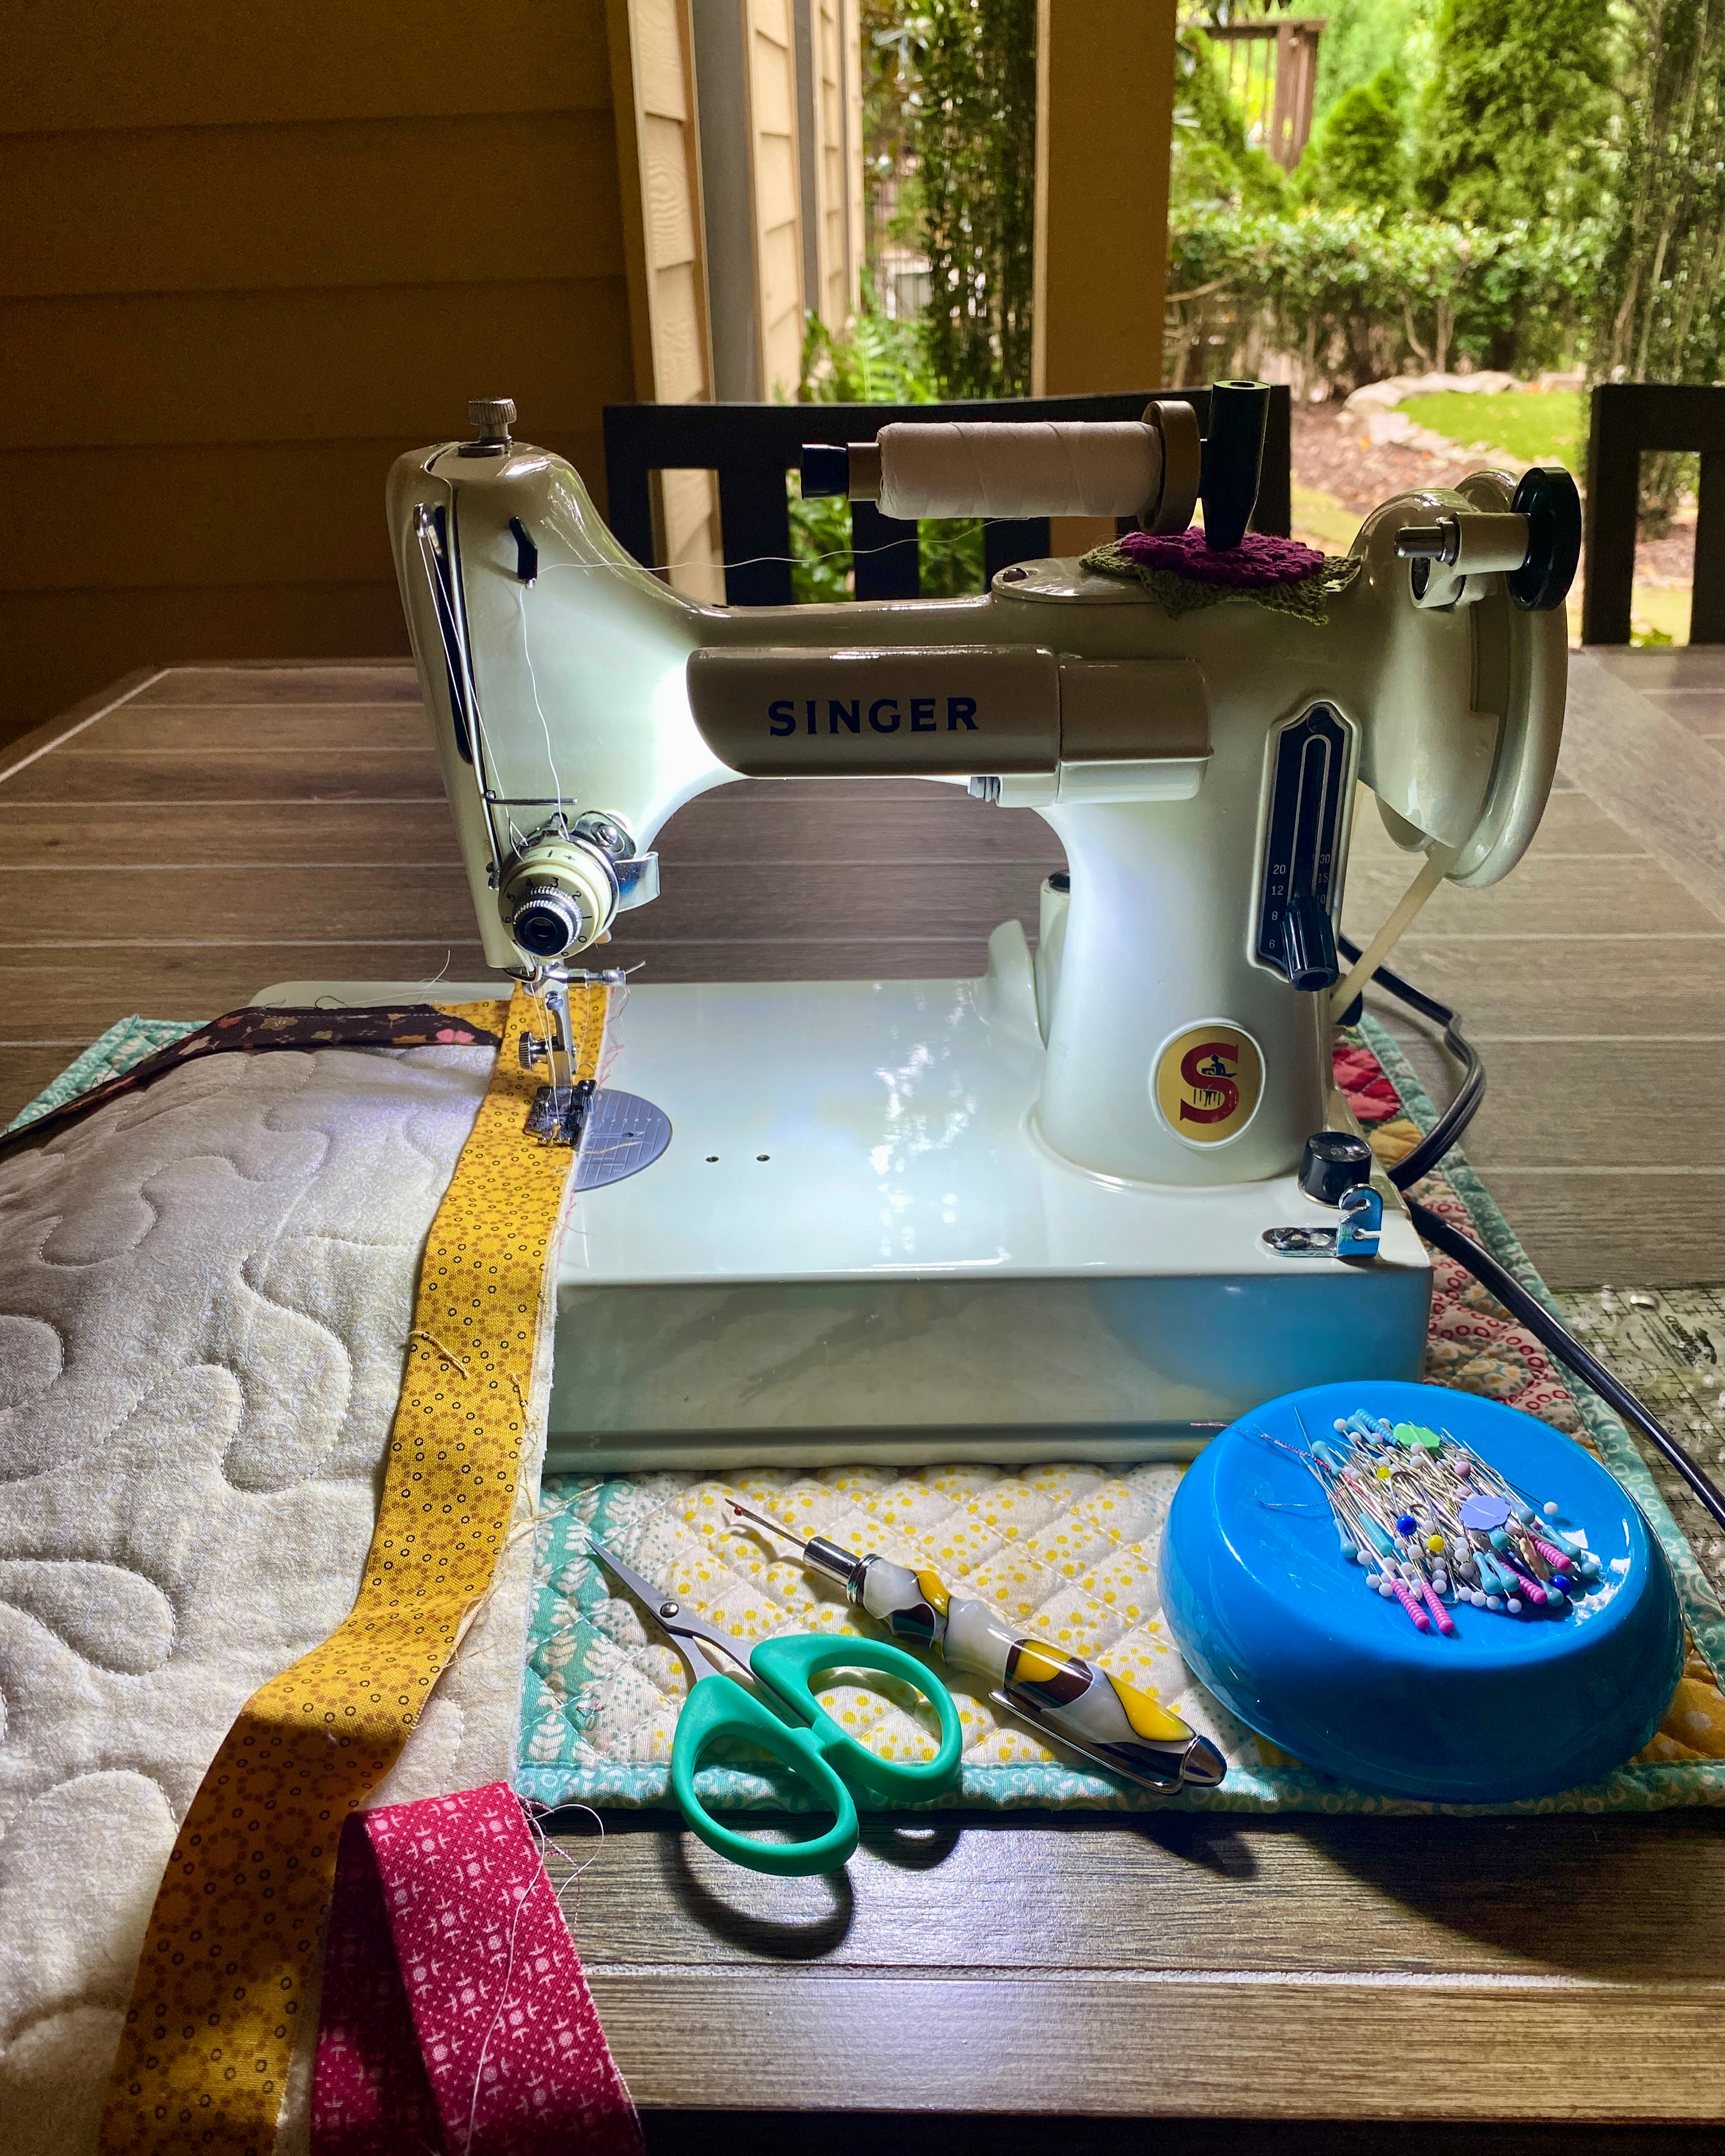
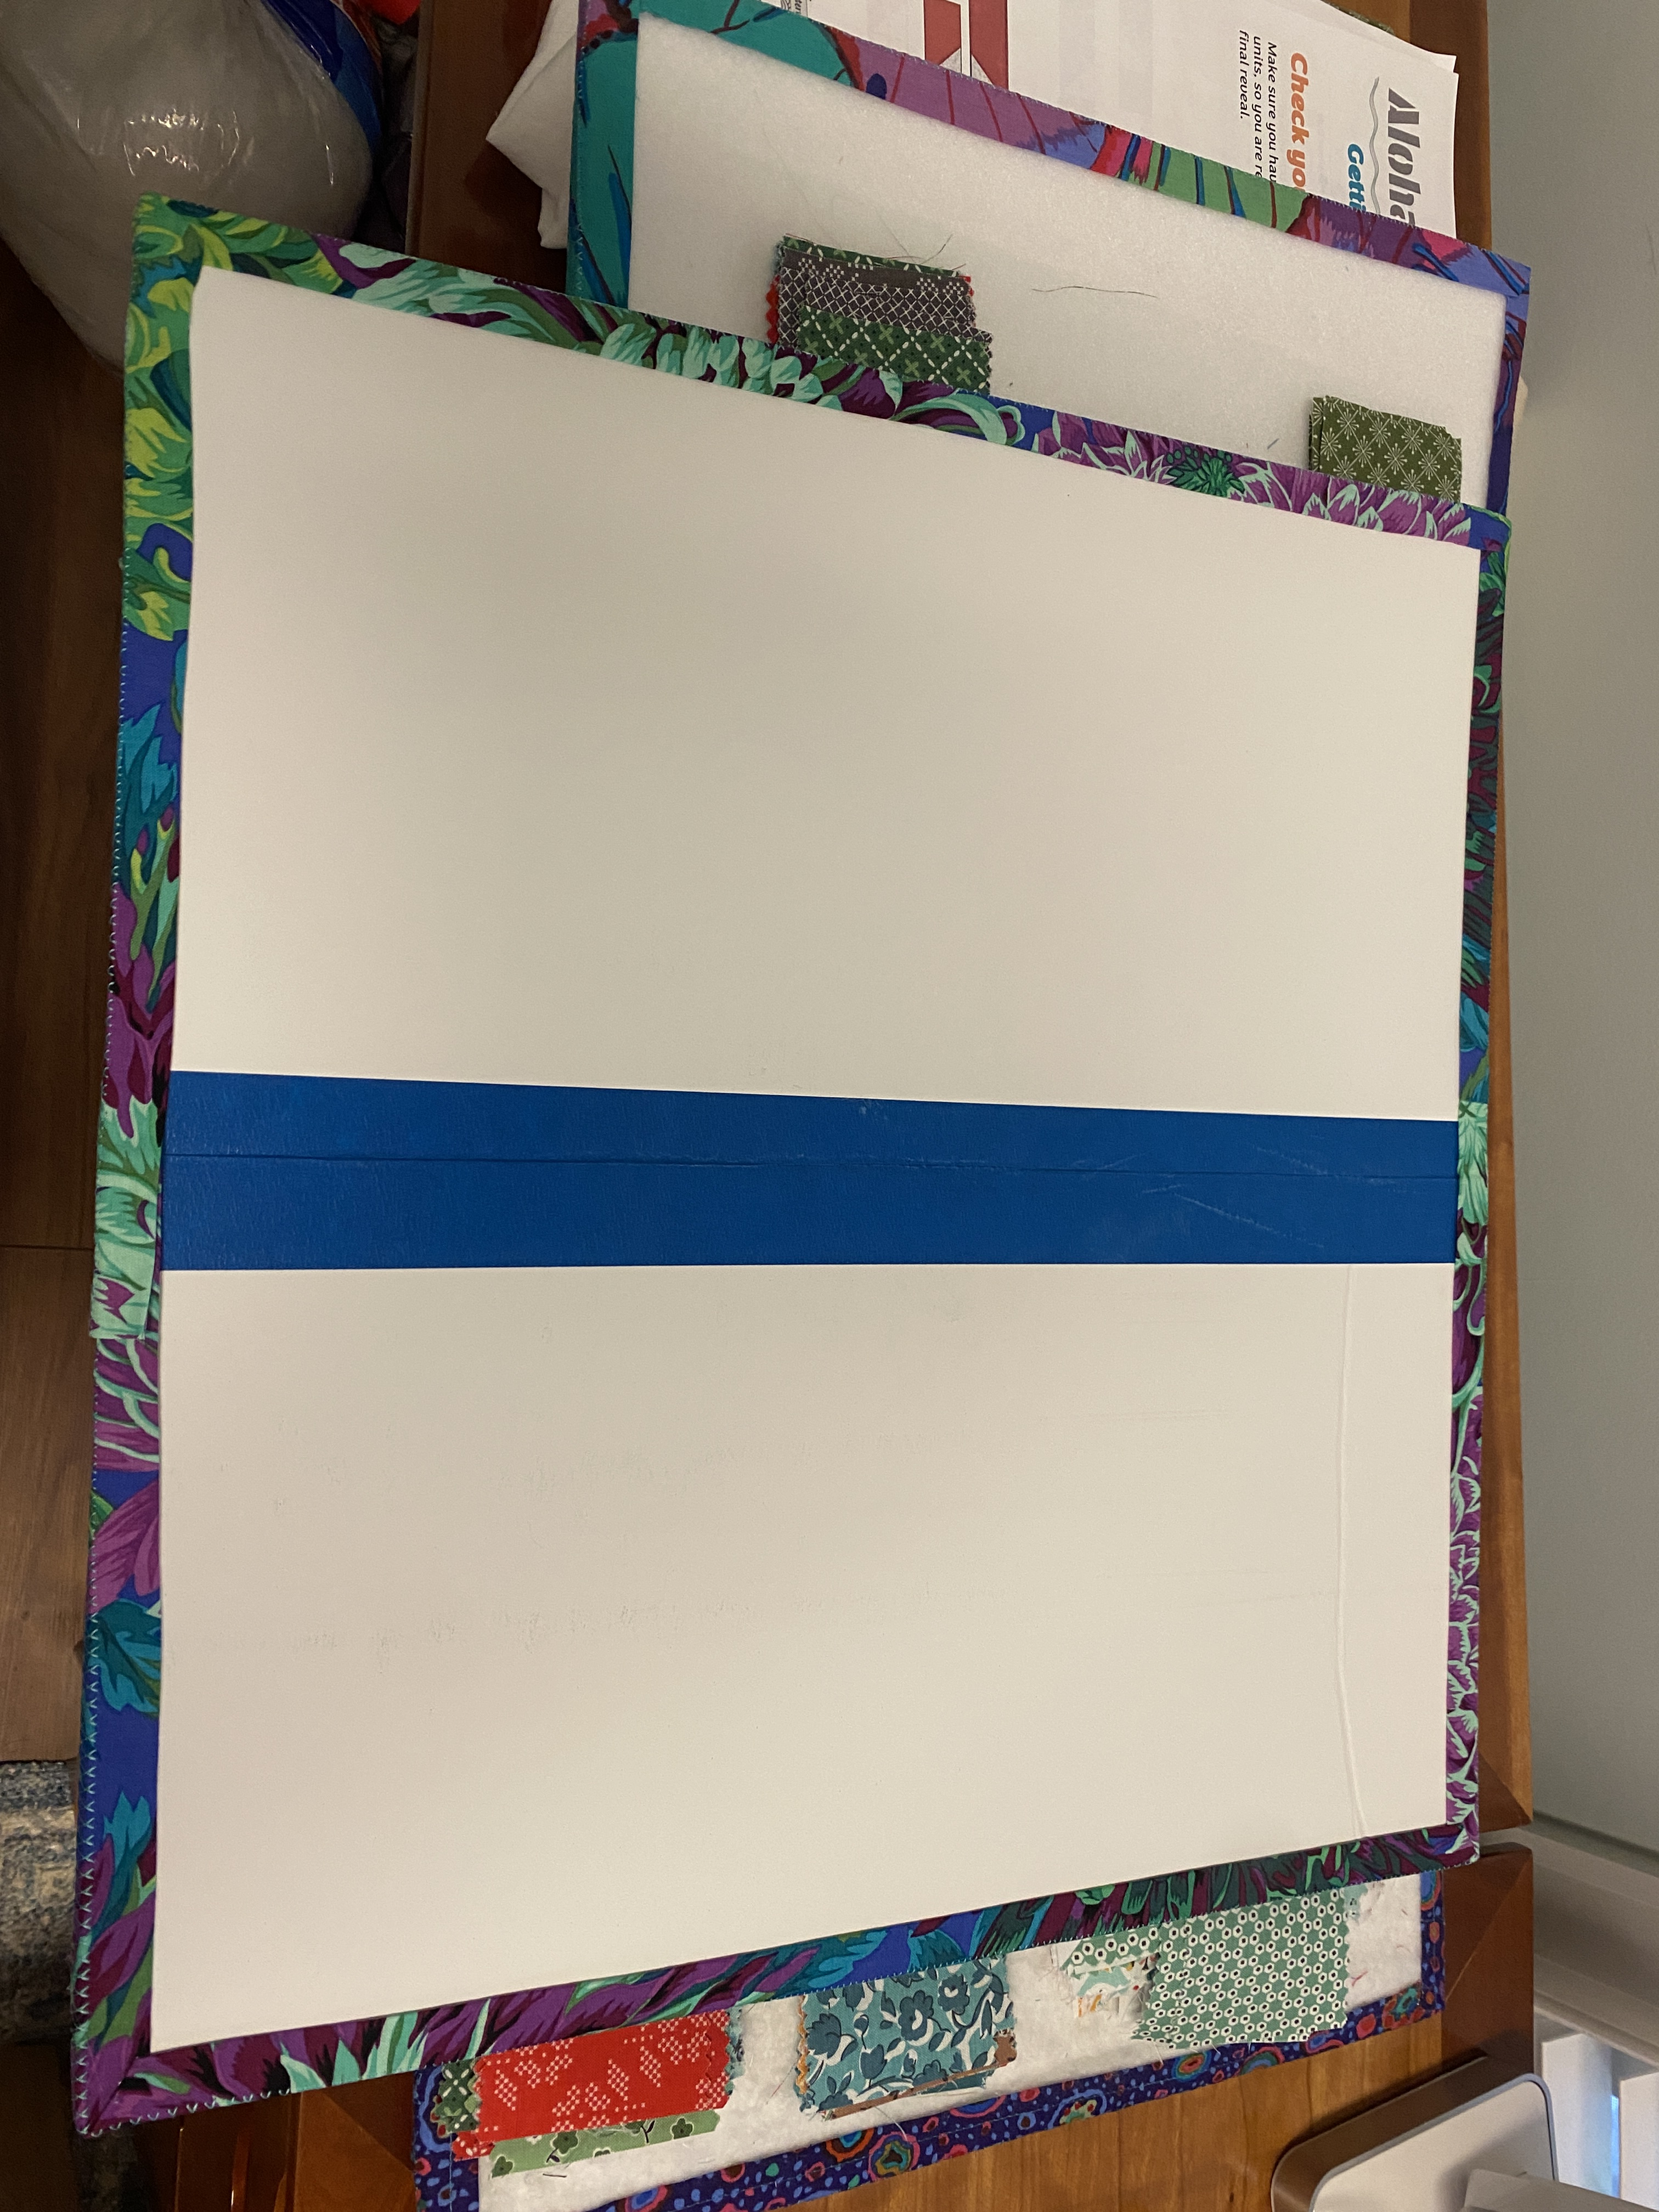
You can DIY multiple designs boards for the cost of a single ready-made one. Basic supplies needed: a piece of foam core board, scrap batting and a couple of jelly roll strips. You will need either a glue gun or Heat & Bond Ultra (in the red package) with a mini iron to affix the border trim.
I prefer to make my design boards using self-adhesive foam core board (I find it at Hobby Lobby), felt and the Heat & Bond Ultra (on the roll) method. Note: a glue gun will still come in handy to hold the mitered corners in place. If I can’t find self-adhesive foam core board, I’ll use spray baste to hold the batting/felt in place.
Foam core board can be found in the school supply section at Dollar Tree, Wal-Mart, Office Depot, Hobby Lobby and Michael’s. It usually comes in a 20″ x 30″ sheet and quality can vary, so compare before you buy. I cut mine to the desired size using a 60mm rotary cutter. Personally, I like an 18″ to 20″ square board for larger quilt blocks and a 10″ to 12″ square board for smaller quilt blocks. And yes, I have been known to Frankenbatt leftover pieces of foam core board to make one more design board.
Design Board Tutorial using glue gun
Design Board Tutorial using Heat & Bond Ultra