Hack: Making Baby Lock snap on presser feet work with a Janome top loading machine
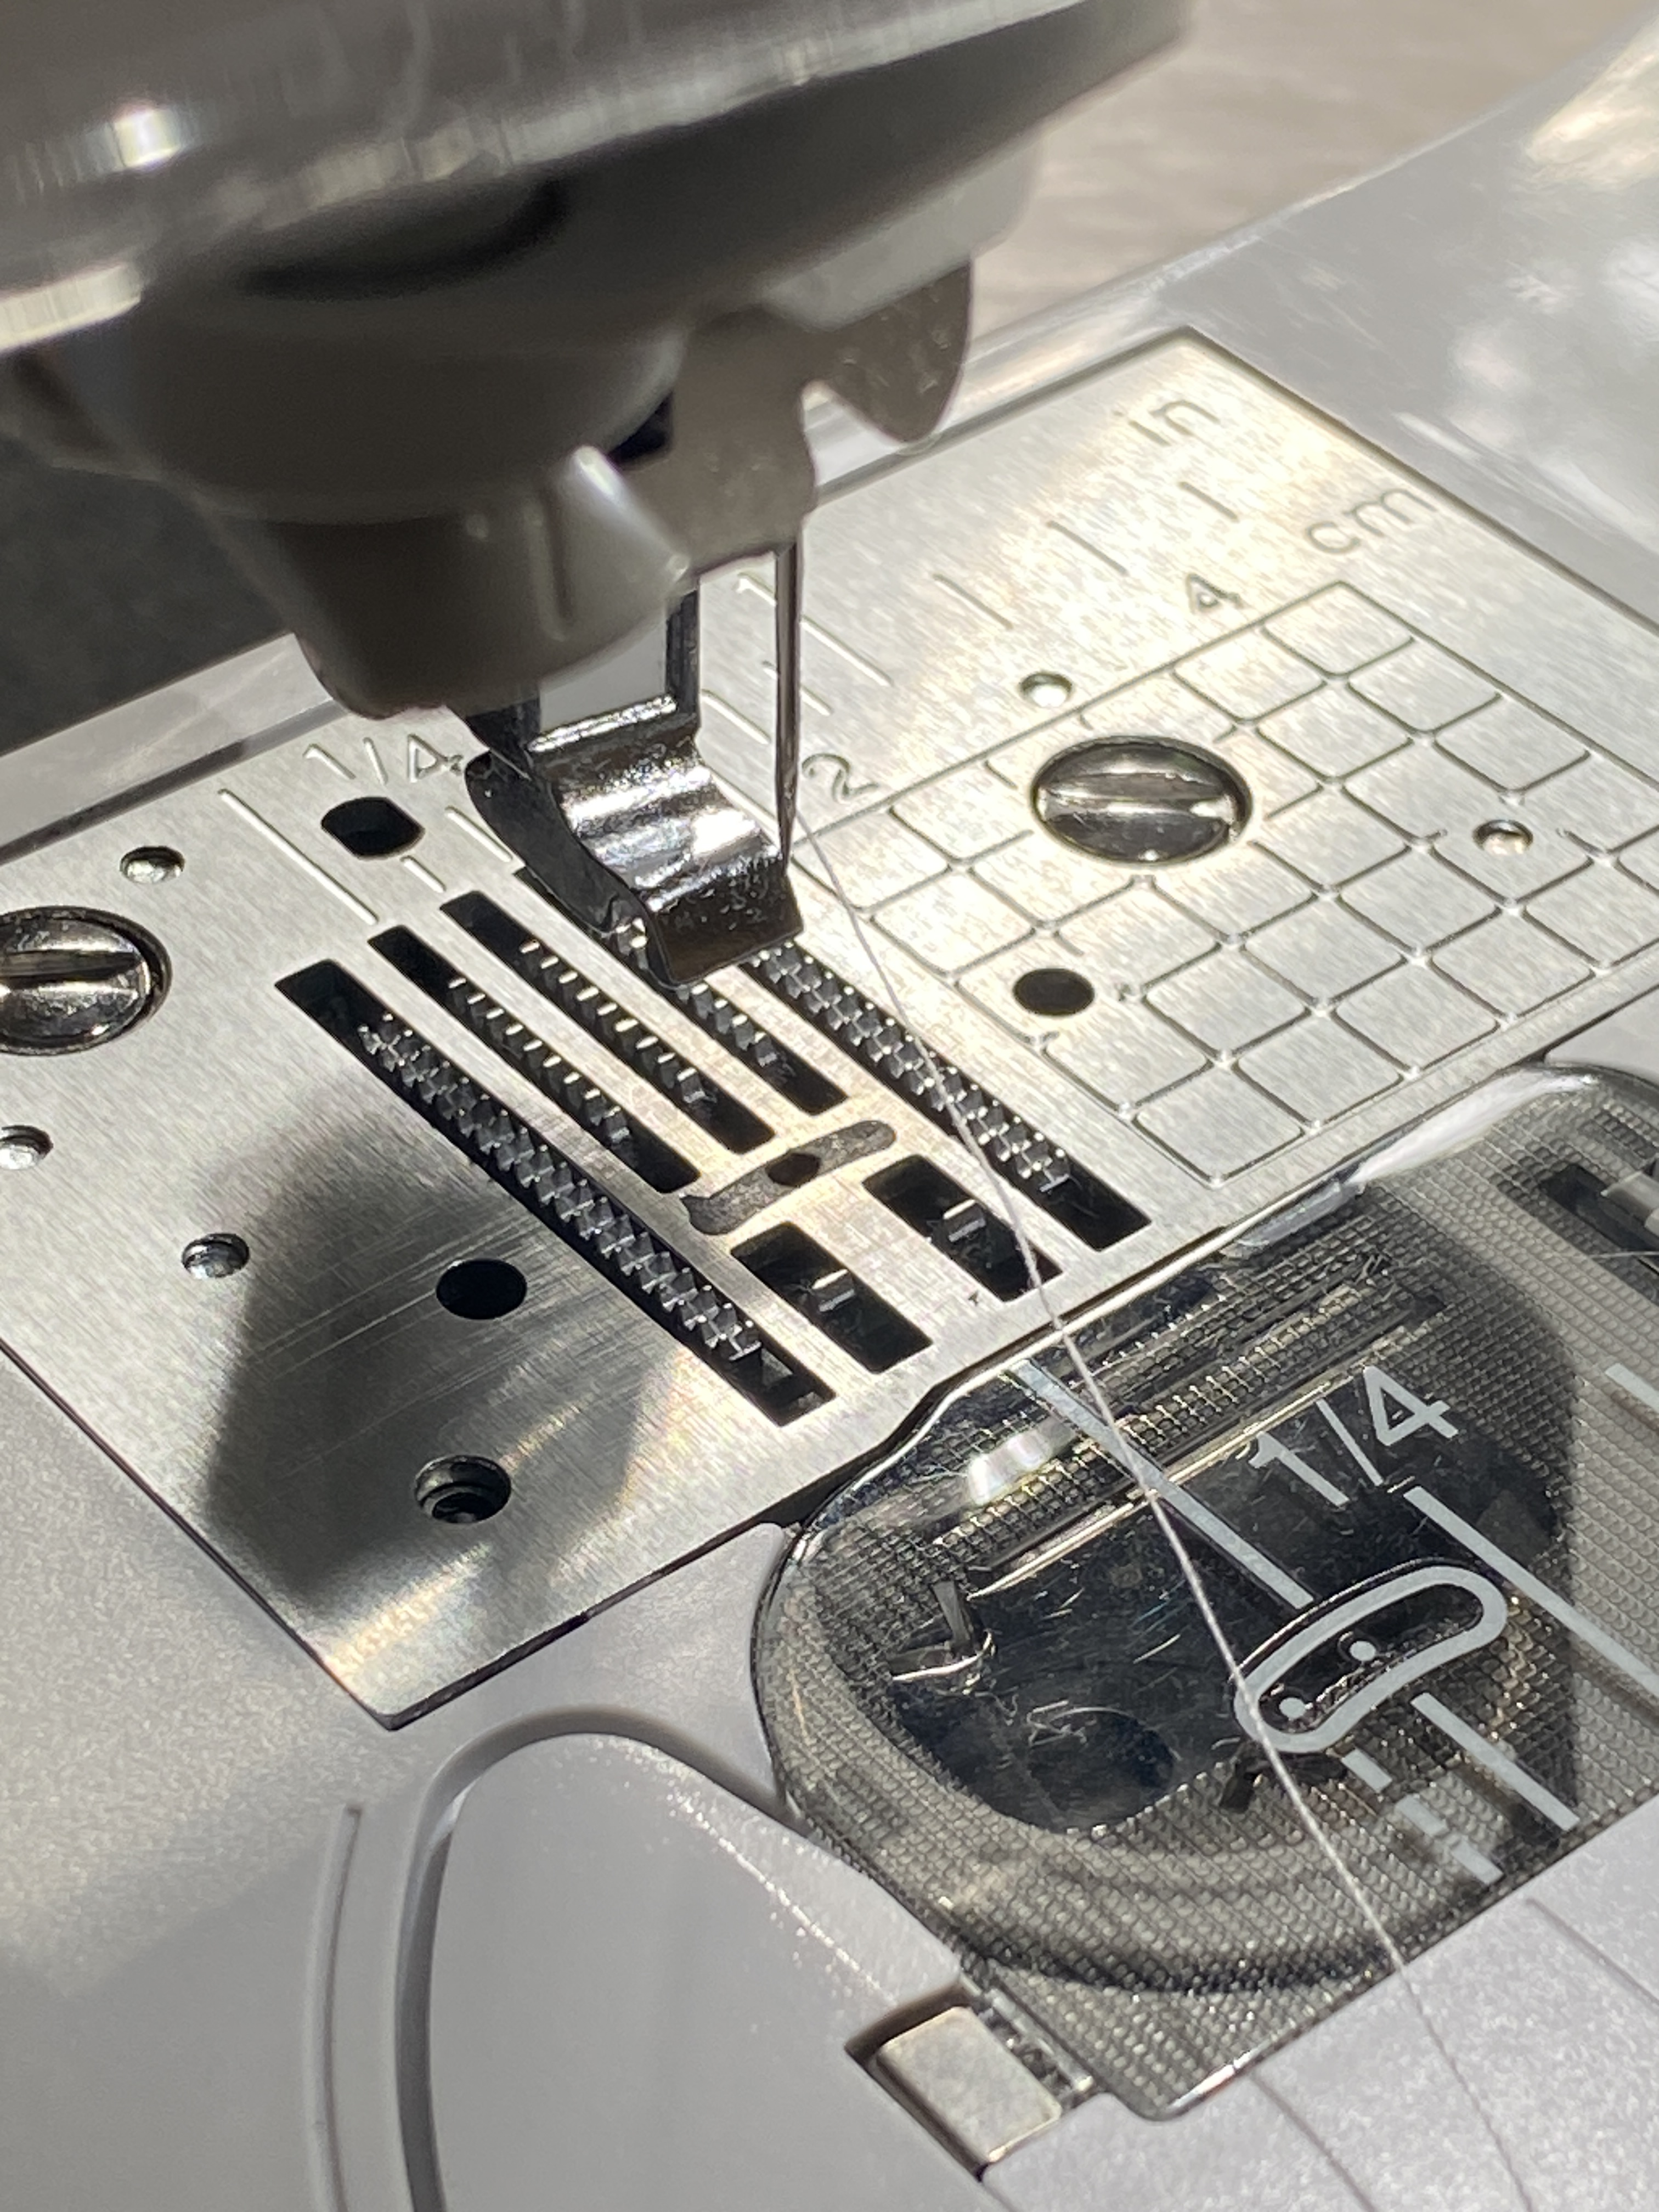
Janome, Singer and Brother manufacture sewing machines for other companies. It’s a common practice in the sewing machine industry. I can always spot a machine made by Janome due to the slightly offset presser feet and the distinctive gray plastic needle plate in less expensive top loading machines. Singer and Brother tend to make machines designed for true center-needle presser feet (not offset like Janome).
My Elnita EC30 and Baby Lock’s Joy and Zeal share the same needle plate and presser feet (all made by Janome). Baby Lock markets an accessory set with a “specialty ankle” that allows these Janome made (Anna, Molly, Joy and Zeal) machines to use more of the Baby Lock snap-on feet. Baby Lock makes an awesome Quilt Binding Foot that I’ve been able to make work using a 5mm width Janome shank on my Elnita EC30 and Elna STAR, but this really sparked my curiosity. I just had to see this “specialty ankle”.
It meant I had to buy a 7 piece foot kit, but I’m glad I did. The “specialty ankle” is a standard Baby Lock snap-on shank that’s hollowed out to allow for the offset in the Janome presser bar. If you have a Brother-made Baby Lock machine, you’ll be able to use most of your snap-on feet with your Janome 5 mm width machines with this specialty ankle. I cannot vouch for the 7mm width top loading Janome machines as I do not have one of those models to test.
Pick up one of these 7 piece foot kits for the Baby Lock Anna, Molly, Joy and Zeal:

They are $15-$20 online and $30 at a dealer. This is the only way I’ve found as a sewing machine enthusiast to get the special shank needed to use the Baby Lock Quilt Binding Foot (and others) with my 5mm width Janome machines. Having this shank also opens the doors to potentially more center needle snap-on presser feet (Amazon, MadamSew), which are usually available at a much more reasonable price.
We need someone to come up with a 3D printer file for this screw on presser foot shank. Just sayin’.
Have you discovered hacks to make your sewing machine feet more interchangeable?