Happy 250th Birthday America!
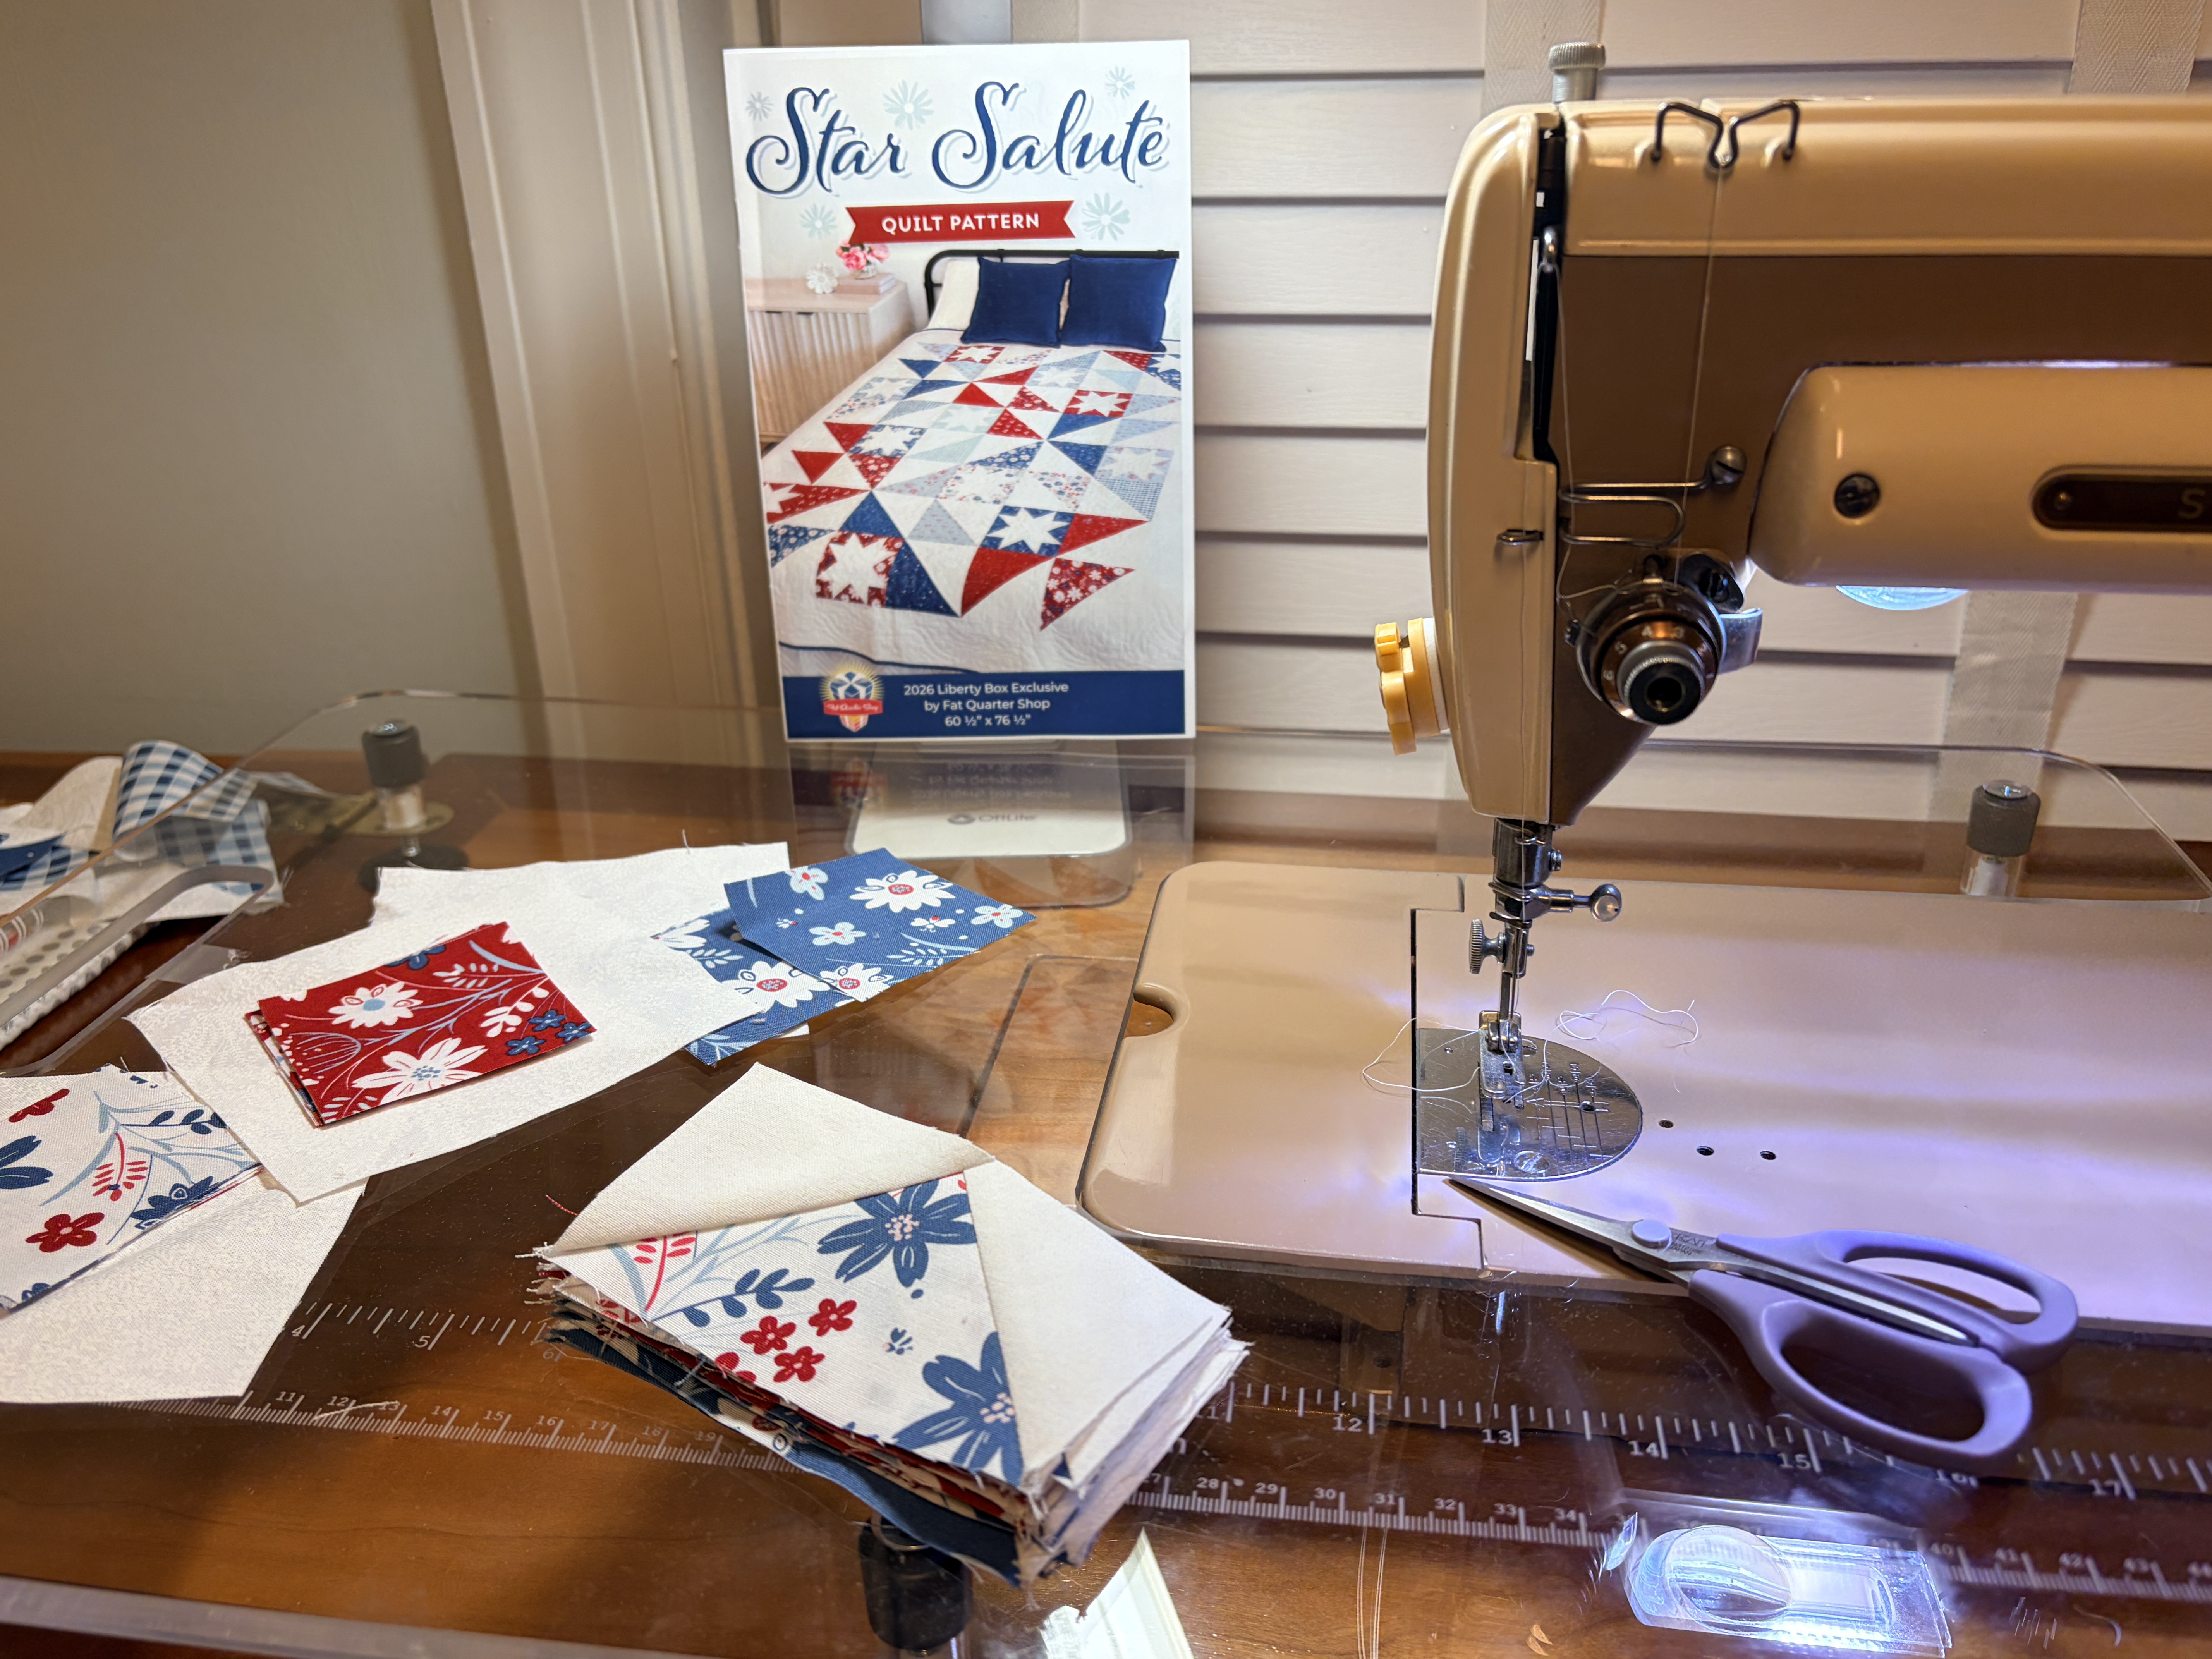
Celebrating the 4th by sewing patriotic themed blocks on my American-made Singer 301A!

The pattern is Star Salute, which was part the 2026 Liberty Box from Fat Quarter Shop. Fabric used is the FQ bundle that came in the box and the white-on-white background came from another quilter downsizing her stash. Binding will be a denim blue cotton from my inventory. The pattern includes an pieced backing option which consists of a large center star made from leftover HSTs and white yardage, plus some light gray fabric I already have. In case you’re interested, the finished size meets the QOV guidelines. This particular quilt will most likely be donated to my guild’s Quilts for Cops partnership.

My 301A was made in Anderson, South Carolina in 1957. She came to me via the Florida Panhandle, where my niece found her at a yard sale for $125.00. She was farm fresh, but still had the original bobbin case, set of presser feet and foot controller in the trapezoid carry case. There’s no telling how long this sewing machine had been in someone’s shed or attic. Outside of a spa day, the most useful updates Miss Carmella’s received have been the acrylic extension table, stick on thread cutter, walking foot, and FW Shop seam square/seam guide duo.

After much experimentation this past week, I’ve learned how to compensate for the lack of an adjustable needle position to achieve a scant 1/4″ seam. The original presser foot in tandem with the seam guide consistently works the best for me. The secret for me is pinning on the left side instead of the right. It does feel awkward at first, but careful pinning means my seams match and no points on HSTs and FG are cut off.

FYI – the acrylic extension table is from Taylor Made Tables and the stick on bee thread cutter is from Lori Holt. Besides an LED light bulb, the only addition was a set of matching crocheted spool pin doilies from a local maker.

Miss Carmella is ready to complete our quilt top over this July 4th weekend!

Enjoy the fireworks, food and fellowship while you stay cool in the heat!
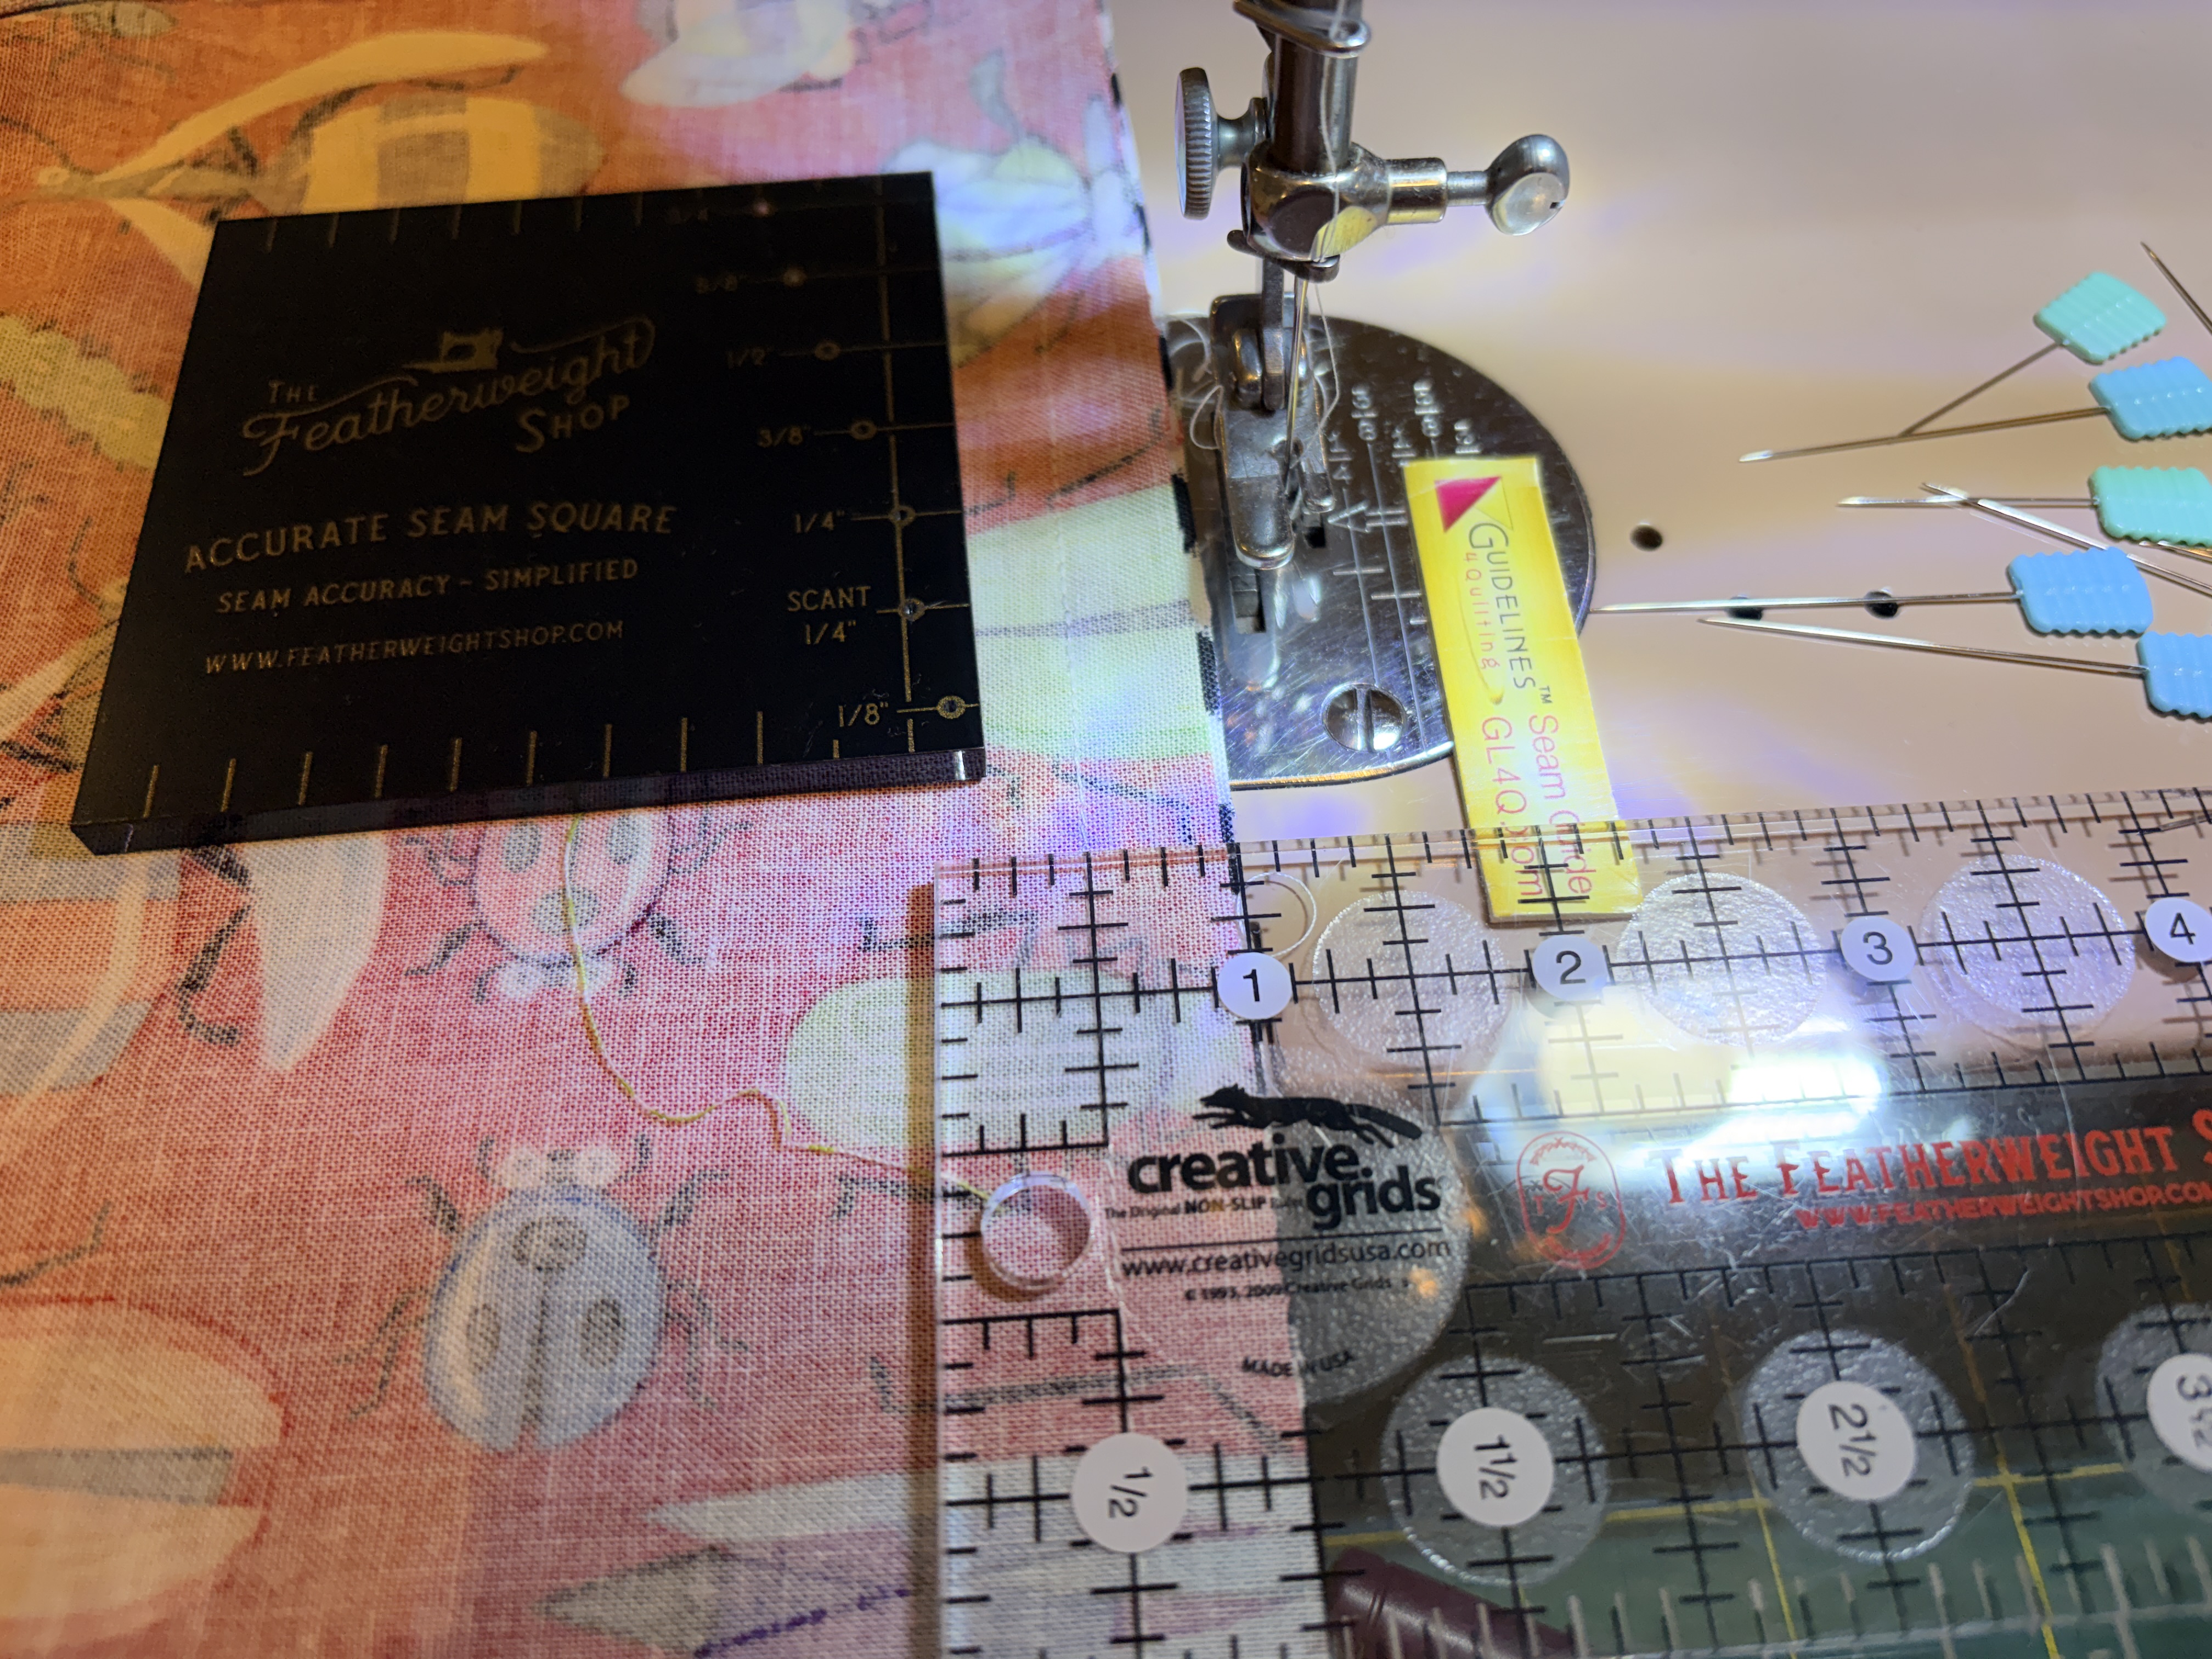
Seam guides for vintage straight-stitch sewing machines

Lately, I’ve been working on my Silver Lake quilt, which is a fund raiser for the Virginia Quilt Museum. Pat Sloan sponsored a QAL earlier in the year, but I’m just now able to get to it. So far, I’ve pieced all the blocks on my Elna 450 using a scant 1/4″ seam allowance, as the test block using the full 1/4″ seam allowance came up a wee bit short.

Modern, computerized sewing machines have us spoiled. It’s so easy to adjust your needle position with 1-2 clicks to set it for a perfect scant 1/4″ seam allowance. Not so easy with a vintage, straight stitch sewing machine! You can’t move the needle, so you must compensate by moving the seam guide or by using a specialty scant 1/4″ foot.

With the way my Singer 301A was built, the specialty slant shank scant 1/4″ foot yields a full 1/4″ seam allowance. It’s not a fluke. I purchased the same exact foot from two different vendors and experienced the same result each time. More than one technician has told me that it’s just the way my machine was made. If I need a scant 1/4″ seam, I was advised to use the original presser foot and a seam guide.

So, what solution did I come up with?

I use a Seam Square from The Featherweight Shop as the measuring device to set any seam guide.

(1) If I am chain piecing or can pin parallel to the fabric edge, I’ll use the Seam Guide from The Featherweight Shop or a cute magnetic one I picked up at a local quilt shop.

(2) If I need to pin perpendicular to the fabric edge to match at specific points, I like to use the little stick-on guides from Guidelines 4 Quilting along with the Magic flathead pins from Taylor Seville. The guide is just high enough to act as the fabric bumper, while still allowing the pins to pass over. (A thin stack of sticky notes will also work).

I’ve also tried various 3-D printed slant shanks with snap on feet. If someone can design one with a slightly thinner shank, I’ll be happy to test it out for you.

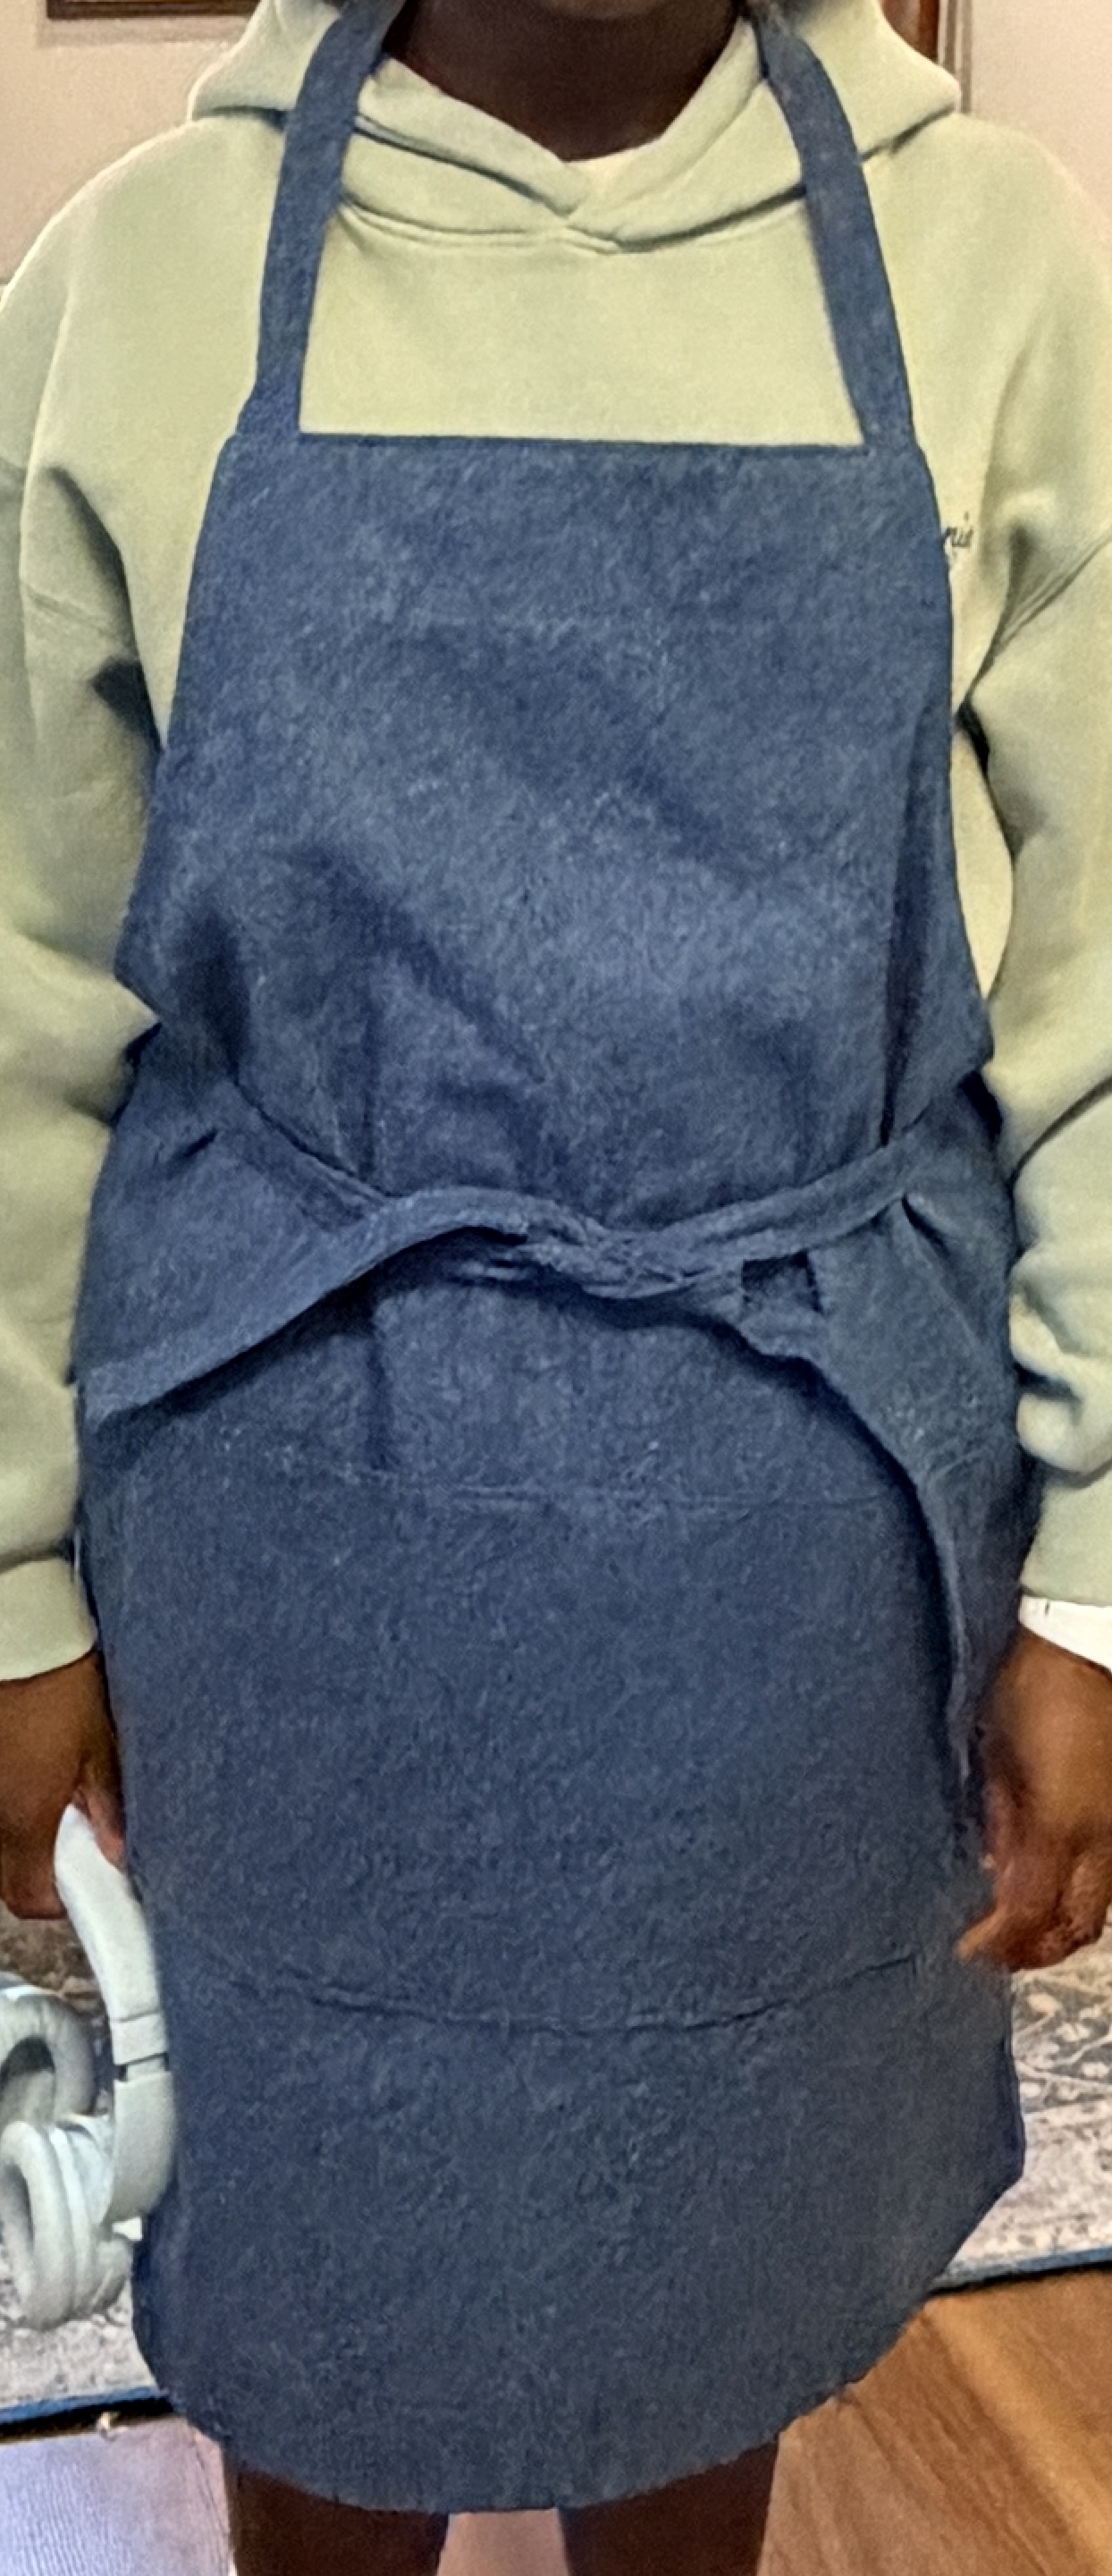
Kid’s project: BBQ Aprons for Father’s Day

In CraftLAB, we made aprons using the free pattern and video instructions from Made Everyday. (Thank you for a well-fitting, easy to follow project.)

Note that it will probably take you longer than 30 minutes to make the apron on your first try. Allow a couple of hours if you are sewing with kids or are a beginning sewist.

The fabric shown is a heavier-weight denim with minimal stretch I found at Hobby Lobby. The girls chose to add a contrasting cotton fabric for the pocket lining. Thread used exactly matches the denim to help hide topstitching variations.

Three suggestions:

(1) Two ironing stations will make the process flow much more smoothly when sewing with friends.

(2) Use a tube turner to make the ties and neck band. Cut the fabrics as indicated on the pattern, but fold fabric in half RST lengthwise and stitch along one side and across the bottom of one end of the tube. Clip the corners before turning. Love how this video explains things.

(3) If sewing with kids, consider lining the apron. This will eliminate all of the folding and pressing required to finish the raw edges. Shorten the main pattern piece by 2″ before cutting out. Omit the facing piece. Add front pocket as directed. Create ties and neck band as desired. Attach ties and neck band in positions as indicated in video instructions. Place front and lining RST and sew around using a 3/8″ to 1/2″ (or edge of presser foot) seam allowance. Leave a 6″ opening along the bottom to facilitate turning the project right side out. Press and topstitch around the entire apron using 1/4″ seam allowance (or whatever you prefer).

I’ll be making one for me with some personalized touches: contrast pocket lining and matching flower applique on the bib. I’ll also shorten the neck strap by 2 inches because I want a little more coverage.