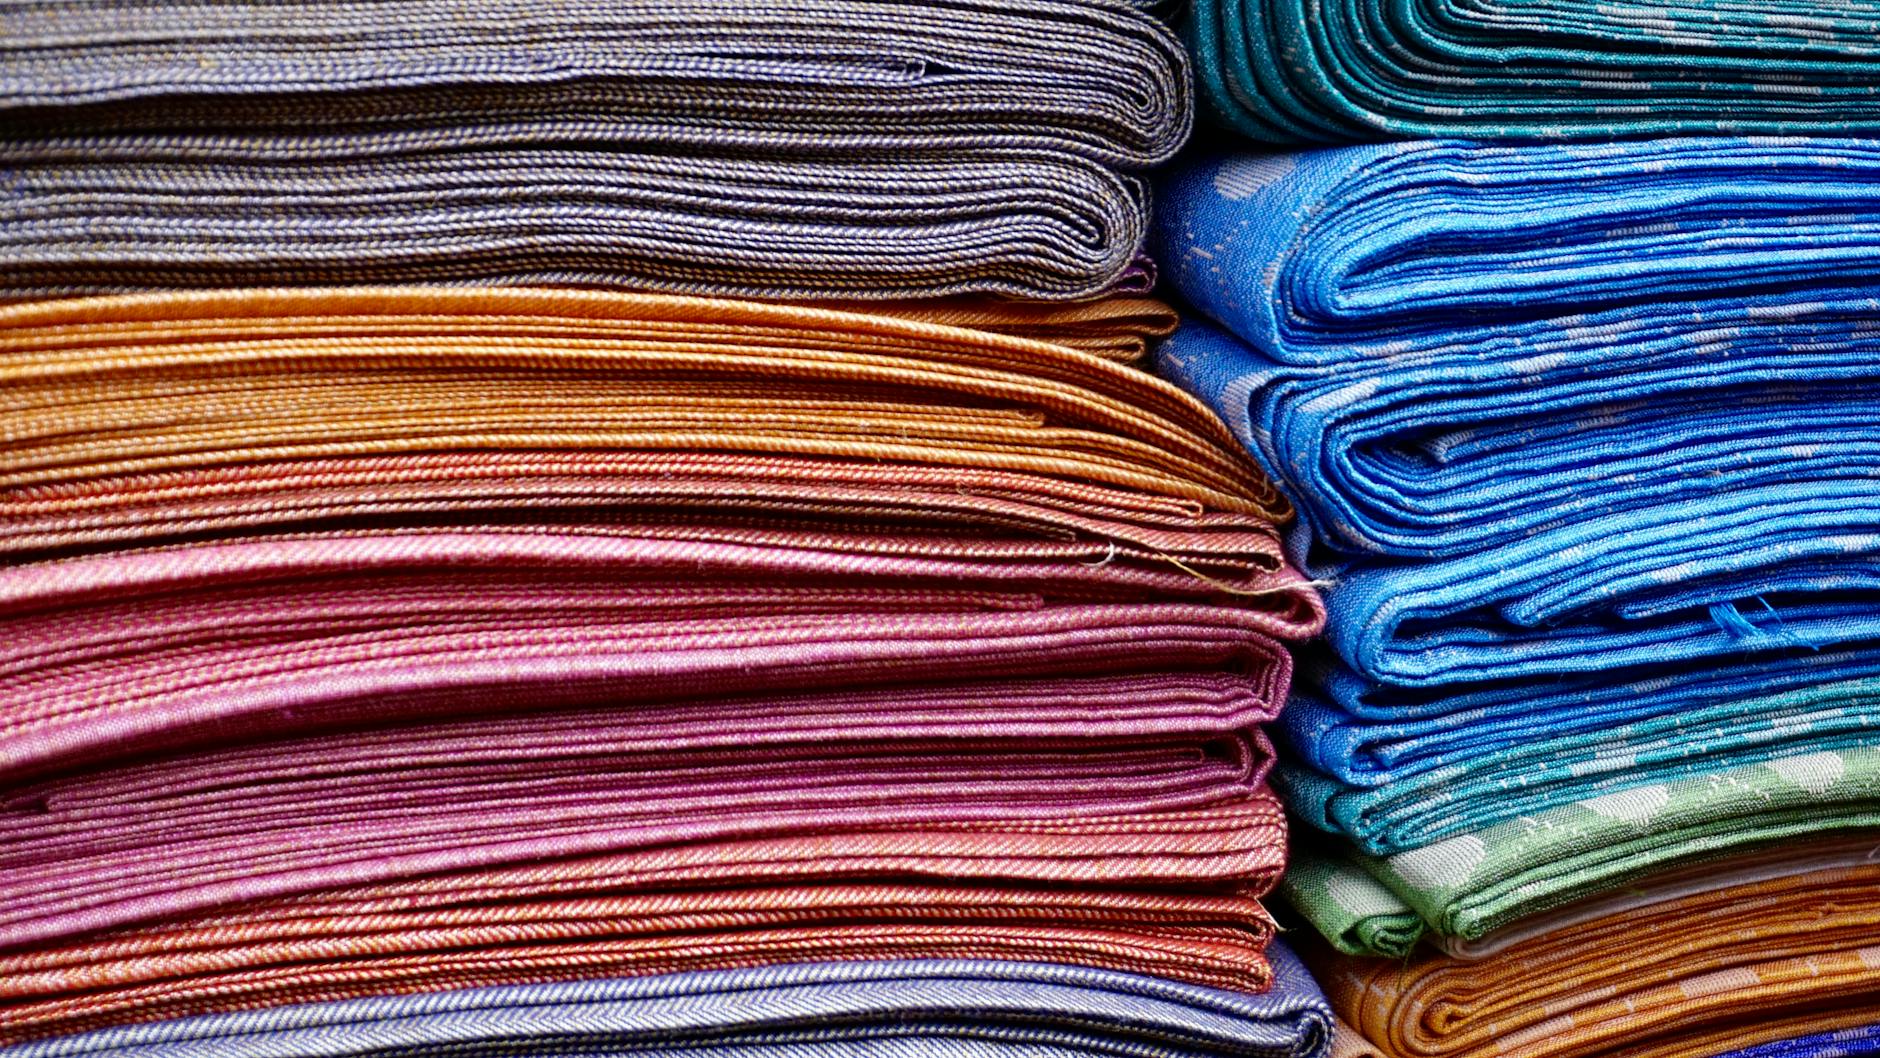
Who knew finding the right tile for your shower was like finding the right fabric for a quilting project?

Auditioning yet another potential tile for my shower pan redo project.

The past six weeks have been spent getting contractor estimates to repair what we know is a leaking shower pan. Two of the three contractors agree that a full shower tear-out and rebuild is unnecessary. Repair work will entail a complete removal and rebuild of the shower pan plus 2-3 rows of the surrounding wall tiles.

The good news:
(1) Our wall tile is still being made and current samples blend beautifully with the existing tile.
(2) We can reuse the existing frameless glass shower surrounds.

The not-so-good news:
(1) We won’t know the true extent of the damage until the shower is demoed.
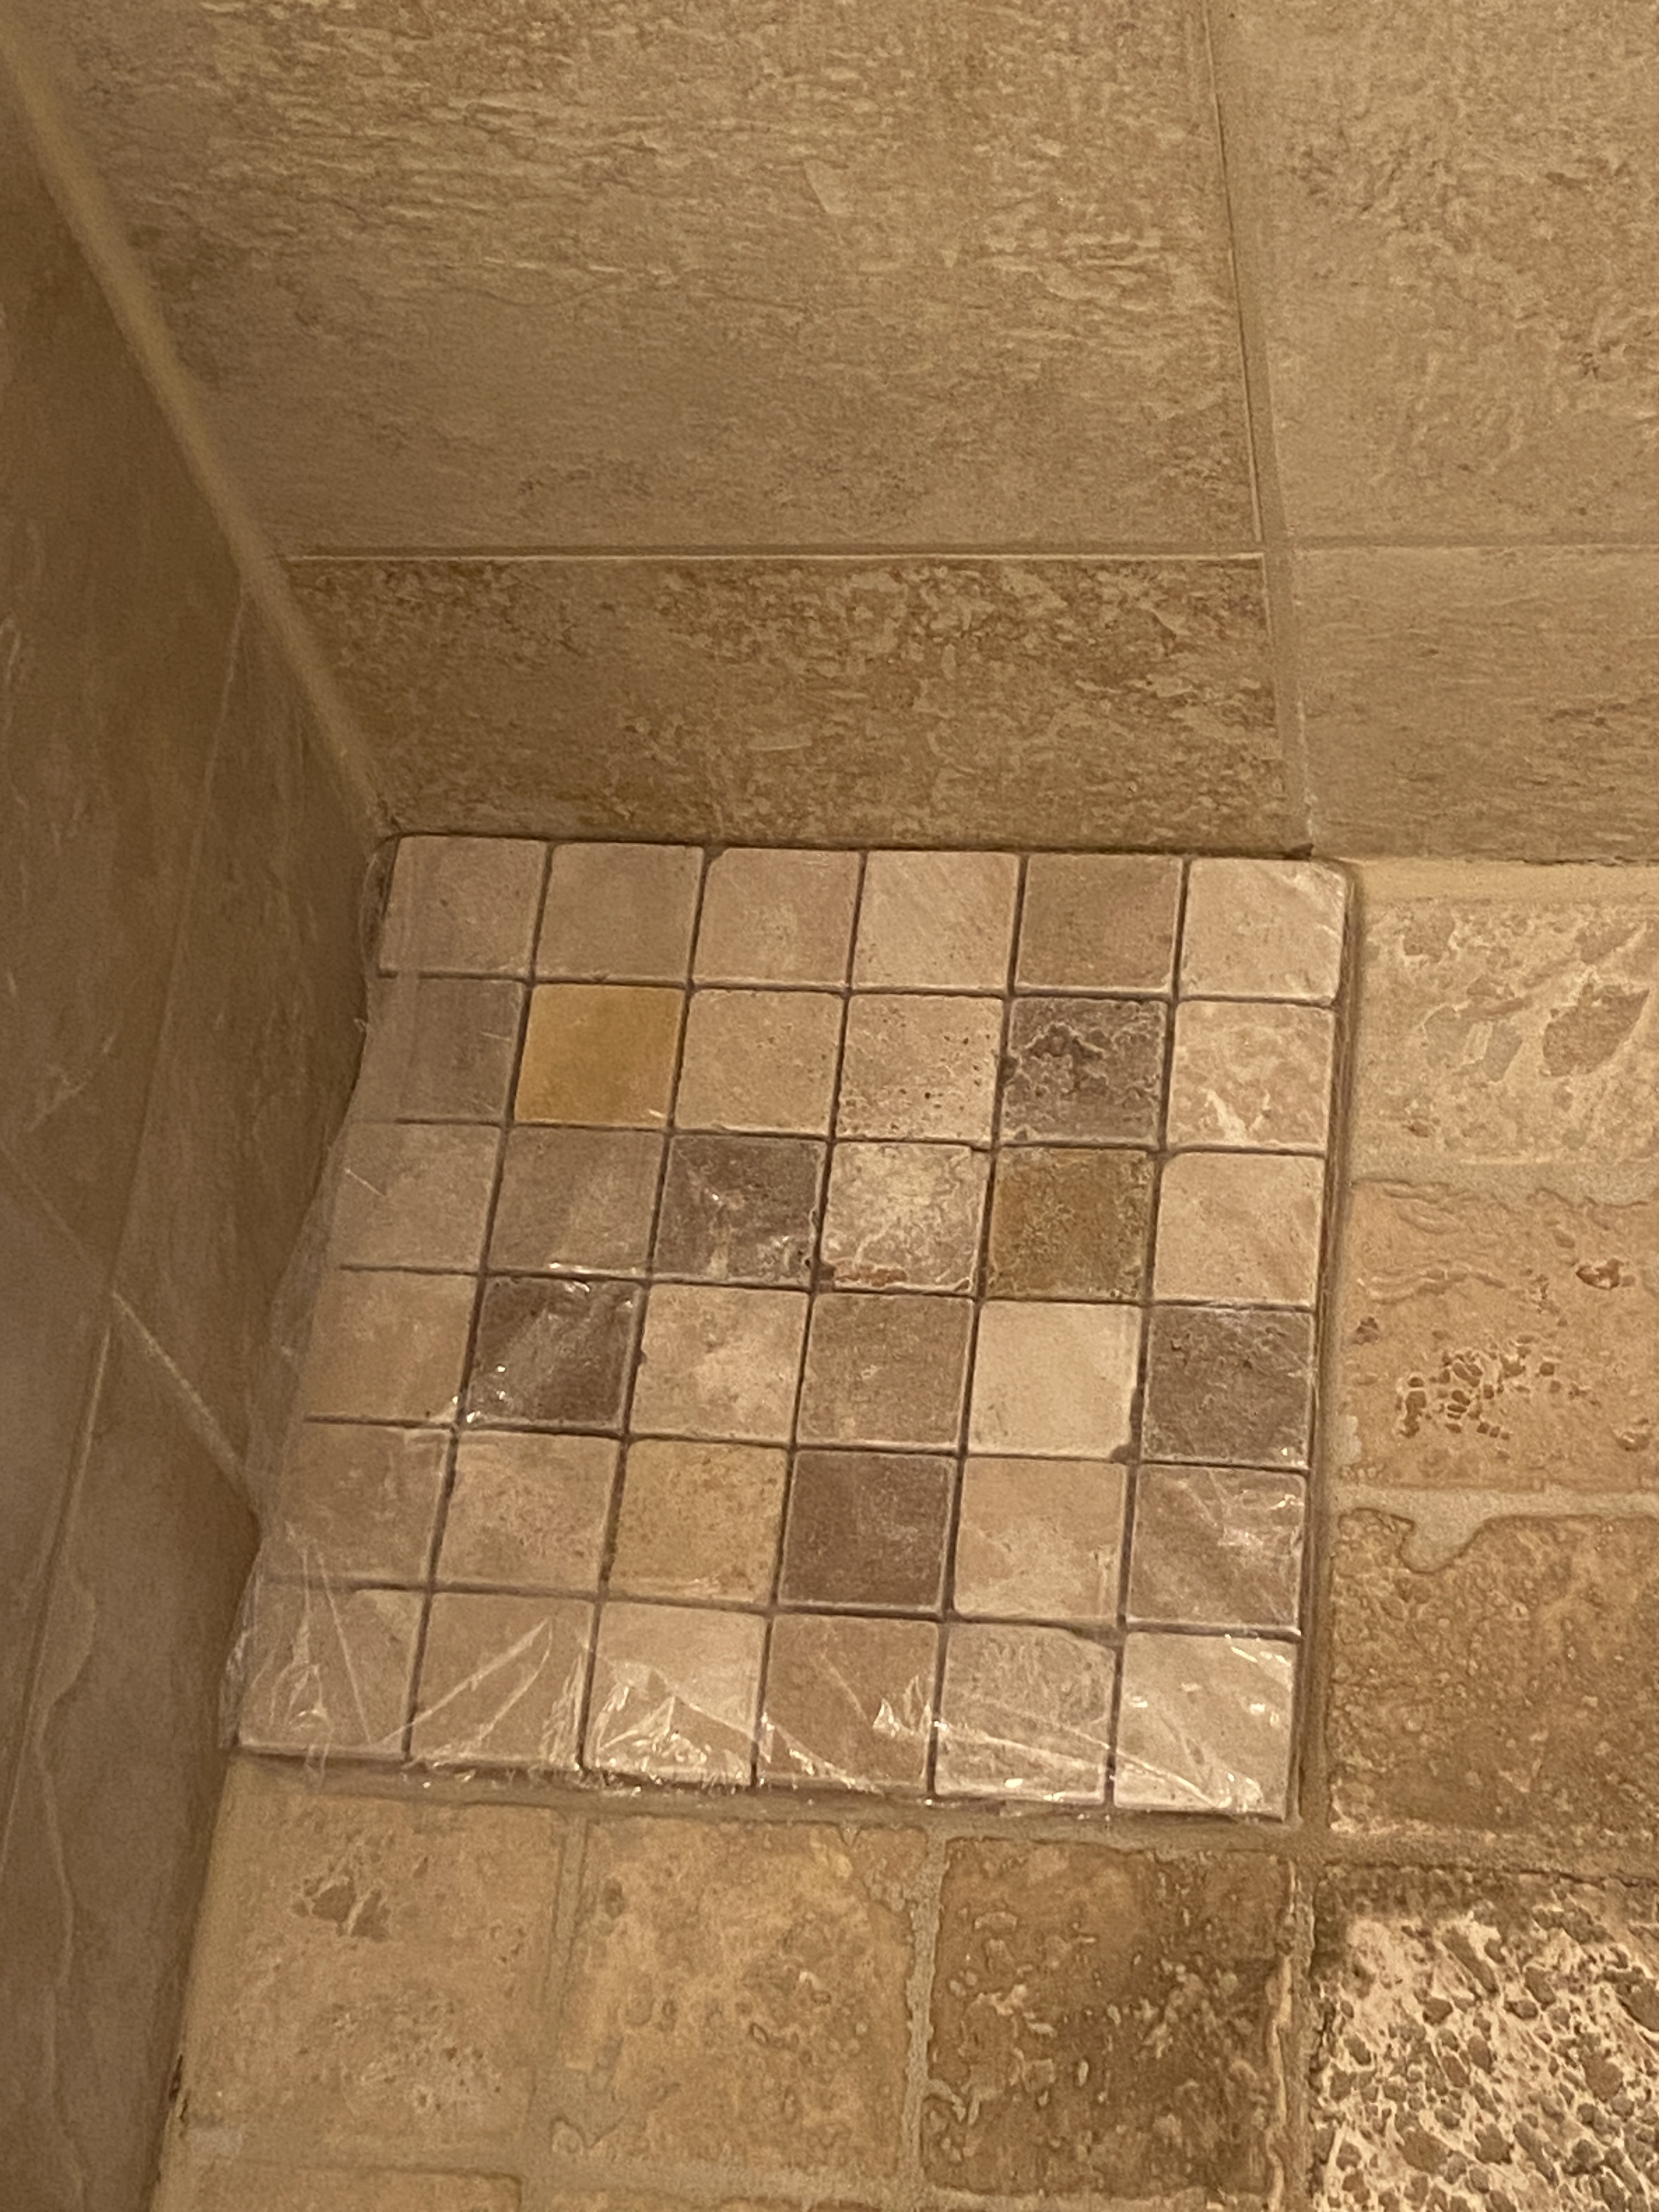
(2) Color preferences have changed over the past decade, meaning it’s been a challenge to find a replacement tile I like that is suitable for shower floor installation.

I’ve been to five separate tile showrooms – bringing home samples of mosaic 2×2 tiles that might work, only to have to take them back a couple of days later. Yes, there is a 3×3 size tile available that matches the existing wall tile, but I want something a lot less matchy-matchy. Hey, that’s the way I choose fabric for my quilts, too!

I did find a partial sample I really liked that we later identified as Happy Floors Fitch Fawn 2×2. Of course, it’s been discontinued. No one in the greater ATL seems to still have it in stock, but I did find it online at tile dealers in AL, KY and VA. There’s a similar, newer version called Sierra that the tile shop ordered samples of for me in the Trail and Meadow colorways. They should arrive on Monday.

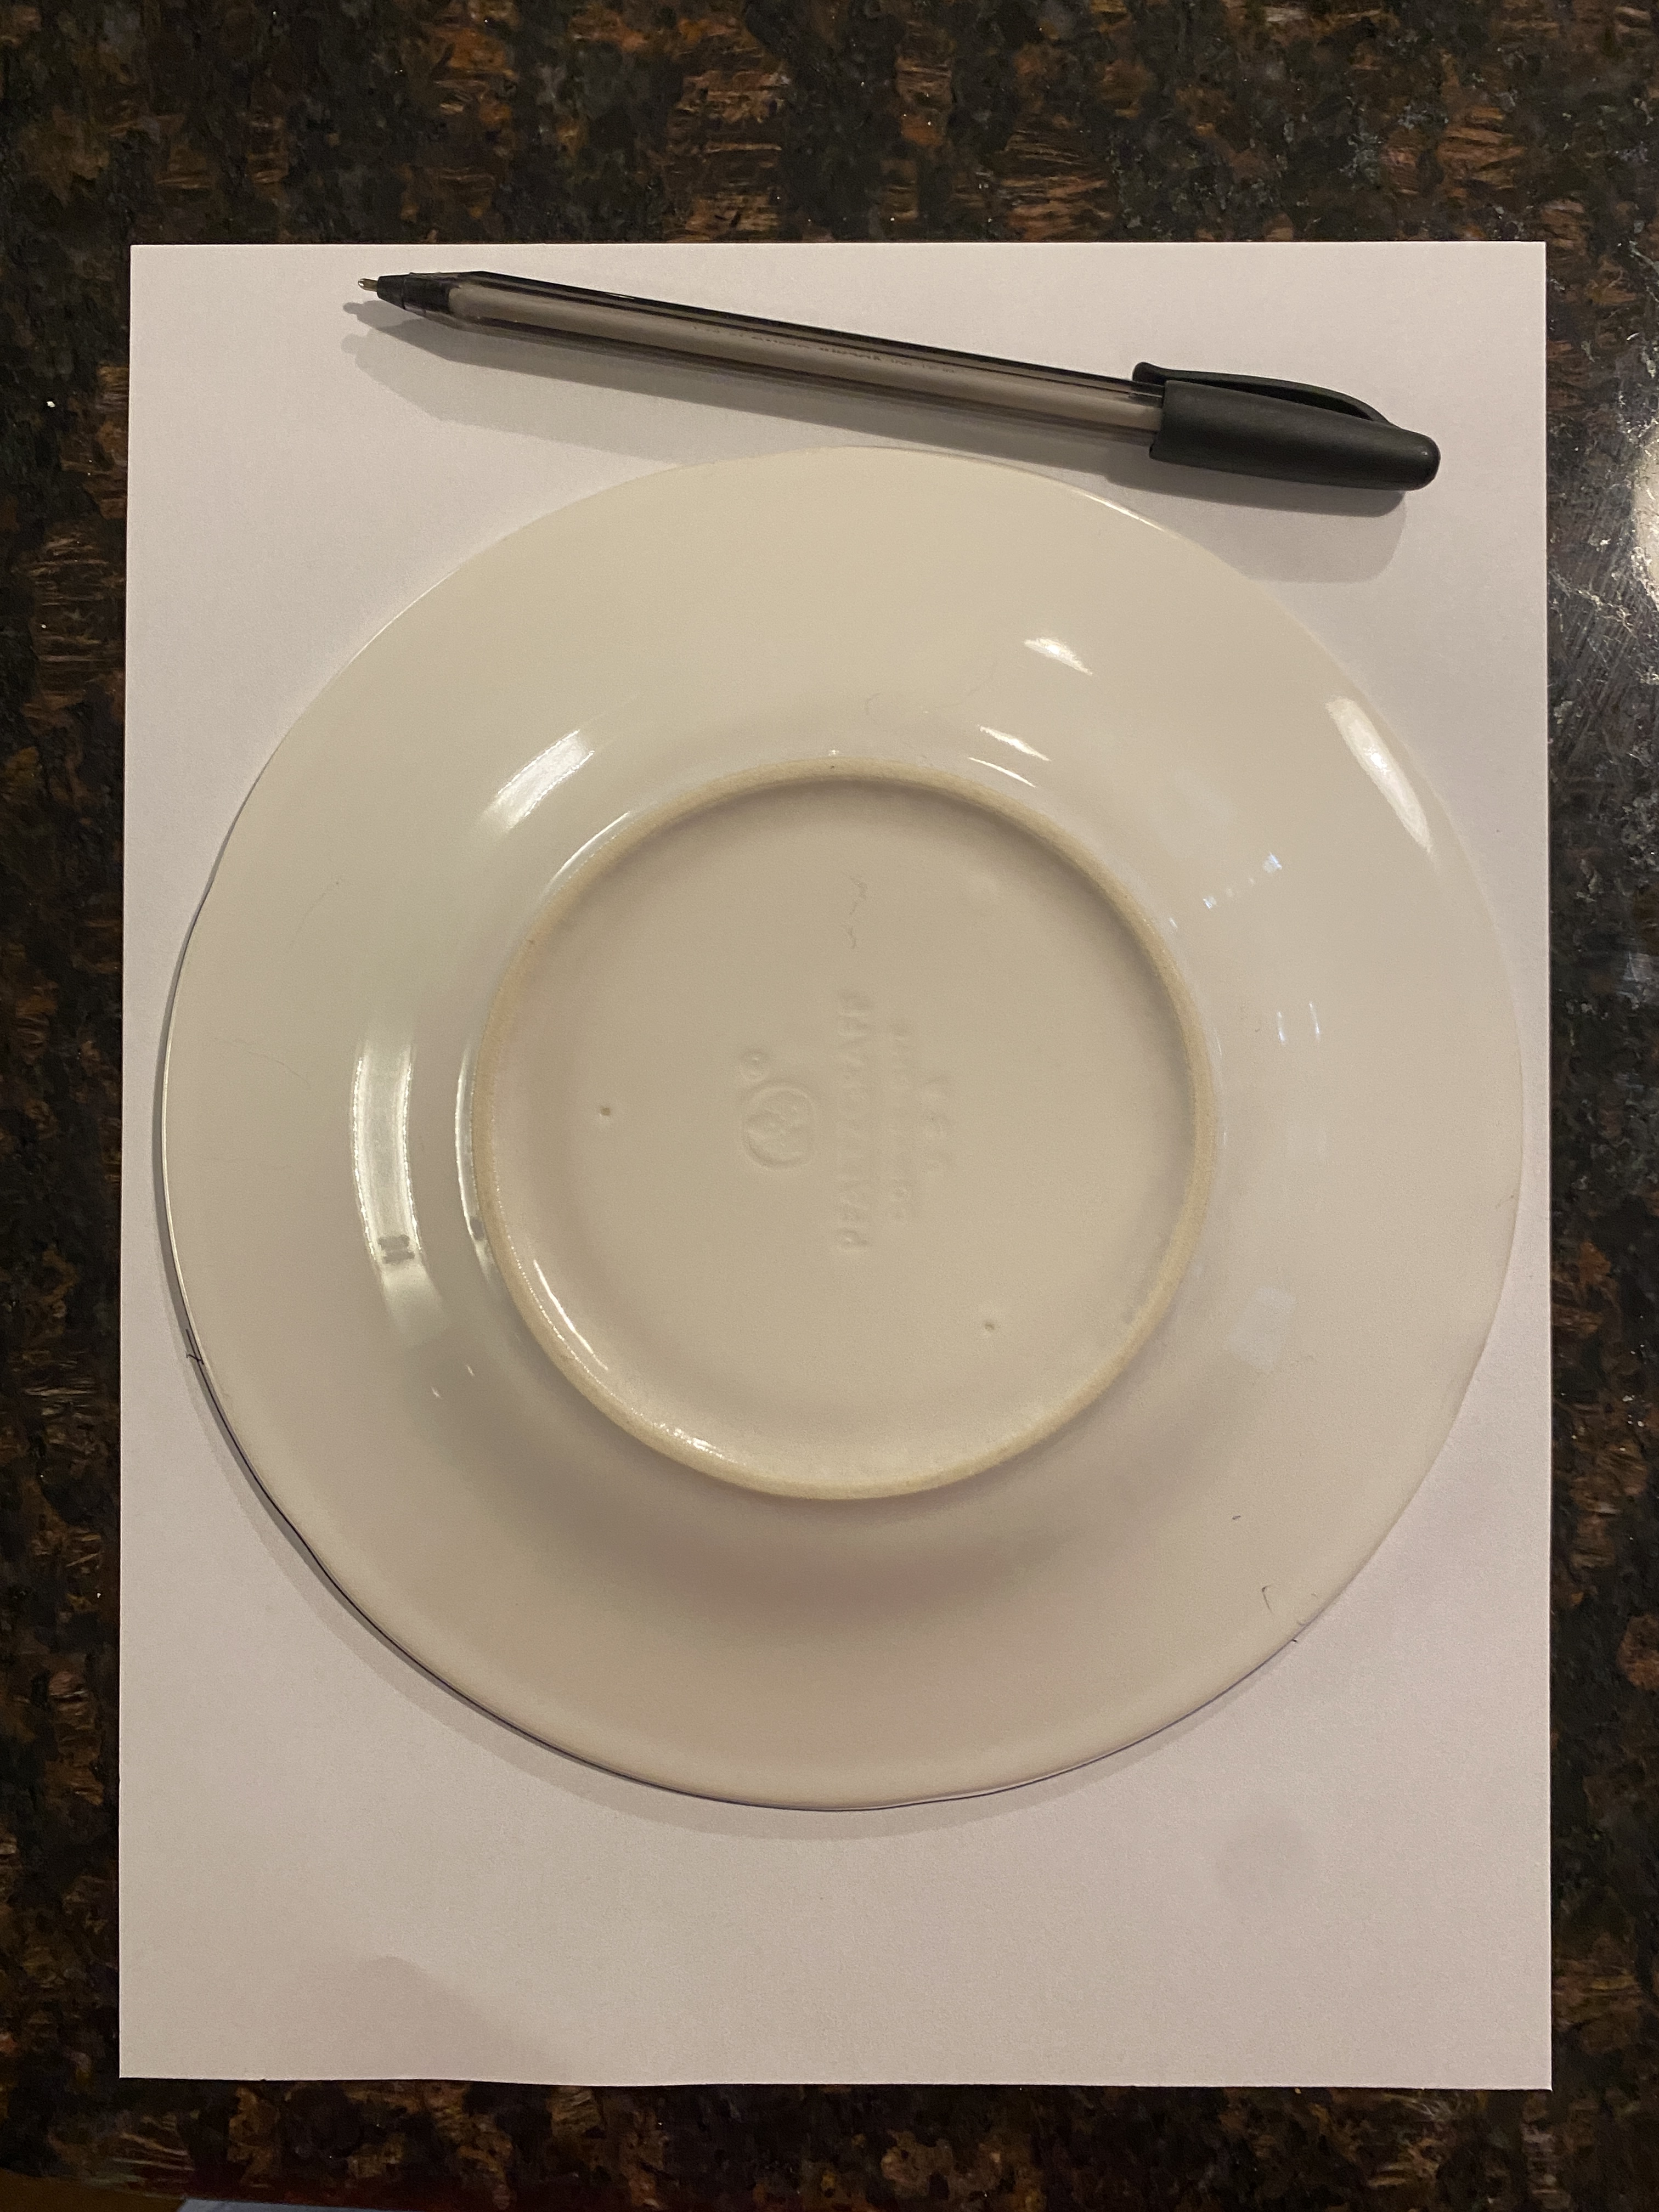
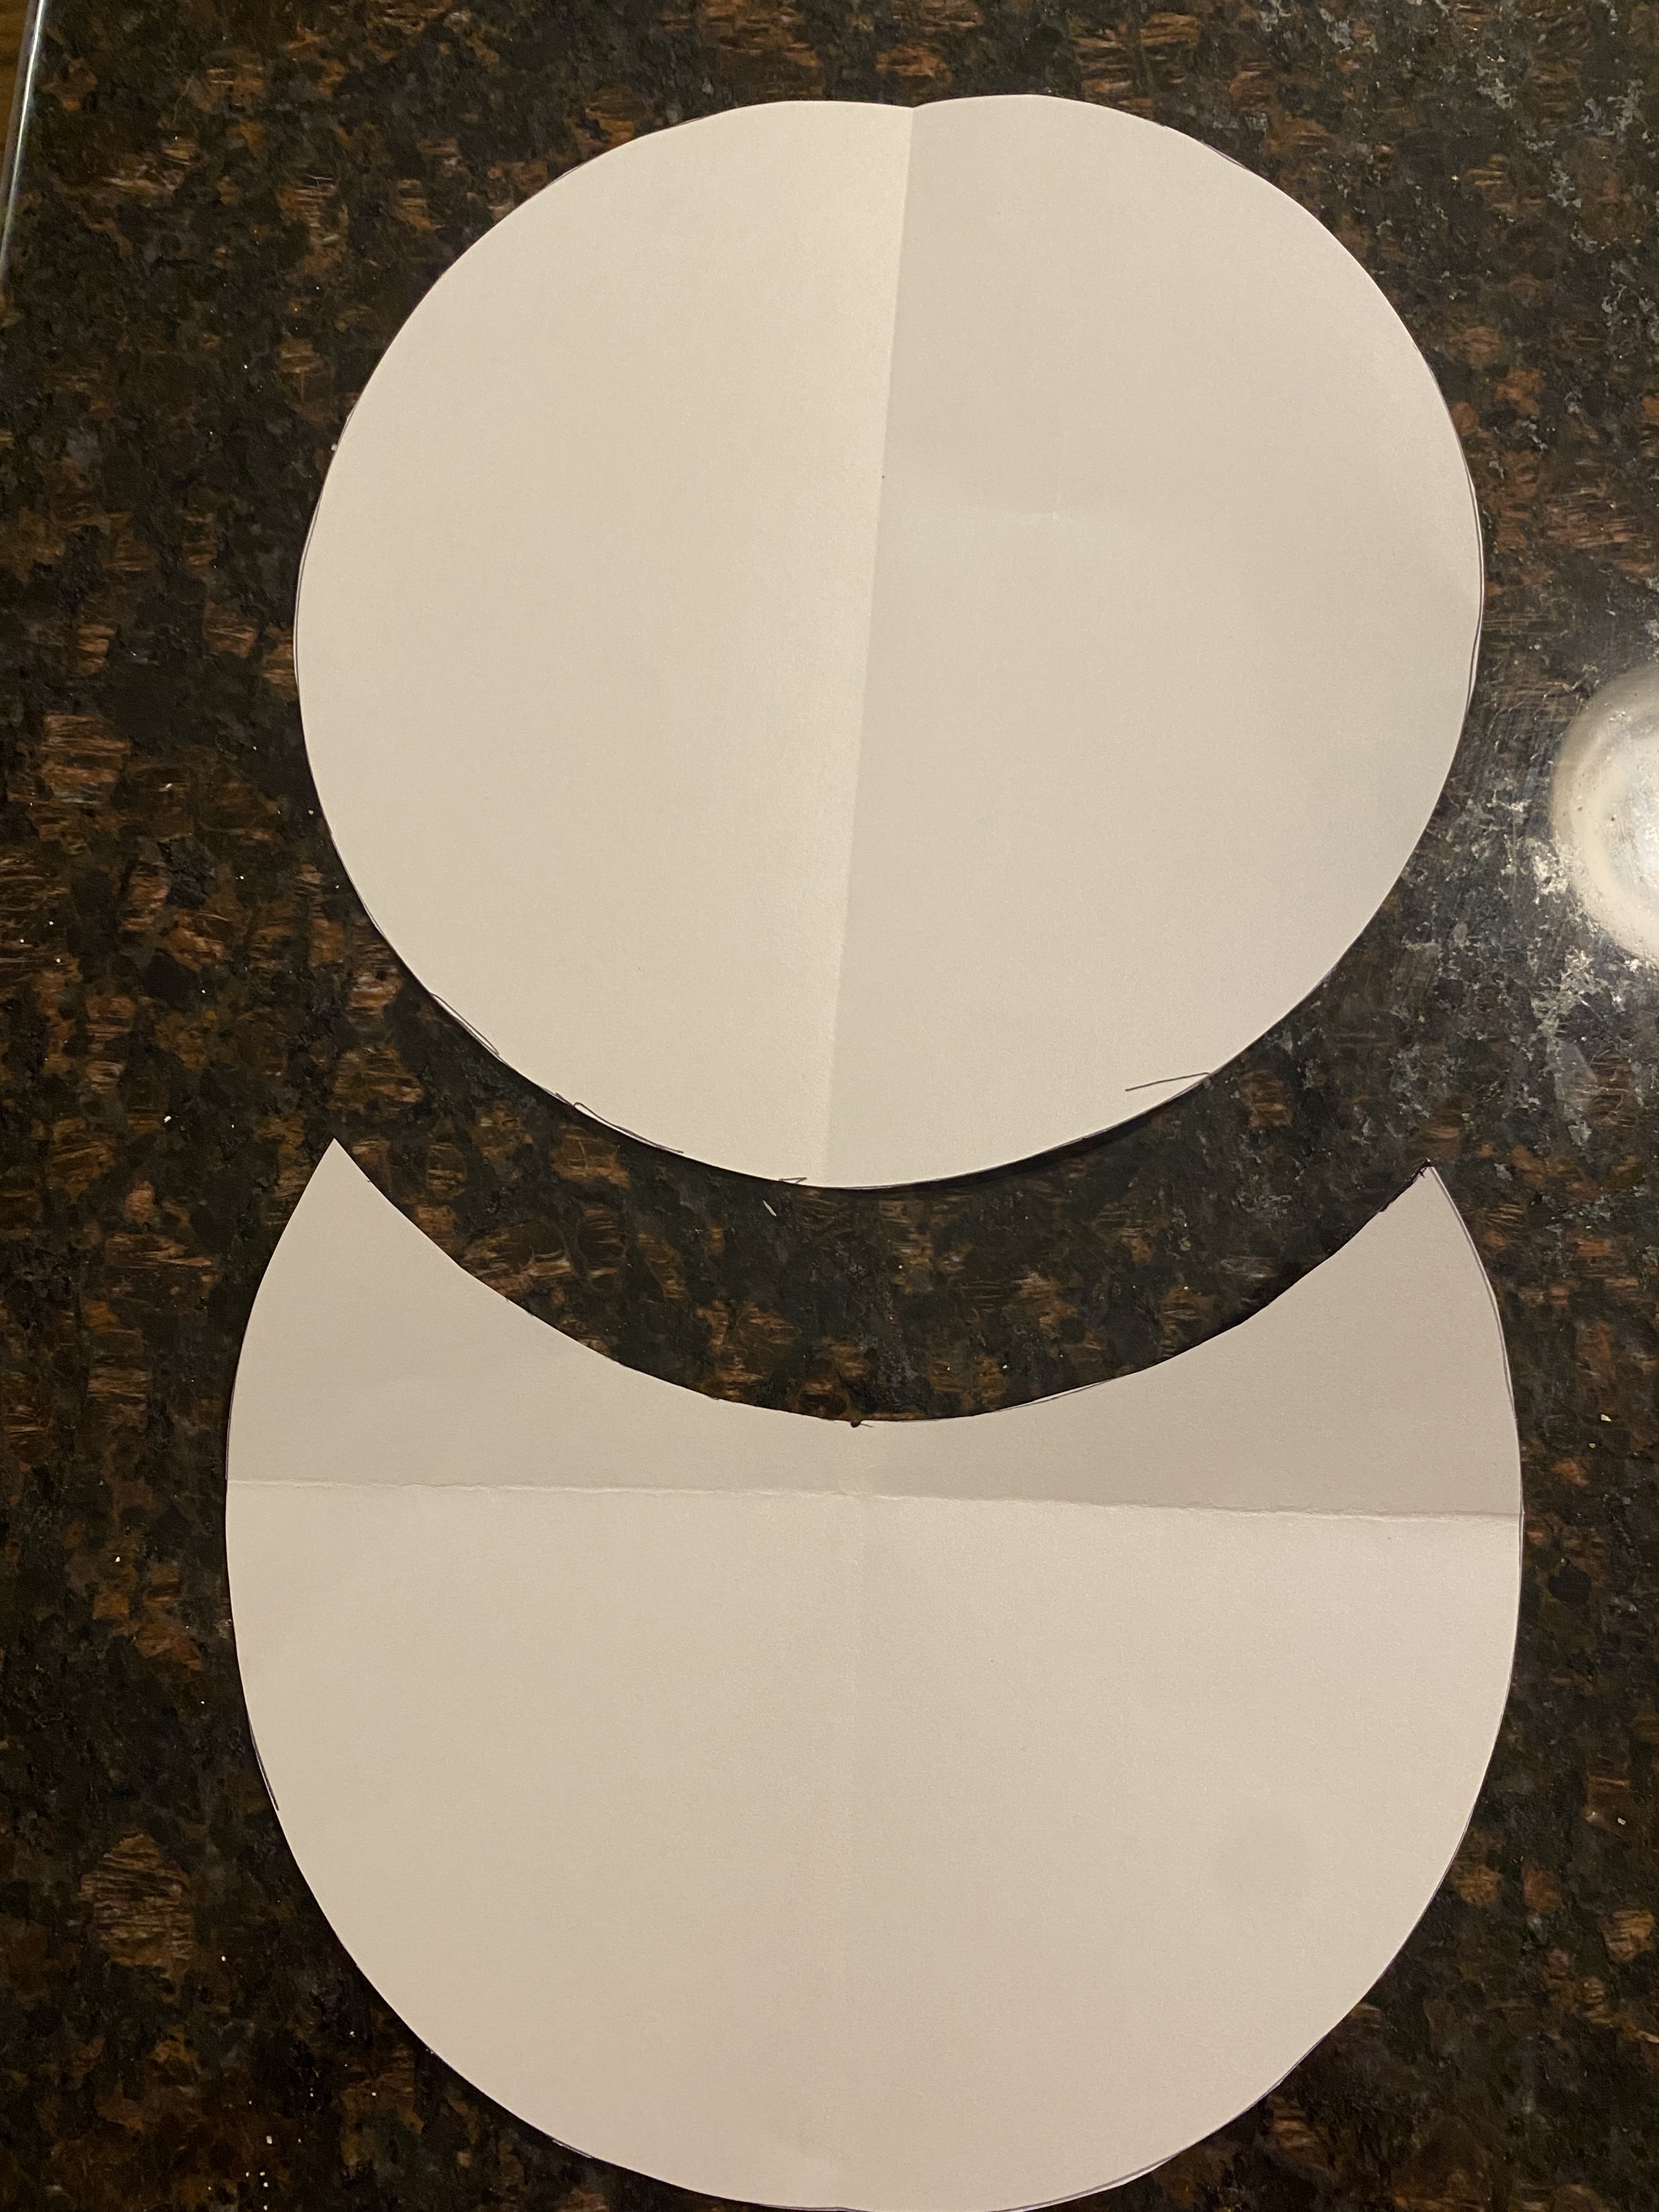
As for the tile sample pictured above, it was brought home on a whim during a stop at Home Depot today for something else. Honestly, it blends so much better than anything else I’ve found so far and the price is about half of what I’m finding in my local tile shops.

Now, to count up the number of 12×12 square and 3×12 bullnose tiles I’ll need. Late this afternoon, I found a tile shop in Suwanee that carries both the Daltile wall tiles I need and Happy Floor Fitch/Sierra mosaic tiles I’m considering. I see a road trip in my future – to look at tile and stop in Sew Sew Studio while I’m on that side of town.

Quilt Backing Fabrics – Thrifty Edition

Quilt shop fabric in my area is now $14.00 + tax per yard. For charity or donation quilts that require 4 yards to make a quilt back, $60 per quilt isn’t sustainable for my budget over the long haul. Nor does it seem to be sustainable to those in my quilt bee group. Those ladies are a thrifty lot! Many only buy backing fabric for a donation quilt if they absolutely have to.

Sources of free to less expensive quilt backing fabric:

1. Free table at quilt guild meetings.
2. Community service fabric donations (sometimes batting is also available).
3. Shopping your quilty BFF’s fabric stash or scoring big at a destash sale.
4. Pieced backing using fabrics from your own stash.
5. Flat sheets (twin or full size) from big box stores or thrift stores.
6. Fabric cuts from thrift shops (like Mostly Mutts or Scraplanta).
7. Hobby-Lobby when quilting cottons are 30% off.
8. Michaels – Fabric Editions prints that are $3.99 per yard. Order online for store pick-up.
9. Wal-Mart – Waverly precuts are available in 2 yard bundles for less than $10.
10. Mark-down section at your favorite quilt shop.

Me? I check the free table, ask Community Service or see if I can piece odd fabrics from my stash to make a quilt back that coordinates with the top. If not, I’ll usually hit Hobby Lobby or Wal-Mart for suitable backing fabric. I can usually get the fabric I need for about $20-$25. That fits my budget.

For personal projects, I’ll buy full-price fabric from the quilt shop if the project calls for it. However, I still shop Hobby Lobby and the clearance sections of nearby quilt shops to find coordinating backing fabric.

Had to buy a replacement rotary blade for my Cricut Maker. Michaels in Alpharetta had them in stock. This location will be the big cut-to-order fabric store on my side of ATL. Saw some of the cherry fabric I’d bought on sale at Joann before they closed. Same fabric bolt is now $8.99 per yard. Michael’s rarely puts fabric on sale and it is usually excluded from coupons. Still adjusting to my new crafty shopping options and sorely missing Joann’s.

Photo by Digital Buggu on Pexels.com

Be your own designer – start simple

Round potholder – first attempt at using Adobe Illustrator to create pattern templates. Note to self – need to raise and soften curve of pocket piece.

My kitchen is in dire need of new potholders. Thanks to home and car insurance renewals this past month, I’m going to have DIY if I want new ones. I already have all the materials, including the heat resistant batting, in my sewing room. For inspiration, I headed to Pinterest. I kept seeing a really cute round potholder with a pocket and hanging loop. All of pins directed me to various blogposts, which in turn redirected me to purchase a pattern for $10.95. No thanks. I’ll try drafting my own. While I used Adobe Illustrator to create my 8″ circle and pocket piece, you do not need a computer to draft your own pattern templates.

There’s an old-school, analog method for drafting your own patterns. It involves pen, paper, a ruler and usually something round. A round potholder is 8″ in diameter. Head to your kitchen: a luncheon plate is usually 8″ in diameter. Or try the lid to a large pot, a mid-size skillet or a 2-2.5 quart round casserole dish. Your lid can be a little under/over 8″.

You’ll need two circles – one circle per page. I traced around a luncheon plate to make my circles.

Cut out one of the circles. Leave the other circle intact (as a full-sheet of paper). Fold each circle in half lengthwise and make a crease along the fold.

On the full-sheet circle, place a ruler along the crease and make a mark approximately 4.5″ from the bottom. Place the cut circle on top of the full-sheet circle. Align both circles along the crease. Slide the cut circle up until the bottom of that circle meets the mark you made at the 4.5″ point on the other circle. Confirm that your creases are still aligned all the way to the top (fold down the top circle a bit to check). Trace the bottom of the circle to form the top arc of the moon shaped piece that will be the pocket template for your round potholder.

Cut out your moon shaped piece. You should now have two pattern templates.

What else do you need per potholder?

  • (4) 9-1/2″ squares of coordinating fabrics
  • (2) 9-1/2″ squares of Insul-Bright or Insul-Fleece
  • (2) 9-1/2″ squares of cotton batting
  • (1) 2-1/2 x 5-1/2″ strip for hanging loop (optional)
  • Approximately 45″ of 2-1/2″ bias binding

Basic construction notes:
a) Make 2 quilt sandwiches – one for the main body and one for the pocket. Include a piece of Insul-Bright/Insul-Fleece and a piece of cotton batting in each sandwich. Quilt as desired – a 1″ grid is commonly used in kitchen textiles.
b) Cut out the body and pocket pieces using the templates you drafted.
c) Add binding to curve of pocket piece using your preferred method.
d) Place pocket piece on top of body, align and baste in place.
e) Make hanging loop, fold in half and baste in place at center top on front or back of potholder.
f) Attach bias binding back to front and sew down – this video will be VERY helpful.
g) Flip up the hanging loop and stitch in place to secure (optional).

Here’s a helpful tutorial for an oval shaped potholder, but it’s essentially the same as for a round potholder with a pocket.

Helpful hints:
– Use a longer stitch length (3.5 mm) when quilting and topstitching.
– A left bi-level foot (or quilt binding foot) will help keep topstitching uniform when applying binding back to front.
– If the binding has a difficult time turning to the front and providing enough coverage, try grading the seam allowance along where the pocket and body are sewn together.