Never apologize for your sewing machine
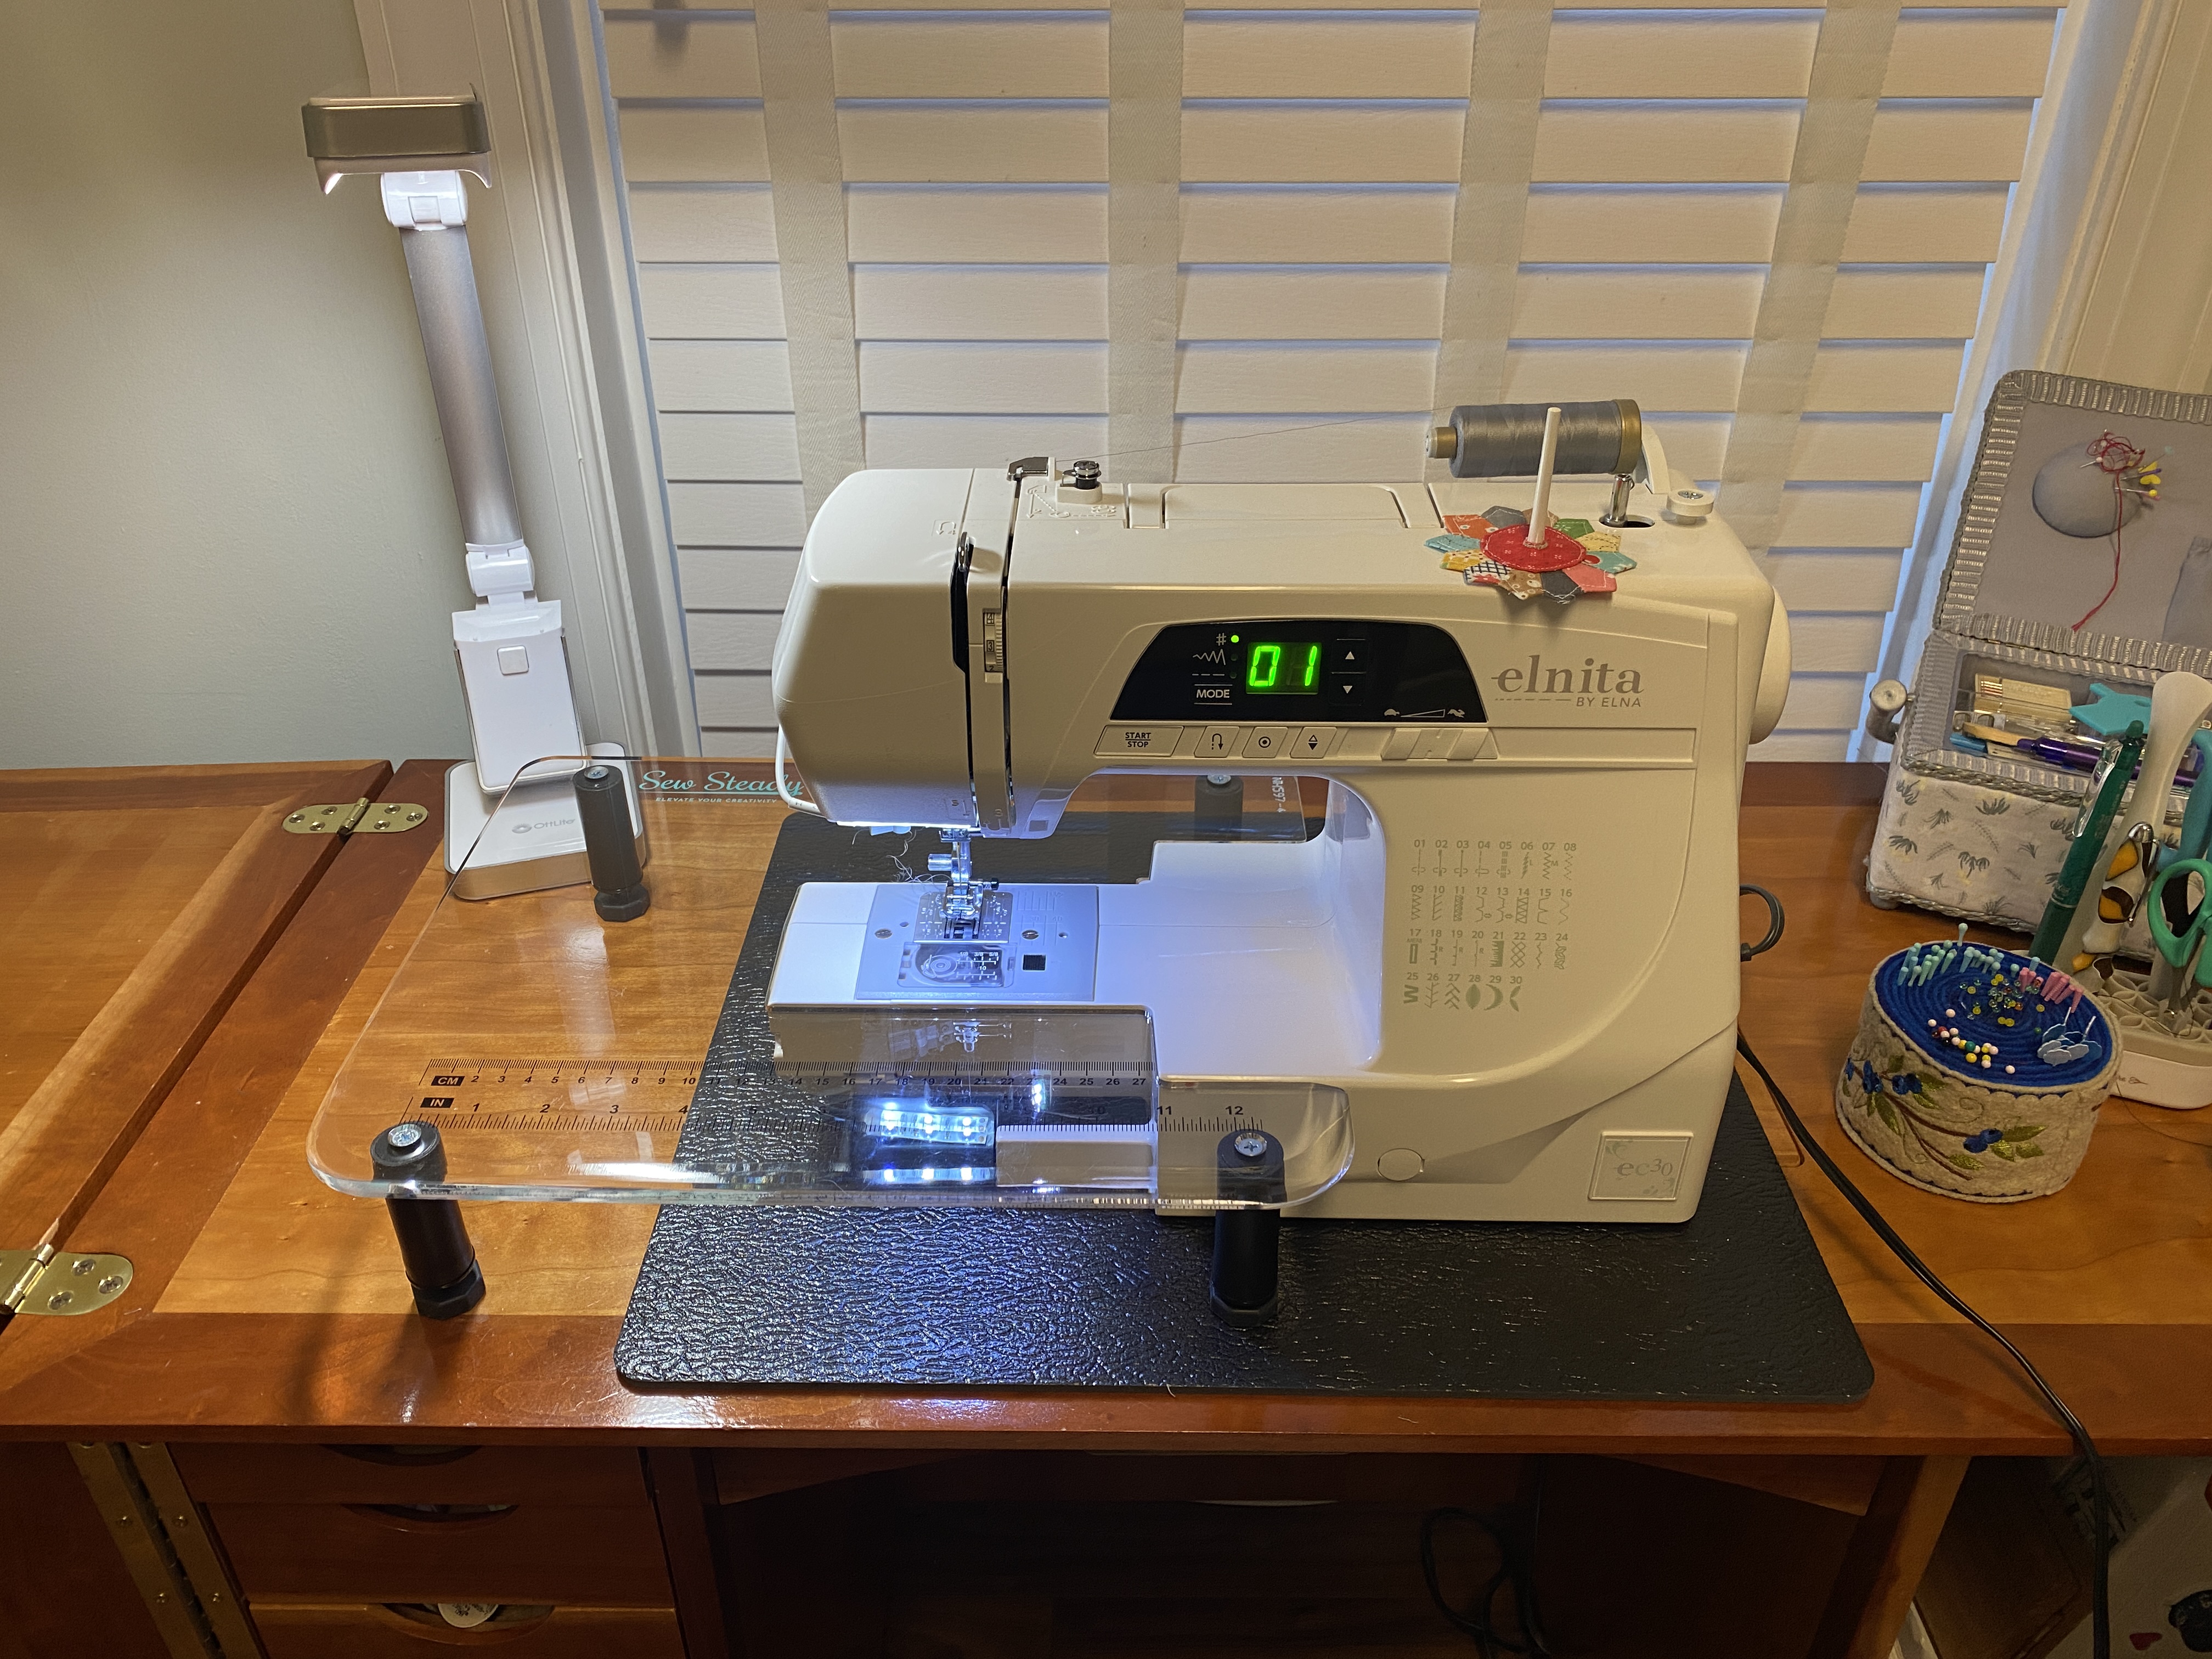
Yesterday, my guild hosted a charity sew day. There were several new faces at this event. One person set up her machine next to my friend and me. While we were chatting, the newcomer apologized for her sewing machine. She said it wasn’t fancy like others she’d seen in the room, but she liked it. Her particular model of machine (a computerized Brother machine that retails for $250.00 at Wal-Mart) is one I often see at retreats and in classes I teach – not much different from my Elnita EC30 or my friend’s Janome 740. I assured her that her opinion of her sewing machine was the only one that mattered.
Our conversation brought back memories of when I first joined a sewing group. I had a mechanical Kenmore 30 stitch machine that I loved. I walked into a room of ladies with expensive Pfaff, Viking and Bernina machines. I knew exactly how she felt. A kind lady noticed my discomfort and told me that it’s what I can do with the sewing machine that counts, not the brand of sewing machine. That’s always stuck with me.
I scanned the sewing machines in our room. Yes, there were a couple of Berninas and high-end machines at the event – including an aqua Kaffe edition Bernina 475 (retail $2,999). Most attendees had brought either a vintage machine or a small modern machine that probably cost less than $450.00. This is typical of what you’ll find at classes, retreats and sew days. The travel machine might be grandma’s Singer Featherweight, their very first sewing machine or the $100.00 big box store special they had to buy to finish a project because their main machine had a hissy fit. A straight stitch only machine is usually fine unless you are taking an appliqué or decorative stitching class. This is why so many quilters have a Singer Featherweight or a 301 as their travel machine.
Remember, it’s what you do with the sewing machine that counts – not the label on your sewing machine. Chances are, the serious stitchers with the vintage and budget friendly machines at the retreat have an upper tier sewing machine or longarm at home. (As did our newcomer with her Brother machine – she had recently purchased a long-arm.)