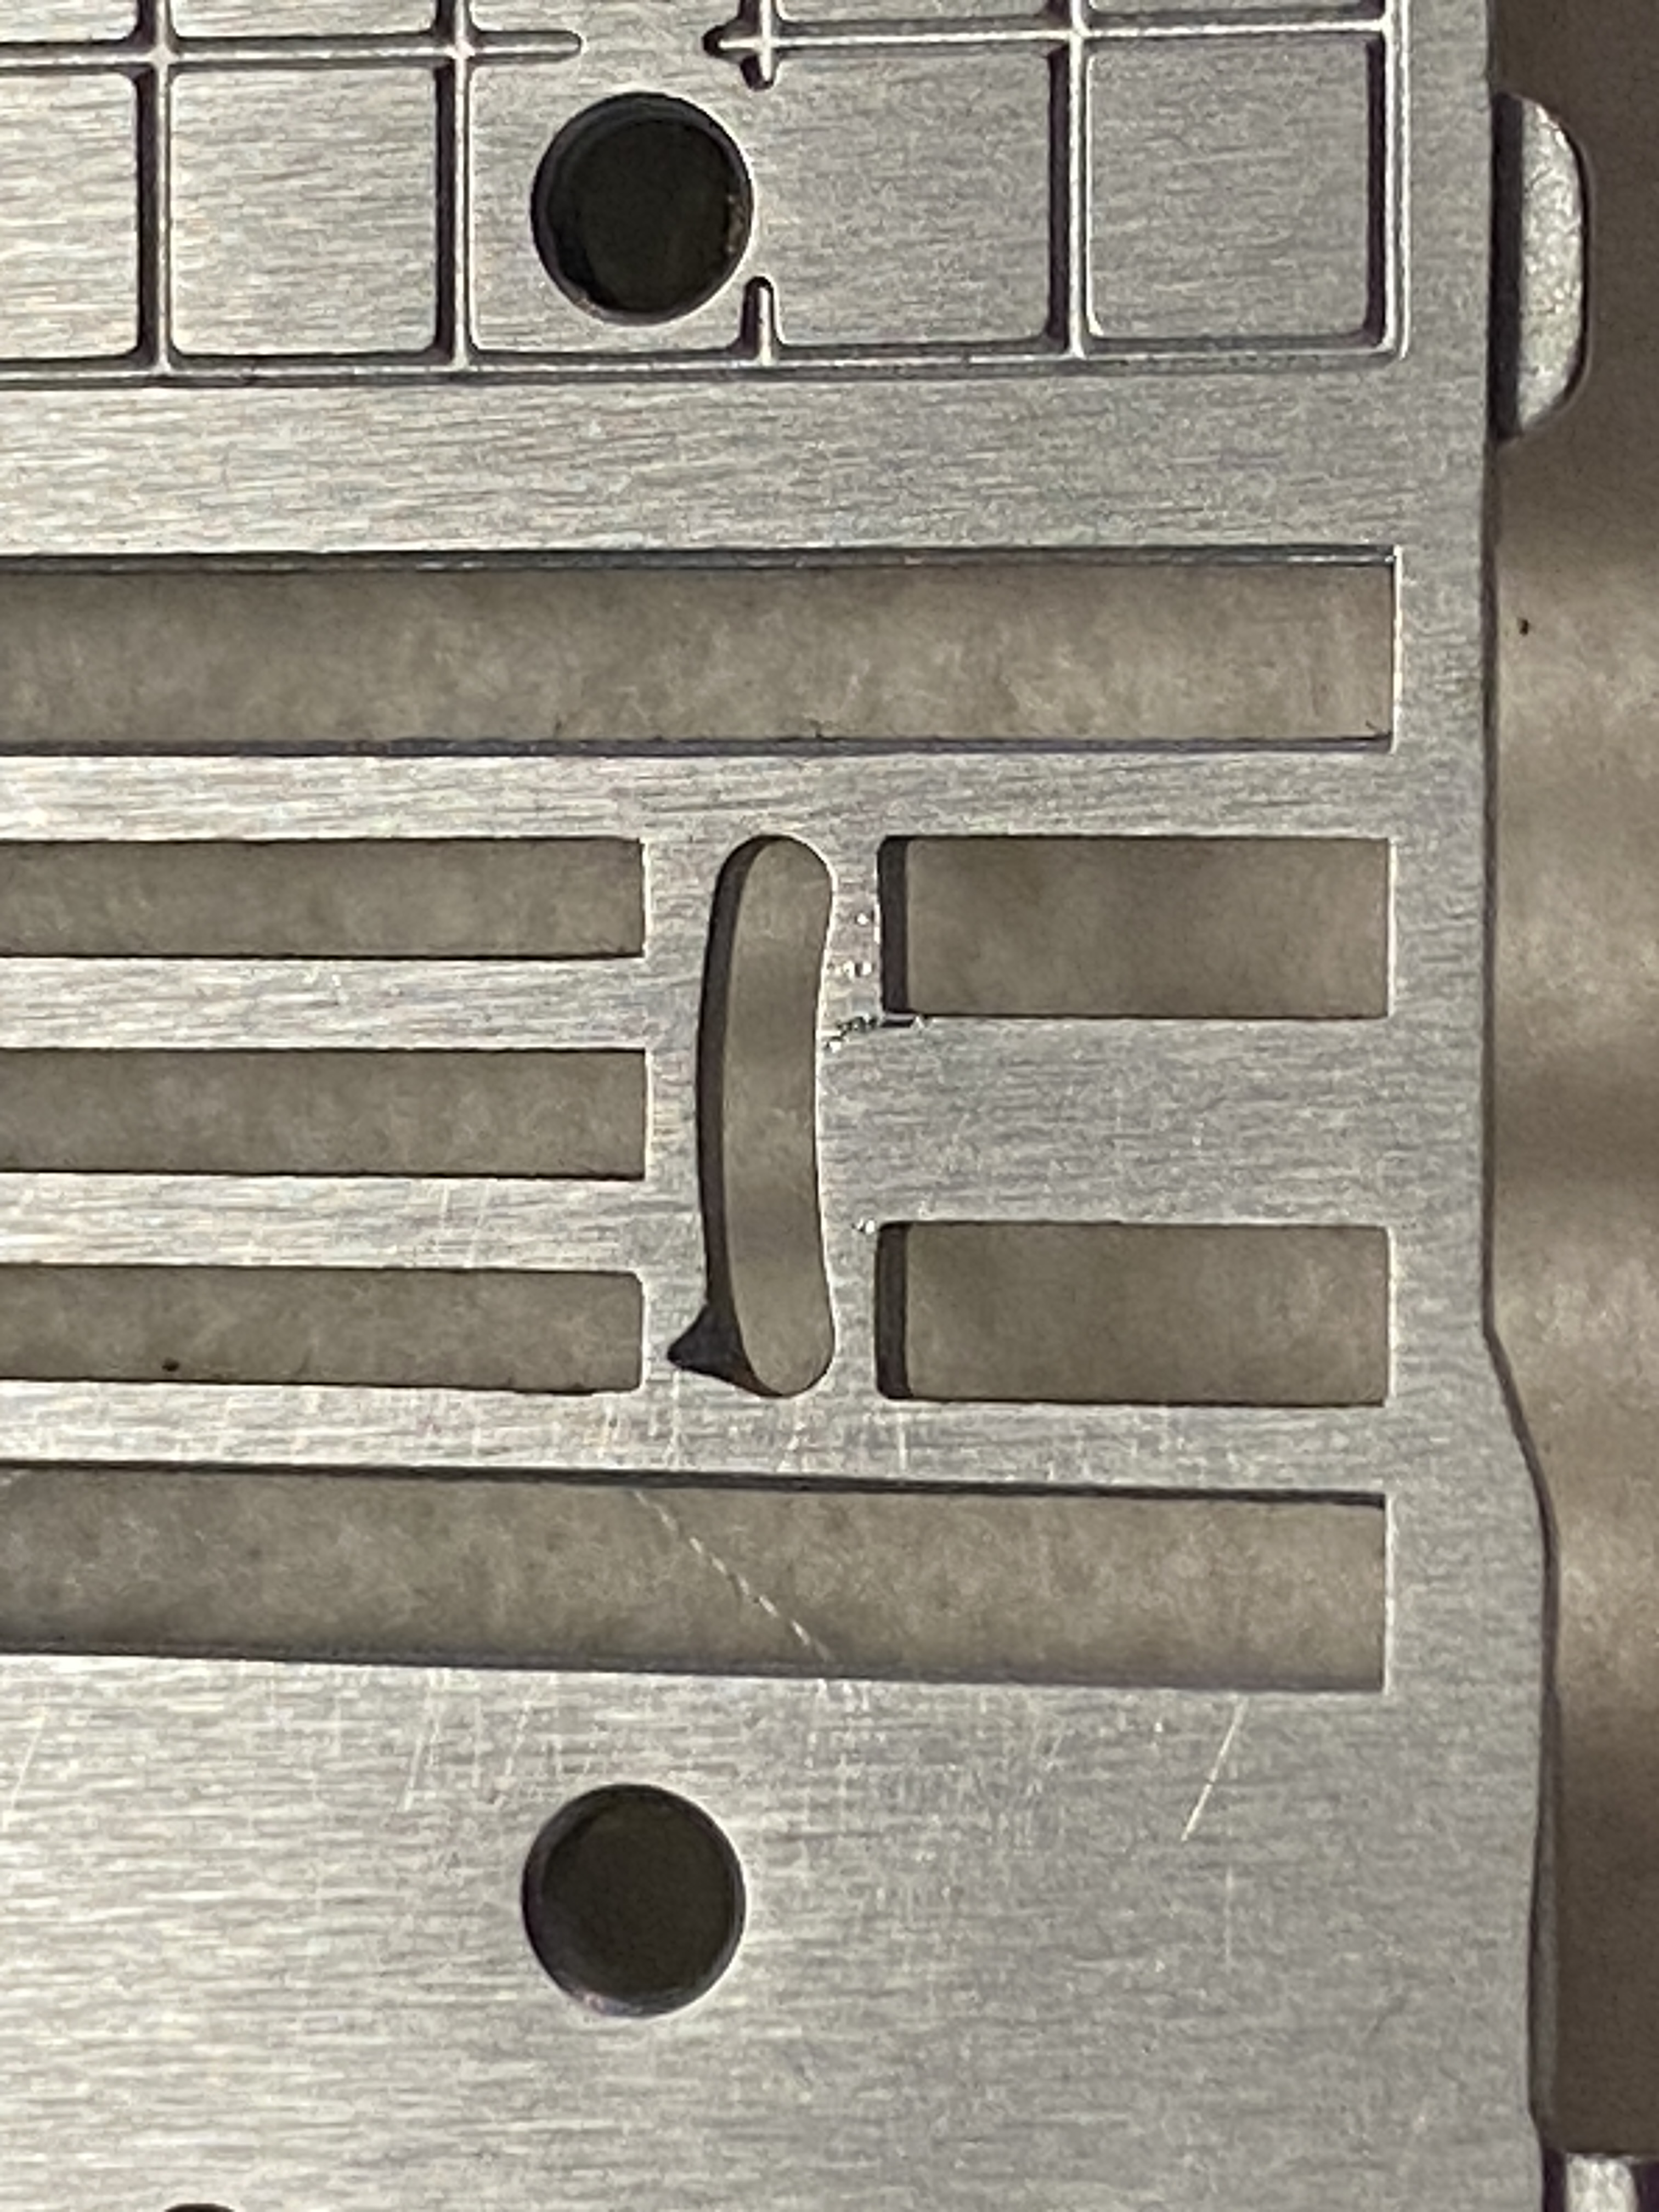
DIY Straight Stitch Needleplate

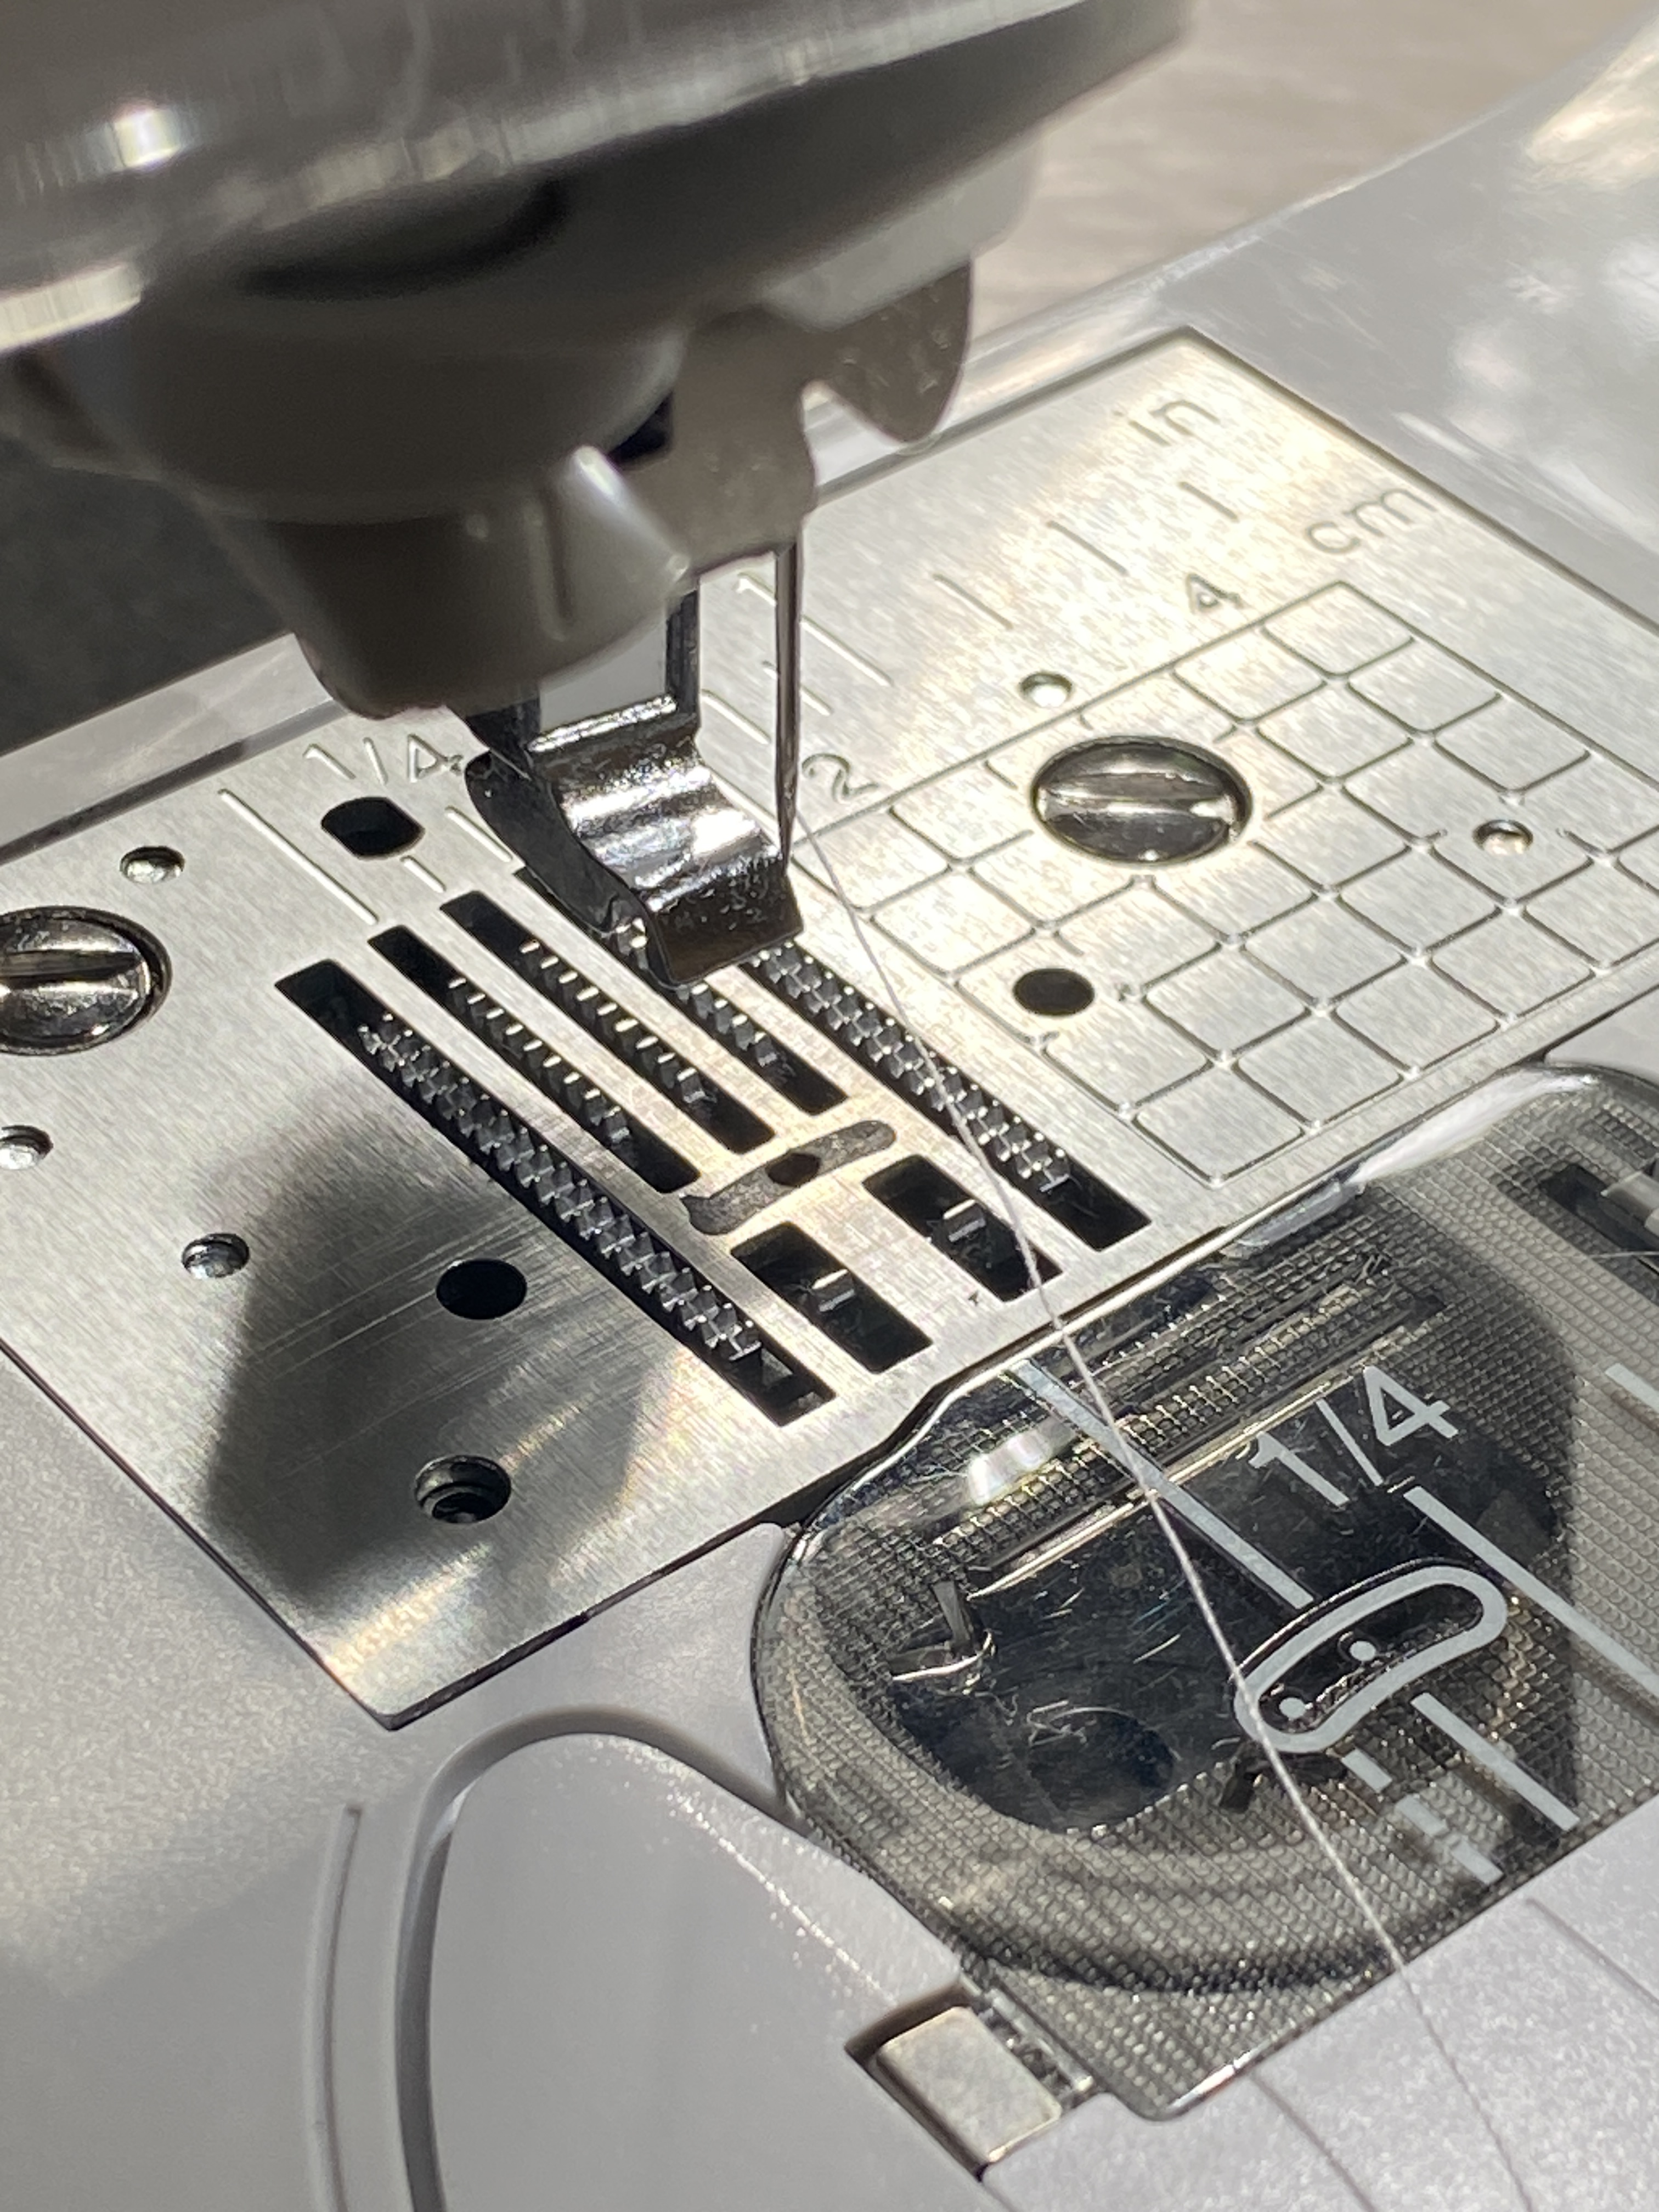
What you see above is a modified zigzag plate for a Baby Lock Jubilant sewing machine. Yep, I now have my very own straight stitch plate. And it works marvelously, too! A little JB Weld SteelStik, toothpick, masking tape, gloves and a paper towel were all it took. Oh, and you will need an additional zigzag plate to modify. This video explains the process. Hubs thought the putty would be easier to work with than the usual tubes you have to mix to make the epoxy. He was right. Drying time was an hour. I filed off any extra using emery (metal) sandpaper from Home Depot and my honing stick from The Featherweight Shop.

So far so good. No error messages after installation of the modified needle plate. The machine stitches fine with no residue appearing on the thread or the fabric. Best of all? No more chewing fabric when I start stitching.

I reached out to Tacony and my local dealer a few times about a straight stitch needle plate option for the Jubilant as their existing straight stitch needle plate only works with machines having an 8″ or larger throat plate. Their response was to use a leader or starter strip. That didn’t work so well for me. I showed the video to hubs and he encouraged me to try it. After all, I’d modified needle plates for my Janome 8900 with success!

A straight stitch needle plate really does make a difference in my piecing and patchwork.

Spring Stories & Crafts

Spring Break is almost over. This means we’re on the homestretch to the end of the school year. Our classes end the week of May 6th; however, I think the last day for Monday enrichment is April 29th. I’ve planned lessons to cover the next four weeks:

Week 1 – Bees
Book titles: Give Bees a Chance, Please Please the Bees and Don’t Eat Bees.
Craft: Paper Plate Bee from Simple Everyday Mom

Week 2 – Flowers
Book titles: The Gardener, Chrysanthemum and another title available from the public library.
Craft: Paper plate suncatchers using cellophane and sequins.
(adapted from several online tutorials – no single one in particular)

Week 3 – Pinwheels
Book titles: Kate, Who Tamed the Wind and Pinwheel Days
Craft: Pinwheels made from 6″ square paper, with pipe cleaner and faceted pony bead center and straw holder
(adapted from several YouTube videos)

Week 4 – Knuffle Bunny (Sadie visits)
Book Title: Any Knuffle Bunny titles available from the public library
Craft: Bunny Book Craft from Simple EveryDay Mom

The goal here is to keep things simple and use supplies I already have on hand. My self-imposed limit is to spend no more than $10 on supplies for our remaining craft activities.

Tips:
Many cute crafts with paper plates call for painting a white paper plate a certain color. Save yourself time, money and mess by picking up a pack of 24 colored paper plates at Dollar Tree for $1.25. Many colors are available.

Solid color paper napkins work as well as traditional gift tissue for torn tissue crafts.

Solid color paper cups are available from Party City in a variety of sizes for a reasonable cost.

12″ x 18″ black construction paper comes in handy.

Stock up on assorted color construction paper. Trim some to 8-1/2″ x 11″ so you can print templates directly on them. Students can cut out and craft without the need for paint and/or markers.

Featherweight case ideas and accessories to make or buy

Case Options
Your beloved Featherweight’s original case is at least 65 years old. Even if it came refurbished and seems sturdy, buy or make a cover to protect the carry case if you plan to transport your machine in the original case. There’s a Featherweight Shop branded canvas cover in a variety of colors that can zip around your original black case to protect it. It’s available from the Featherweight Shop, Missouri Star and other retailers. If you prefer to DIY, take a look at the following patterns: Sew Portable Travel Set pattern by Jeni Baker or The Boxy Tote pattern by Penny Sturges.

No case? You can buy a new black replica replacement case for about $100. I purchased one of these for my 1935 FW that came without a case. (Hint: search online for “P60221 sewing machine case” – prices vary widely so it pays to comparison shop.) Want something a bit lighter and easier to carry? The FW Shop offers a very nice padded tote, which I was able to admire in person at Treelotta Quilt Shop in Denver, CO. I almost bought one, but had no room in my luggage to take it home on the plane. No worries, because another option presented itself shortly thereafter. How about a 24-can cooler bag from Buc-cee’s? The inside is completely smooth and it’s well padded like the FW padded tote. It’s also budget friendly and always seems to elicit a smile when folks see the Buc-cee’s logo on the bag. Did I also mention I adore Buc-cees?

Protect your FW for travel and storage
At the very least, you’ll need something to wrap up your foot controller and power cords. You’ll also need something to protect the fold up extension bed from being scratched by the presser foot thumbscrew and the faceplate cover screw when the bed is folded up. Batting and/or soft towels will certainly do the trick, but why not make some custom accessories for your beloved FW? Below are links to free tutorials to get you started. Limited time? Head over to Etsy to find all sorts of ready-made FW accessories or actual patterns if that works better for you.

Lined drawstring bag to hold your foot controller and power cords

Faceplate cozy to protect your bed from scratches when transporting or storing. I made an extension bed cover before I was introduced to the faceplate cozy. Either option will protect the bed. The faceplate cozy is faster to make and offers less bulk to go inside a small FW case with an already tight fit.

Sewing machine mat to place under your machine when sewing or over your machine when packed away

One final suggestion: Subscribe to the mailing list at the Featherweight Shop. Subscribers have FREE access to manuals, vintage advertisements/articles and patterns (currently includes mini-dresden spool pin doily pattern).