Let’s talk scrap management

Meet my scrap bin. It’s a medium plastic decorative storage basket found at stores like Target and Hobby Lobby. Nothing fancy. Most of what you’ll find in my scrap bin are bits smaller than 5″ square and random jelly roll leftovers.
I realize there are quilters who have elaborate stash management systems and cut all leftover fabrics to pre-determined sizes. Some even write books about their stash management systems. Me? I prefer a much simpler approach.
At the end of a quilting project, I “process” any leftover fabric. Random, full-size precuts are stored with my 2-1/2″ strips, 5″ squares and 10″ squares. Any larger pieces are returned to color-coded bins.
My quilting bee group makes several scrappy quilts a year for charity, so I sort the remaining bits for future charity projects, the scrap bin or the wastebasket. When the scrap bin gets full, it’s time to add a project to the rotation to use up some of the scraps.
Here’s my current project:
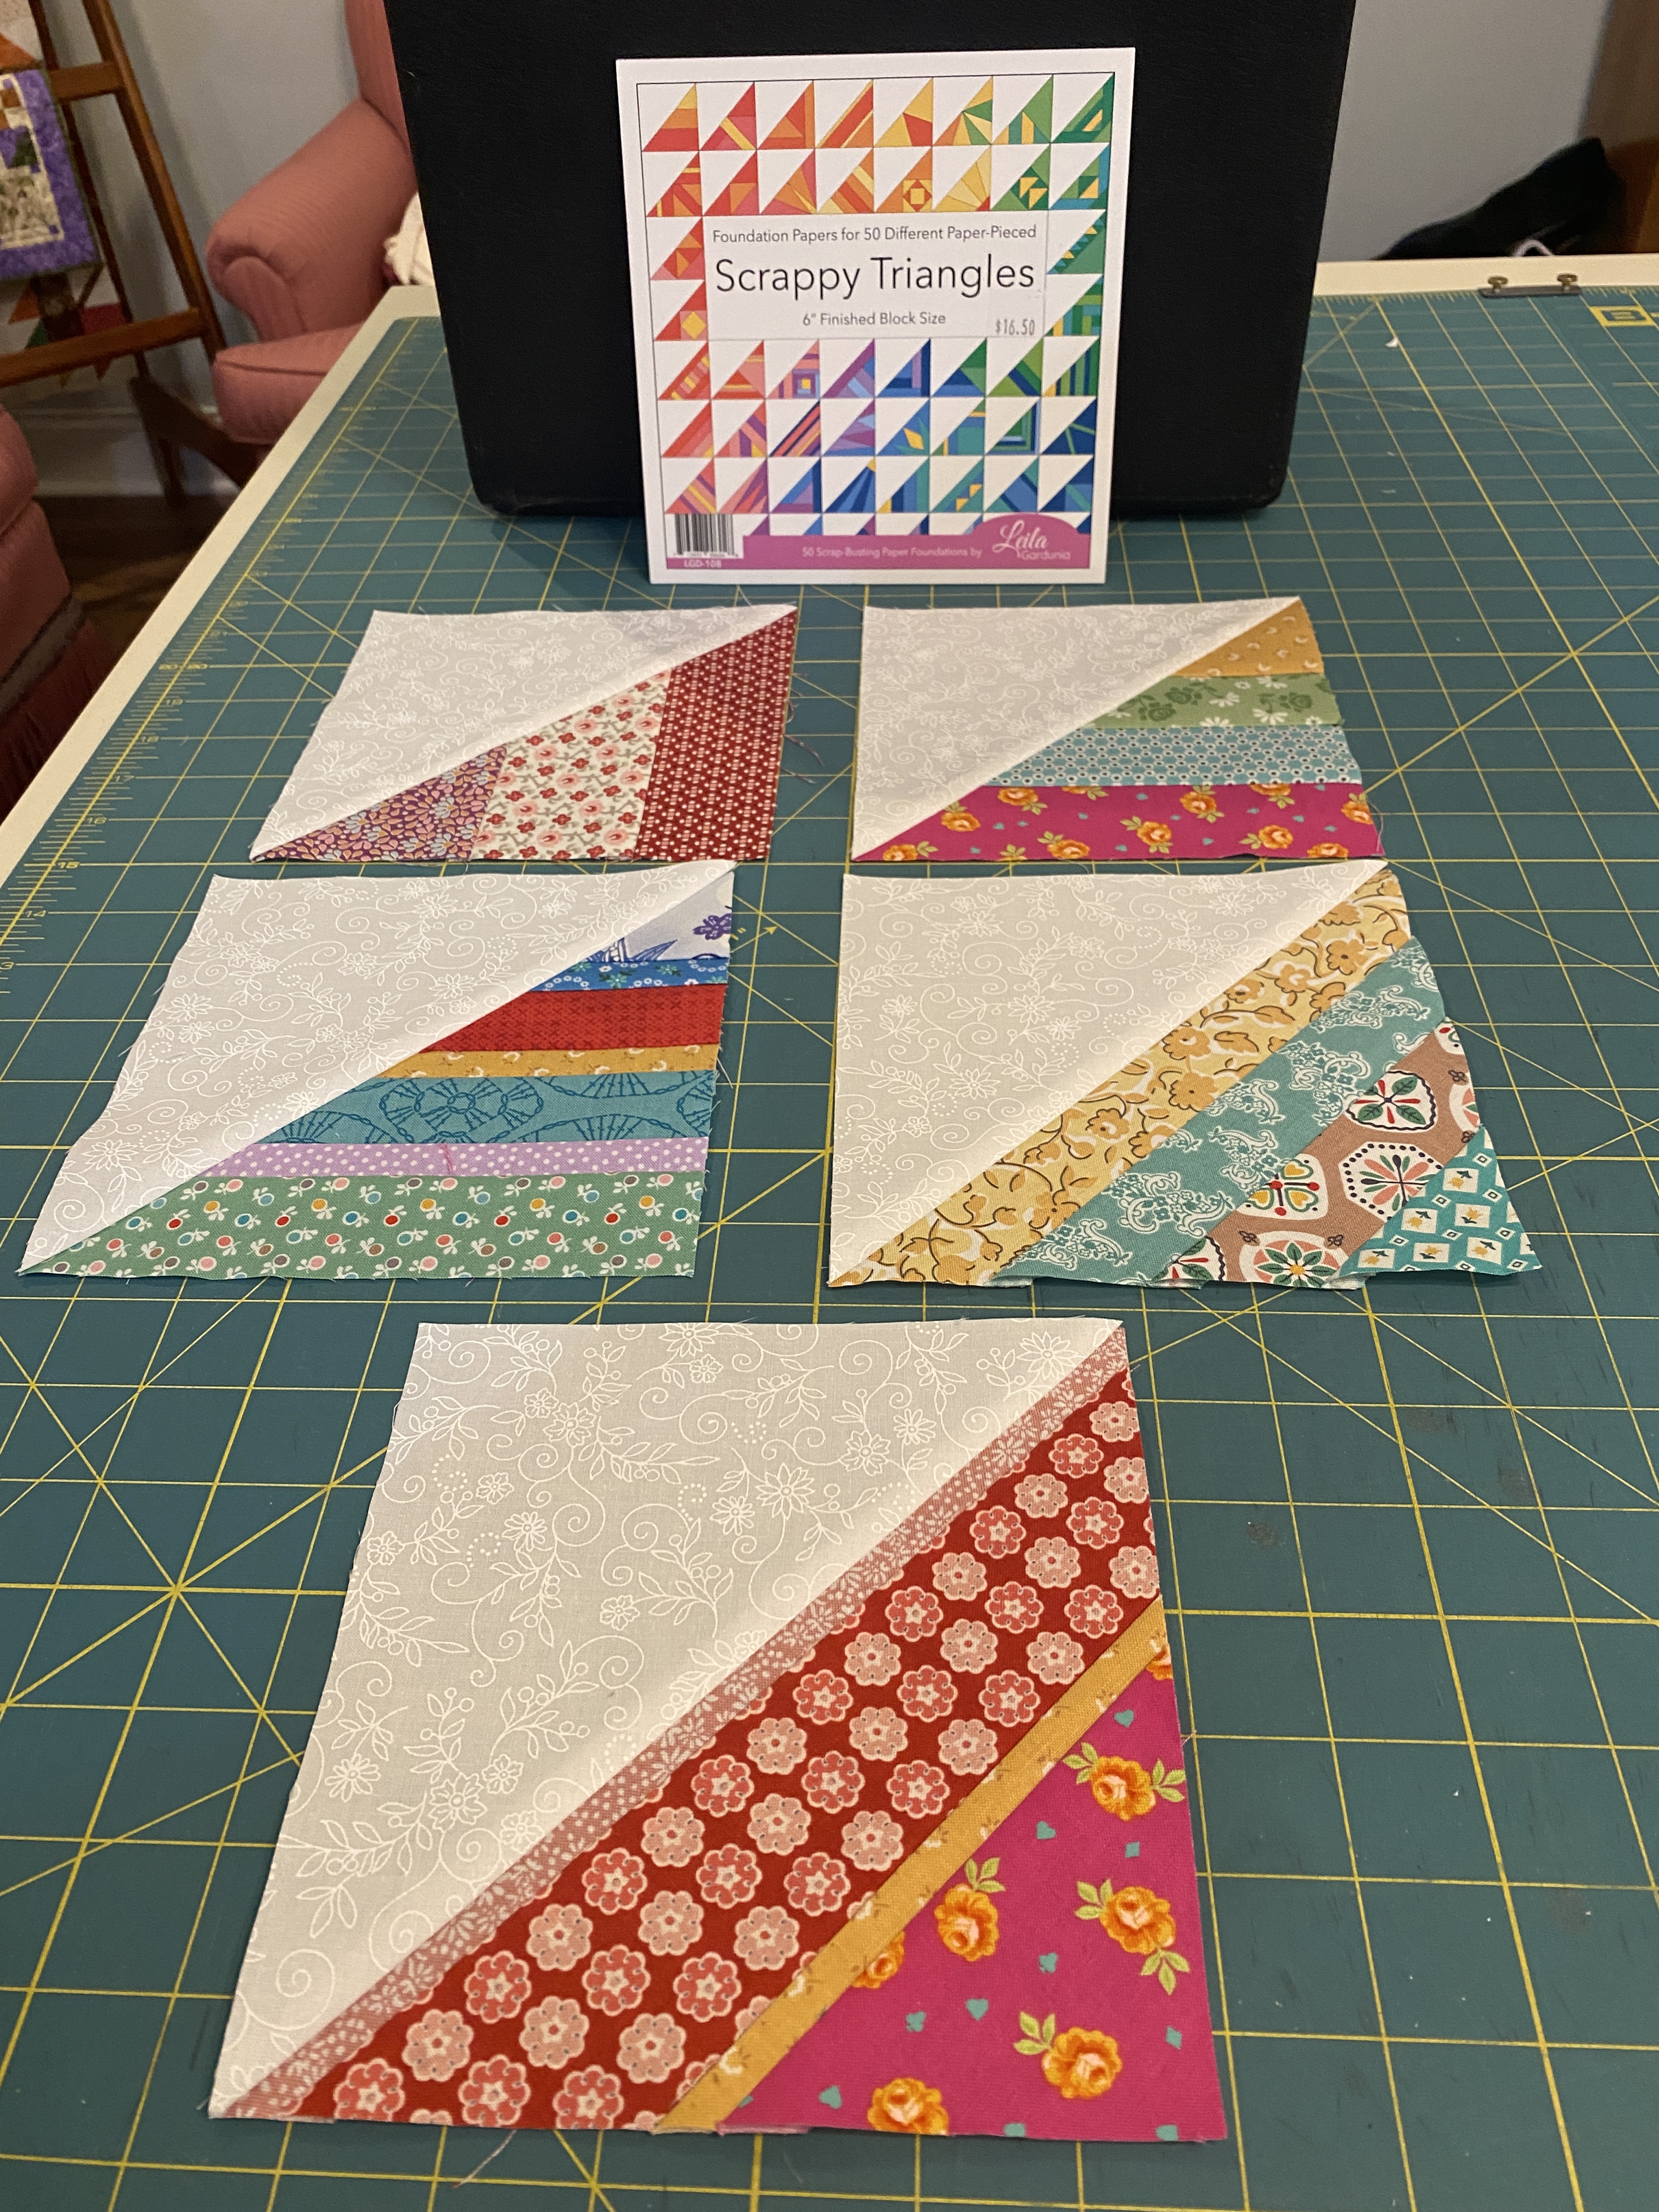
The FPP paper pad yields fifty 6-1/2″ blocks. I have enough of this white-on-white print to make about 12 scrappy HSTs. I’ll grab another white fabric hunk when it’s time to make block #13. Said blocks will be made into items to donate to my guild’s community service (placemats or a baby/toddler quilt).
Once a scrap become smaller than 2-1/2″ square, I toss it. If it’s been a busy, active quilting season and I’ve accumulated way too many scraps, I’ll pass them along to a friend or donate them to Scraplanta.
As a former librarian, I culled different sections of our book collection on a regular basis. It’s a key part of collection management. Applying those same principals to my fabric stash, including scraps, keeps things manageable. It’s great to save the scraps, but you also need a plan to use the scraps and/or divest of the scraps.

