Quilt Patterns for Charity Projects
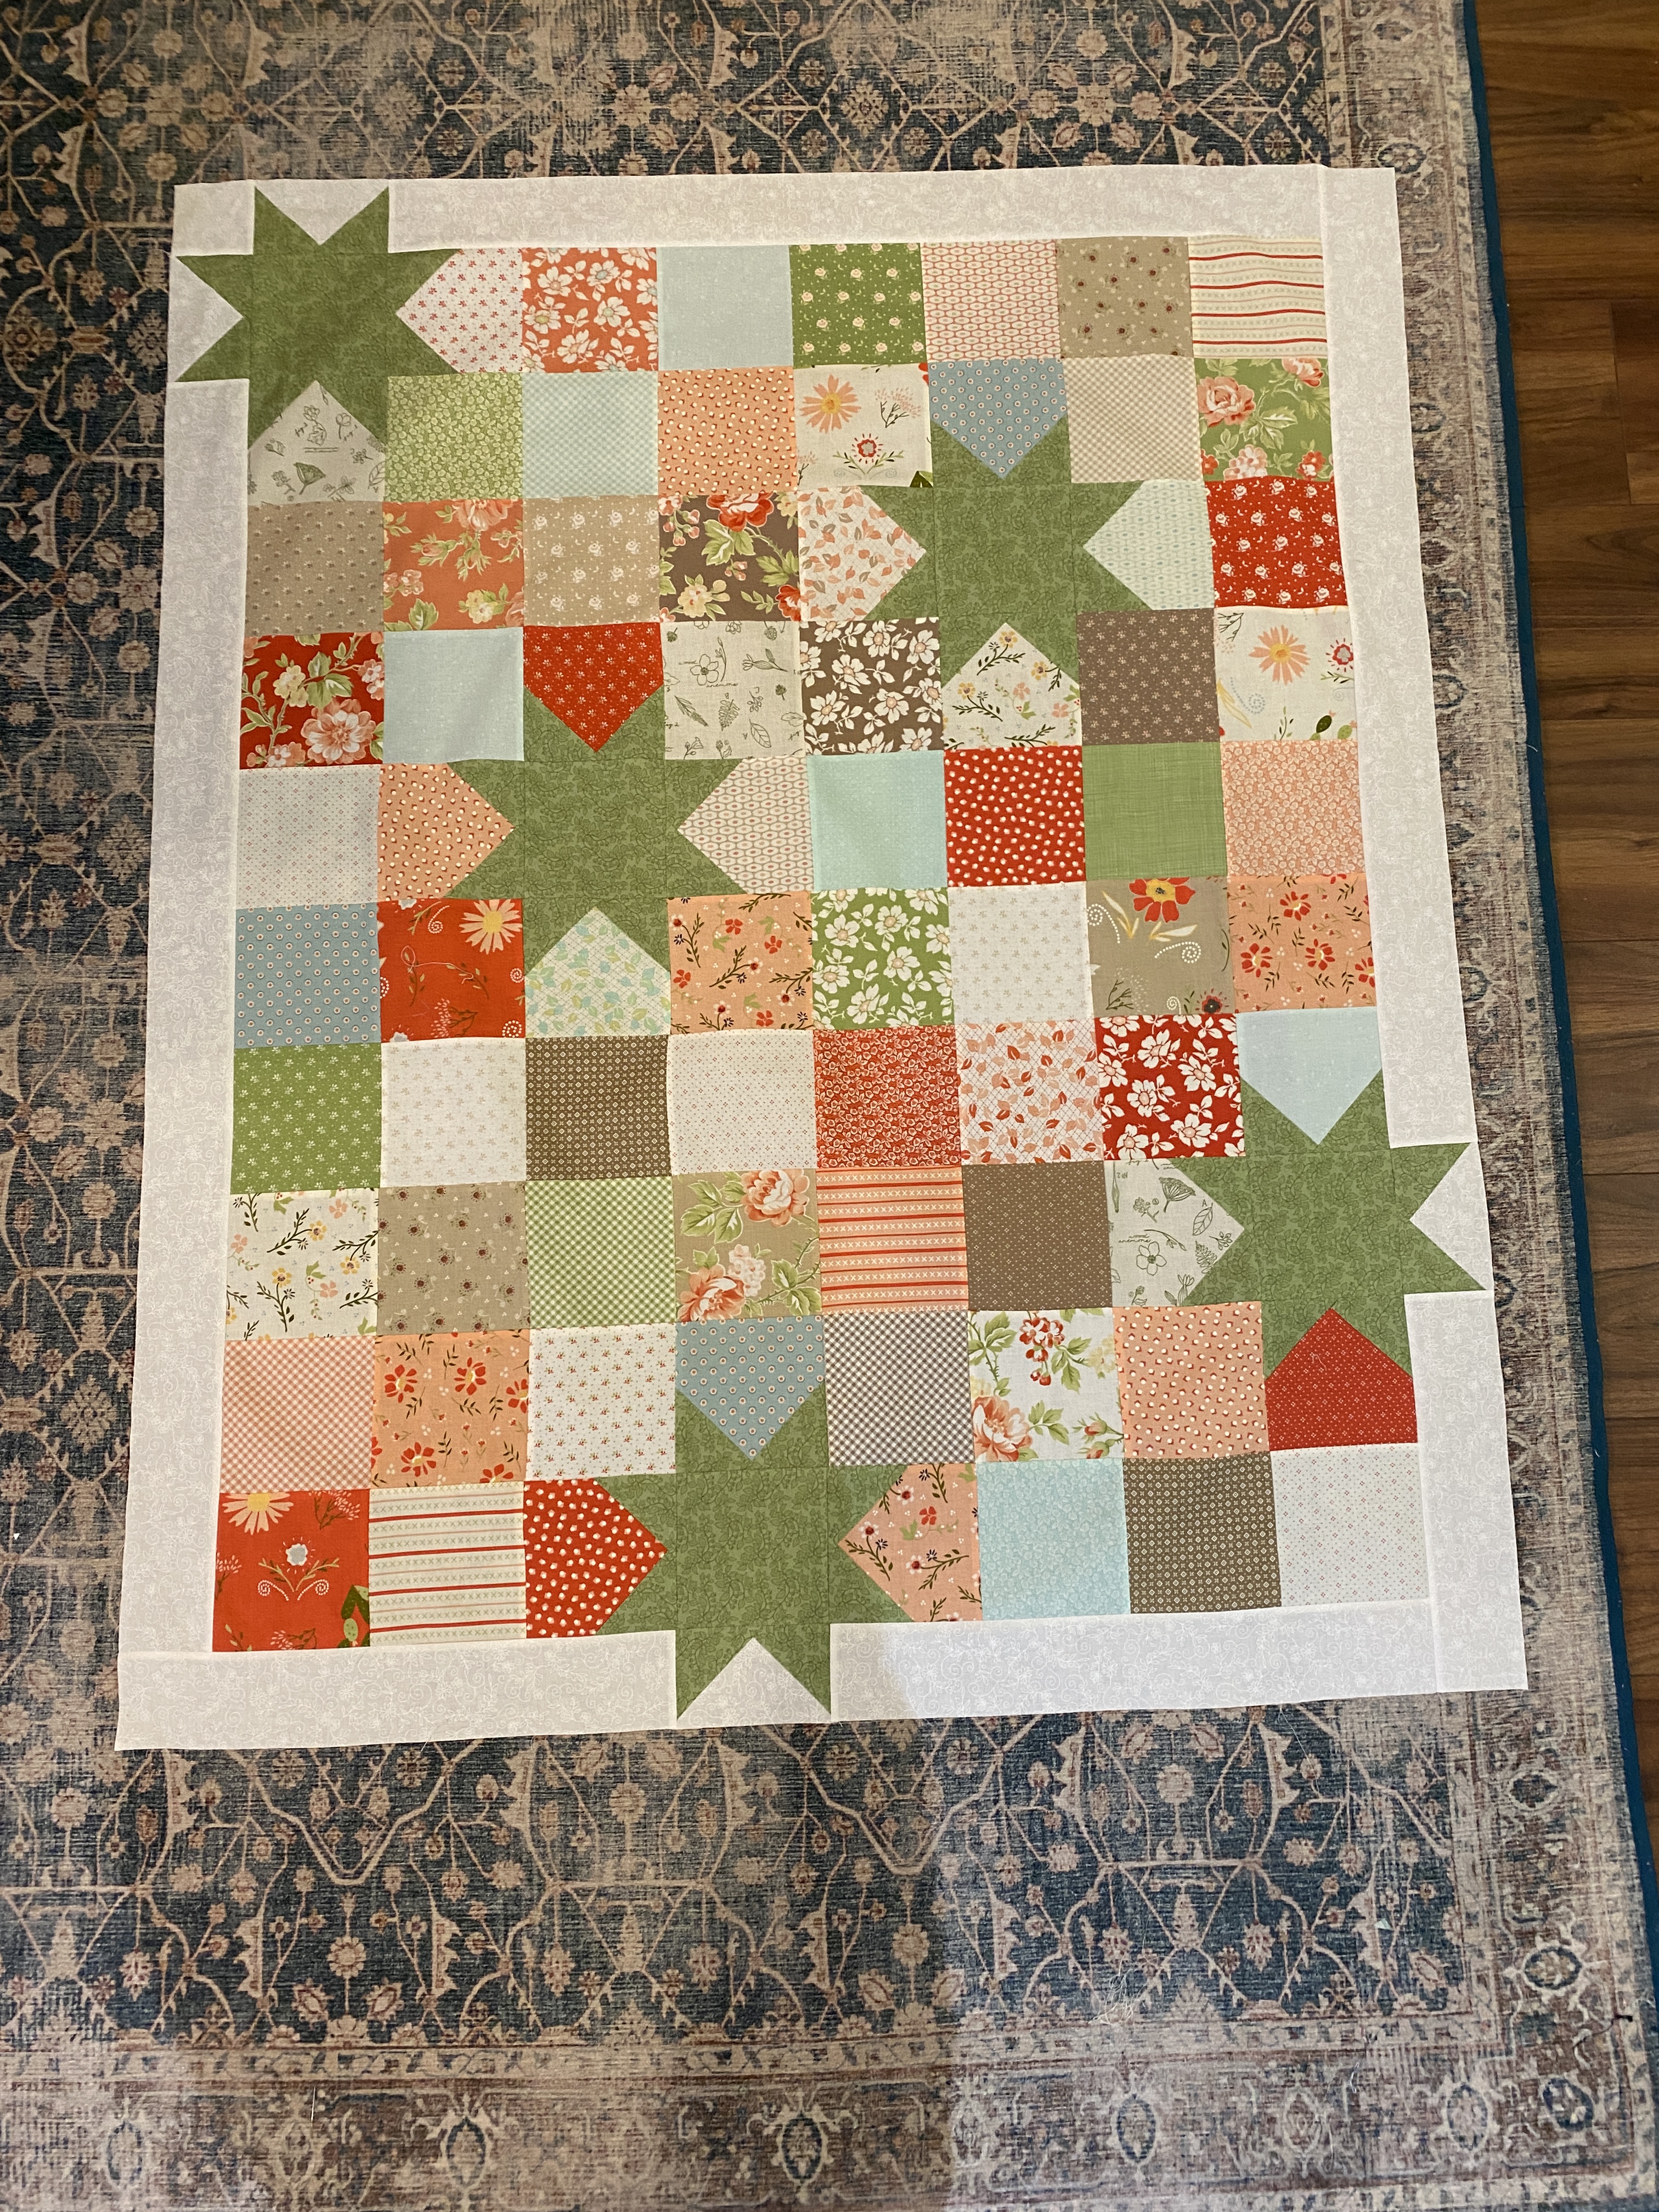
We all have our favorite patterns to use when making charity quilts – I certainly do. A fellow quilter, who is a prolific maker of things for different charity groups, highly recommended the pattern pictured above as one I should try. She mentioned that it’s fast to make, stash-friendly and the pattern’s free. So, I did.
All fabrics came from my stash. The charm squares are a mix of packs from Fig Tree and Sheri & Chelsi, plus some random 10″ squares I cut to size. The colors just went together.
Now that the top is completed, I’m not as crazy about the white border, but I think it will be fine with the scrappy binding I made. The goal for this quilt is to use what I have on hand. This means the backing will be made by creatively refashioning a 2-1/2 yard piece of green polka dot fabric into the size I need.
My friend was spot-on about the suitability of this pattern for making charity quilts. It’s easy to make and lends itself to any number of color ways and themes. Bonus? The components fit into a quart size zipper bag, making it a great candidate to take for a retreat or sew with friends project.
Now that I’ve made one, I thought I’d share some tips:
- Select a light to medium tone-on-tone or small print for the border that contrasts well with the star fabric.
- Utilize the “float the star points” option by cutting the border fabric 1″ wider that called for in the original pattern. Pat Sloan offers a separate free download with instructions for this modification. The 1″ of extra fabric helps avoid cutting off the star points when applying back-to-front binding.
- If using pre-cut 5″ squares, confirm they are indeed the correct size and trim as necessary.
- Arrange all 80 charm squares in the order you’d like them in the quilt. Take a photo with your phone. Stack the squares in order and label each row.
- Pay close attention to how borders are pieced and the order in which they are sewn to the top.
And yes, I added this pattern to my core collection of charity quilt and gift quilt patterns!