Finally – a finished quilt!
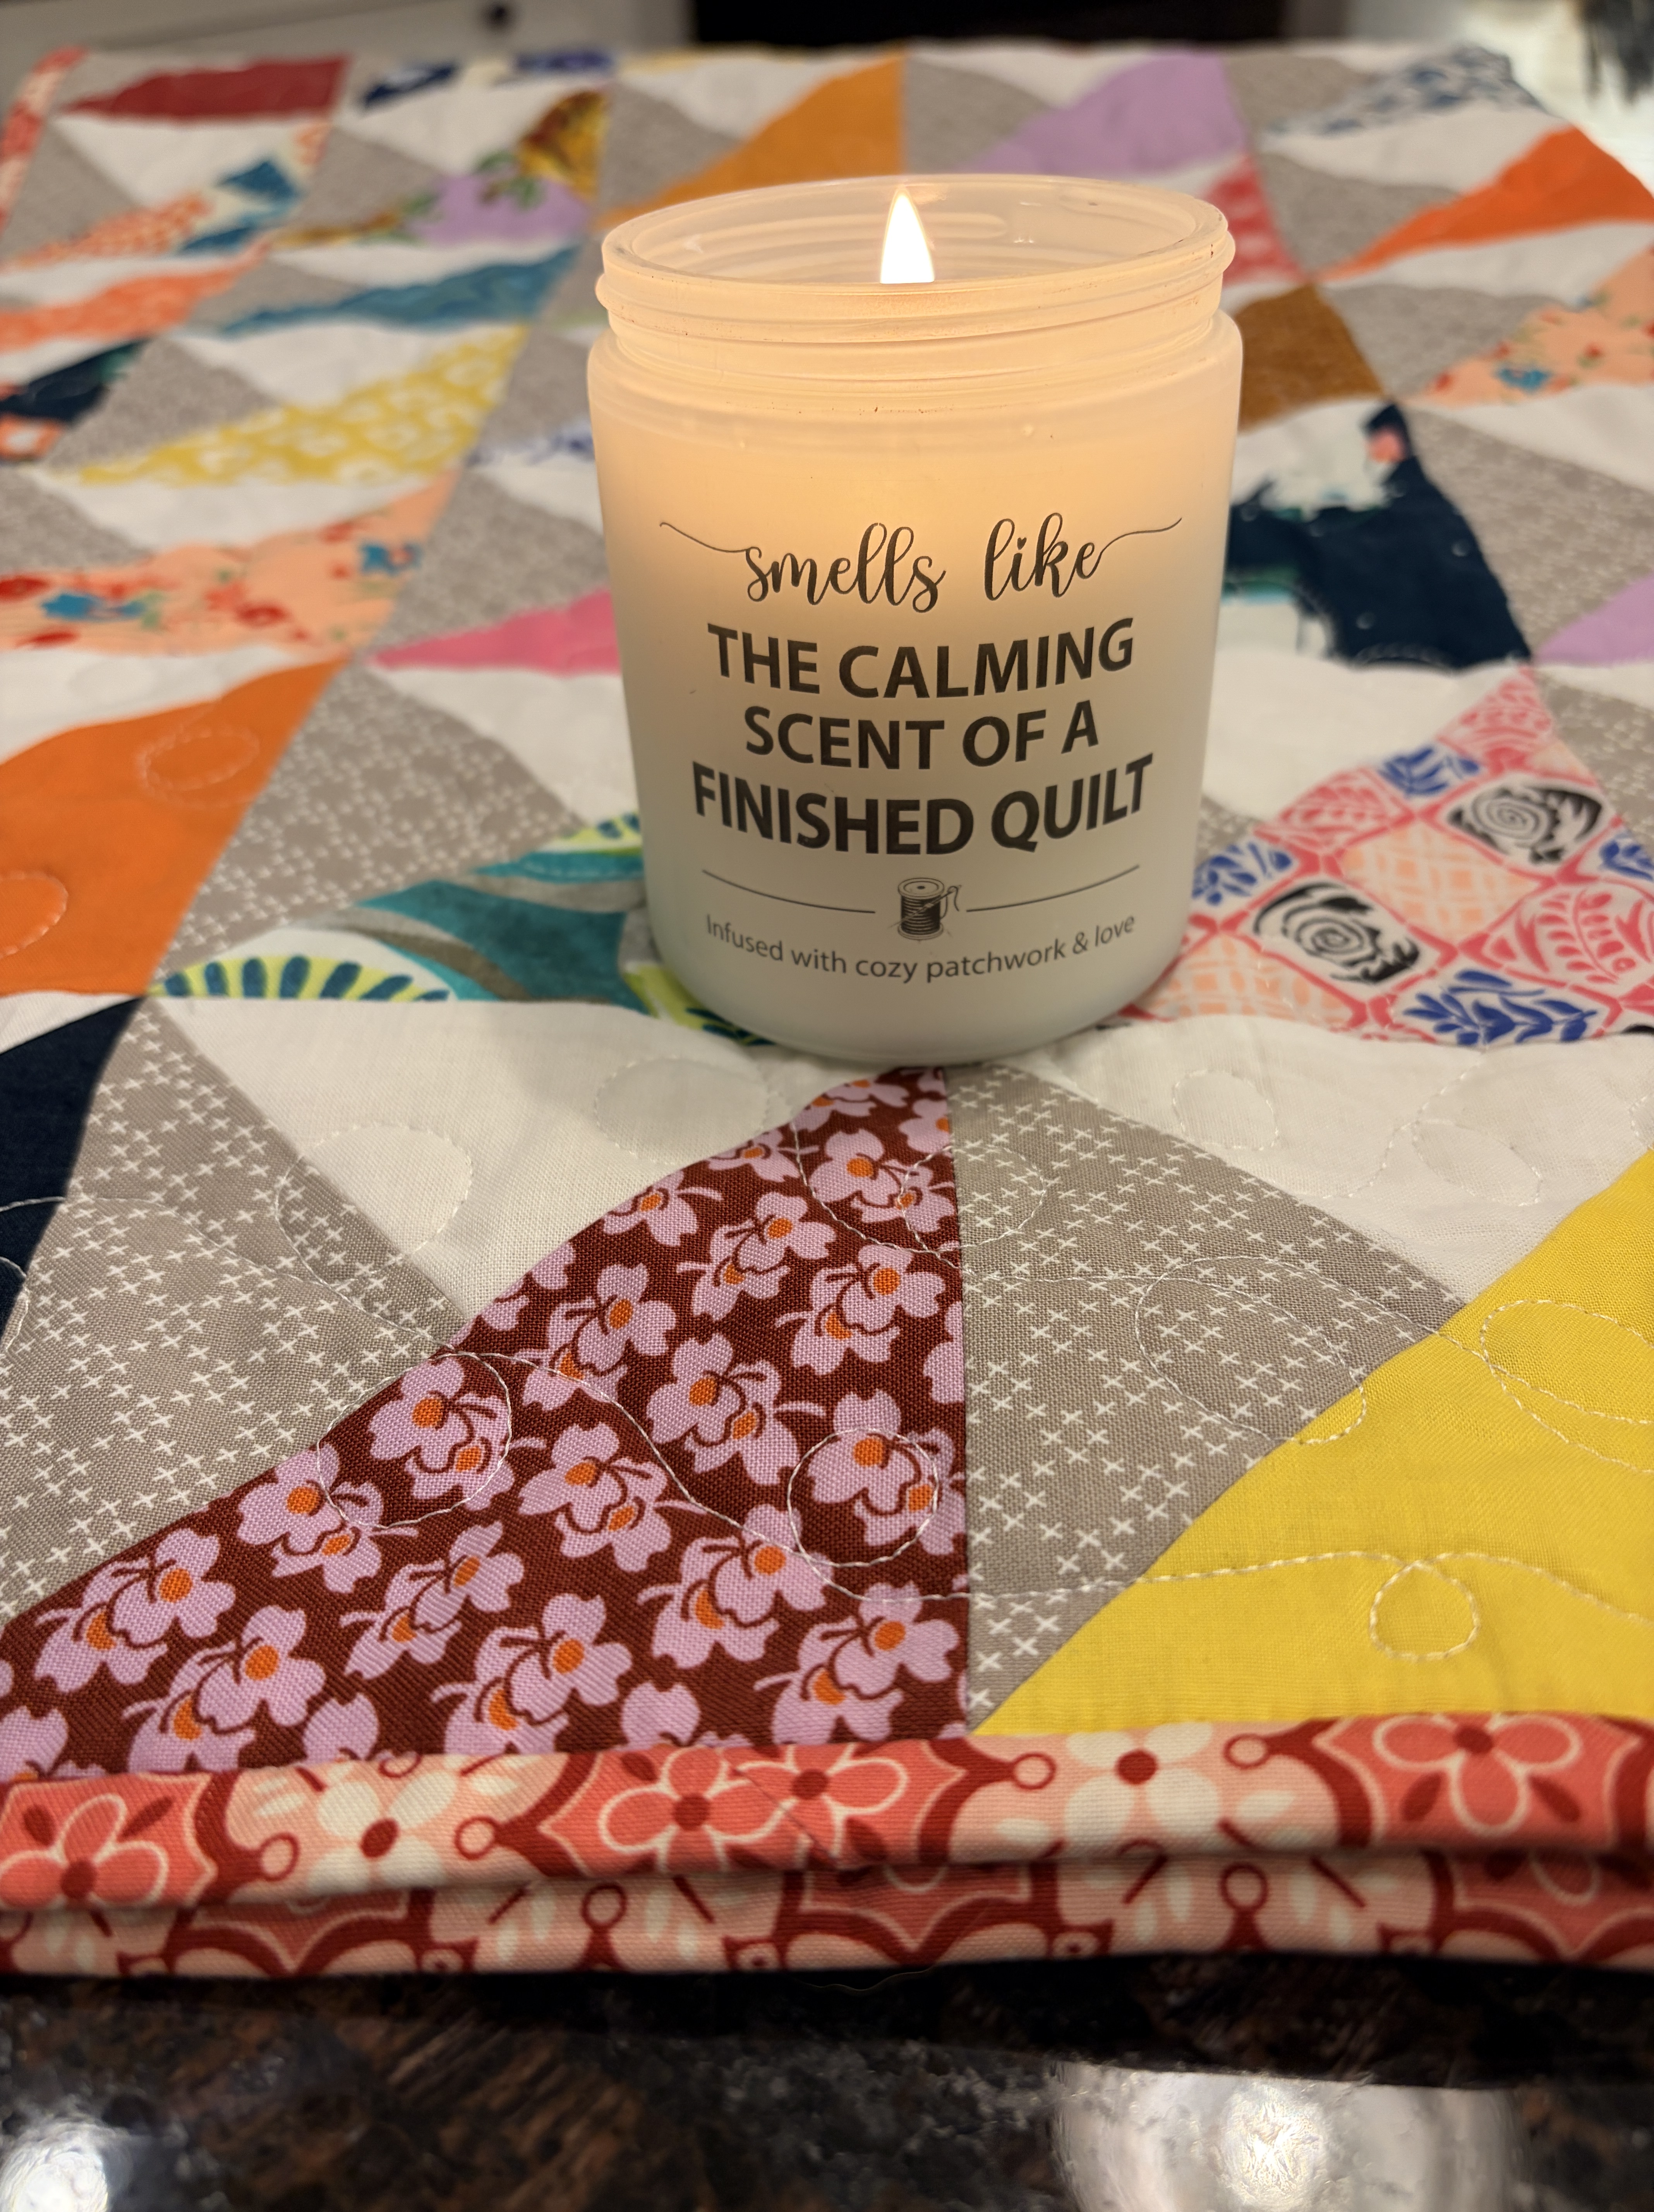
One of my CraftLAB students gifted me the candle at Christmas. I waited until I completed my first quilt in 2026 to light it. Totally worth the wait. It has a lavender and spicy vanilla scent. Smells REALLY good.
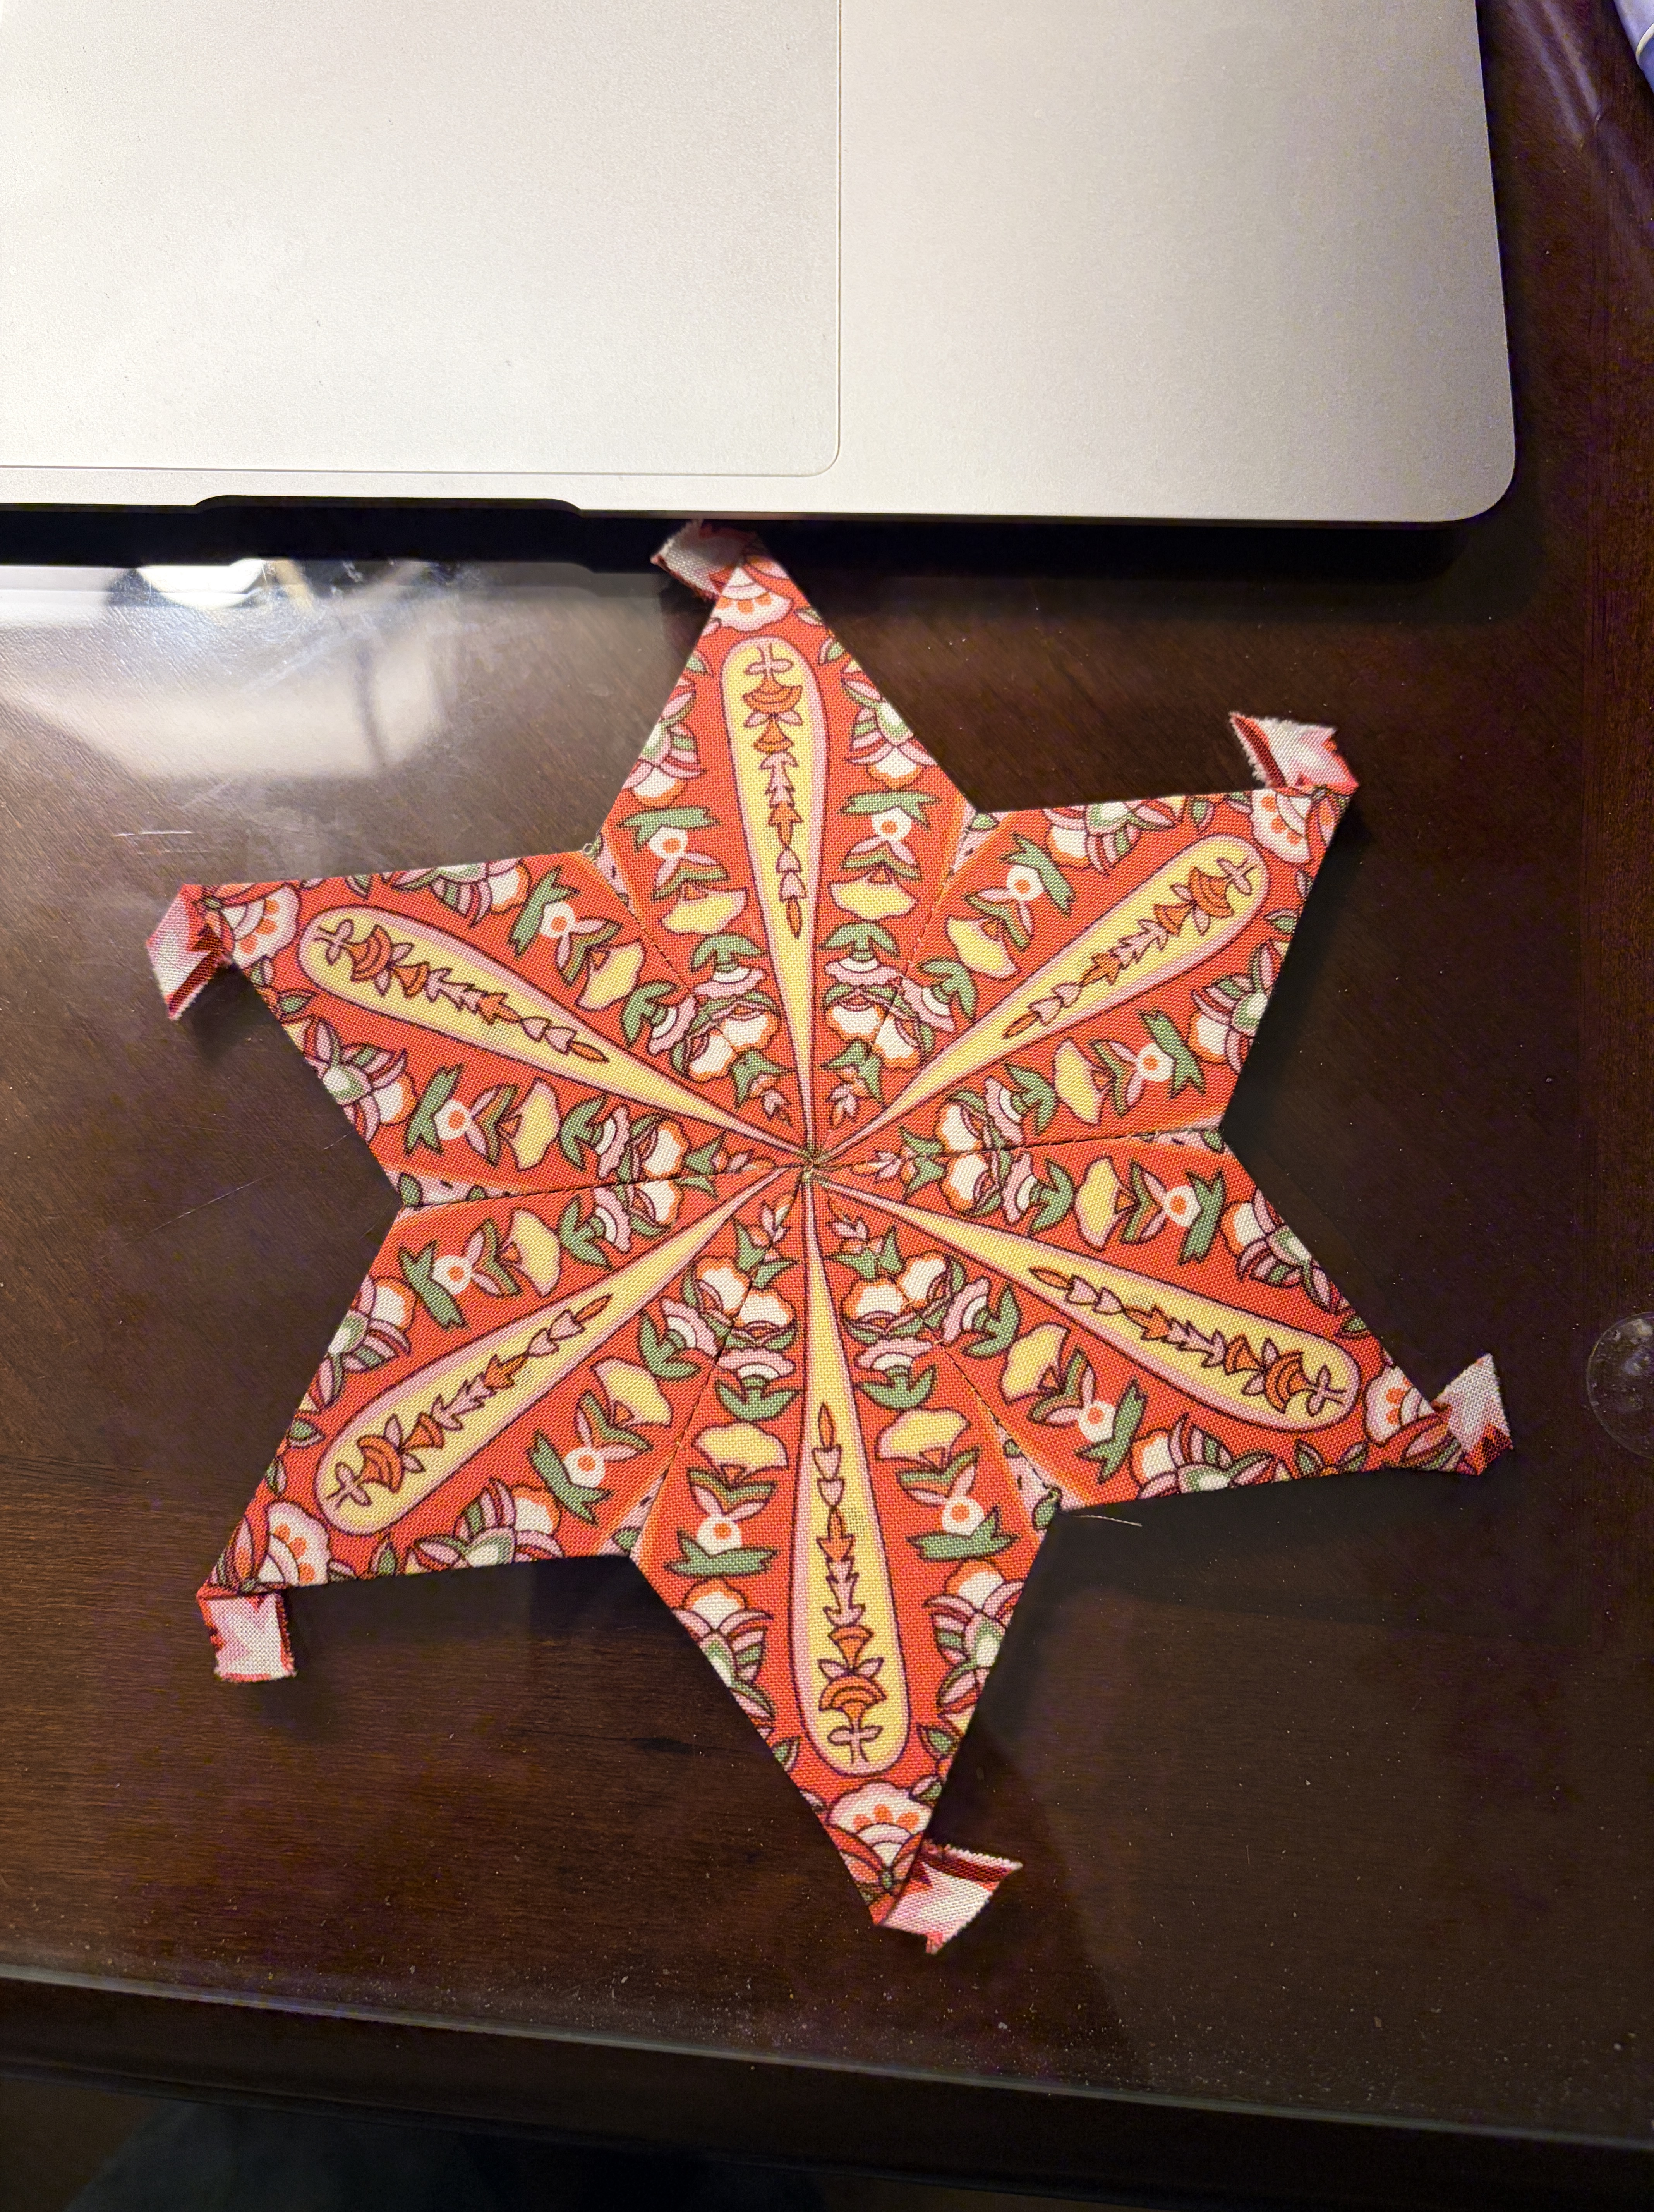
The pattern is Clippings from Thimbles and Needles out of Australia. It’s the first project quilted on my new Elna 782 using the stitch regulator. I’m still learning how to tweak the settings to best fit my hand movements. I’ll try a spiral variation on my next quilt.
Life is happening. My instincts told me not to plan any major travel for 2026. I’m glad I listened. I’ve had my medical drama for this year. Sadie currently has an indolent eye ulcer and we have a visit with the specialist tomorrow. My father-in-law recently lost his battle with Alzheimer’s and I’m helping with some of the more complicated estate stuff. My husband has his big appointment at MD Anderson at the end of April. Surgery is a very real possibility. His last surgery meant two weeks in Houston followed by a 2-3 month recovery period. We *might* be able to go somewhere in the fall. I have several itineraries on standby.
Meanwhile, I didn’t enter a quilt in the June show and I’m okay with that. However, my CraftLAB students have completed their blocks for the show. That’s even better! I’ll be working at the kid’s exhibit booth during the quilt show, plus I get to spend one day working the jurying side of things before the show. Looking forward to it.
The next two months will be spent winding down the school year with regard to therapy dog visits, gearing up for the quilt show and doing what we need to do to make sure all three of us (Sadie, hubby and me) are healthy and engaged in doing what we like to do best.