Small, consistent steps over time can make a huge difference!

Want to improve your piecing, free motion quilting or other quilty skill? Keep a project ready and practice for 15-20 minutes per day.

Want to learn applique? Commit to learning one applique method a week – fusible/raw edge, needle turn, Lori Holt, prepared edge, invisible machine, etc. In about a month, you’ll know which method you prefer. Try both hand and machine methods. Experiment with different machine stitches for your applique – straight stitch, zigzag, blanket, pin stitch, satin stitch. Which look do you like best?

Want to improve your free motion skills? Use leftover layer cake pieces (ugly fabric also works well for this!) and batting scraps to create a stack of 10″ x 10″ quilt sandwiches that you can use for practice. Spray baste those sandwiches and stack them by the machine you use for quilting. Practice a FMQ stitch on at least 2 sandwiches every day. 25 Days to Better Machine Quilting by Lori Kennedy is a great resource. I found this at my local public library and liked it so much I bought a digital copy from Amazon that I can reference on my iPad. Here’s a link to 365 free motion designs from Leah Day to provide inspiration for your FMQ practice. Also be sure to check out YouTube videos from Angela Walters.

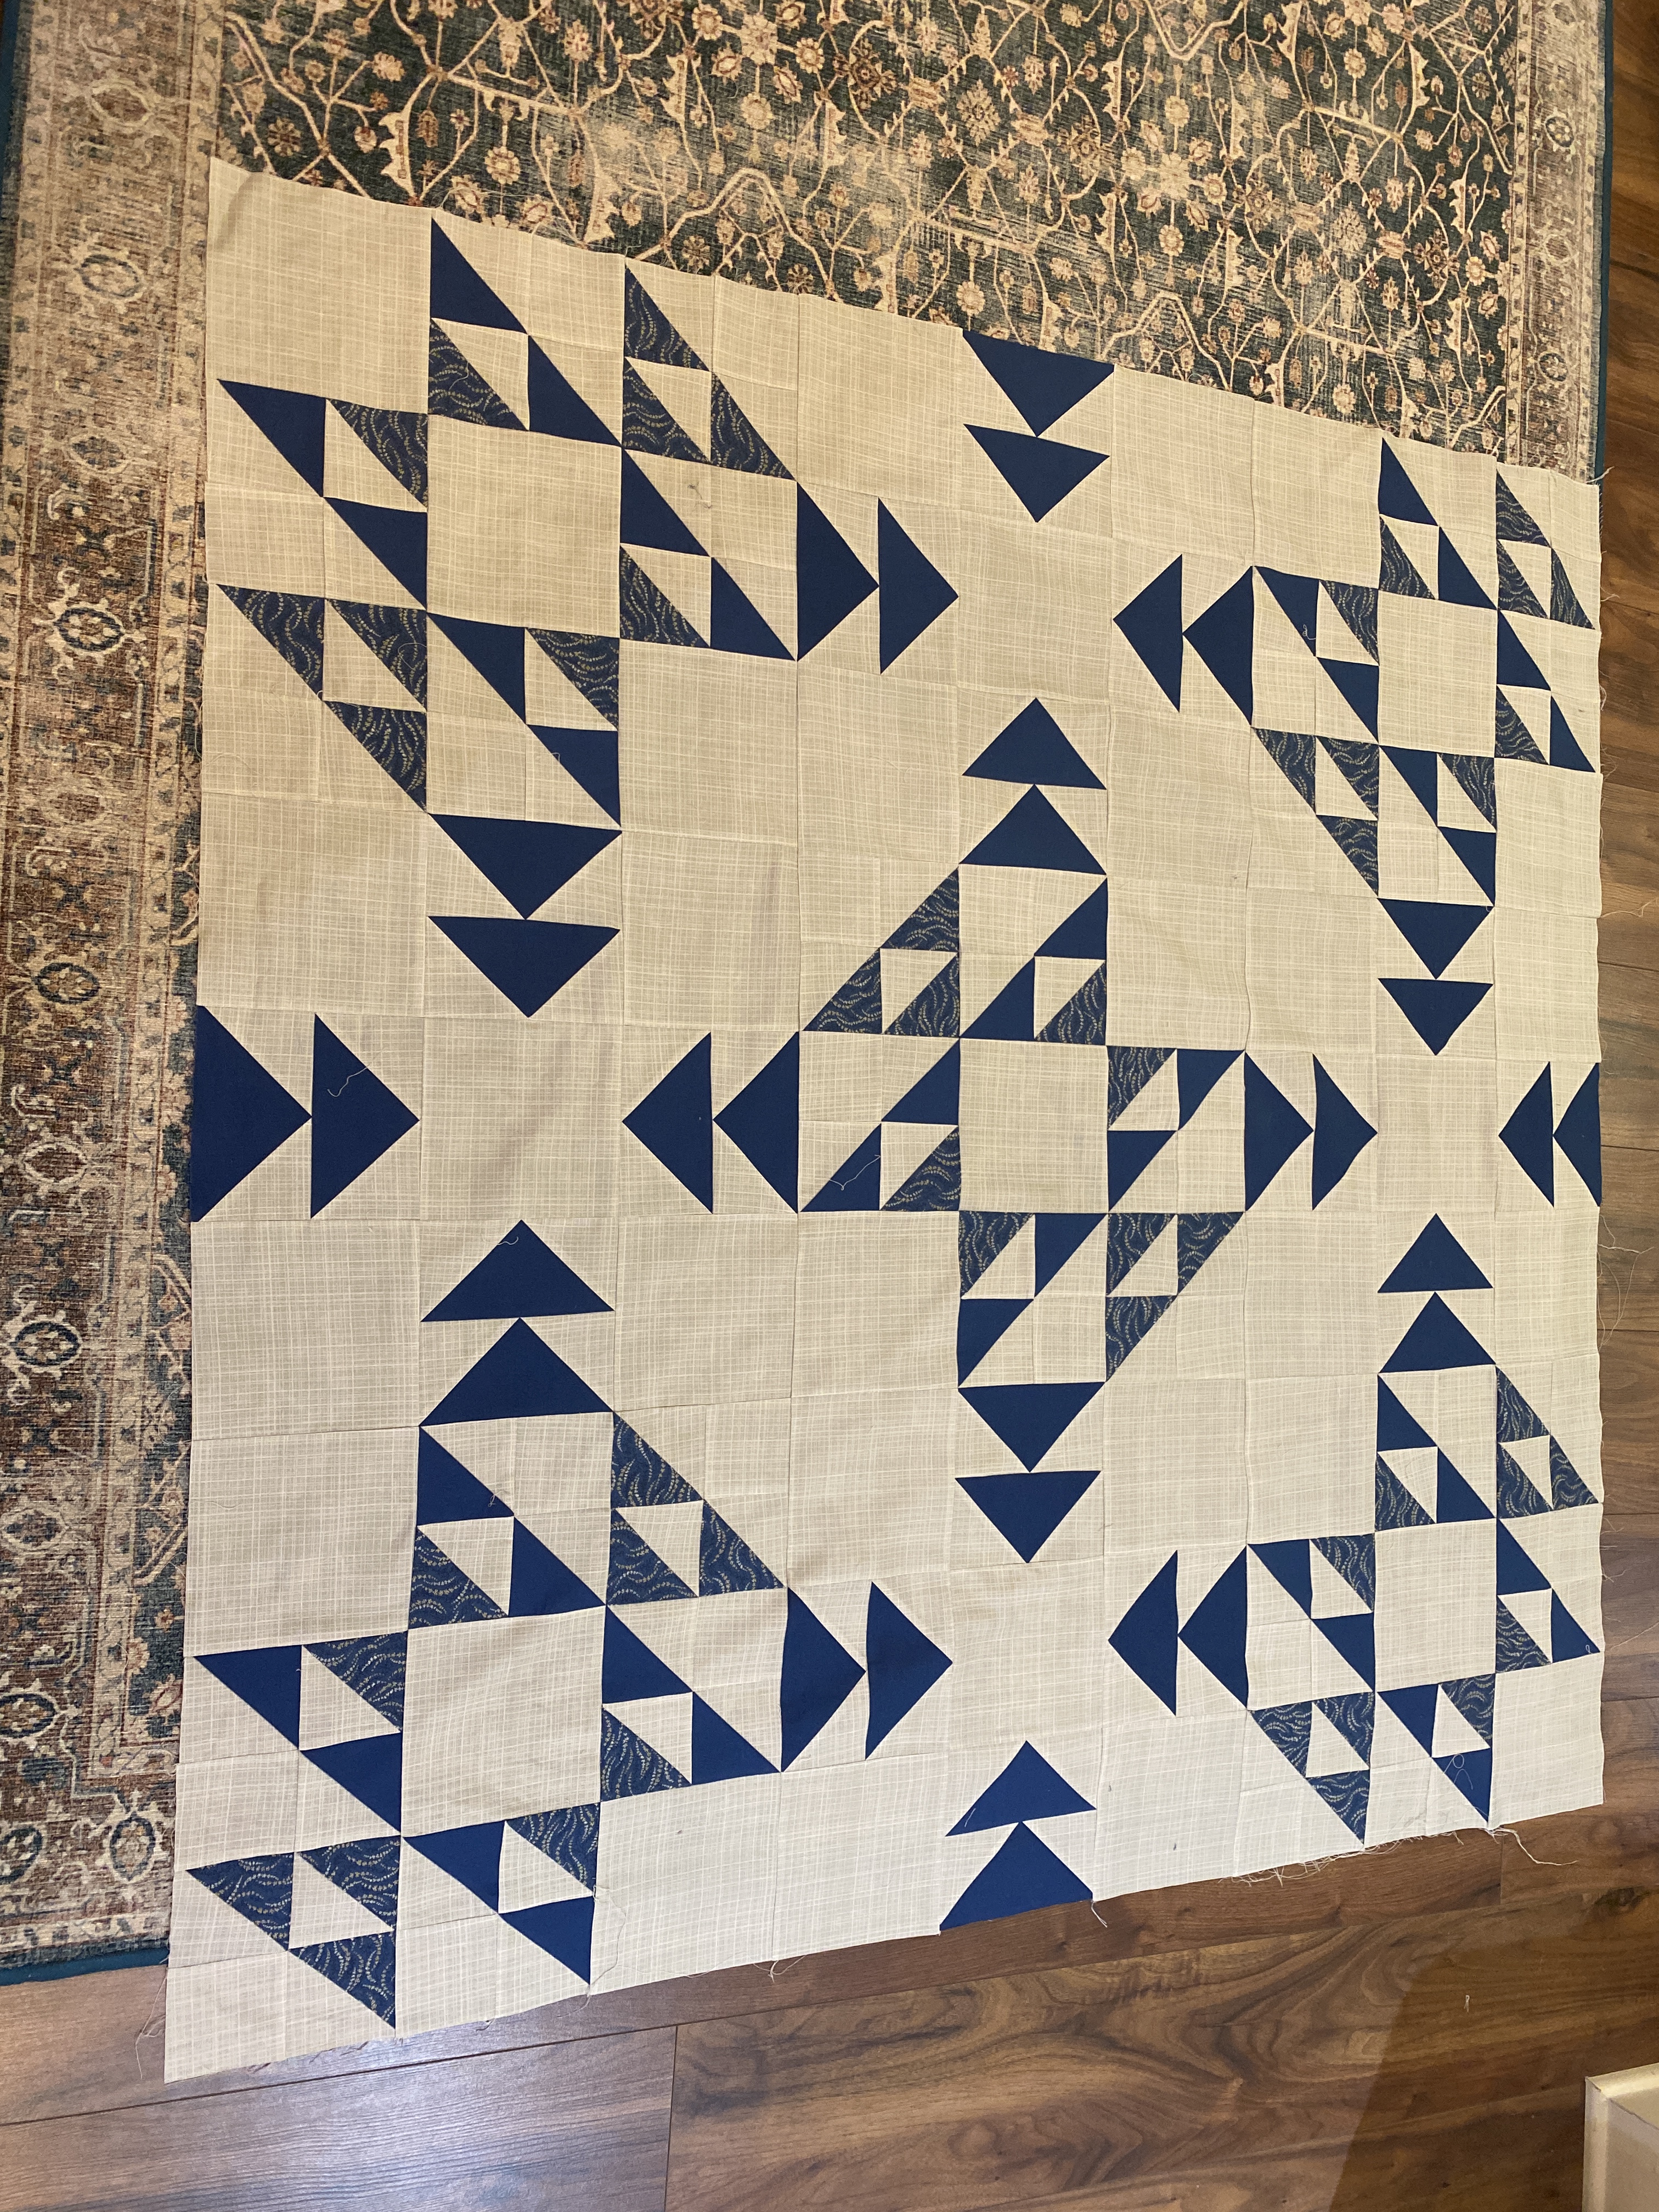
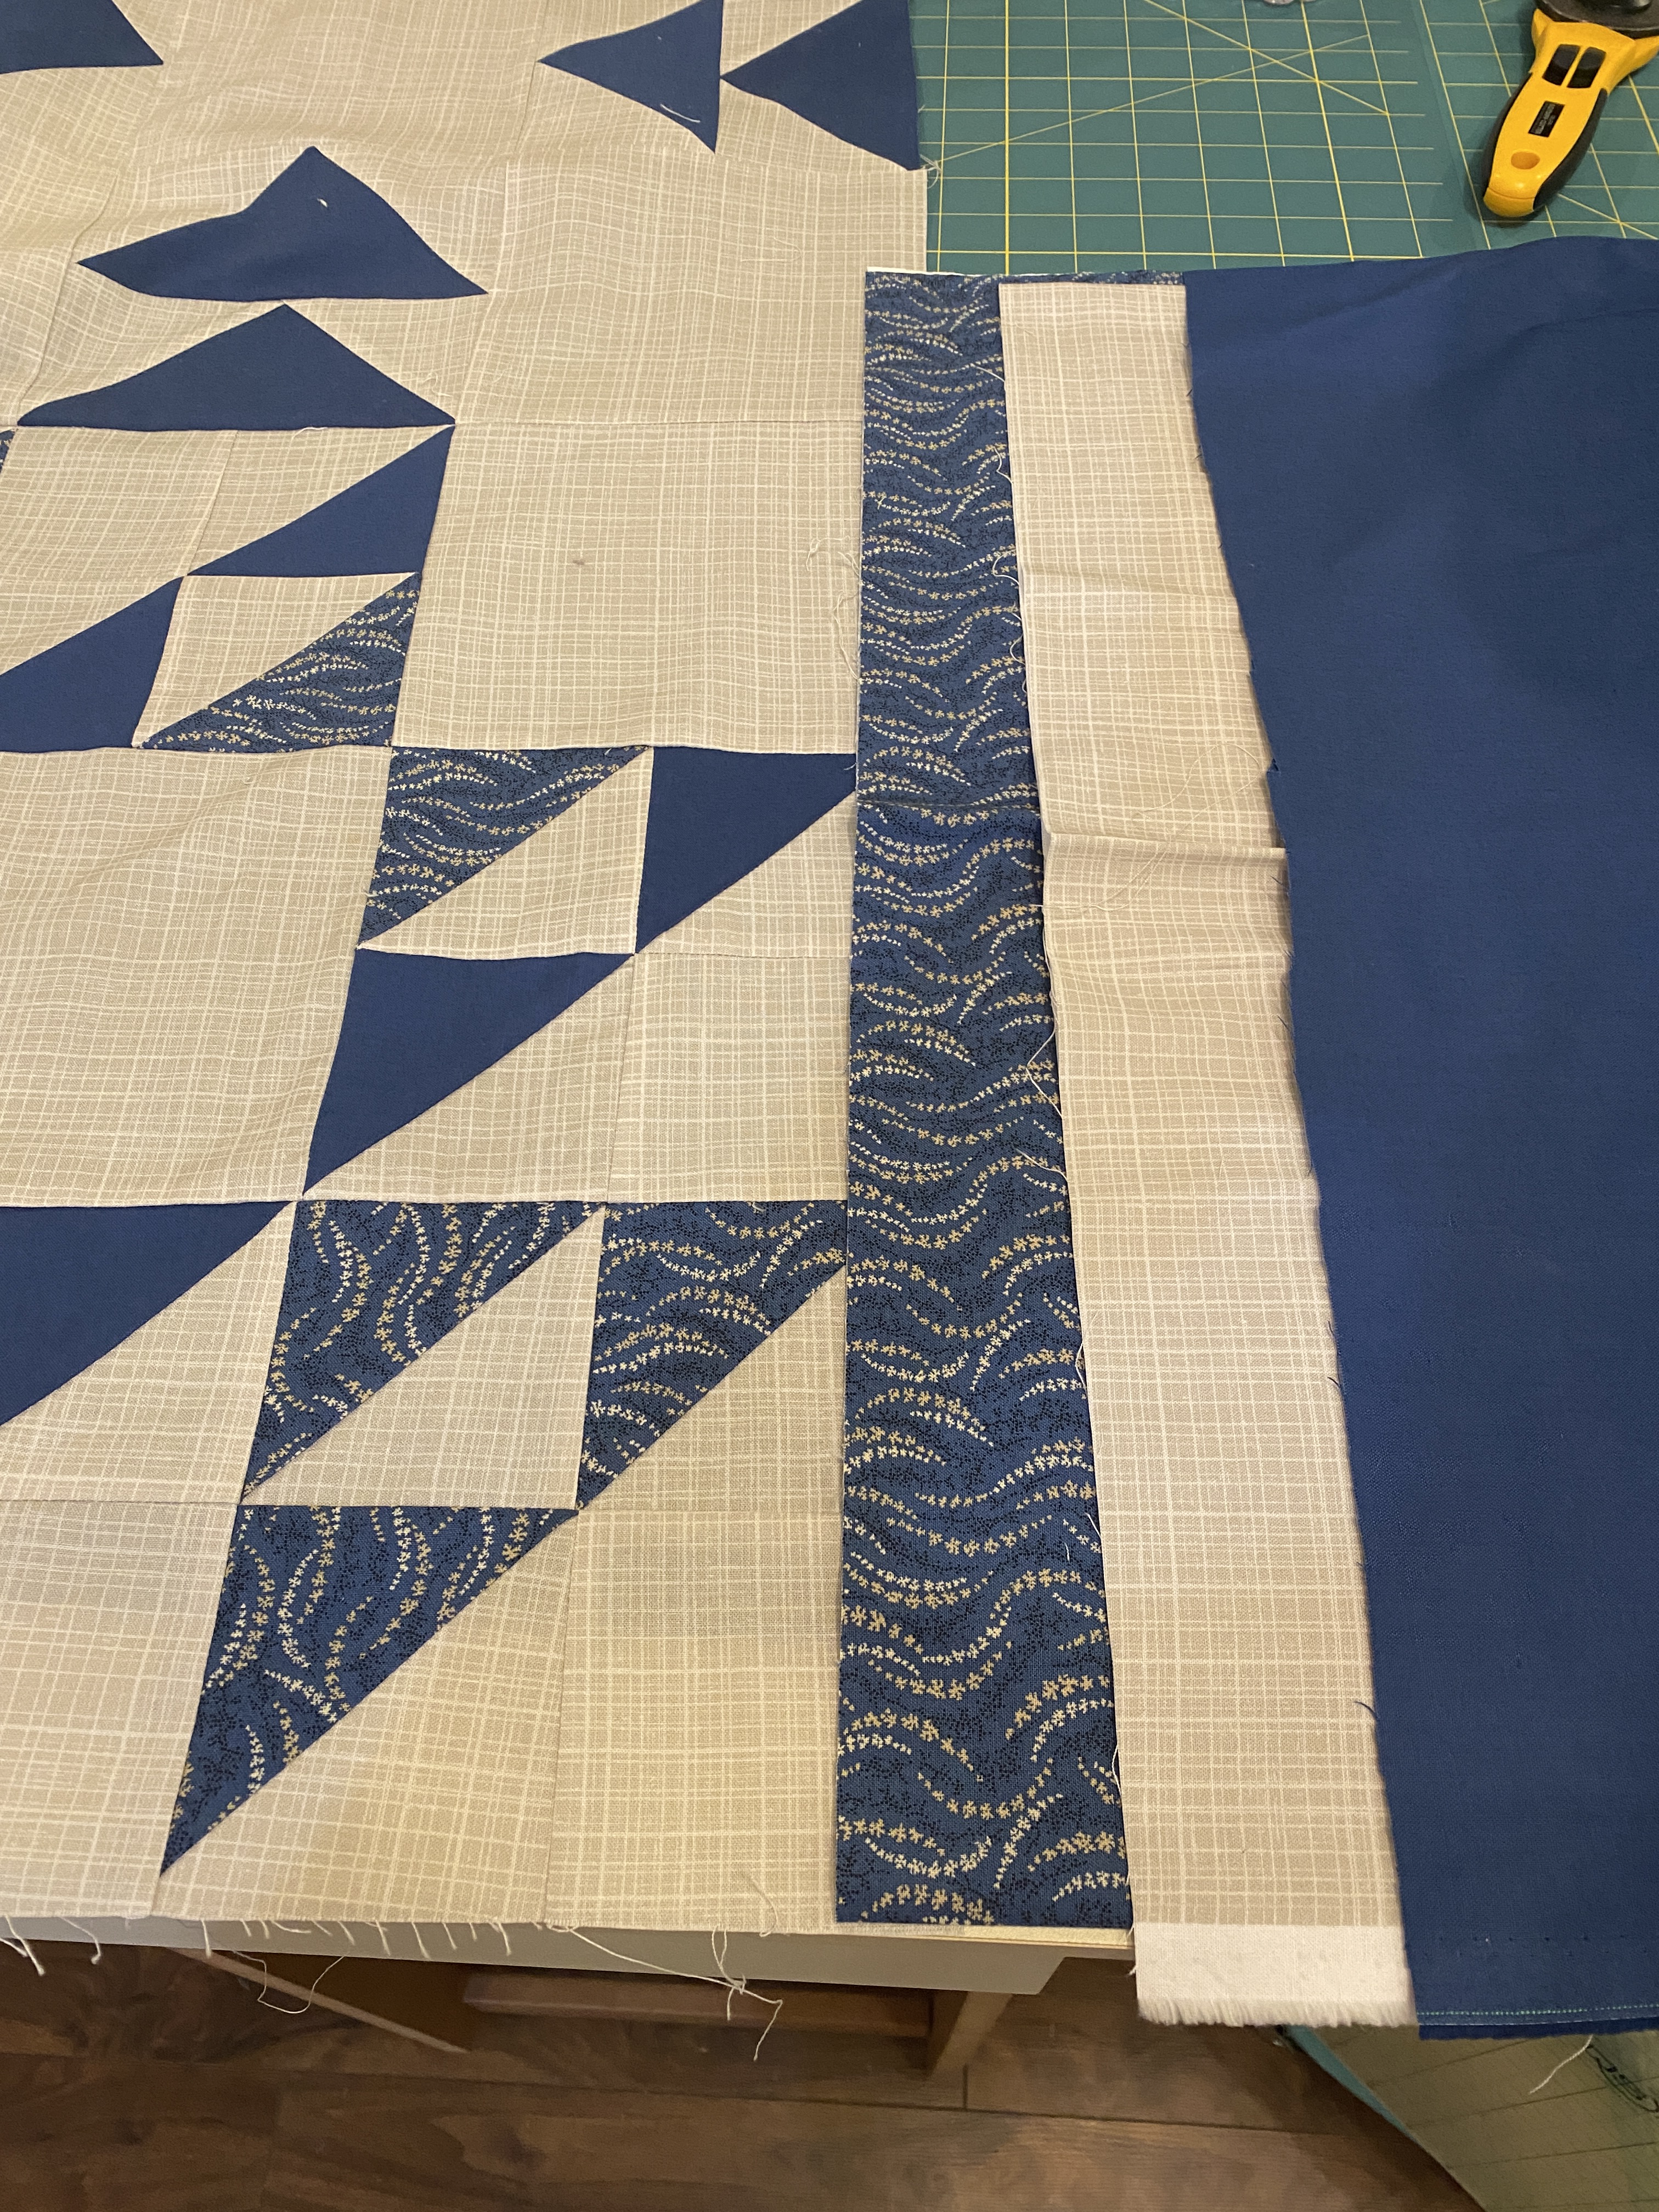
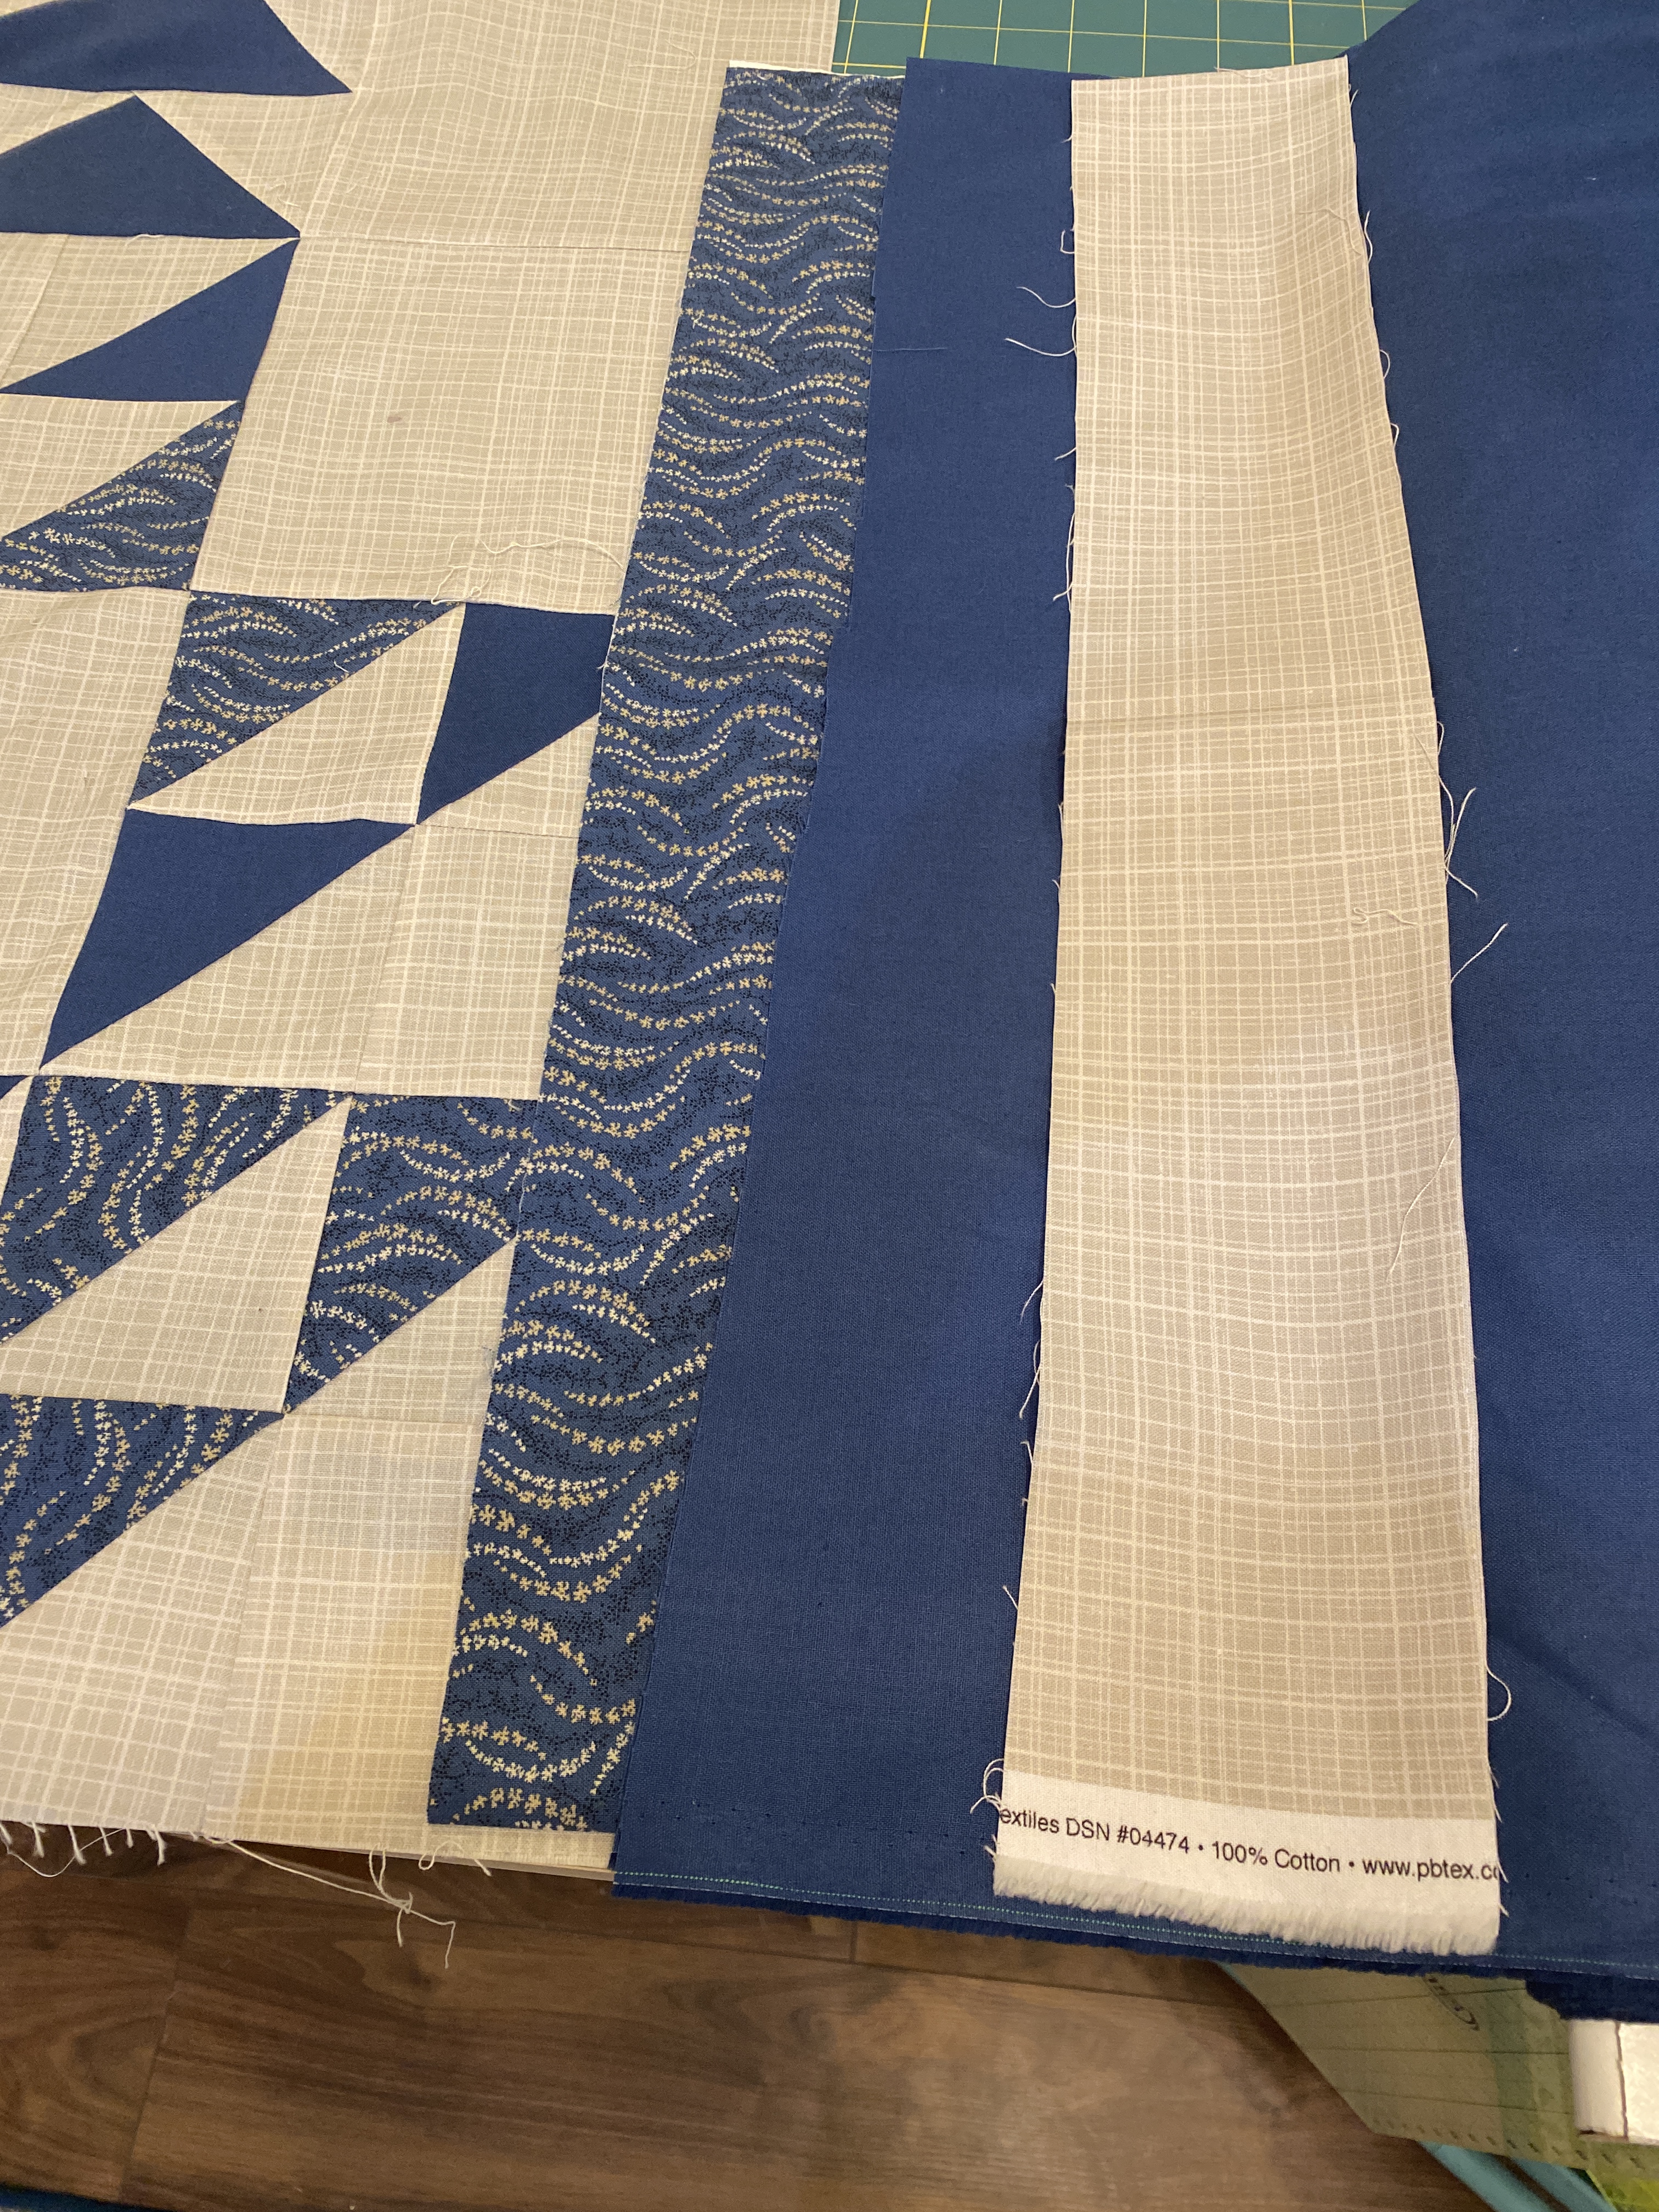
Want to improve your piecing skills with HSTs and FG? Find a quilt block that has lots of them and spend 15-20 minutes a day piecing blocks. HSTs: Carpenter’s Star block (video) Flying Geese: Dutchman’s Puzzle block (video) You can also try different methods for making HSTs and FG. There are numerous tutorials available online. If I am making tons of HSTs and FG, I prefer to cut the patches using my Sizzix Big Shot Plus machine and the appropriate dies. If I can’t access my die-cut machine, then it’s 8 at a time HSTs and no waste (4 at a time) Flying Geese for me when I need to make numerous HSTs and FG from the same fabrics. I sew patches together using a stitch length of 2.0 and my needle position one click to the right of center needle position. When sewing blocks together, I often move the needle one additional click to the right (W= 3.5 for 5mm wide and 4.5 for 7mm wide machines) and place the side with the most match points on top for easier viewing while sewing.

The takeaway here is to practice the skill you want to master. Teachers stress 20 minutes a day of reading as one of the best ways to improve reading skills. This also applies to quilting, sewing, embroidery, cross-stitch, knitting, crochet – basically any other craft out there.

Given our current heat wave, I can think of nothing better than to schedule some Crafternoon time in your nice, air-conditioned sewing space.

Keep sewing and stay cool!

Figuring quilt border size

Homebody Quilt from Cozy Color Quilts

This is hubby’s retirement quilt. It’s my second quilt using this pattern. The last one was a totally scrappy quilt from my stash. Limiting yourself to only three colors is definitely WAY easier. The pattern calls for a small border from the background fabric, followed by binding. The finished quilt is actually a throw size, but hubby is tall, so I need to add about 10″ extra all the way around to make it long enough tuck under his feet.

I figure the Golden Ratio based on the block size. There is no right or wrong way to do this. This quilt is made from 18″ blocks with the units finishing at 6″ each. I calculate a range for the border: 6 x 1.618 = 9.708 and 18 x .618 = 11.24 (drop the 1 when multiplying by larger blocks).

My Golden Ratio Range for this quilt is 9.75″ to 11.25″. The 10″ I need is within this range. CHECK!

I’m not cutting a 10-1/2″ wide single border, so I know I need multiple borders. Three is a good number. There are two ways to do this: (1) Pick a starting border size and multiply by 1.618 to get the next side up (1.5″, 2.5″, 4″ – great for 8″ border, but I need 10″ – start with 2″ width and recalculate) or (2) Consult the Fibonacci number sequence: : 0, 1, 1, 2, 3, 5, 8, etc. Whichever option you choose, remember to add 1/2″ to get the actual cutting measurement.

I chose option 2: three borders of 2″, 3″ and 5″ will equal 10″ of border. CHECK!

Decided to mix things up a bit and go with 3″, 2″ and 5″ outer border placement with solid dark blue as the binding. I consulted with my art teacher for the color placement. I like either one, but hubby chose option #1. Hey, it’s his quilt after all!

Option #1
Option #2

Hopefully, this real life example helps you with figuring out your borders. Always remember, you are the boss of your own quilt! The pattern and all these math rules are suggestions. You do what makes you (and the recipient) happy!

Quilt show recap with the munchkins

I took Charlotte and Angela to the Georgia Celebrates Quilts show on Friday. The girls earned a free admission ticket for making a block for the guild’s student exhibit. Those two were literally treated like rock stars by all of the attendees and vendors we met. I also appreciated the feedback from others thanking me for taking the time and energy to work with kids to instill the love of making, sewing and creating in the next generation of sewists. I also finally got to meet Miss Fran, who has run the guild’s kid’s exhibit for several years.

Angela & Charlotte in front of Block Party Exhibit (blocks done by kids in K-12)

My quilt didn’t win an award, which is totally fine. I appreciated hearing the comments and watching people smile when they saw Sadie represented on my quilt. The one thing I did realize by seeing all of the quilts on display is that my skills have definitely improved over the past decade. My skill level is finally on par with most members of the guild that I always held up as the “gold standard” for quilting. When Miss Fran invited me to go downstairs and join the guild, I did just that. Done. I am now officially a member of the East Cobb Quilt Guild. It’s a large, active guild with many opportunities for classes, workshops, bee groups, quilt shows, leadership opportunities, retreats and meeting new quilty friends. It’s also the closest guild to me that meets during the day. Several of my friends from the former AMQG are members of this guild. It’s a win-win on all counts as far as I’m concerned.

Charlotte & me in front of my quilt

When I picked up my quilt after the show tonight, I waited until I got back to the car to open the judge’s remarks. Ten years ago, my piecing was rated between satisfactory and good. My longarm quilter actually received higher marks than I did. Today, my workmanship (including piecing) rated a solid very good, as did my use of color, choice of fabrics and overall visual impact. I scored higher marks than the longarm quilter. Of course, this wasn’t a quilt done specifically for a show. I decided to put it out there to get some feedback and share my happy quilt with others. The judge’s comments were confirmation of what I’d observed looking at the various quilts in the show. I’m an intermediate – advanced quilter (depends on technique) and if I take it up a notch, quilt it myself and place it in the correct category, I might actually win a ribbon (any place, including Honorable Mention would be wonderful). Hubby was like, “Well, why don’t you?” So, I’ll look at the categories and see what the timeline is for the next show. In the meantime, I may just enter my happy quilt in the Georgia State Fair to get another judge’s perspective.

My quilt viewed from the upper balcony

All of this is important because my former job did a number on my self-confidence. I knew I was a damn good librarian and well regarded by my peers, but education is a beast. No matter how much I gave of myself, went above and beyond, strived to improve my skill-set – it still wasn’t enough. COVID merely exacerbated the issues. The sheer indifference by all levels of administration for my area of responsibility was hard to take. I felt invisible. No amount of advocacy seemed to make any inroads – even from fellow colleagues who told leadership what they were missing out on by not tapping into my expertise. I grew weary of dysfunctional leadership, double standards and being made to feel as if I no longer mattered. My former parapro deemed the work environment as “toxic” and advised that life would be so much better a couple of months into retirement. Even after only two weeks into retirement, I’d say she’s spot on. Leaving the job was scary, but everything is “gonna be alright”.

Keep on quilting!
Teresa