Improving efficiency = improved profitability

As a craft business owner, there are a two ways to definitely improve the bottom line:

(1) cut expenses

(2) improve efficiency

Improving efficiency means streamlining processes so that you can devote more time to the areas of your business that make you money.

Example 1 – Quotes for custom quilts & sewing projects
For me, quoting a price for a project used to be torture. Not any more.  Time spent conducting competitive analysis and figuring real costs to produce a t-shirt quilt have paid off handsomely.  I developed a pricing worksheet that helps me figure pricing for various options/special services that clients request.  If a client requests expensive batik fabric for the quilt, I note it on the worksheet and attach receipts to the worksheet so I remember to bill it back to the customer on the final invoice.

Example 2 – Automate wherever possible
I currently use a cloud based accounting/bookkeeping system.  It’s free and it works for me.  I can invoice clients, accept payments and send receipts electronically.  The one thing that it does not do is allow me to track my time.  If pattern editing services pick-up, I may have to revisit things.   However, manual time tracking is currently working just fine.

Example 3 – Streamline steps in production process
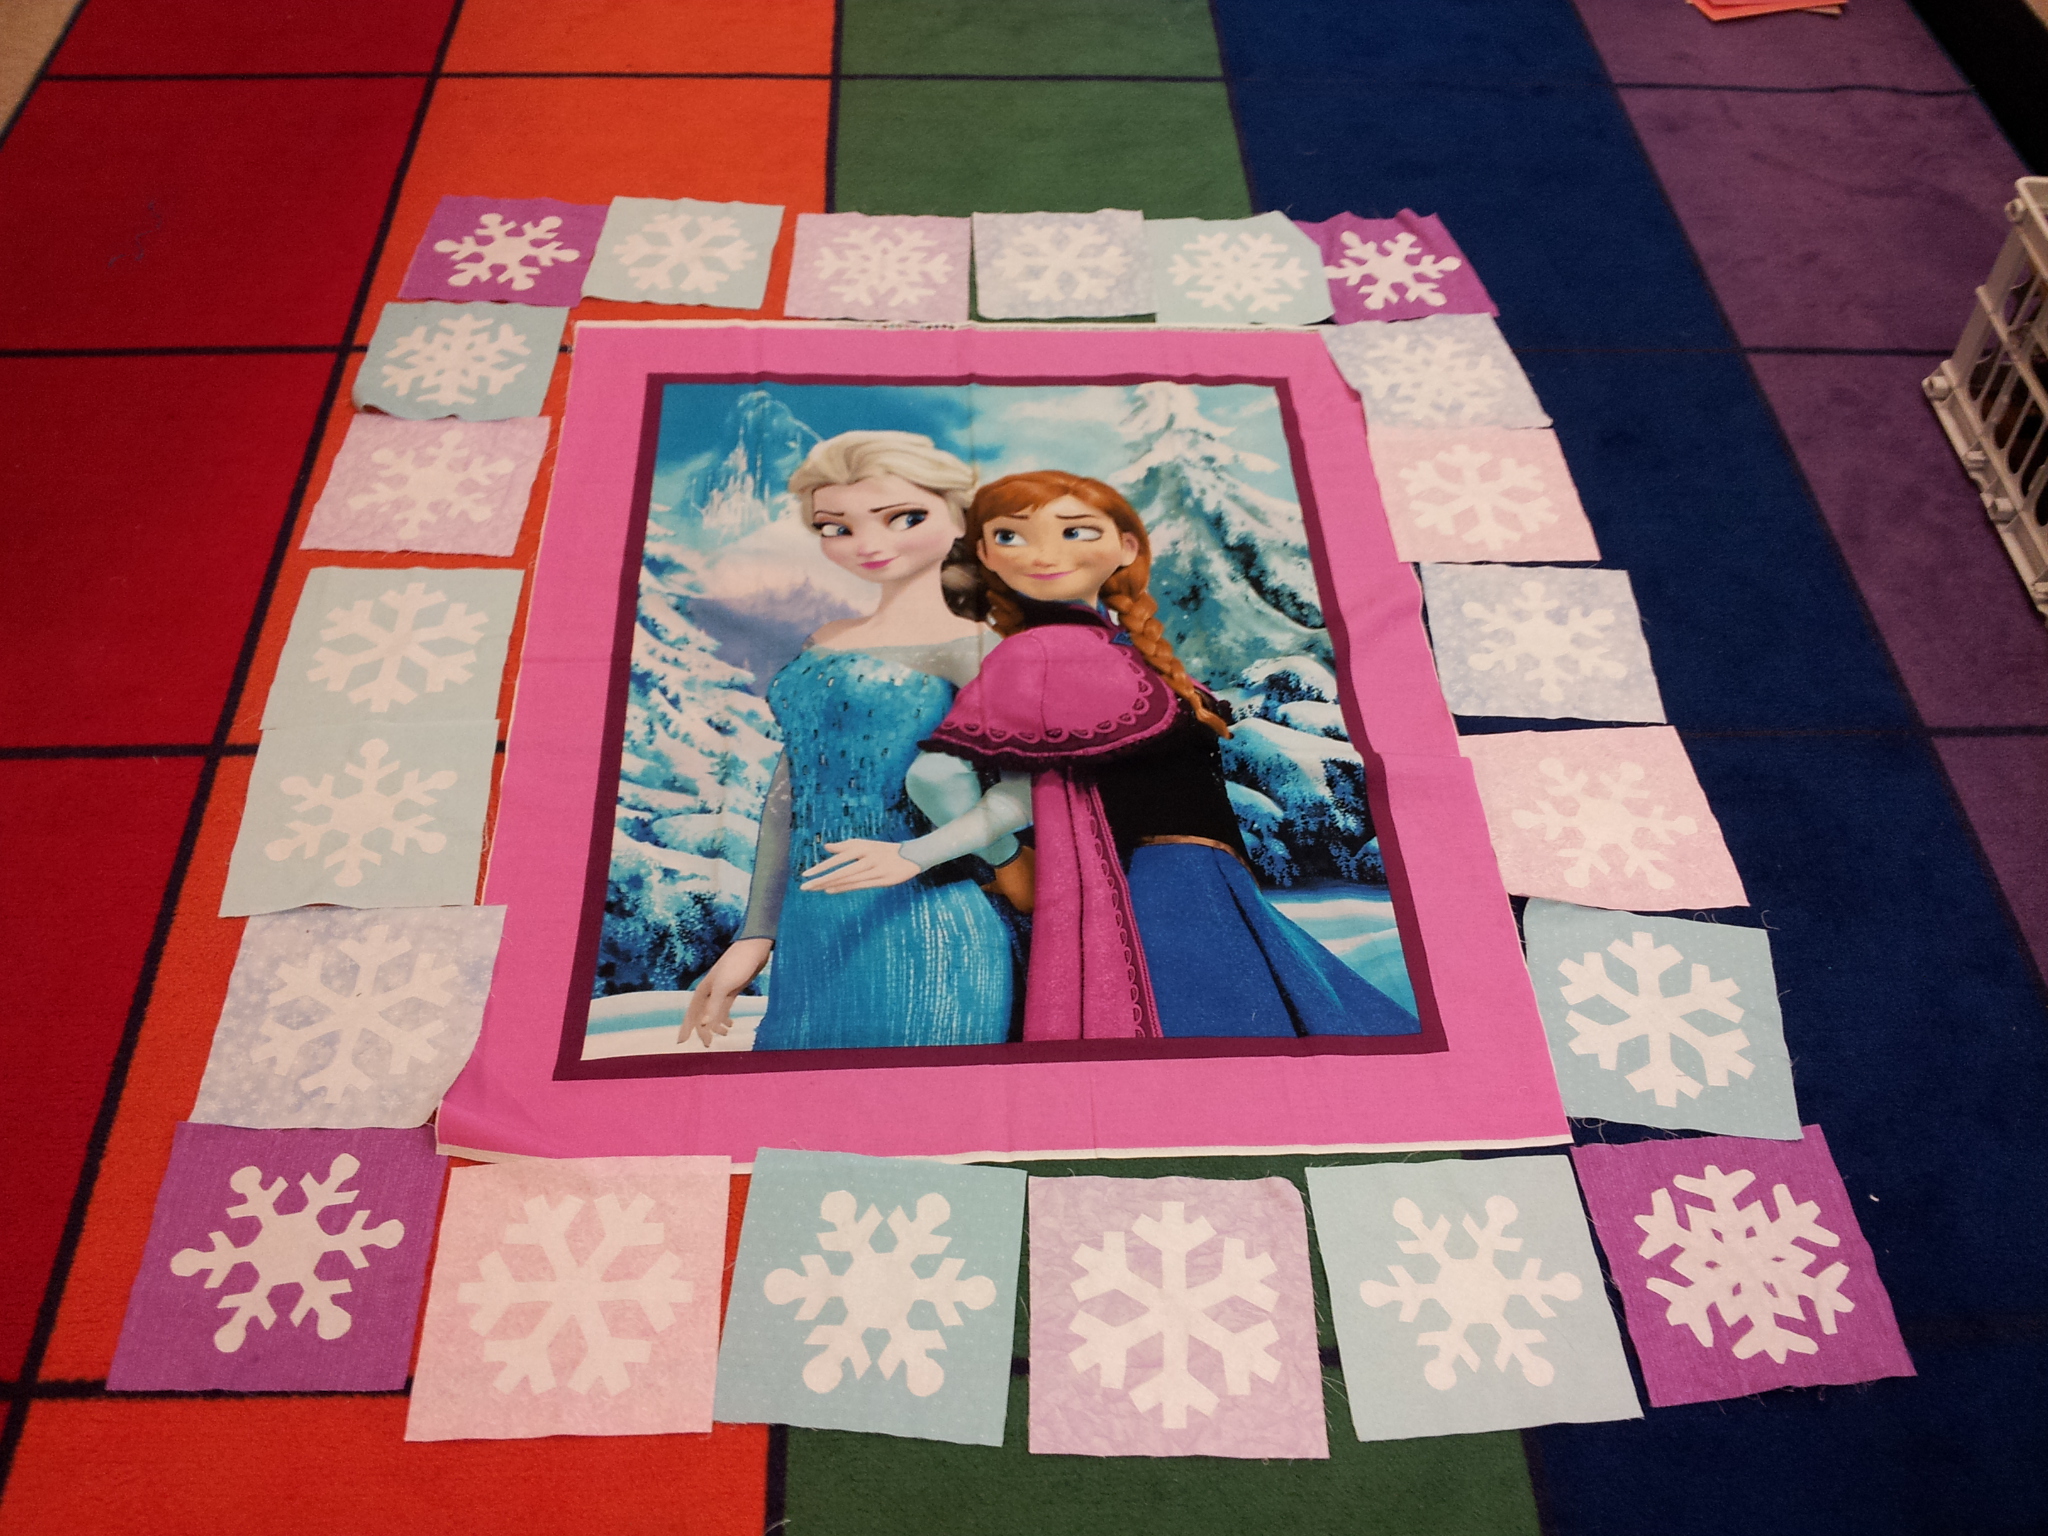
Investing a few hundred bucks in a steam press and die cutting machine have really paid off in terms of time savings when it comes to making t-shirt quilts.  So has stocking up on the interfacing and batting I prefer to use.  Time spent experimenting with the best way to machine sew quilt binding has also paid off.  Quality is not compromised one iota!  Every little bit of time I can save translates into increased profitability for me per project.

Example 4 – Take time to plan
Every Sunday, I plan for the week ahead.  I write out my goals/to-dos for the day job, craft business and home.
I keep a master list of “things to buy” and keep retailer coupons in the car.  I know I’ll need a bolt of interfacing after my next t-shirt quilt.  I keep scanning the craft store ads for a 50% off deal or sale.  I’m also looking for 2 sturdy 6′ folding tables.  When I see a good price, I’ll buy them.

These are just a few of the things I do to improve my profitability.  What are some things you do?

What’s on my mind…

Readers of this blog may know that my dog and I provide monthly pet therapy services on a volunteer basis at a couple of the local psychiatric and drug rehab centers.  Of course, everything that goes on remains confidential and anonymous (better that way), but after several visits, I have something to say to the teens/young adults in the program:

Dear young person in rehab,

While you pet my dog during our visits and speak wistfully of your own animals at home whom you obviously miss, I can’t help but wonder who or what brought you here.  Sure, there might be some visible clues.  However, after about 3 minutes of conversation, I can probably guess exactly why you are here and where you are in your treatment program.  I’m neither shrink nor medical personnel, but merely a person whose entire family went through hell some 25 years earlier due to another family member’s drug addiction.  Believe me, I had to work through some long forgotten resentment and other issues before I ever agreed to sign on to be a regular visitor with my canine pal.

As you work your way through the treatment plan and work on yourself, I wonder if you realize just how difficult it was for your parent or guardian to admit that you needed help and then to find a way to get you that help? Residential treatment doesn’t come cheap.  It rivals a semester or year of college in cost – possibly more – depending on the facility.

Teens are teens, but whether you believe it or not, it really isn’t a status symbol to have been a guest of every residential treatment facility in the area.  I must admit, however, that I really appreciate the intel on where not to take my dog for pet therapy visits.  Patients at another facilities expressed similar sentiments.  The info has been duly noted for future reference.

Do what the clinical staff tell you to do. If you want more freedom, then do what is required to earn those privileges.  Blame no one but yourself if you continue to remain on close supervision, my friend. The counselor does not have it in for you.  They really do want you to succeed, even if you think they are the biggest burr on your backside right now.  They have a job to do.  You see us chatting outside at the end of our visit?  Most of the time it’s about you and how you all needed our visit.  That’s why I give up half of my Sunday to come visit your facility.

My dearest hope for you is that you take advantage of your time in the program and make changes for the better.  I’d love nothing more for you to stop and say hi if you run into us at the park or at Boomer’s favorite ice cream parlor.

Hugs,

Mrs. Kent & Boomer

Fixing Frozen

Jeez.  I should have read the directions a little more closely.  Oh well, time for a little creative ingenuity.

Crafty S.T.E.M.s have been helping me make a project quilt for the Media Center.  It’s the Frozen quilt featured in the October issue of Fons & Porter’s Love of Quilting. The kids spent an entire club session making the 22 snowflake appliques required for the quilt. They gained first-hand knowledge of the least expensive (and most labor intensive) way to make fusible applique shapes.  They also learned if you are willing to invest a few dollars, you can save a LOT of time by using a manual or electric die-cutting machine.  Word to the wise:  if you are on the fence about investing the $99 for the Accuquilt GO! 7″ snowflake die featured in the magazine – buy it!  It’ll save you a great deal of time – or look on Etsy for folks who will prepare the appliques for a nominal fee.

So, I stitched around every last one of those snowflakes and brought them back to the next club meeting so the kids could arrange the snowflake designs in the border.  Here’s what they came up with:

20150123_140038

When I got home from work, I dutifully cut and sewed the first border as called for in the directions. However, I neglected to cut off the pink border on the panel first.  Whoops!  Out came the tape measure. Thanks to my goof (or creative design), I now needed 6 blocks for the sides and 7 blocks for the top. I wasn’t about to make 4 more blocks, so I opted for cornerstones of the first border fabric, but I was still short about 1-1/4″ on making the blocks fit across the top and bottom.

Solution:  filler strips made from snowflake applique fabric featuring the decorative snowflake stitch on my 6600 (Mode 3, Stitch 55).  The glitter on the fabric made it a challenge to stitch.  I finally had to pull out a roll of Sulky Solvy to help the stitches form correctly.

20150126_225617