Sewing Scout Badges – a primer

Scout Troop 27 meets at the elementary school where I work. We’re a Title I school in a high poverty area. The admin team wants our kids to have access to the same extracurricular experiences as their peers in wealthier areas do. Several of our boys and their families expressed an interest in scouting. Today, five teachers share leadership duties in tandem with BSA reps to lead 67 boys in Troop 27. All I can say is our administrators are masters at getting things funded via grants and donations.
The lead teacher was able to get many of the uniform shirts donated and asked me to sew on the patches. She offered to pay, but I refused. After sewing nearly 216 badges on shirts over the past month, I consider myself well versed in sewing on patches. If anyone other than a member of Troop 27 asks me to sew on a patch, it’s now a flat fee of $3 per patch.
I thought I would share some hints I garnered from my experience sewing on patches.
Time required per shirt to attach 3-4 patches: about 15 minutes because determining exact placement of World Council patch takes extra time.
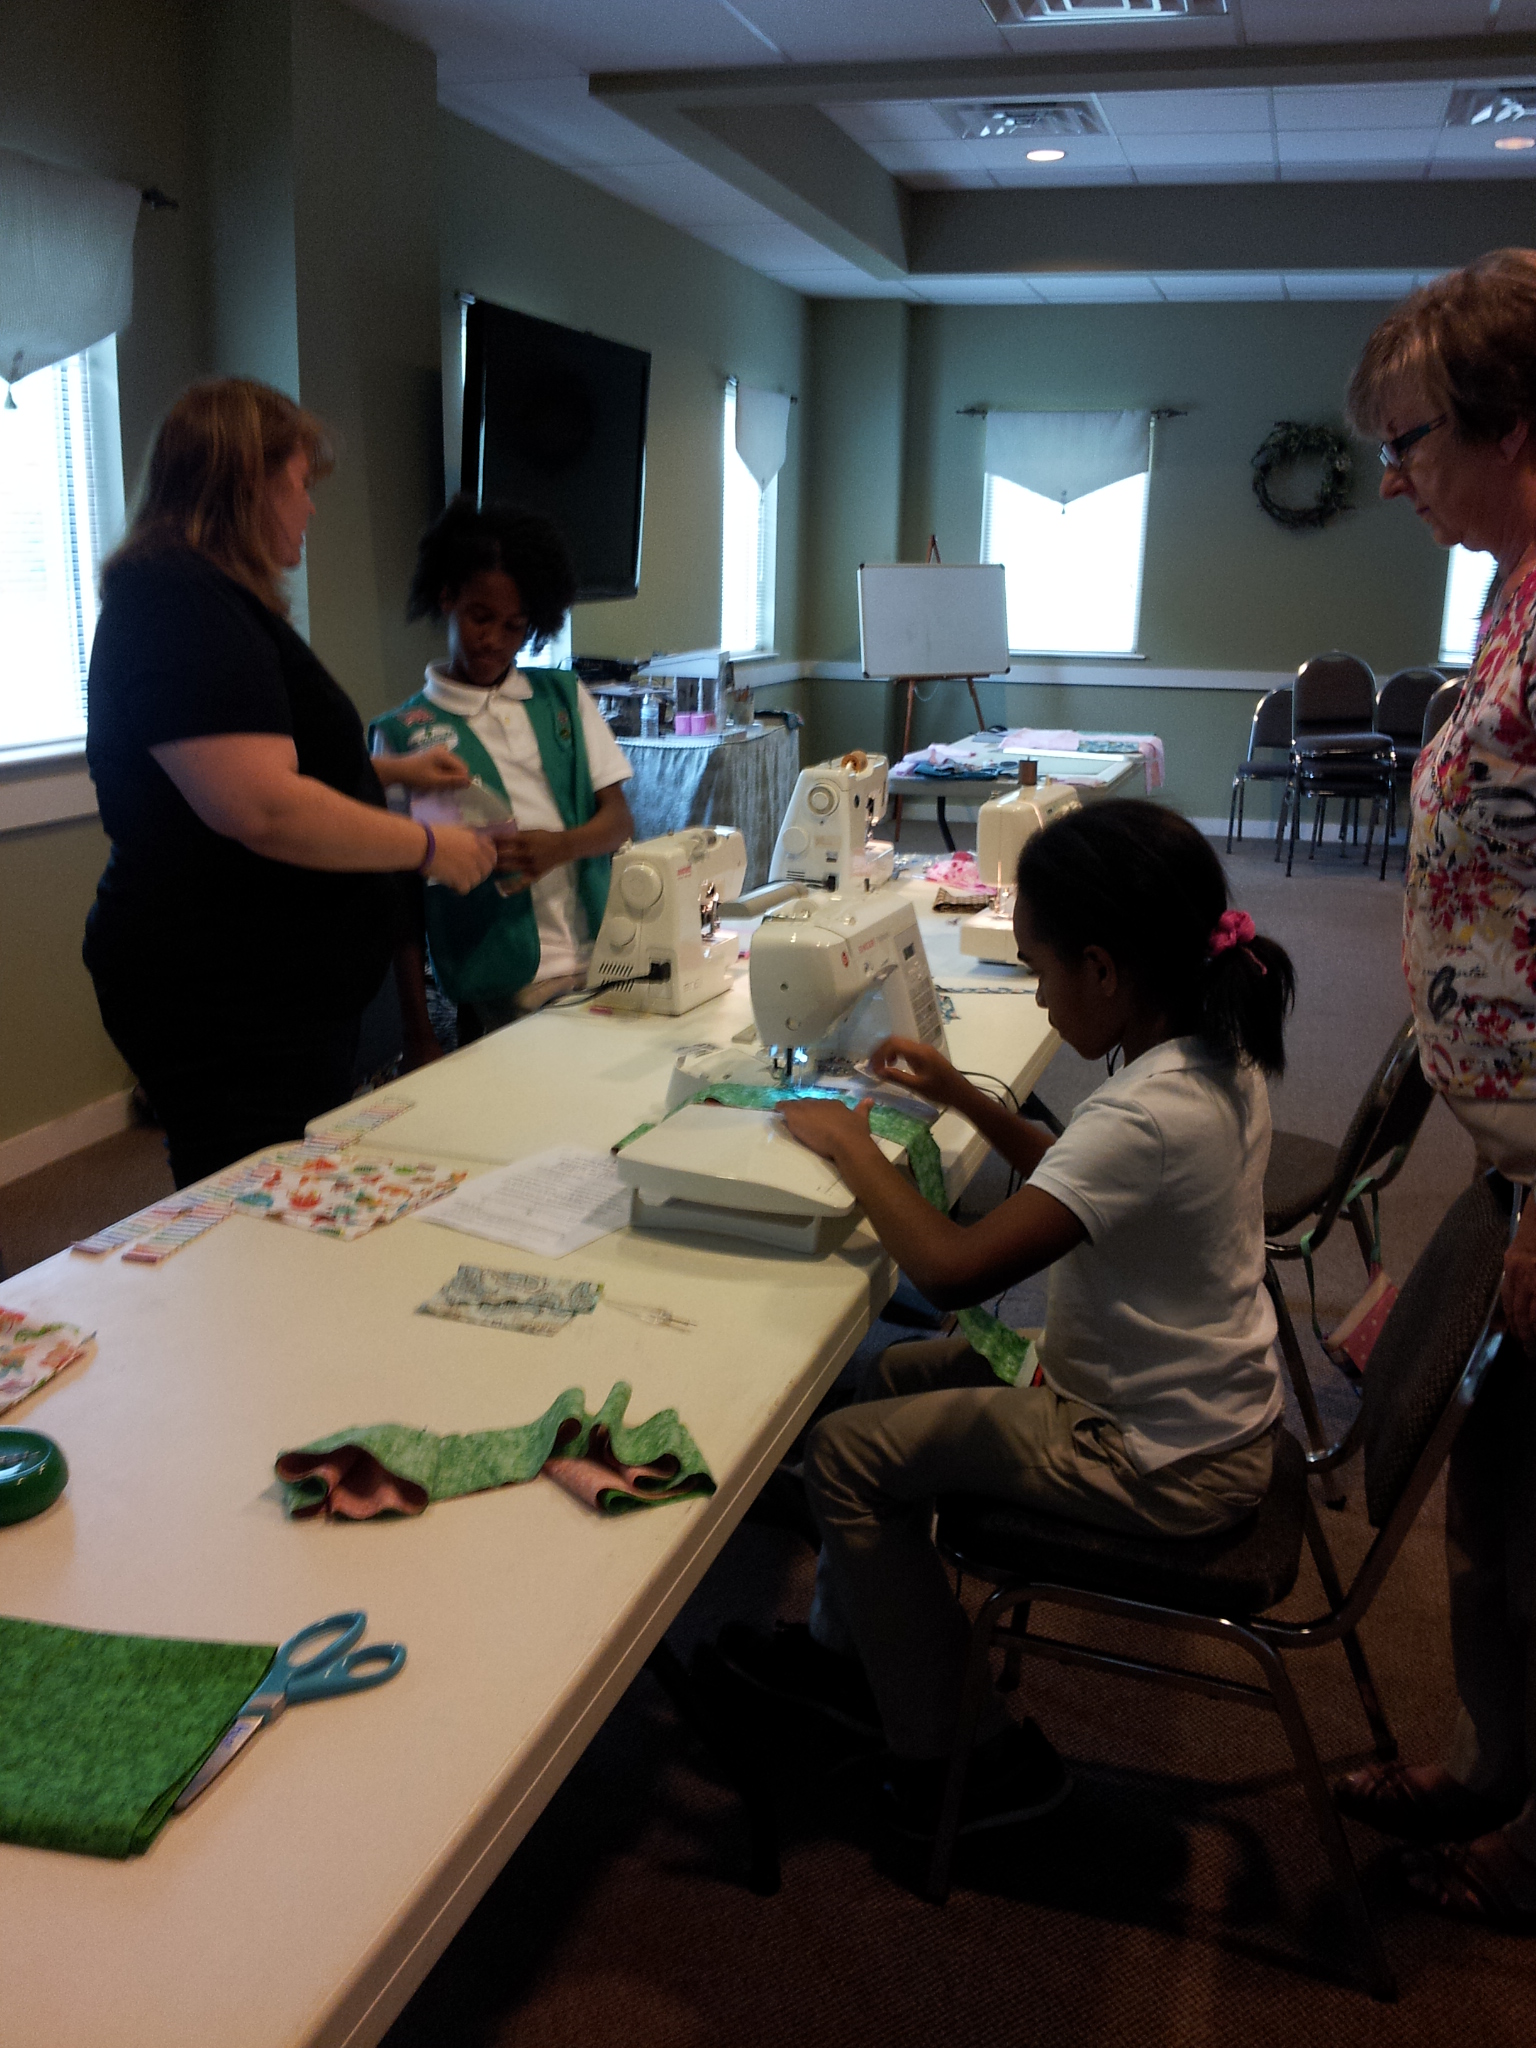
Machine: Almost any sewing machine will work, including flatbed machines. Needle down, auto scissors and wide throat space features will make the job easier. (My 8900 was the best machine followed by the Elna Carina and 3160 QDC.) All patches can be sewn flat without the need for a freearm. I found youth XS/S to be the most challenging sizes to work with because those shirts are T-I-N-Y. I did have to break out the smallest freearm machine I had for the XS shirt to sew troop numbers on the sleeve.
Foot: Open toe or clear foot, if you have one.

Thread: Use invisible polyester thread as the top thread. Match polyester or cotton covered polyester thread to the scout shirt in the bobbin. Invisible poly thread is available from Sulky and Superior Threads. Use it on a vertical spool pin for best results.
Yes, you can match your thread to each individual patch, but clear thread is the way to go especially if you are sewing on many patches.
Needle: Size 14, preferably a topstitch needle.
Patch placement: Refer to the BSA uniform inspection sheet for placement guidelines. Or ask the scout leader. FYI – the World Council patch is centered above the pocket halfway between the top of the pocket and the shoulder seam. The middle of the fleur-de-lis aligns on the vertical center (right edge of ruler). The “tie” or “belt” around the middle of the fleur-de-lis is at the exact midway point between the top of the pocket and the shoulder seam. The measurement will likely be 3.25″ to 3.5″ for most youth L/XL and adult S/M shirts. I found the 6-1/2″x 12-1/2″ ruler I use in quilting to be quite helpful with correctly placing this patch.

Temporarily hold patches in place with washable purple or clear glue stick – the kind you probably already have at home. I like purple because I can make sure I have covered the entire patch with glue stick. You can also pin thinner patches in place, but the thicker ones are almost impossible to pin in place. DO NOT hot glue the patches in place. It makes it extremely difficult to sew through the patch once the hot glue hardens.

Special tip for Troop numbers: Zig zag the numbers patches together FIRST, then attach them as a single unit to the sleeve. I also recommend stitching them together with thread to match the patch – at least in the bobbin.