Our next bee group charity quilt block
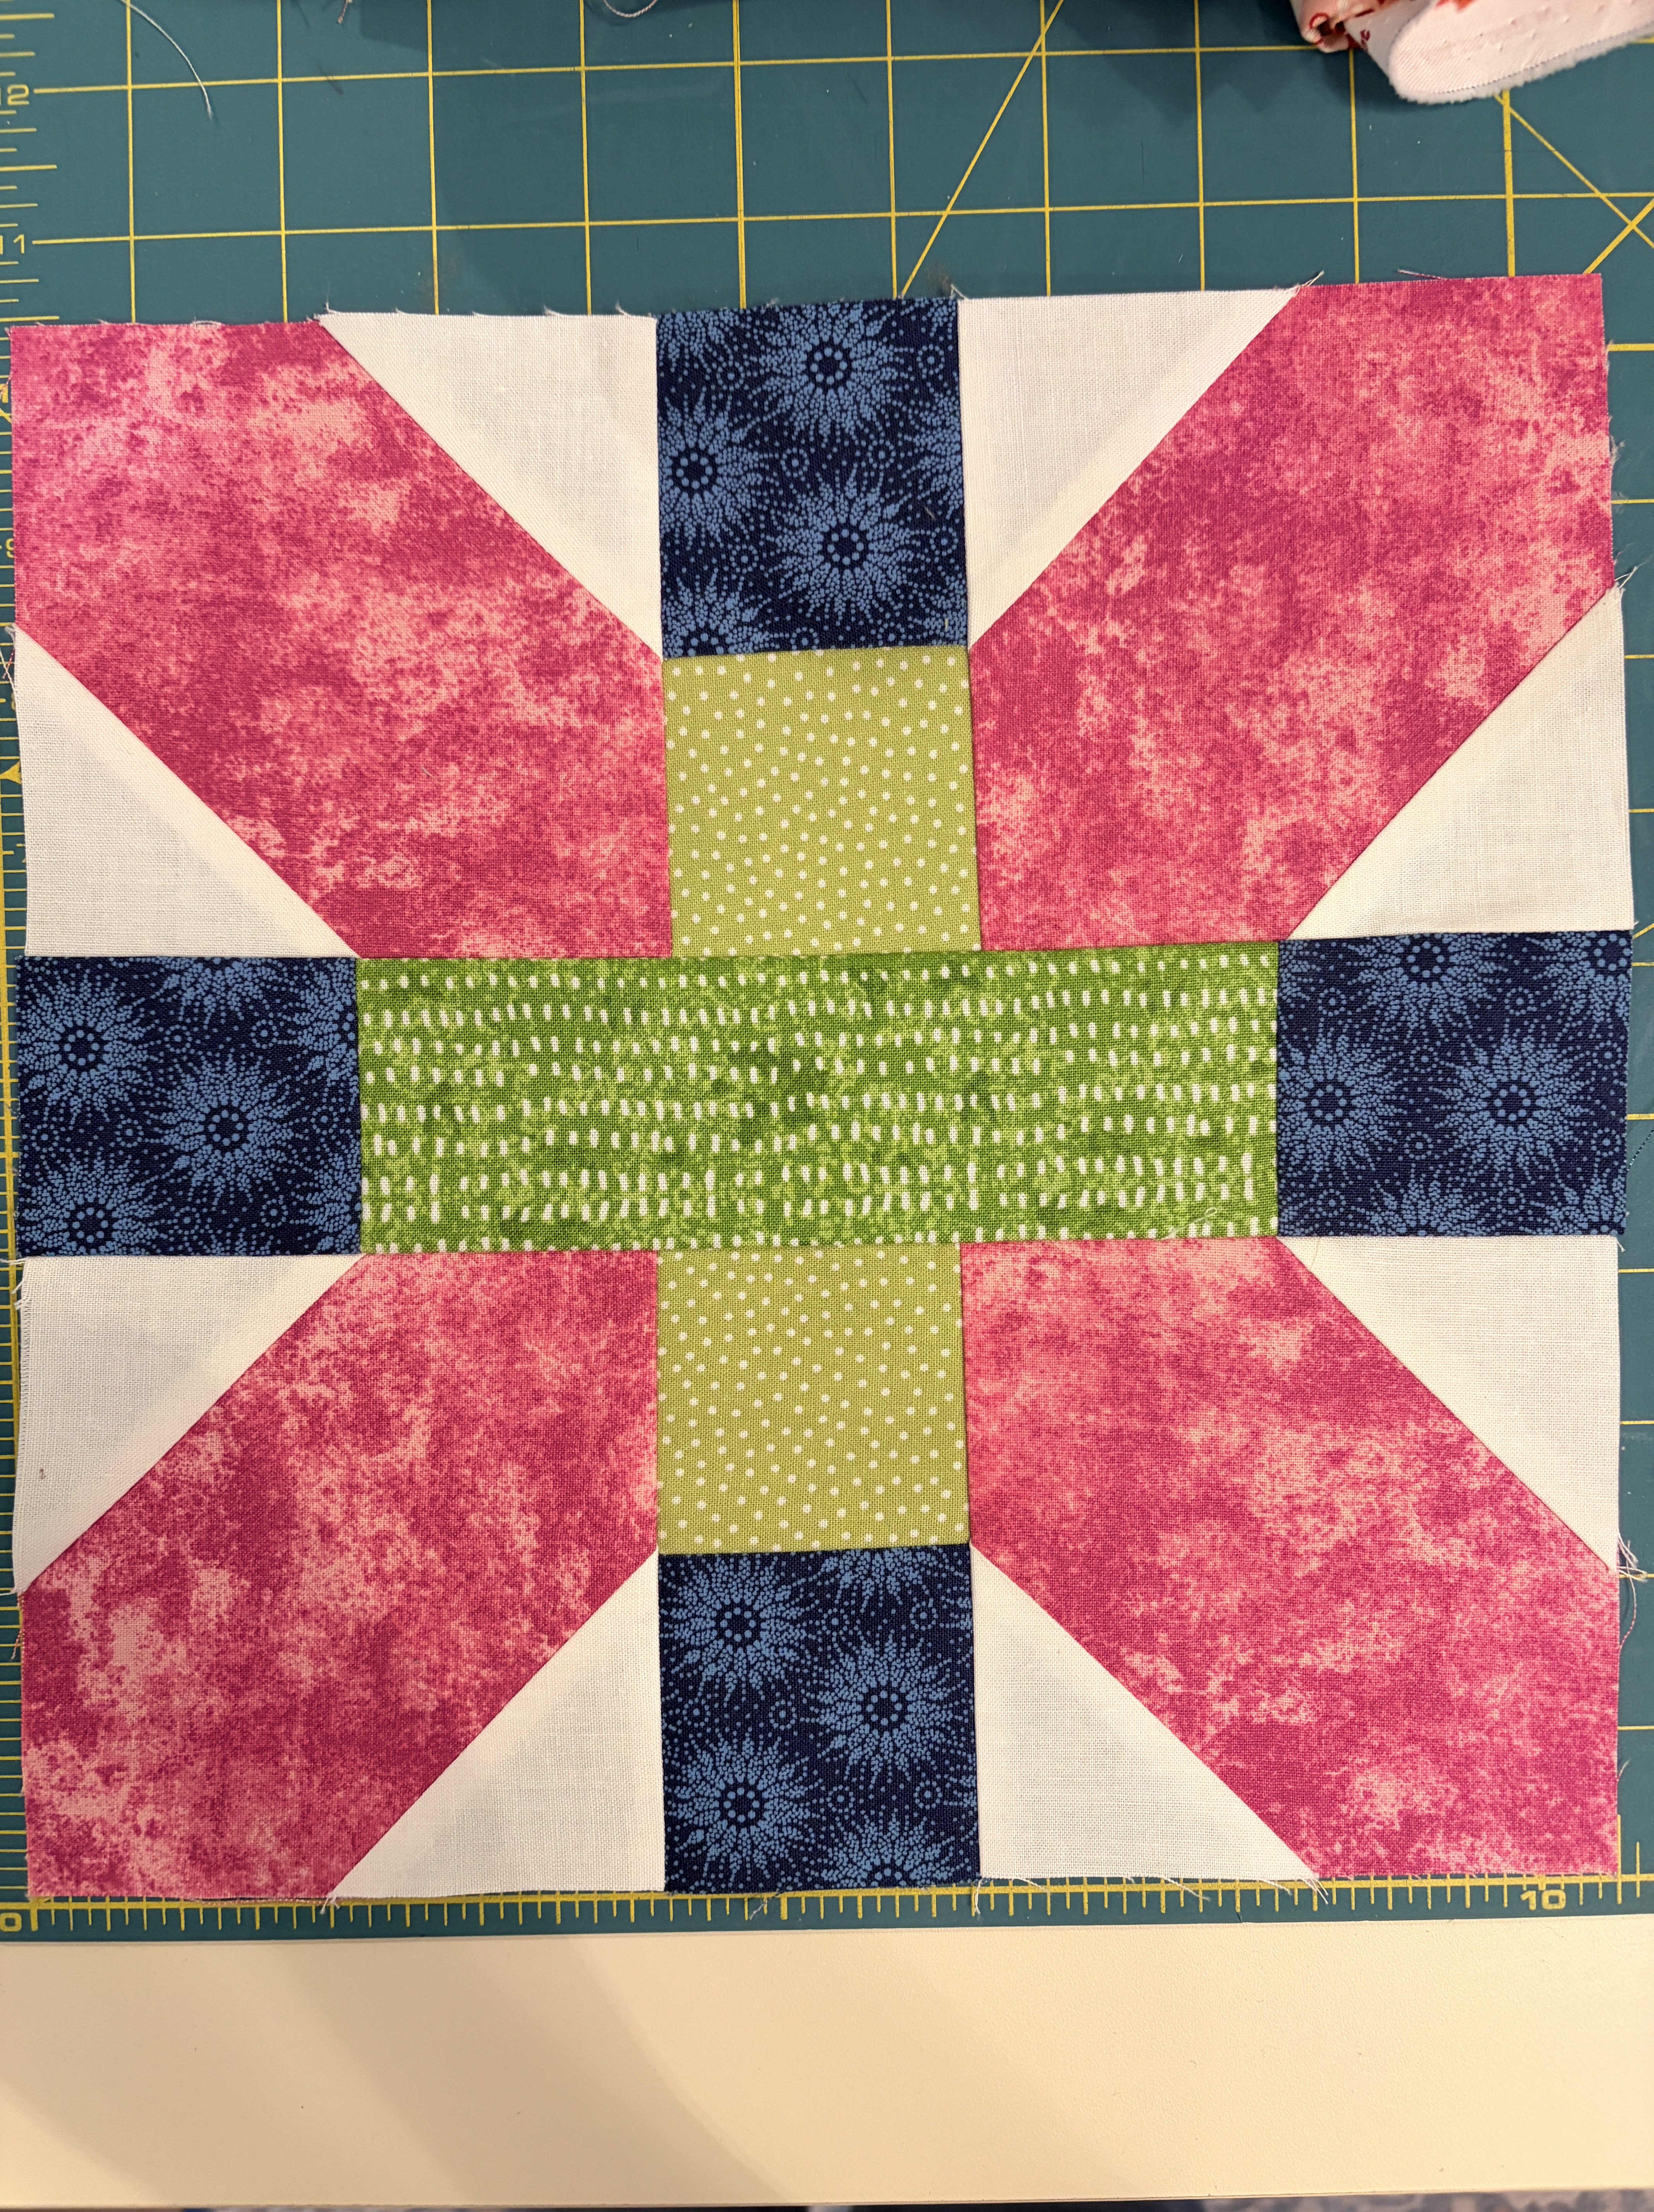
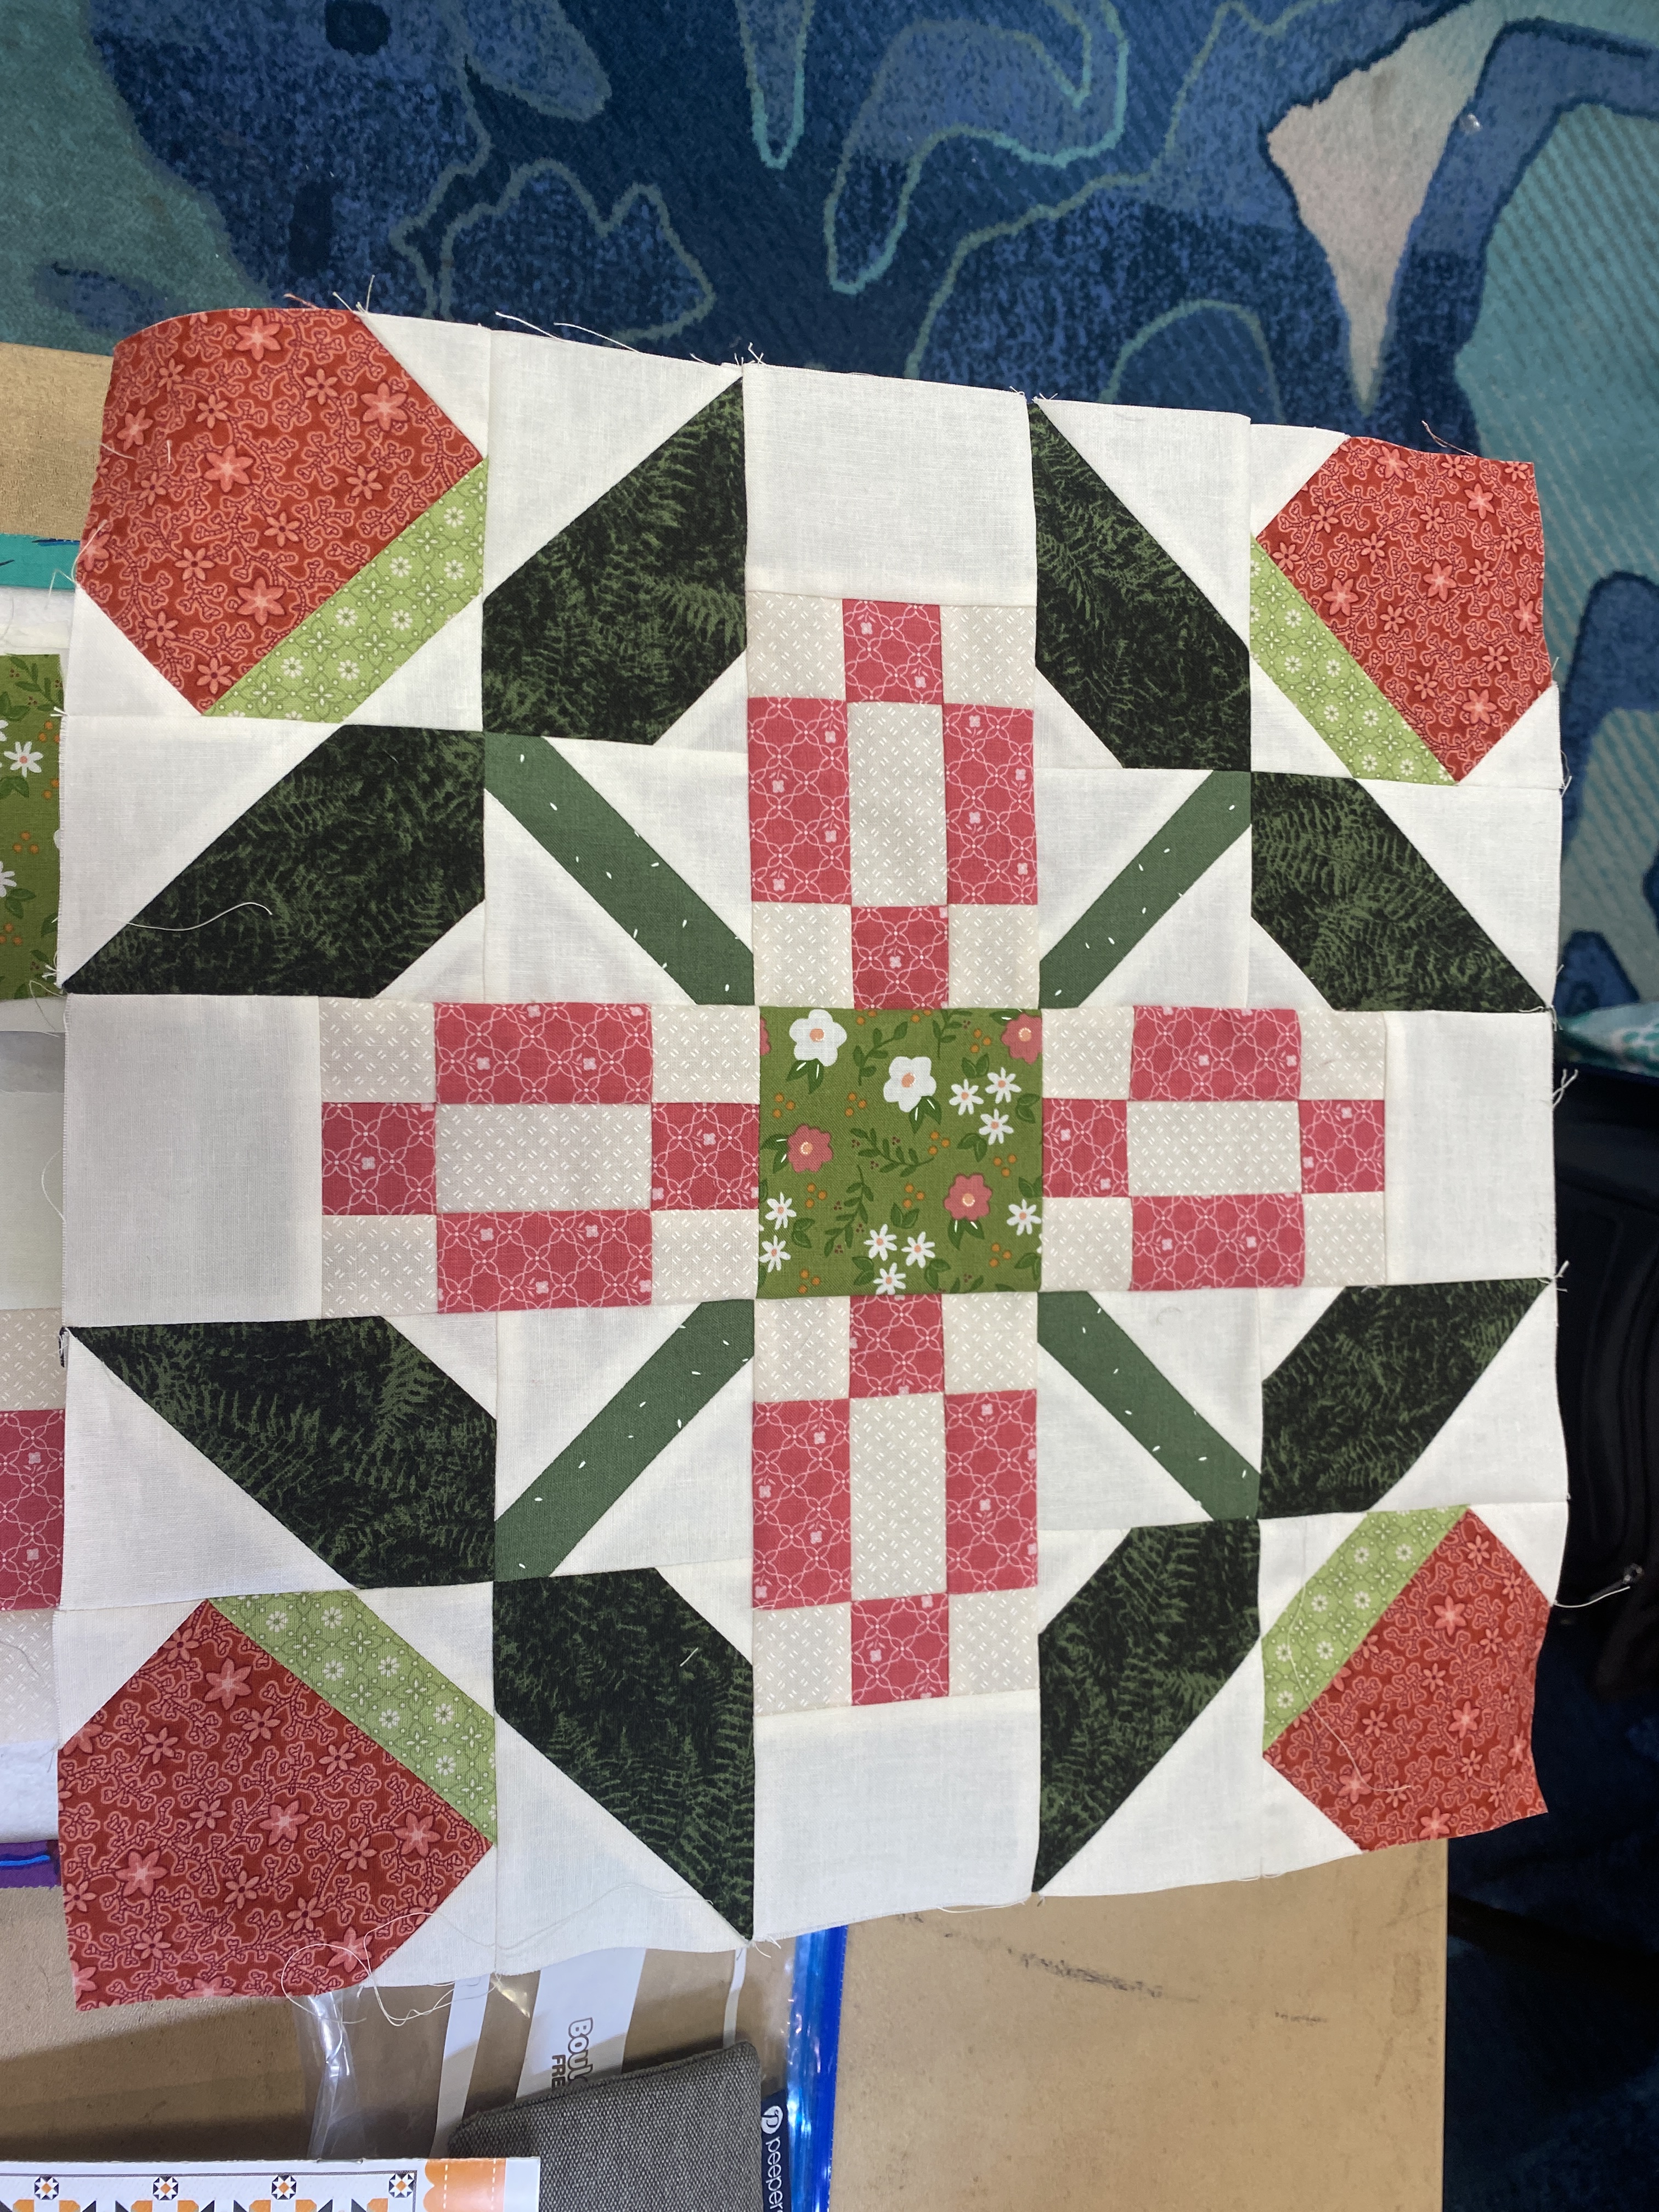
Like many blocks, this one goes by various names including Japanese X Block, Plus and X Block, and X Plus Block. Stash Bandit. and Scissortail Quilting offer tutorials and more information about this scrap friendly block. I am learning how to draw blocks in EQ8, so I took advantage of the opportunity to practice:
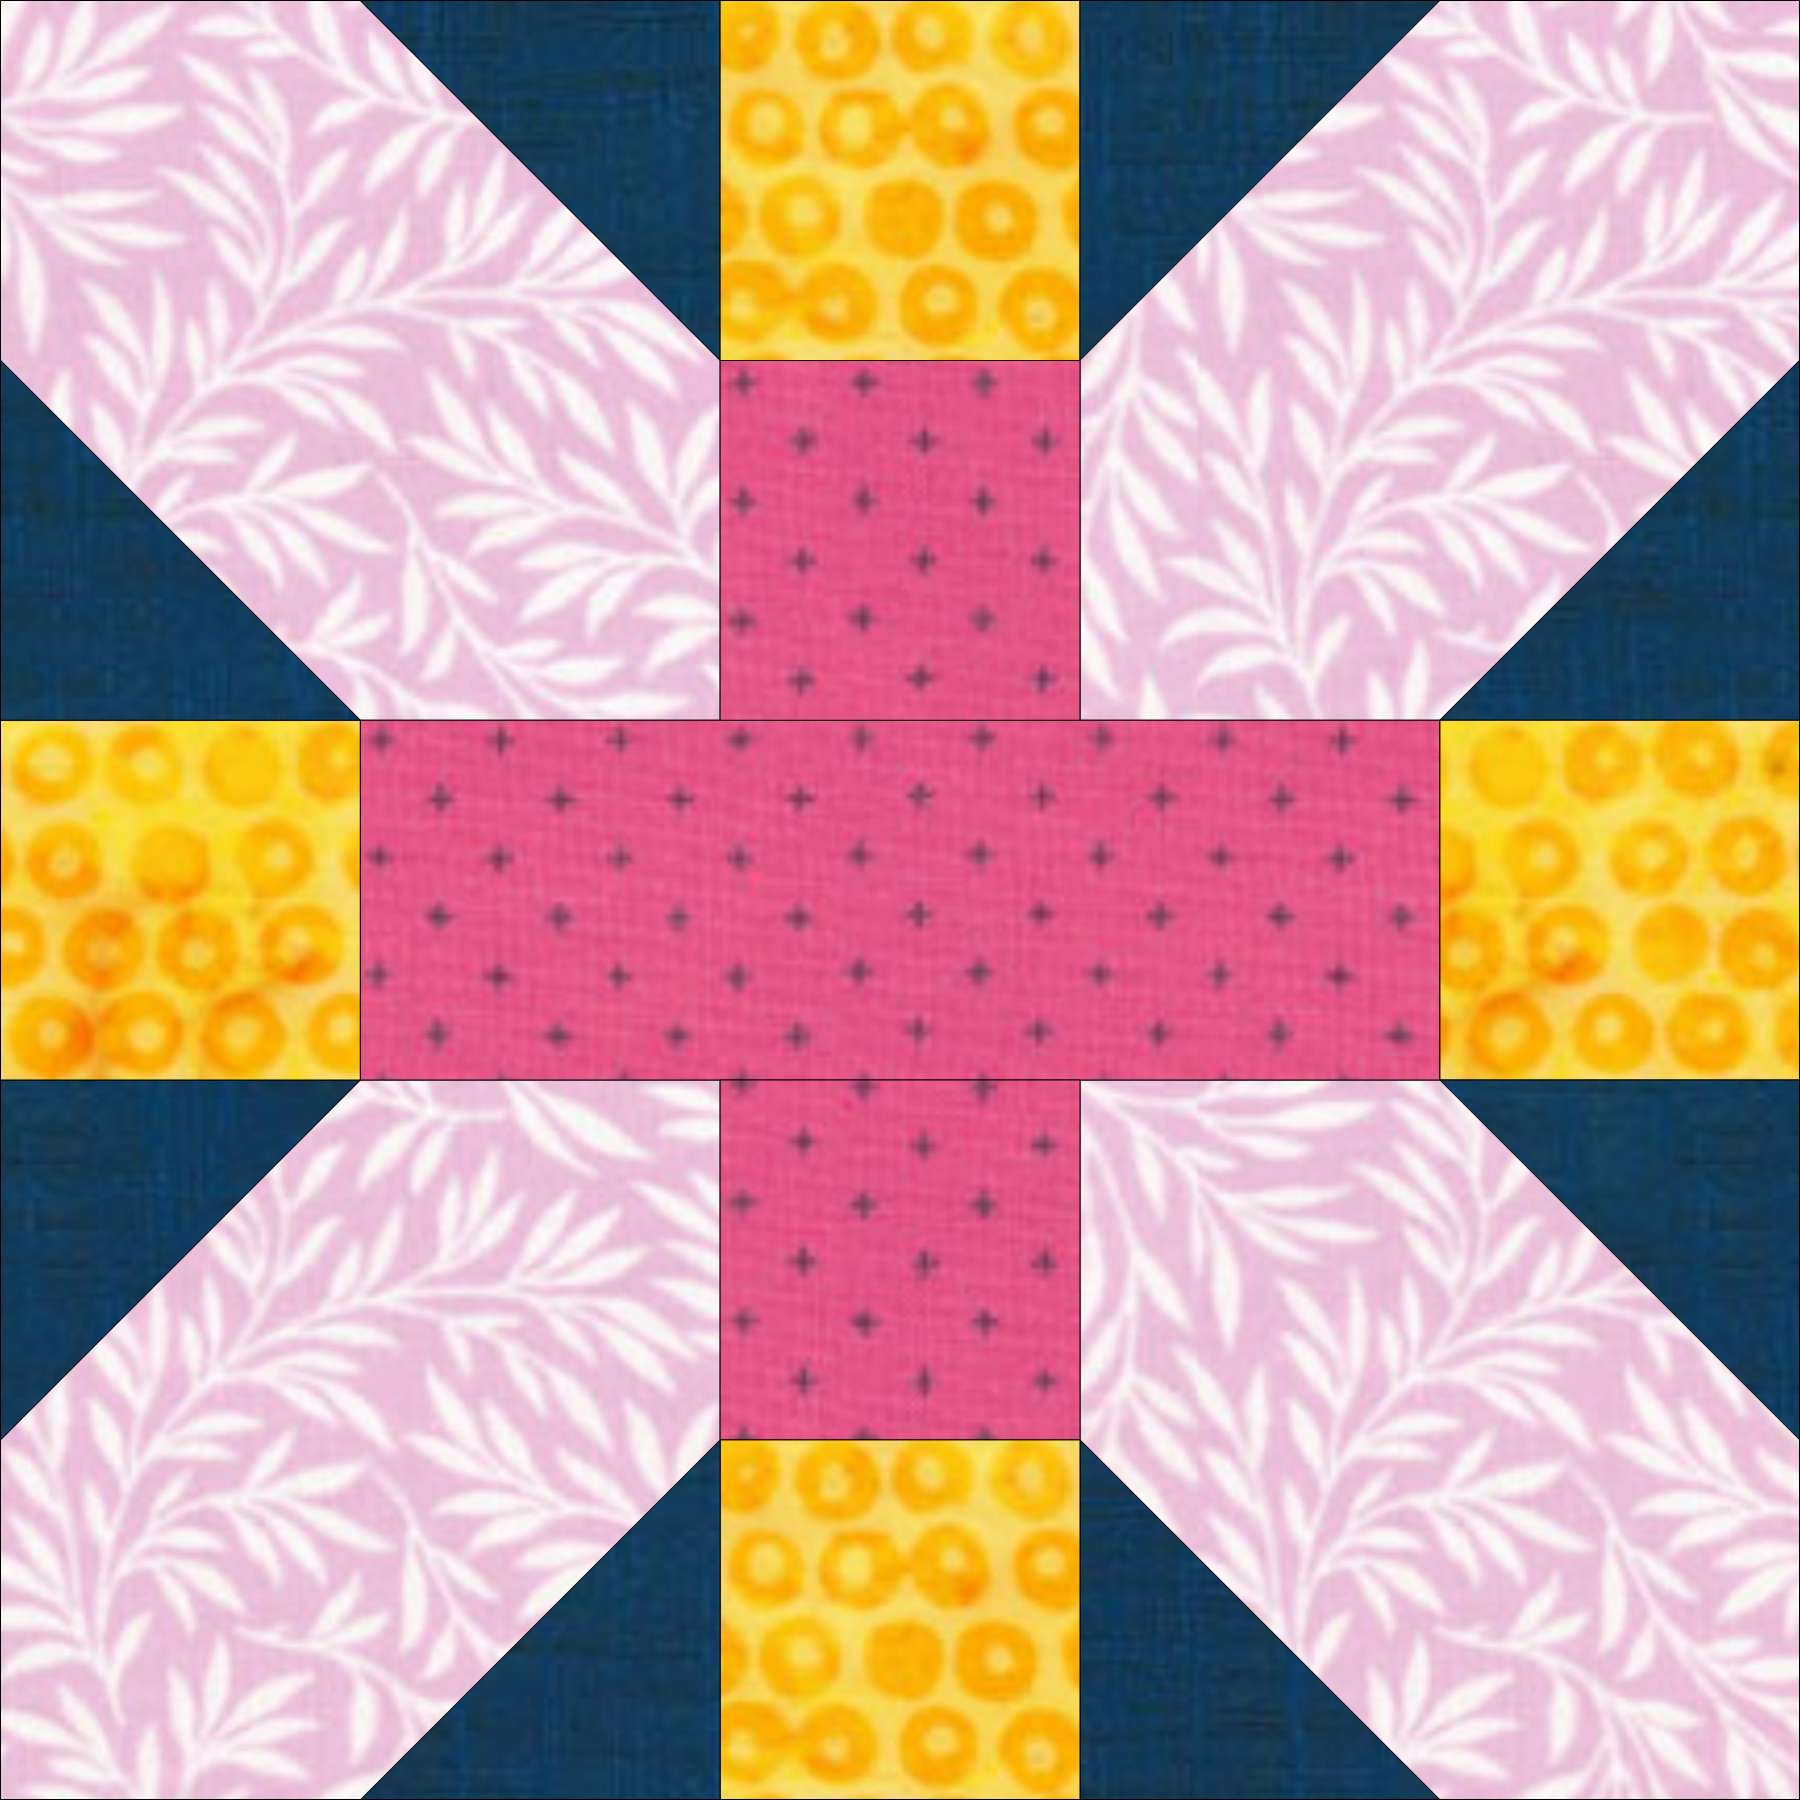
EQ8 does come with an extensive library of quilt blocks, but sometimes it’s hard to figure out the name and category in which the creators of EQ8 placed the block. It’s actually faster to just draw it myself.
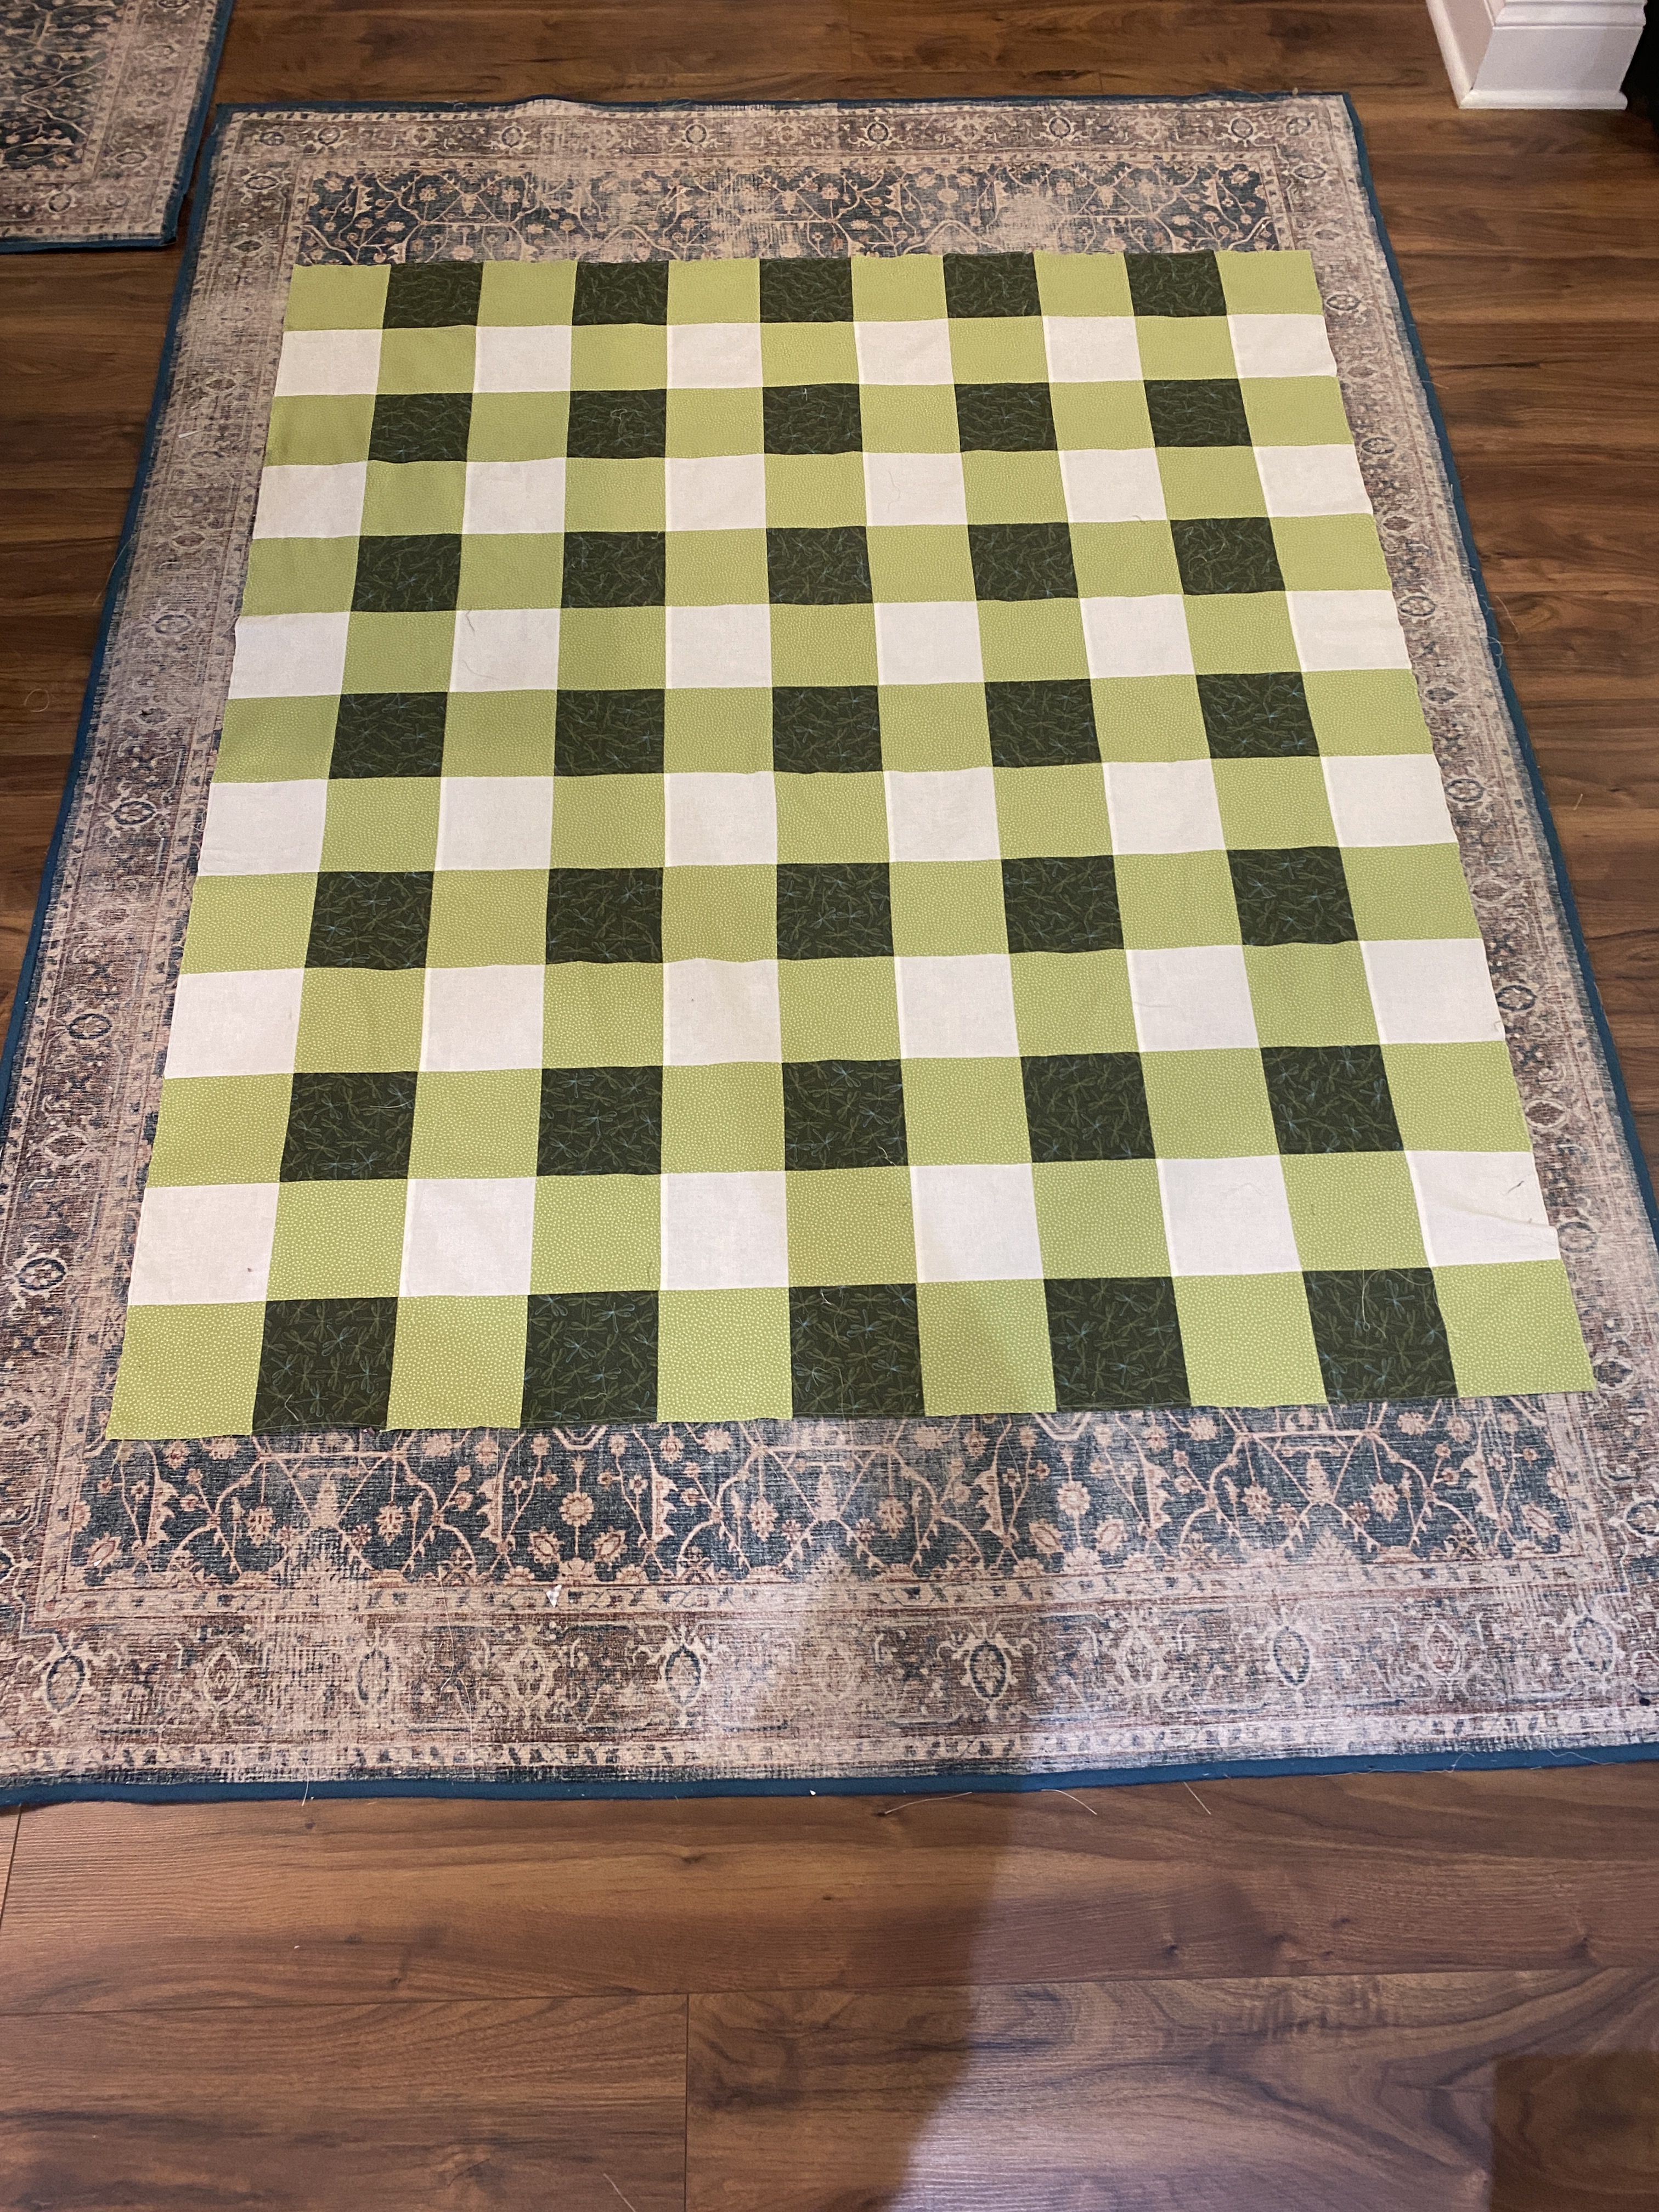
Each of the fabrics in this block tells a story. The green and pink are from recently completed projects The ivory is leftover from my Myrtle Beach Quilt Party quilt. The blue is from a class I took with Tara Miller last spring. The block isn’t hard to make. It can be completely scrappy or the more controlled scrappy look featured in this post. I look forward to making a serious dent in my stash fabric in 2026.
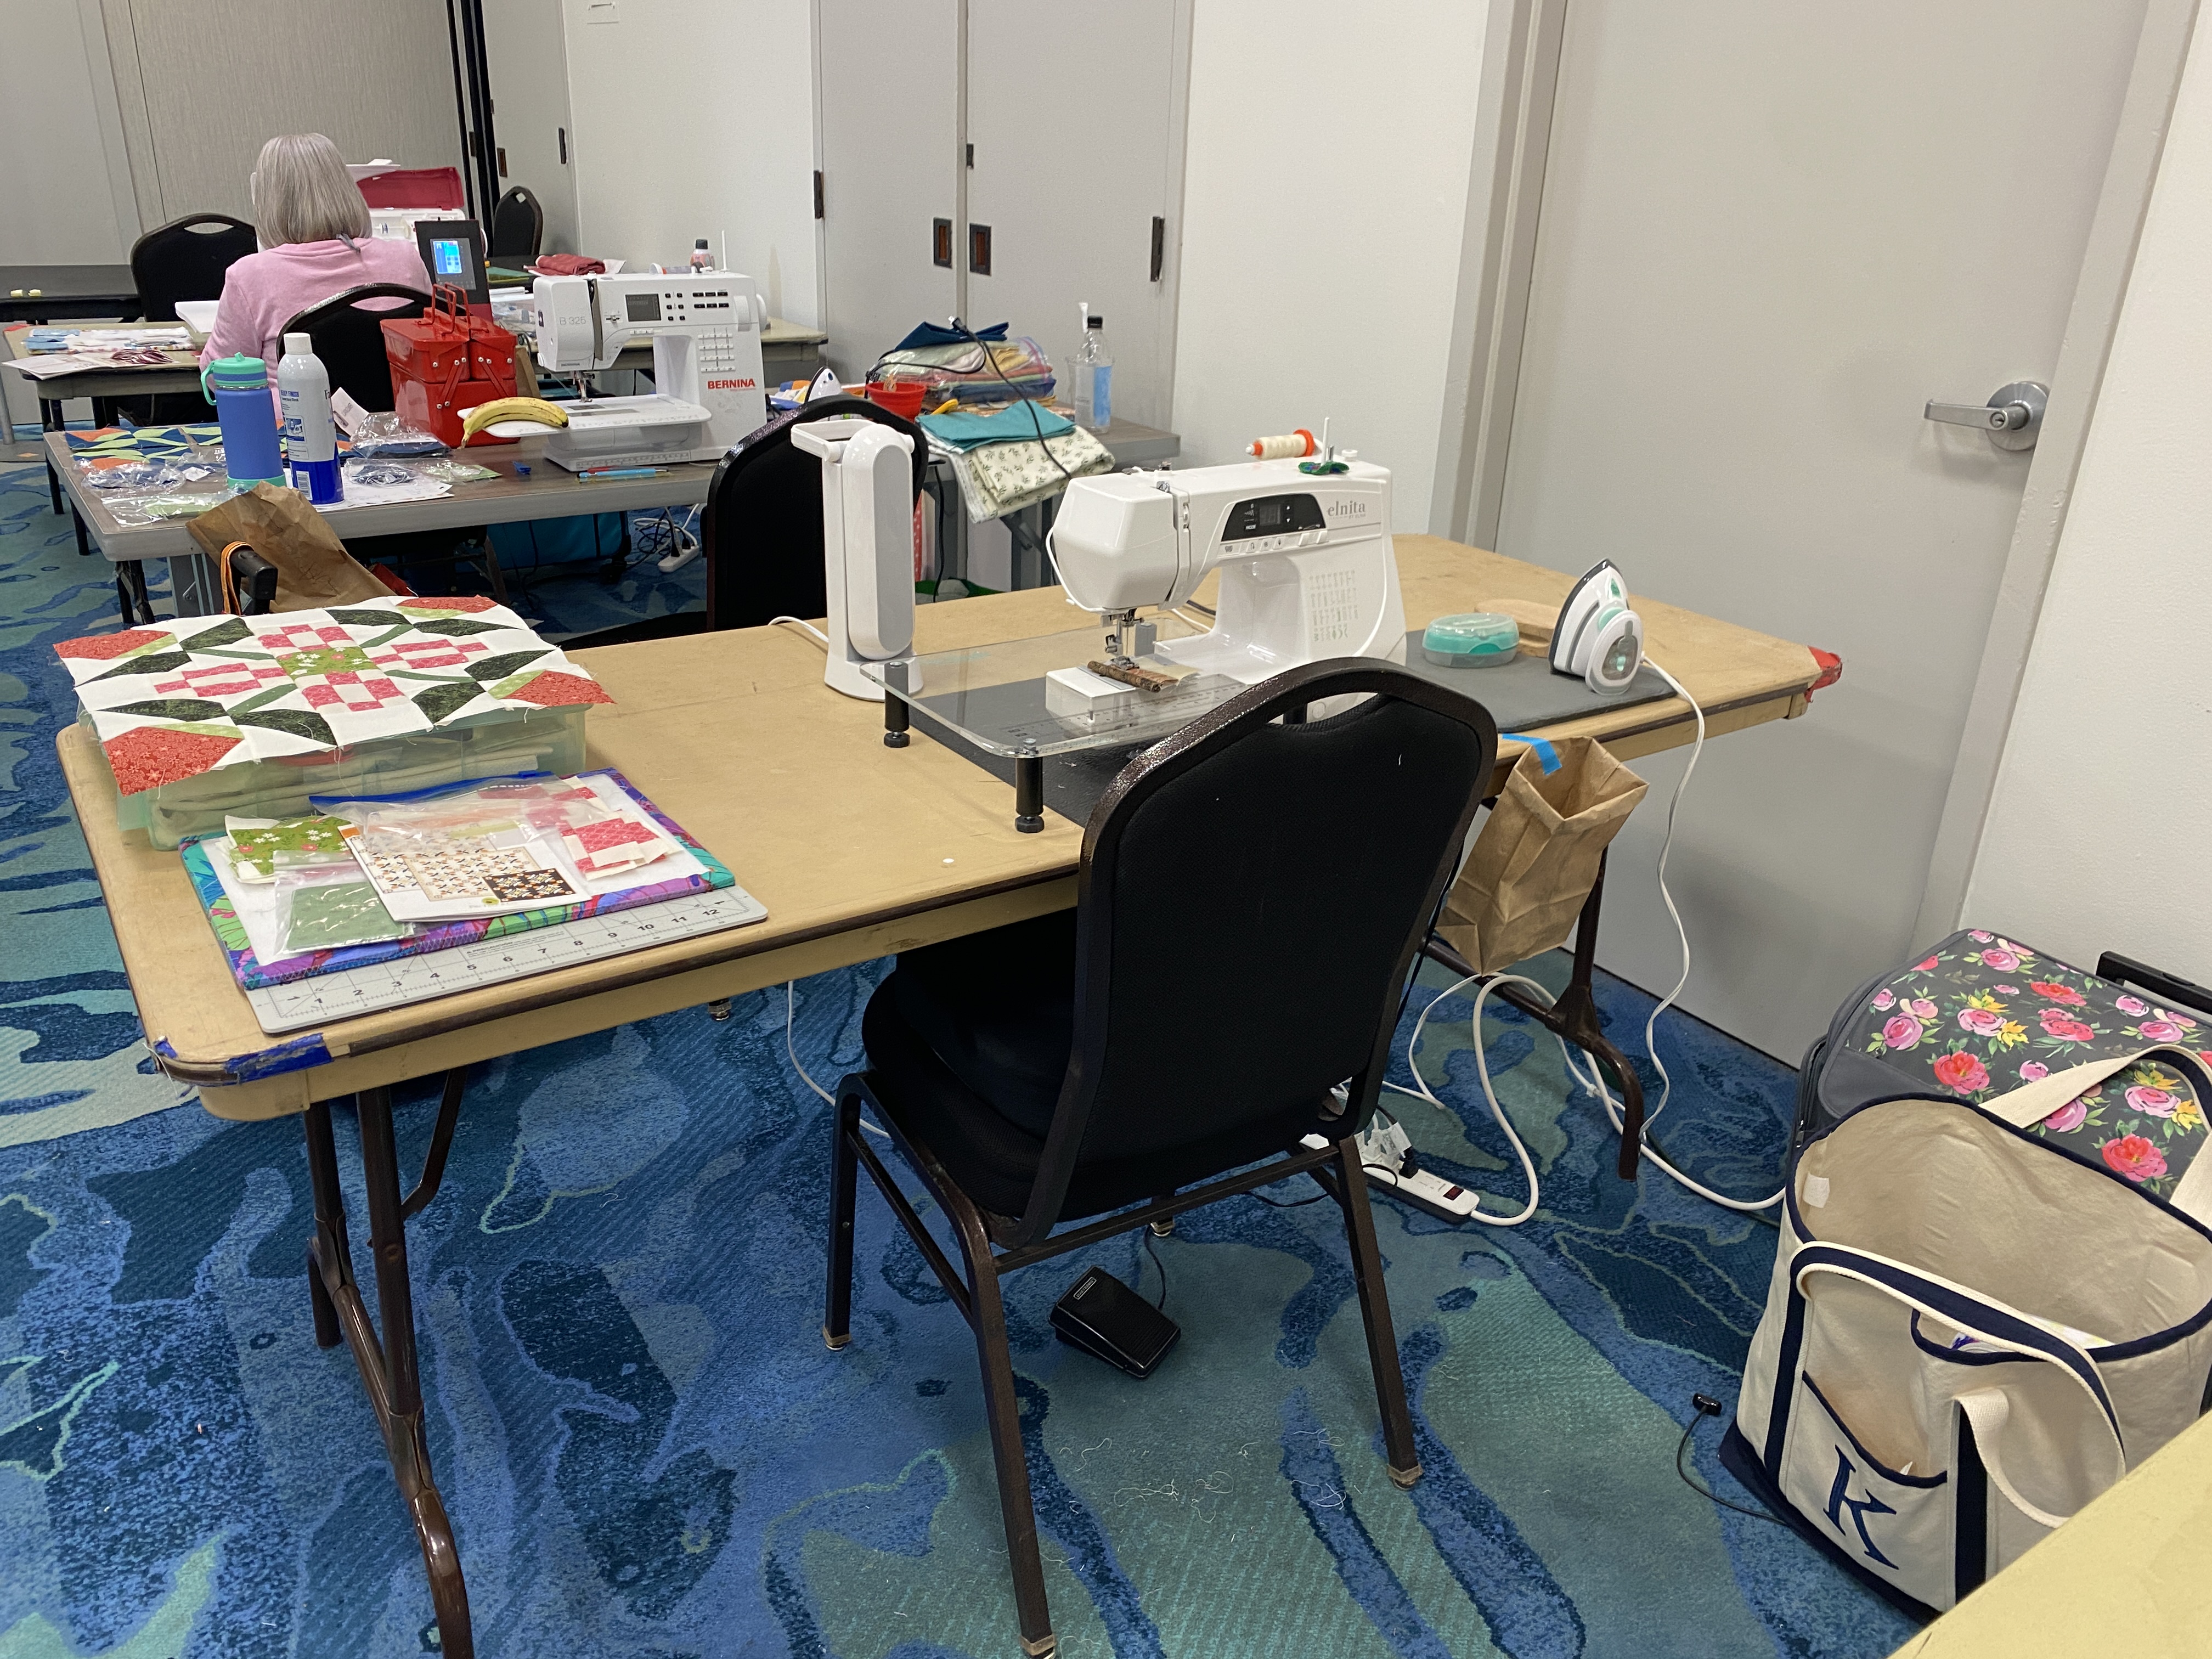
My bee group was able to reserve the classroom space at a local quilt shop to hold monthly meetings in lieu of trying to rotate among members’ homes. I am thrilled about this! It’s centrally located, offers step-less entry to the classroom space and has plenty of free parking. Each member can now take a turn at being the official hostess and there are no physical barriers keeping folks from being able to participate. I’m more than happy to pay $5/month to sit and sew for 4 hours. If the shop has a special event and needs the space, we can always move the meeting to a member’s home.