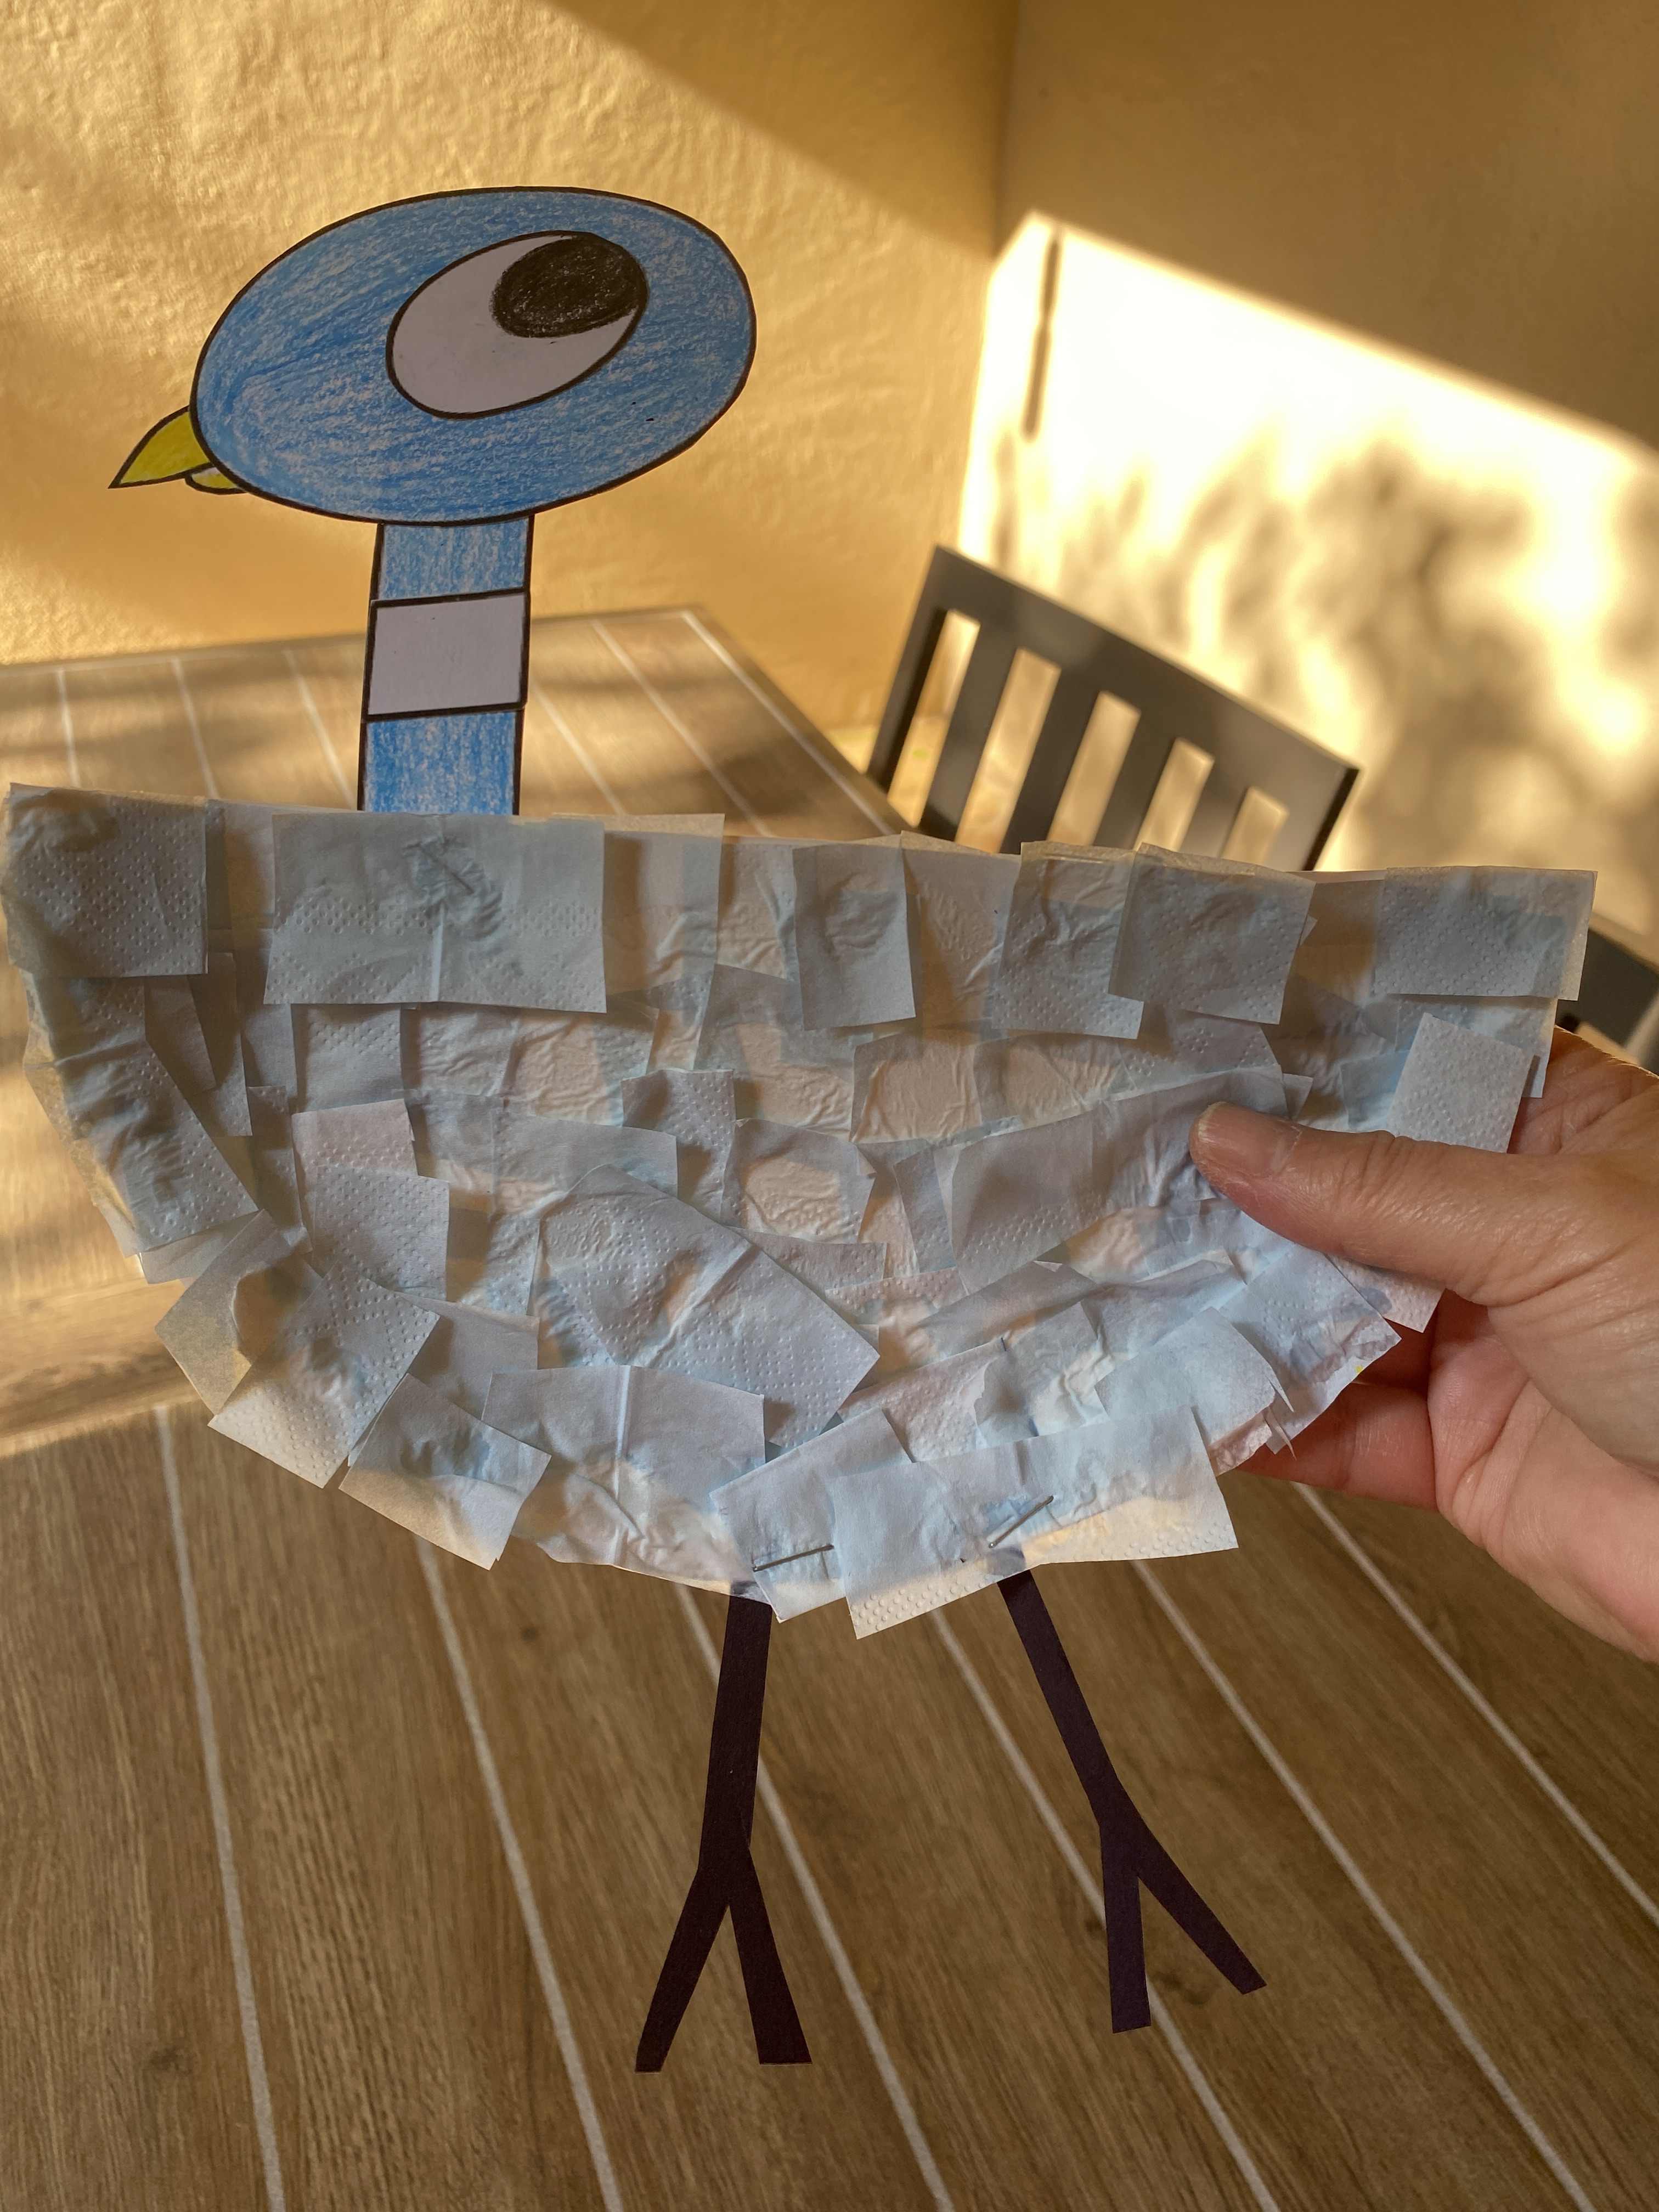
Look what we made

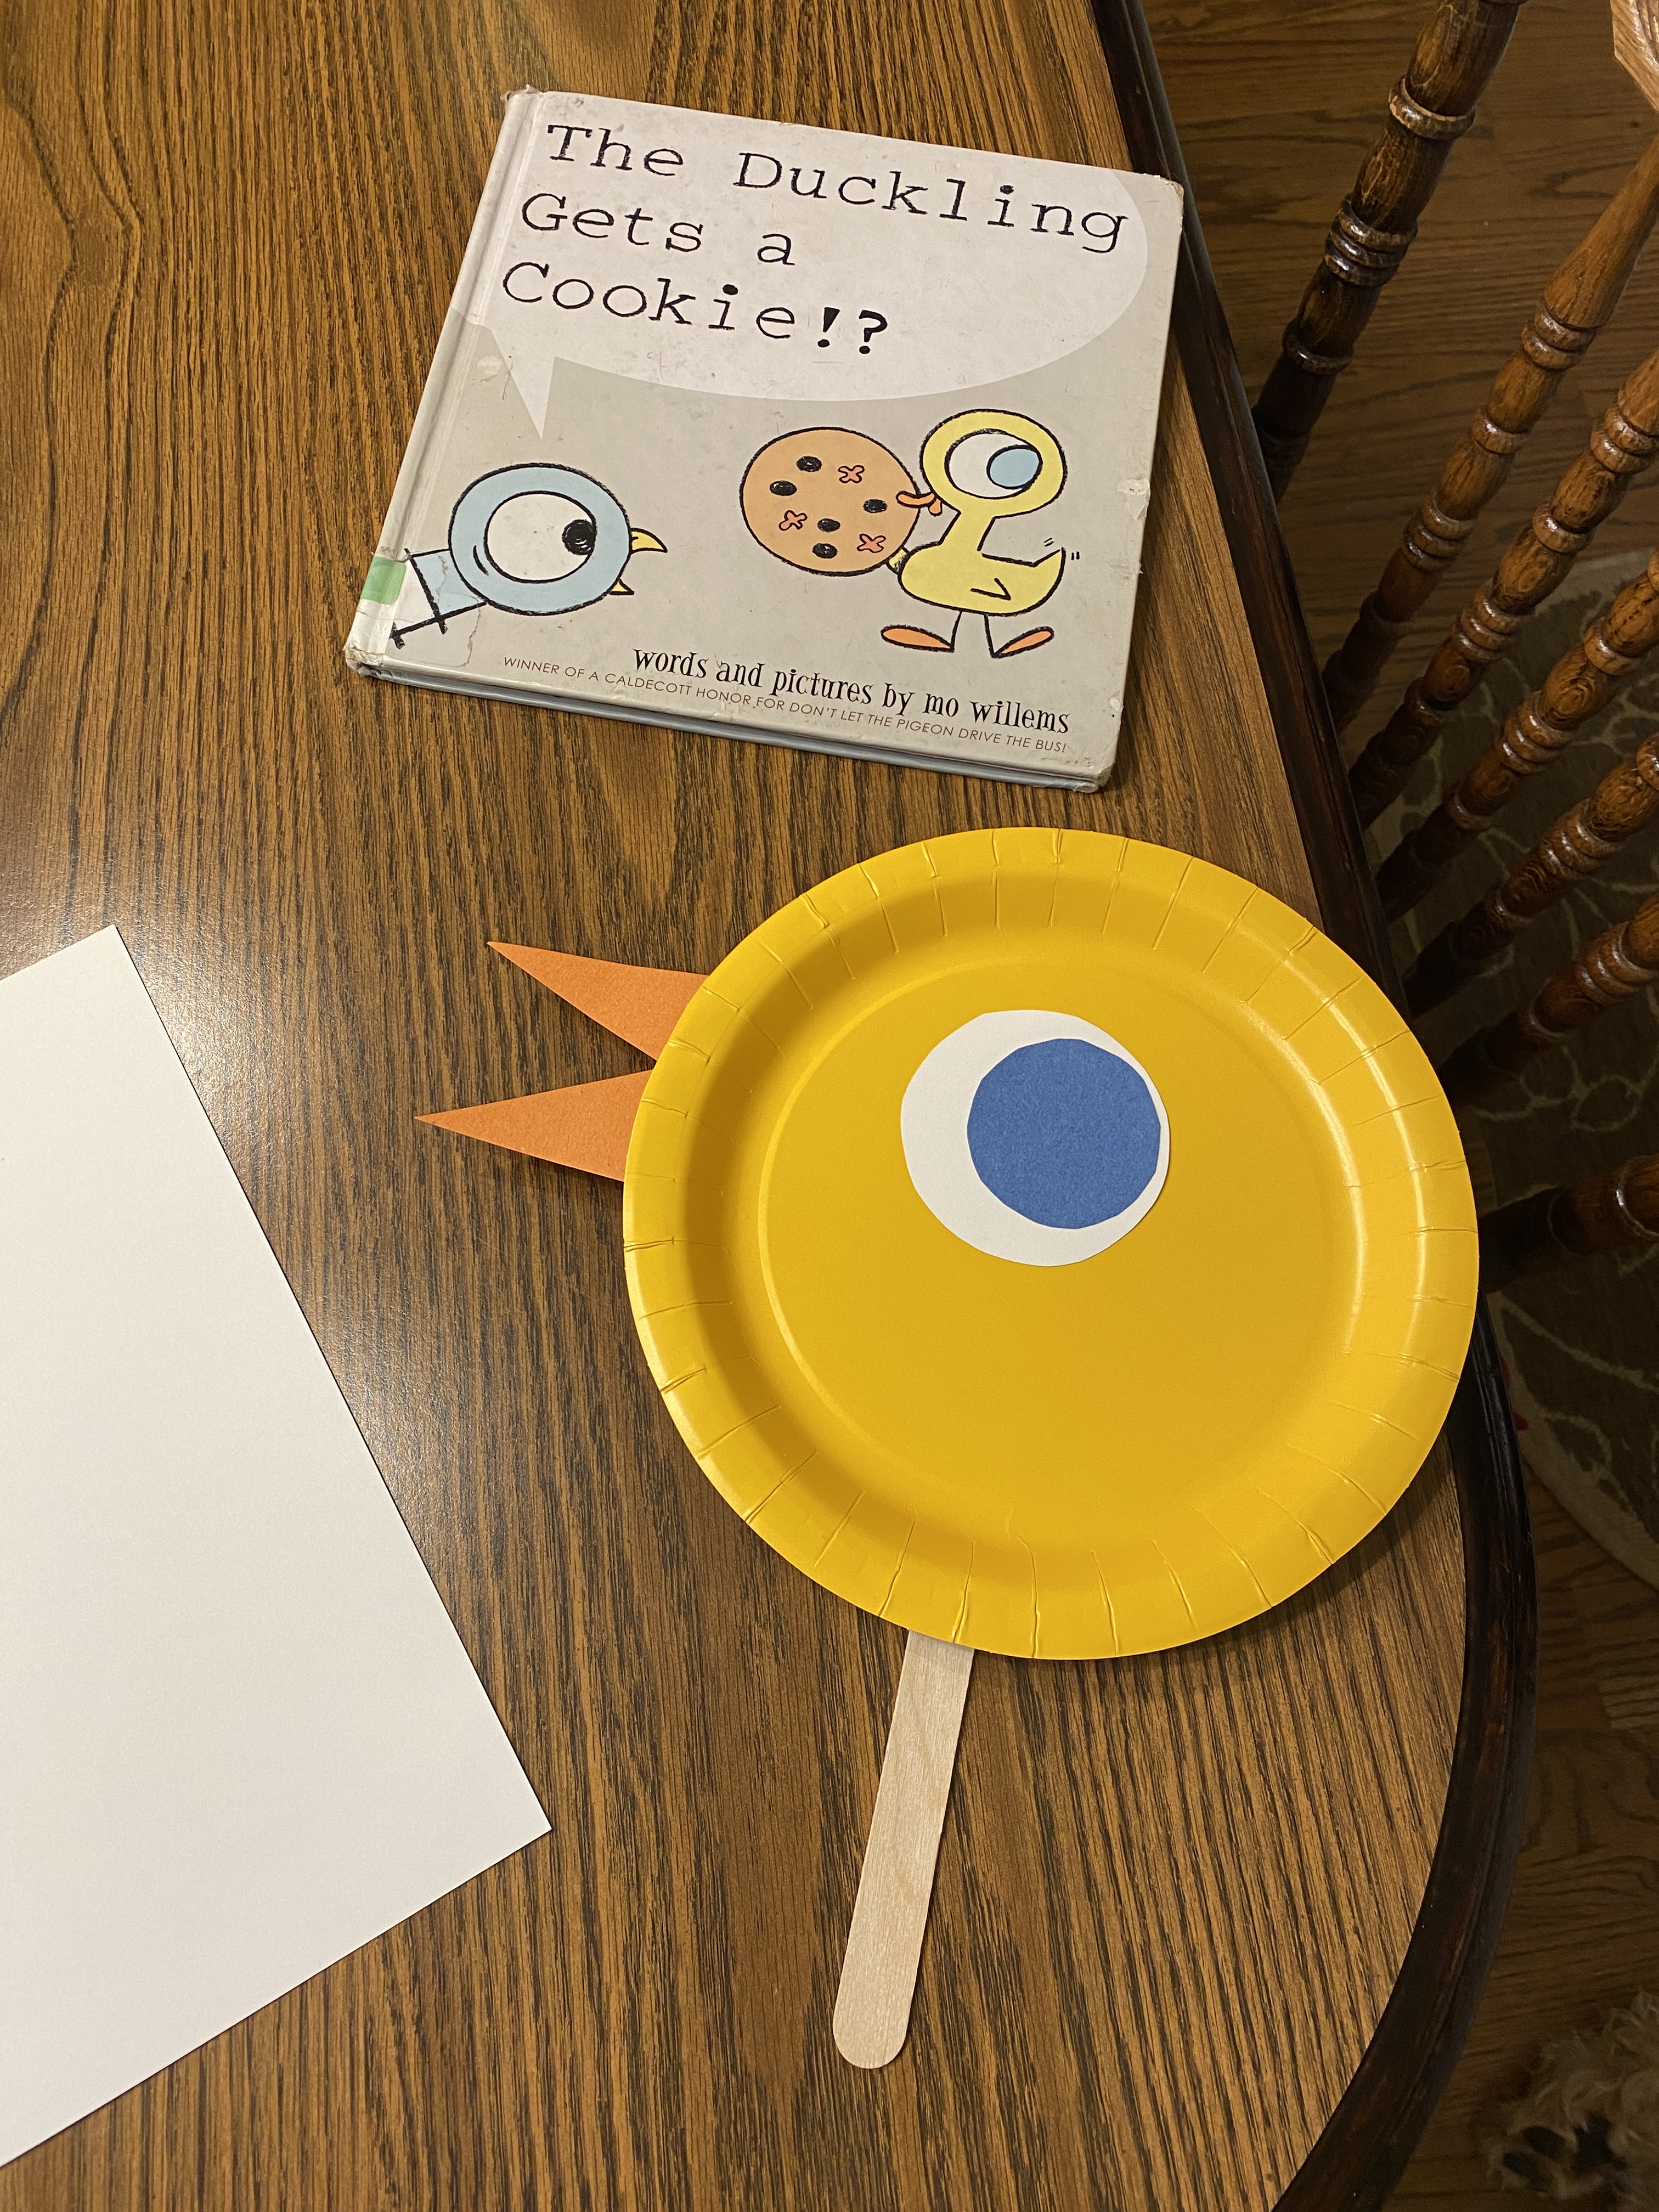
If you are a grown-up looking for something creative to do with your munchkins that minimizes screen time and saves you money, get a library card and take the kiddos to the library. Allow them to select picture books that interest them, plus check out a couple of your childhood favorites. Consult the library’s calendar and/or ask the children’s librarian about any special activities offered by the library. You may have access to free take home craft kits, discovery boxes, family passes to local attractions, etc.

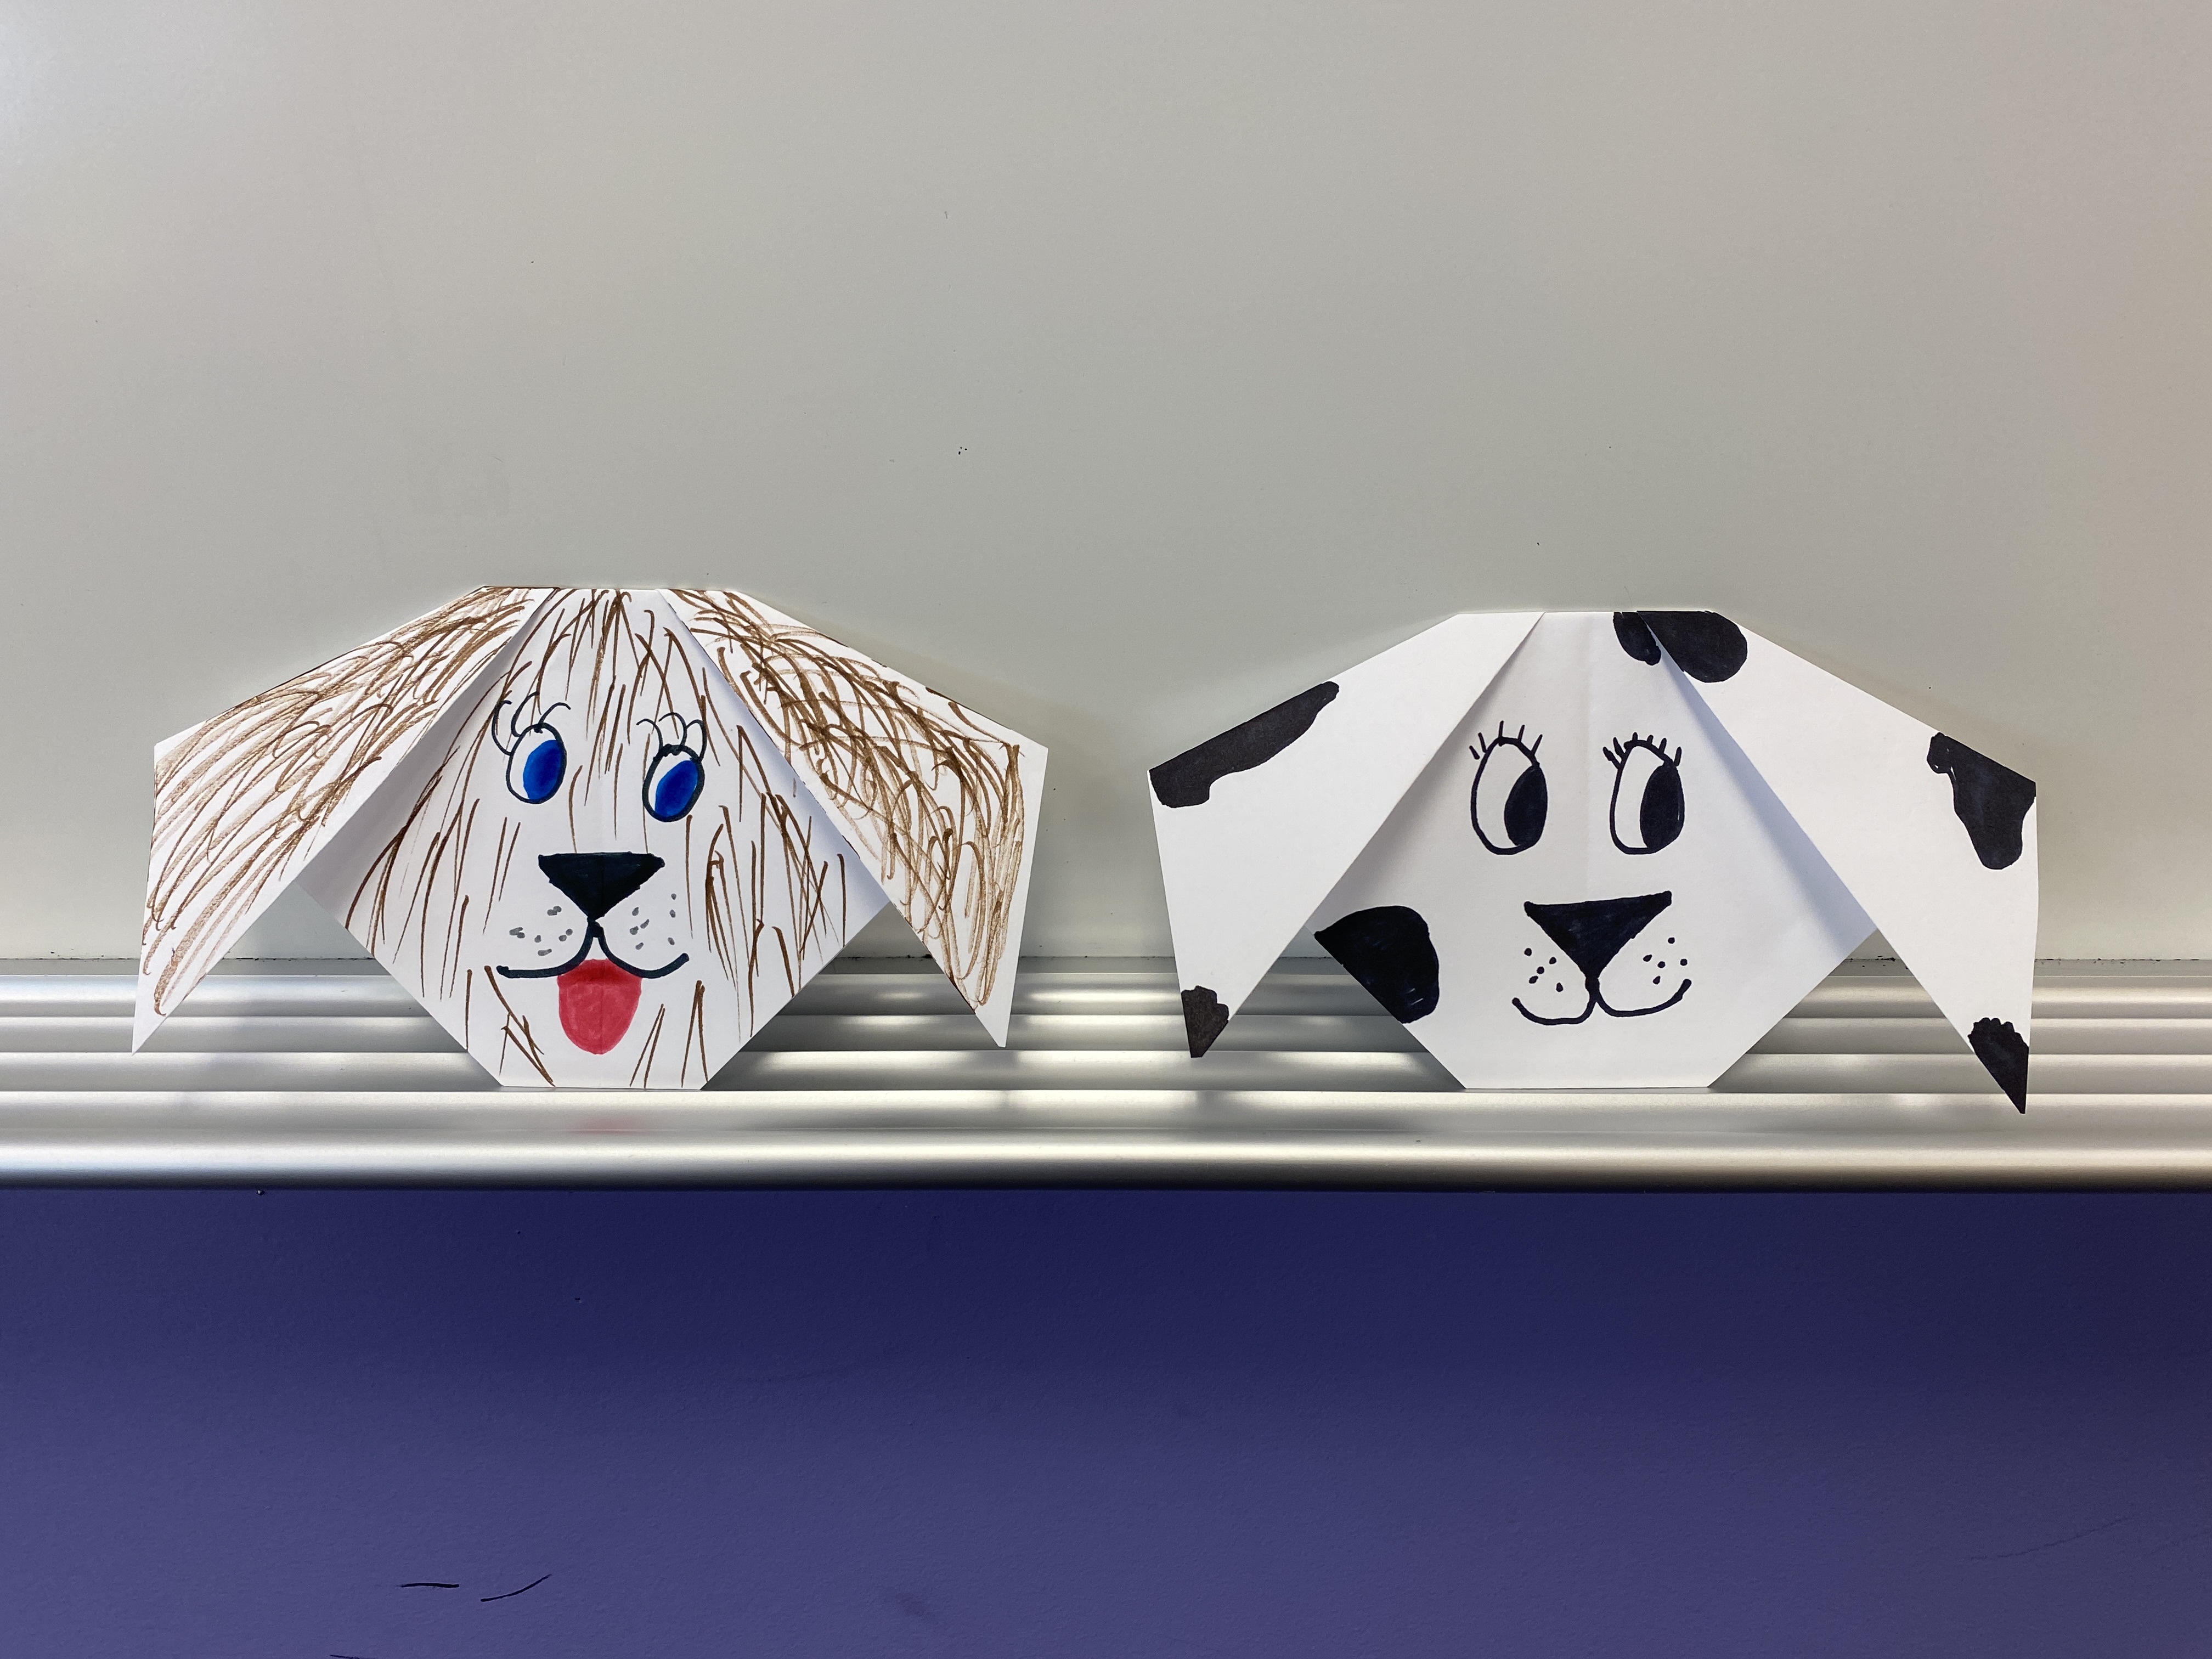
Start simple: a fresh box of crayons/colored markers and printable coloring pages from the internet that go along with the stories you read together make for a fun time. Check out author and publisher websites for additional activities to accompany the books you share. Pinterest is your friend for hands-on arts & crafts inspiration. There are plenty of free printables out there if you look. Bookmark those sites. You can also print some inspiration pictures and create your own designs. (Use the library’s printer for a nominal fee if you don’t have one at home.) Tip: unless you can score craft supplies during back-to-school sales, I’ve found Wal-Mart and Dollar Tree are the best places to buy supplies.

Start with: crayons, washable markers, glue stick, school glue, kid scissors, printer paper and a pack of construction paper.

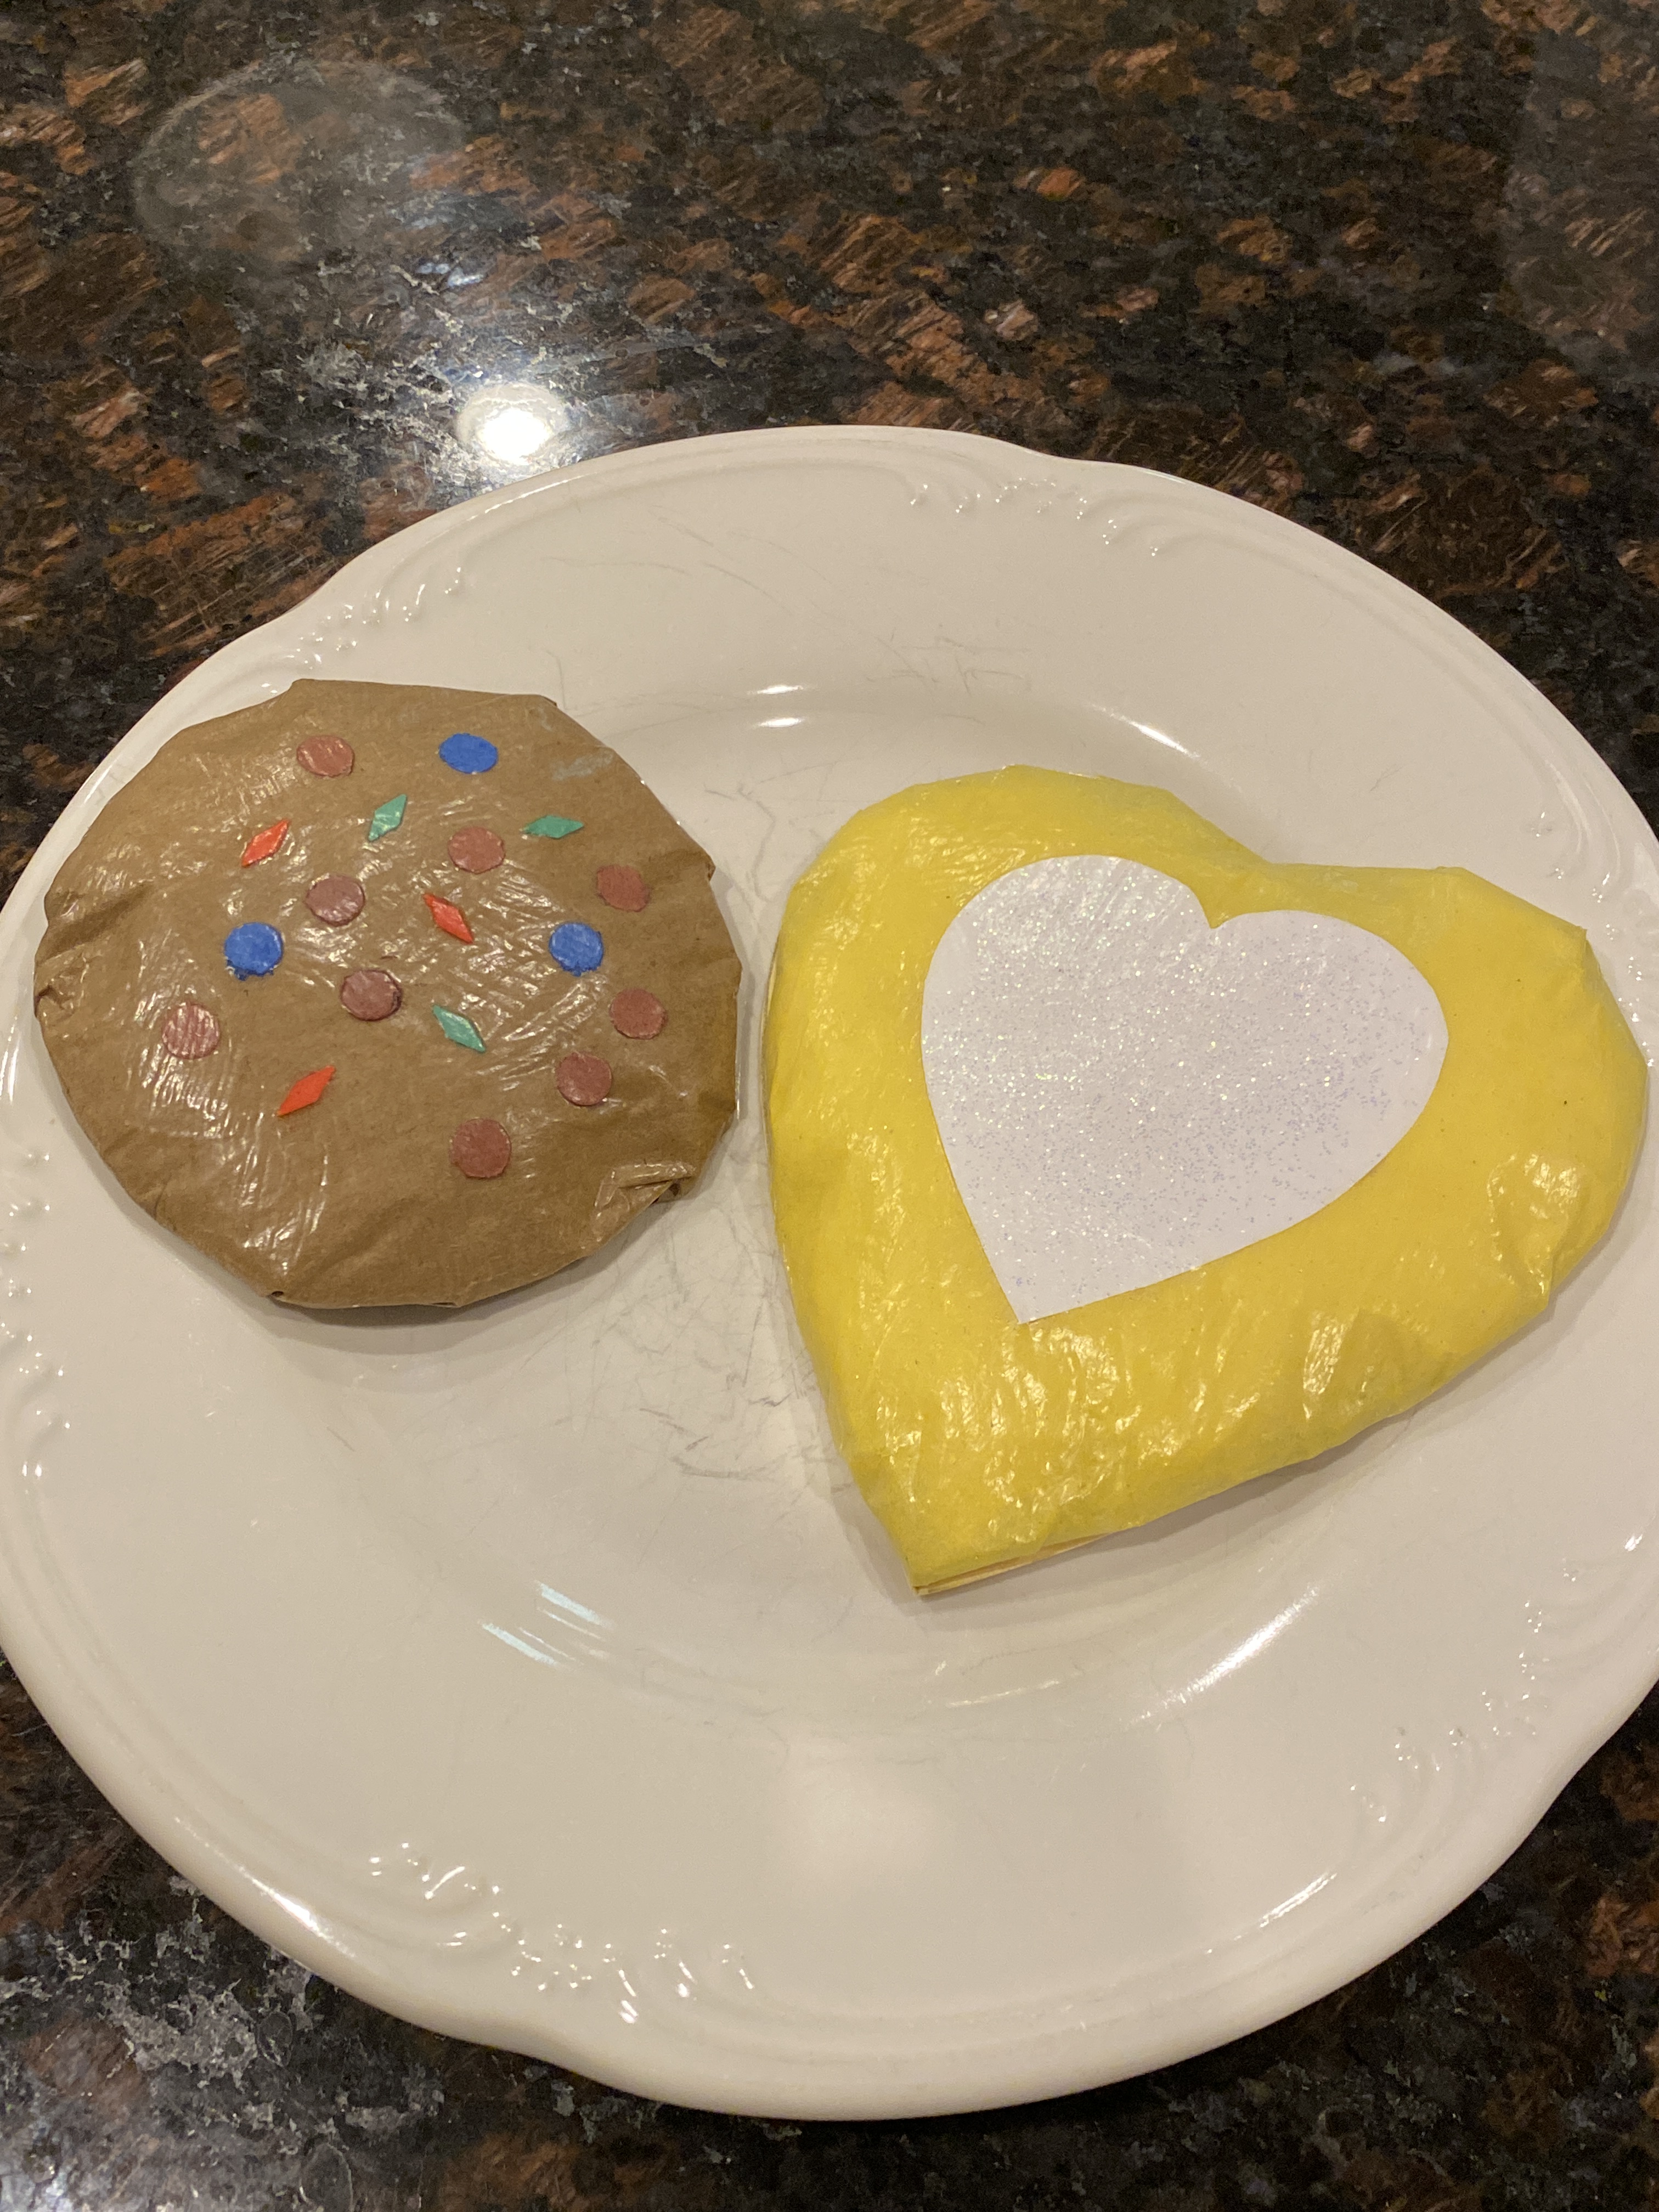
Scour your house for solid colored napkins, gift tissue, plain paper plates, coffee filters and cupcake liners.

Do you have any extra yarn, ribbon or buttons? Straws? Pipe cleaners? Popsicle sticks? Paper lunch bags?

How about a glue gun and glue sticks? Adult scissors? Single hole punch?

Save cardboard boxes and brown packing paper. They’ll come in handy.

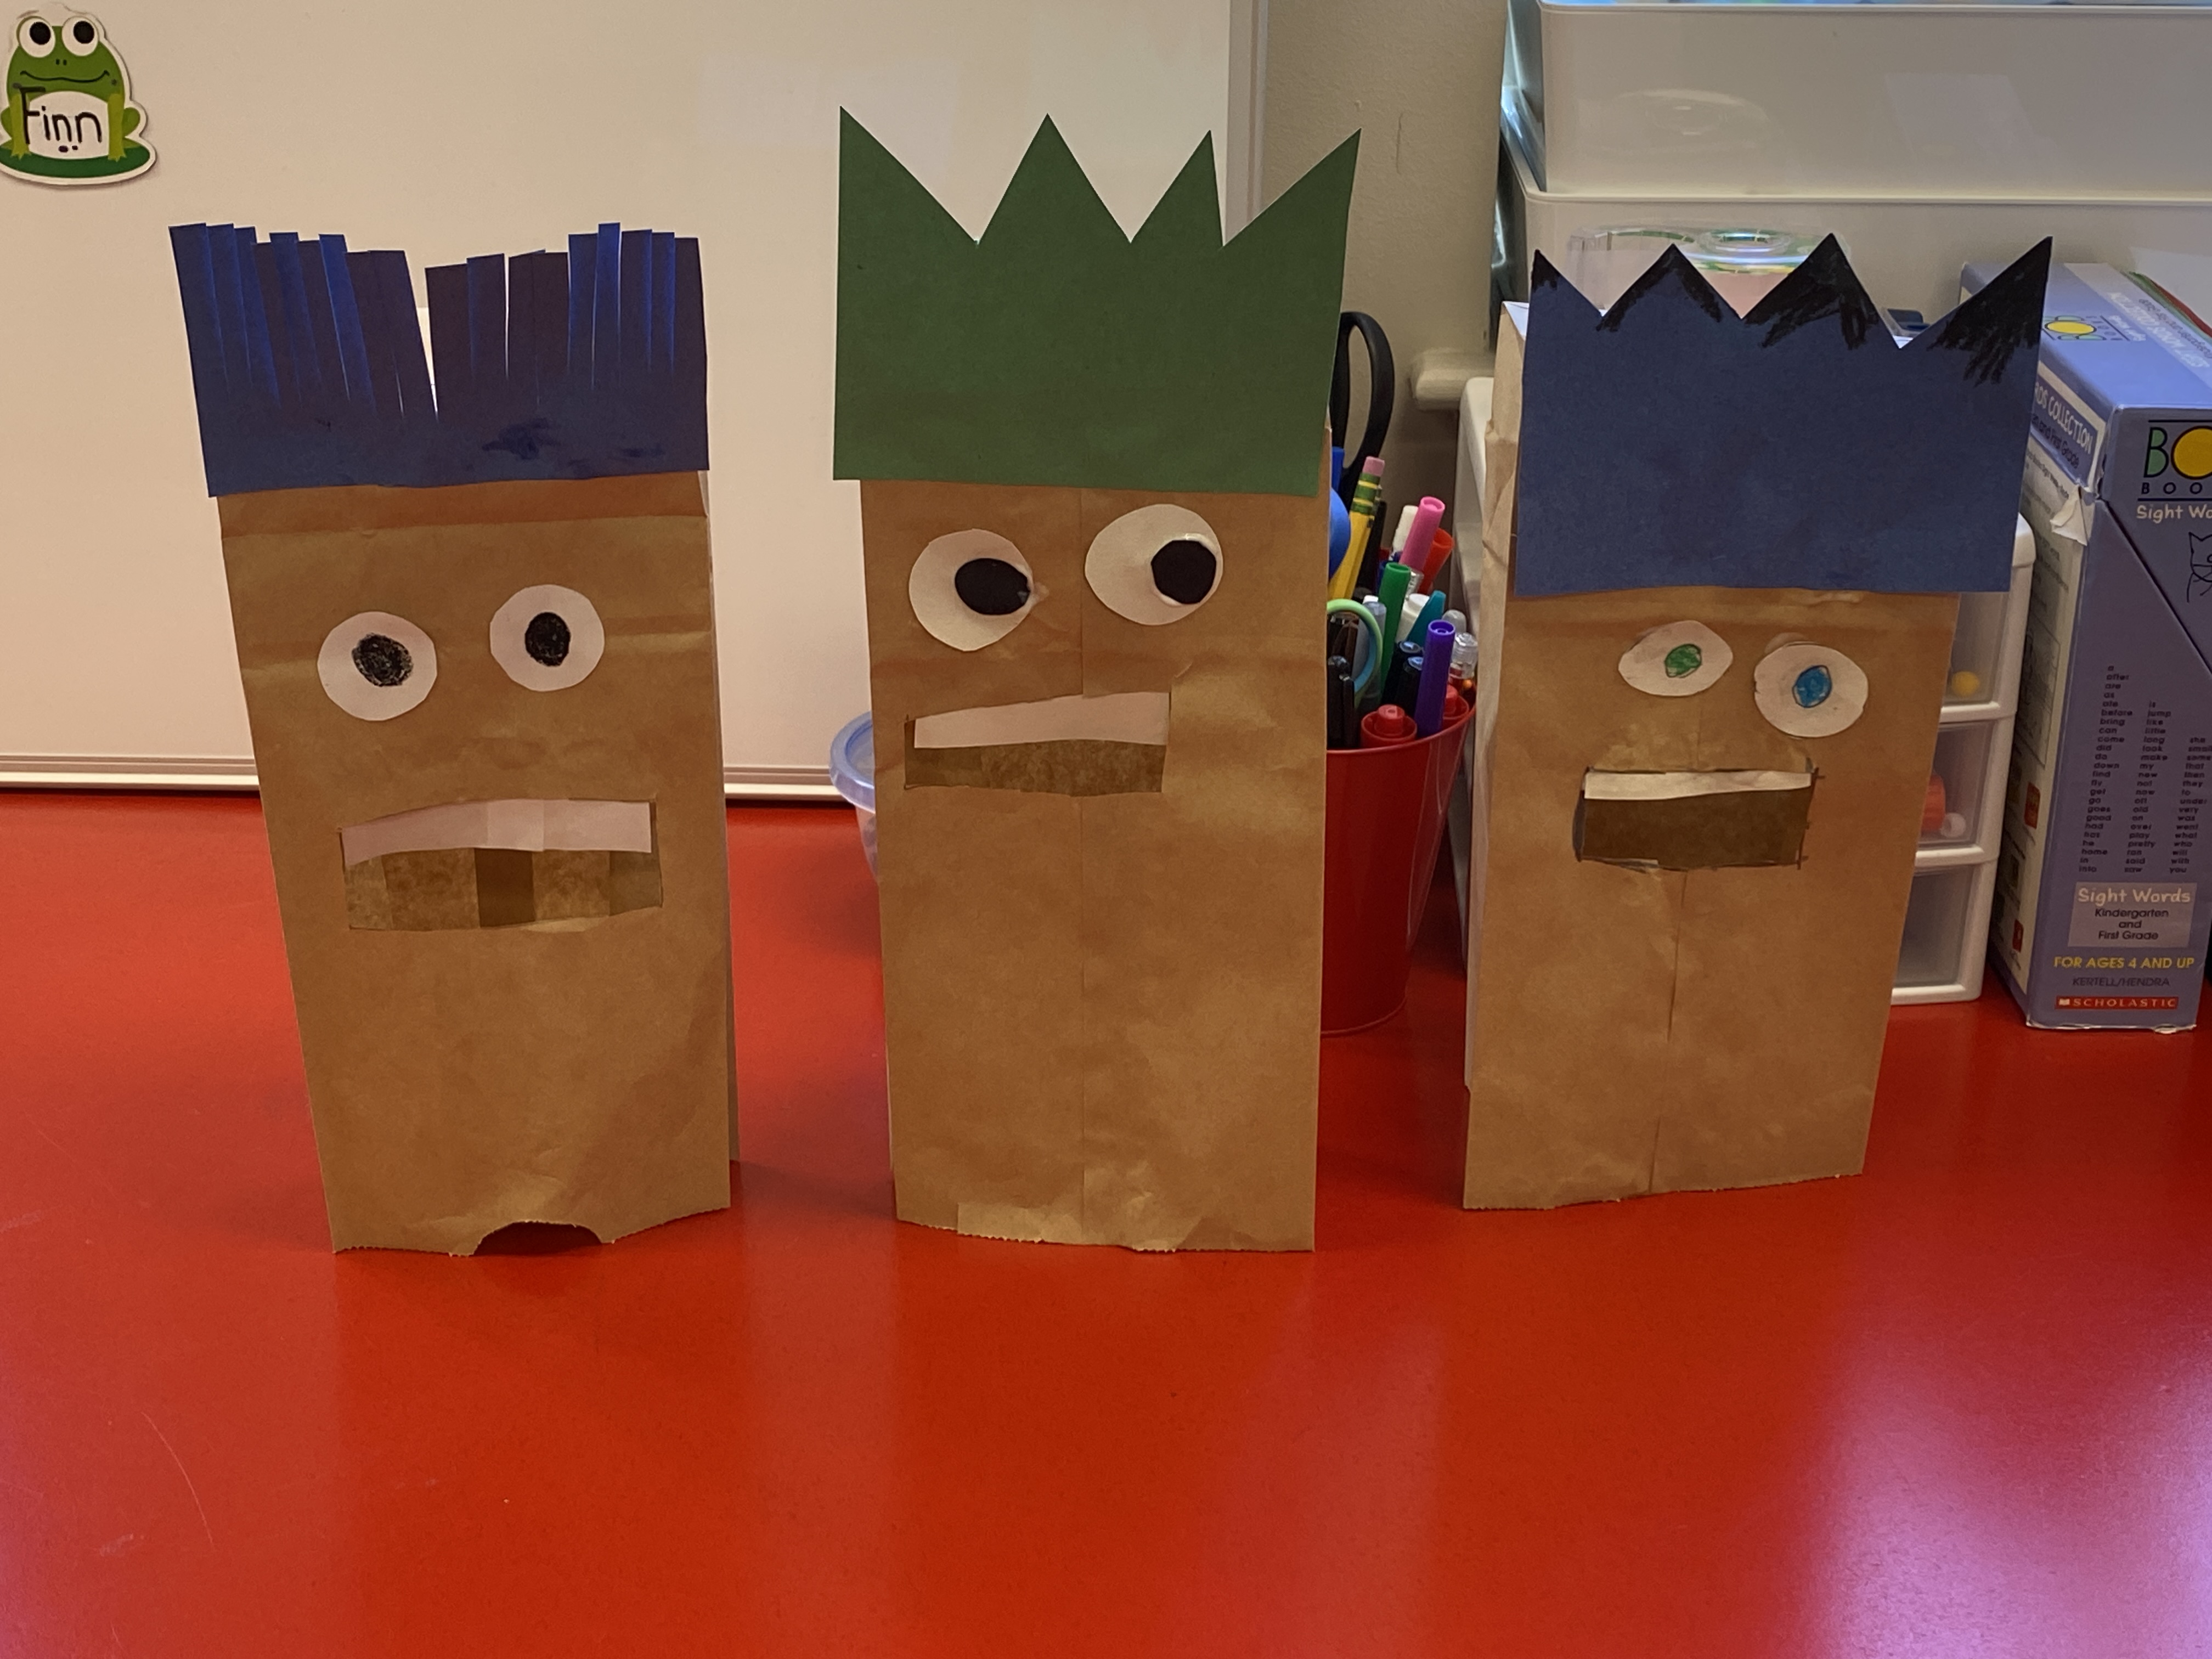
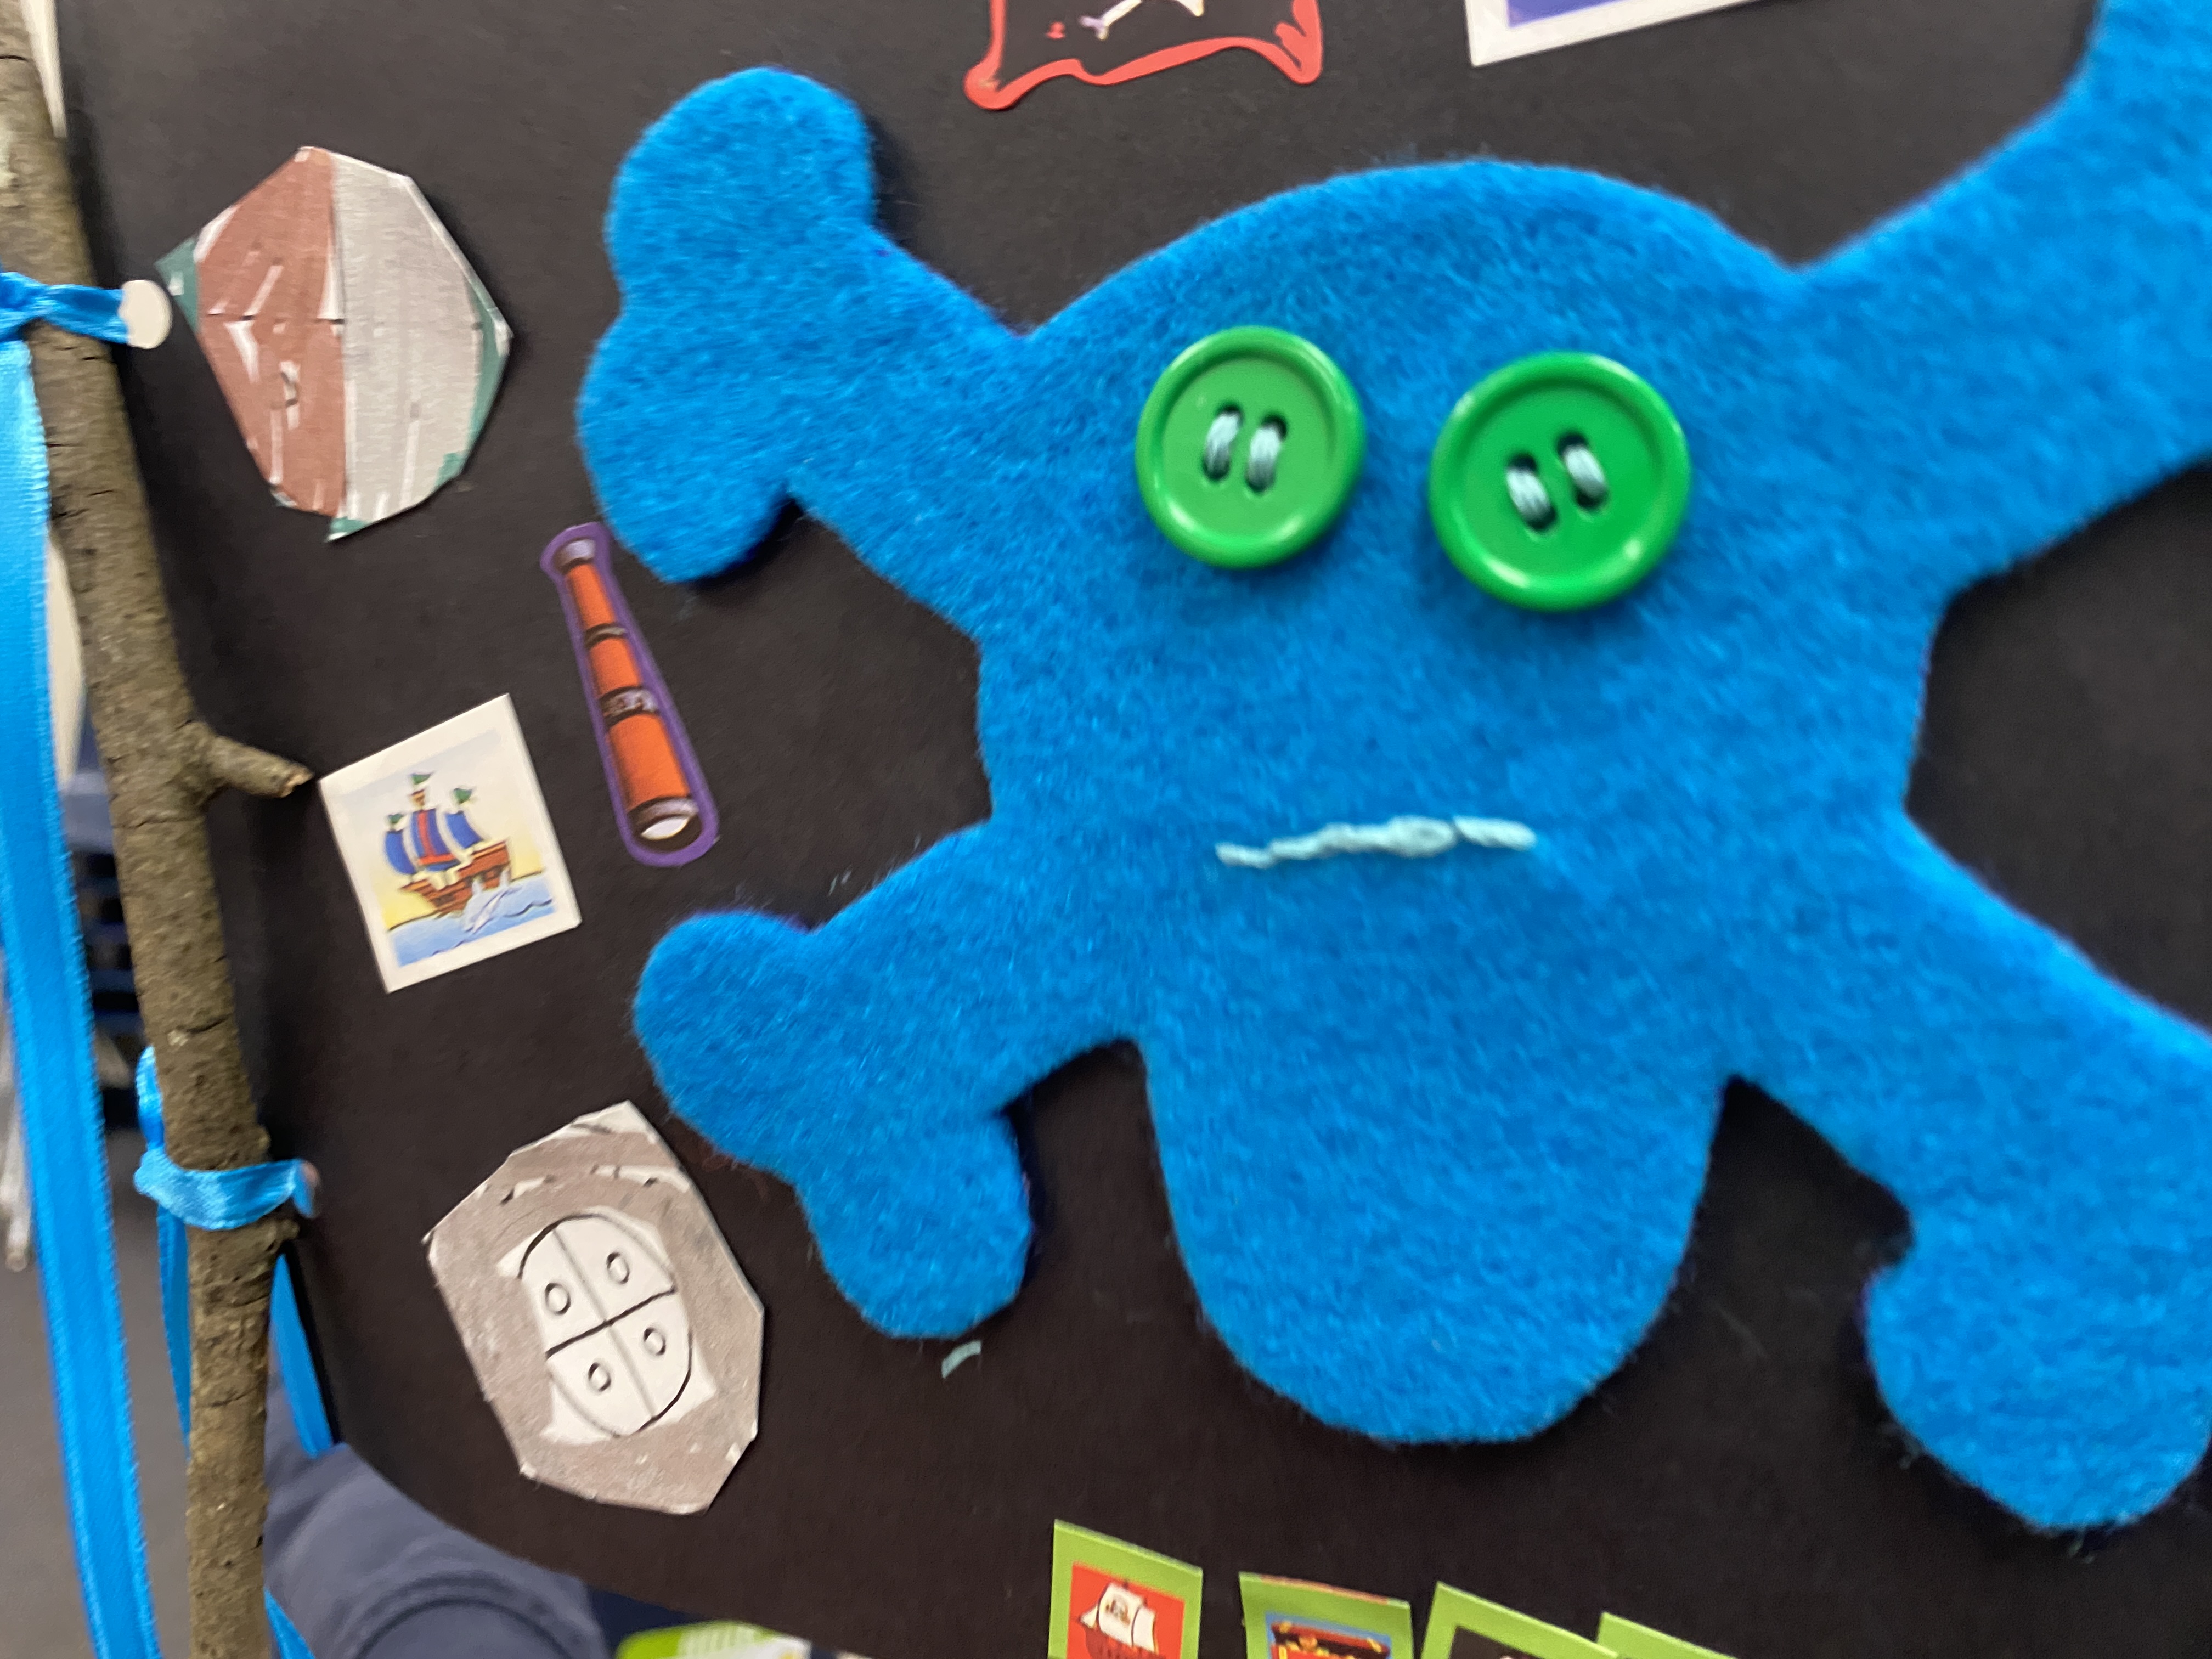
My point here is to use supplies you already have on hand. If a paper bag puppet project calls for paints, substitute construction paper cut into specific shapes instead. If you need a dowel rod for a project, search for a similar size stick in your backyard or while out on a walk. Likewise, use items from nature to create your craft own projects – leaves, acorns, flowers, rocks, pinecones – or ingredients from your own kitchen to create slime and play-dough.

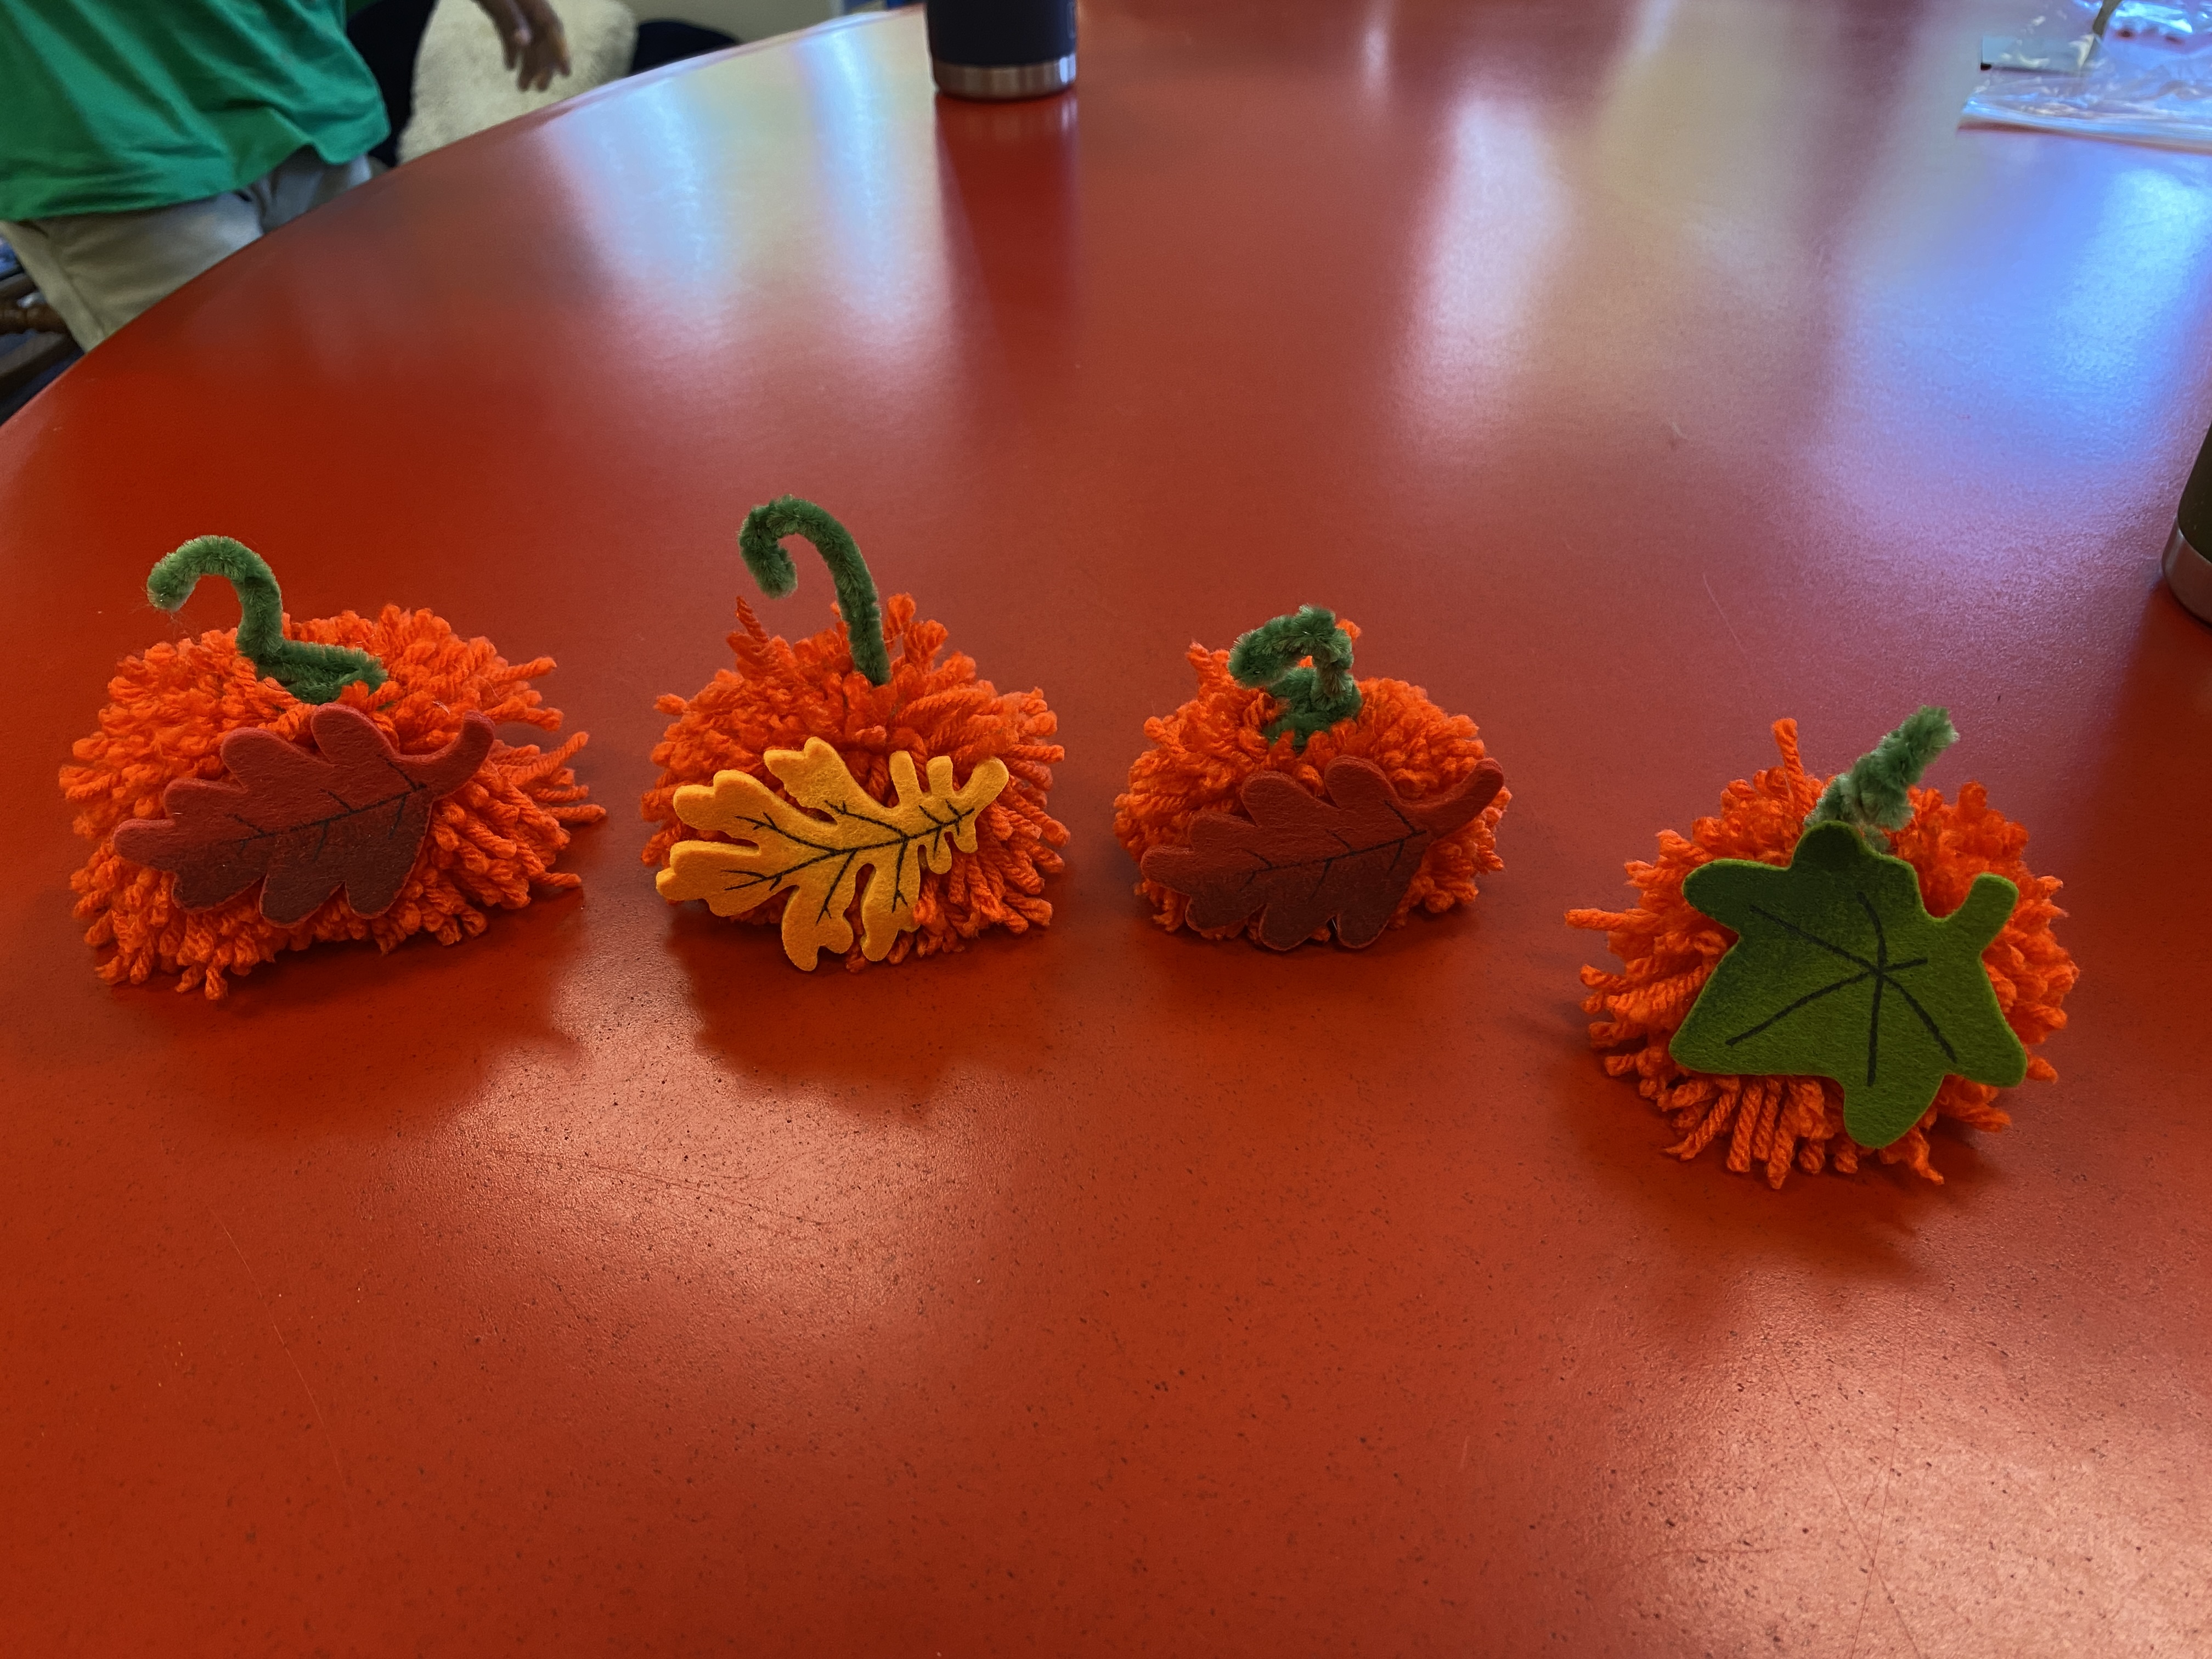
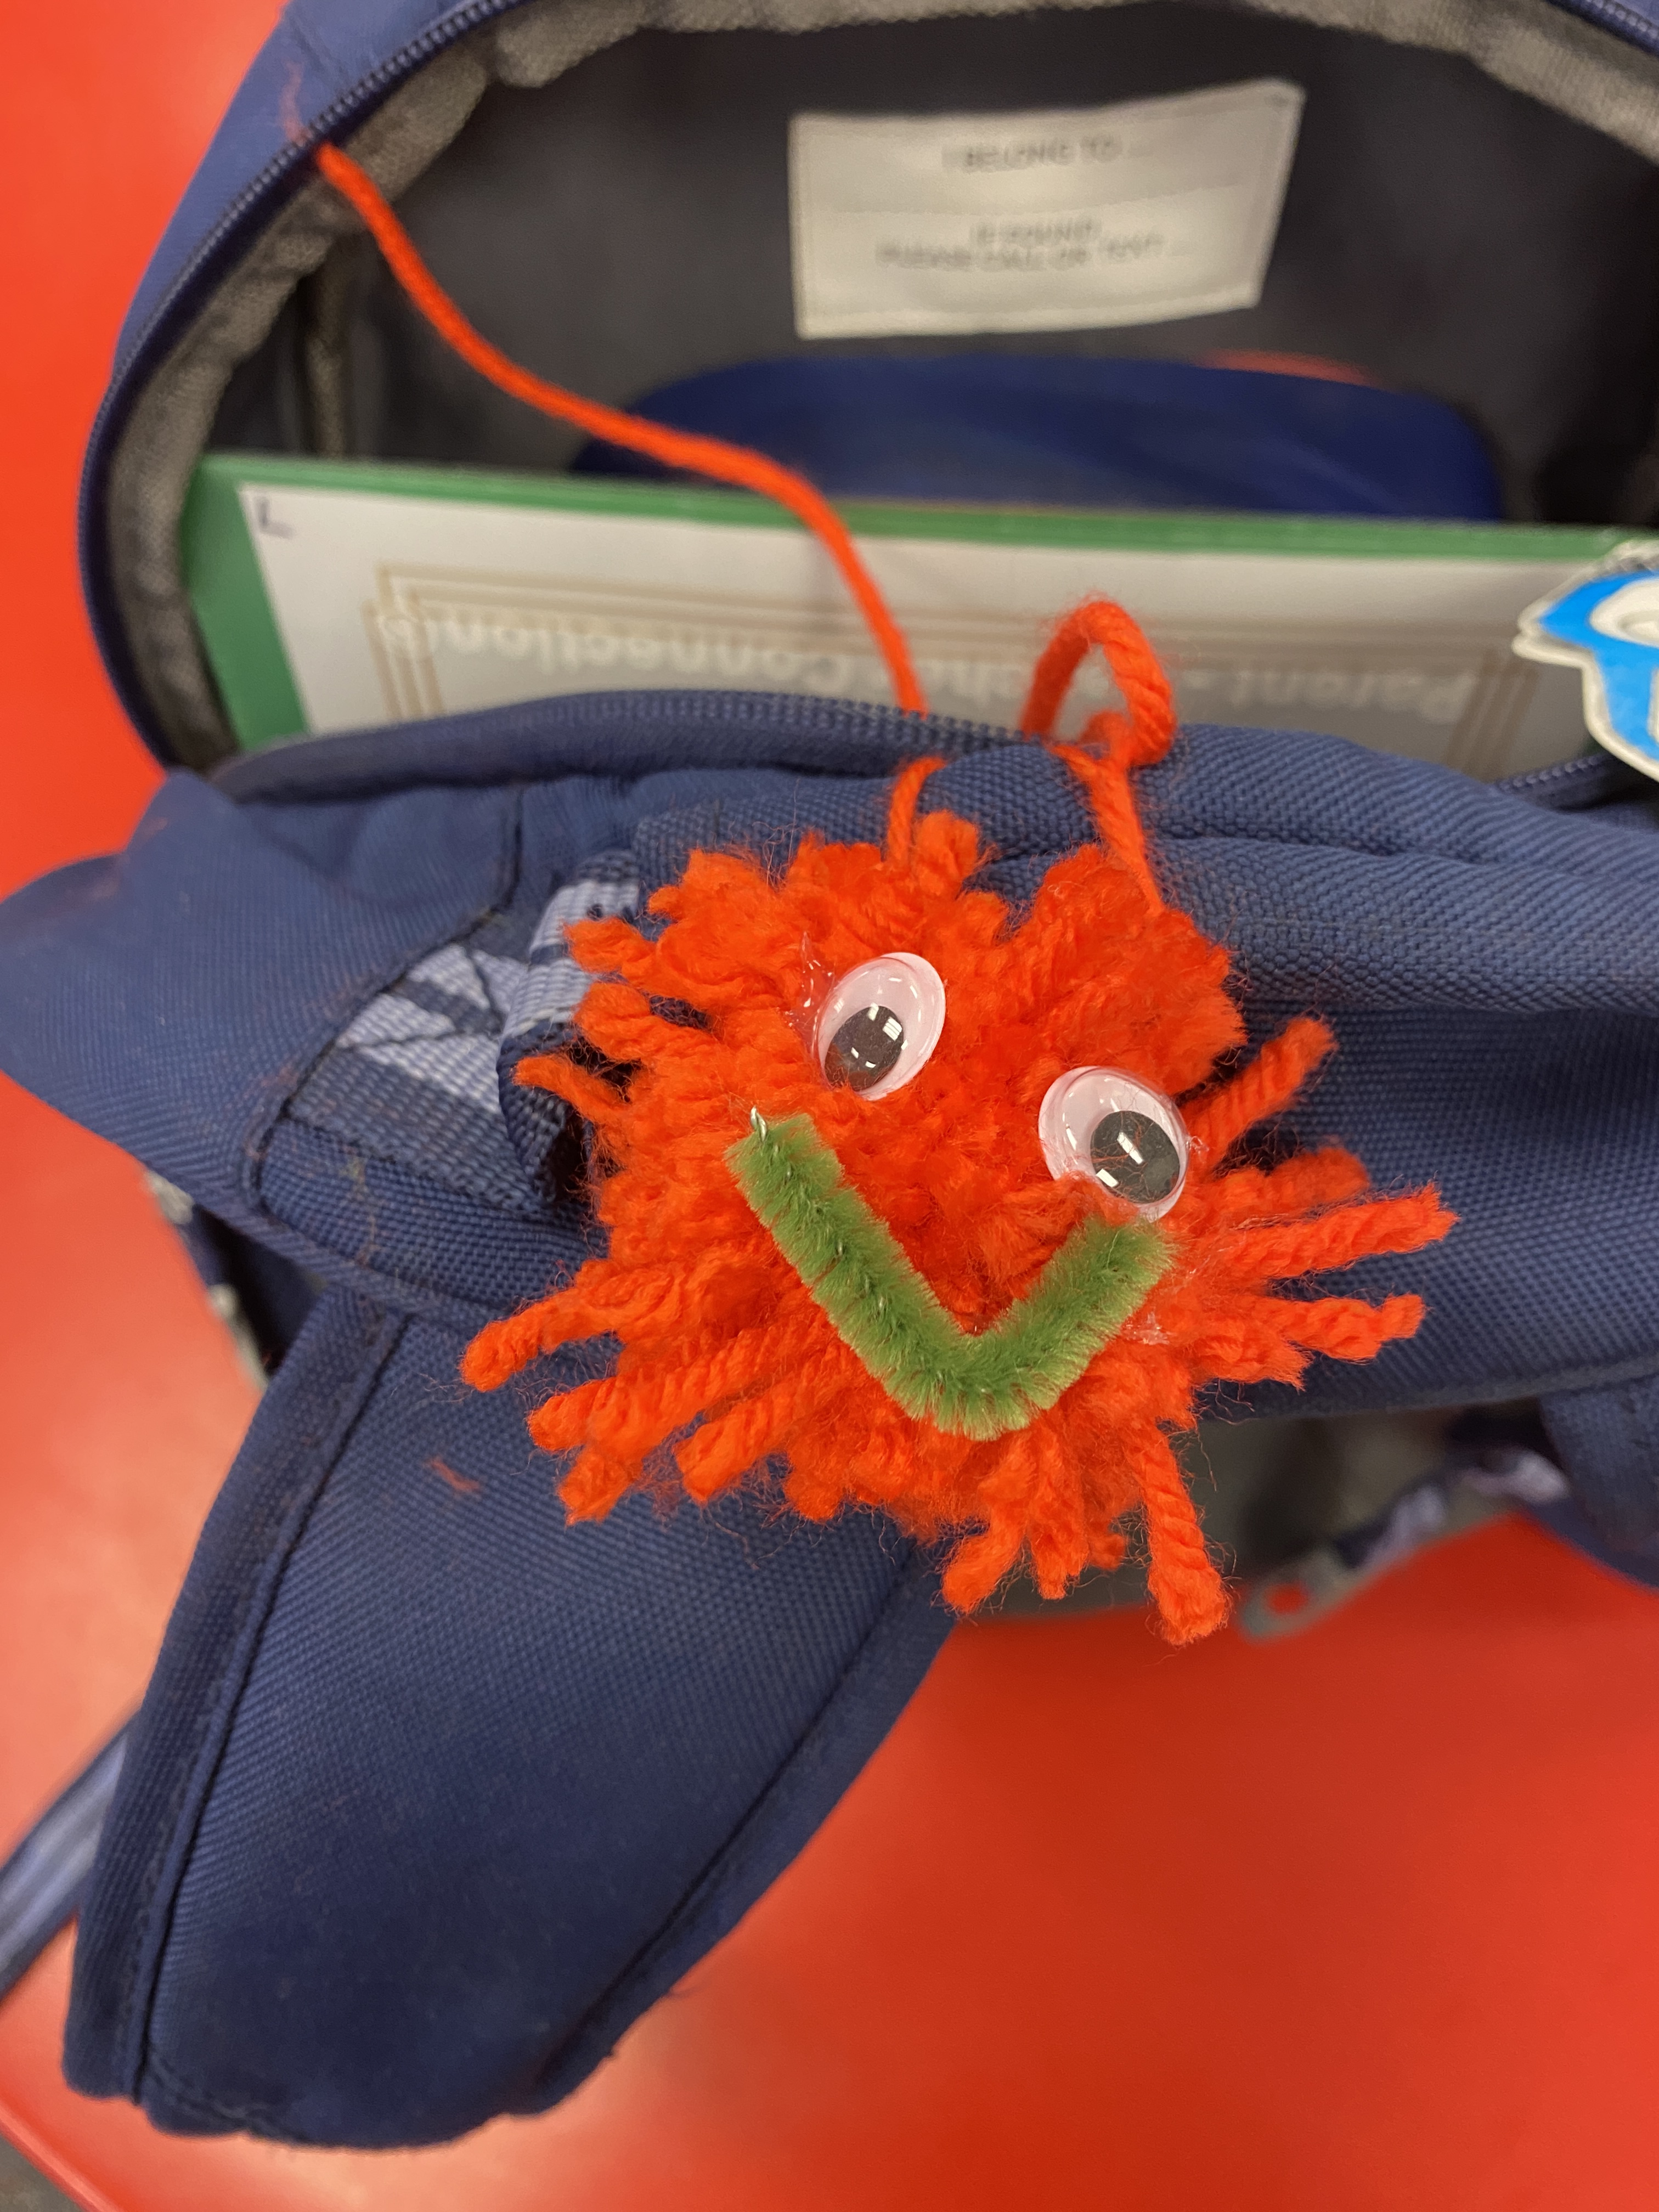
Realistically, unless it’s a craft activity you enjoy, limit yourself to only purchasing the minimum supplies needed such as a small pack of artist brushes, the 10 pot pack of tiny acrylic paints, small pack of wiggle eyes, smallest variety pack of pom poms and chenille stems, individual felt sheets in colors needed rather than a big pack or yardage. Dollar Tree and Hobby Lobby also offer reasonably priced prepackaged craft kits, which might be a better option for a one time activity.

Word to the wise: GLITTER IS MESSY. I only do glitter projects outside and on a disposable table cloth from the dollar store.

Above all – enjoy your time with the littles and happy crafting!

Slow, but steady progress

Yesterday was a long day. I’d have rather spent it sewing outside, but once I got started, I didn’t want to stop until I’d reached a certain point. Today, I’ll clean up the remaining bits from yesterday’s flurry of activity and enjoy some sewing time. What is my ultimate goal for doing all this?

Create an inviting and uncluttered sewing space where I can joyfully create with maximum efficiency.

Sounds like a vision or mission statement doesn’t it? Simply put:

  • I want to enjoy my space and be able to host others to craft/sew with me.
  • I want students and guests to be able to locate materials and resources independently.
  • I want a system in place so I can utilize sew with friend days and BYOP retreats to keep things progressing toward my goals. (This will also help me pack quickly so I can go sew!)
  • I want to reduce/use up enough fabric so I can finally get rid of the plastic 6 drawer chest on wheels.
  • I want to remove items that no longer add value or bring me joy. Share those resources with others who will enjoy them or directly benefit from them. (Less stash = easier move at some point in the future, too!)

I now have my own custom-made 2024 Quilty Project Planner, a decently organized sewing space and plan in place to continue refining my space in the coming weeks. After listening to our community service partners speak at Friday’s guild meeting, charity quilts will be a priority for me in 2024. It’s a win-win. I can experiment with smaller versions of quilts I want to make, use up my stash and improve my machine quilting skills while DFACS gets more quilts to distribute to the ever-increasing number of kids under its care. Meals on Wheels will also get more themed placemats from me, as well. Those are fun to make!

Close-up of patriotic themed placemat made for Meals on Wheels.

May as well go ahead and get started

Yesterday, I listened to Fat Quarter Shop’s livestream while I worked on projects in my studio. Kimberly Jolly was previewing her quilting projects for 2024. She went over her master notebook of all quilt projects and showed how she organizes the bits of each project into its own bin or basket. I stopped what I was doing and took notes once I realized she was going over several QALs coming in 2024.

A quick scan of the bookcase revealed an unused 3-ring binder with cute dividers I could repurpose for my own master notebook. I figured I may as well go ahead and get started. I chose to divide my projects into the following categories: 2024 QAL, Charity, CraftLAB, Personal and UFOs. I found a free quilt planner page online that I’m using to record the details for each project. I printed out available pattern notes for various projects and included them behind the appropriate project planning pages. Charity includes current WIPs specifically for charity, along with frequently used patterns and any receiving charitable organization’s specific guidelines. CraftLAB contains current projects and frequently used patterns/notes for kids I teach. Current includes personal WIPs that I’m actively working on. UFOs will include stagnant WIPs and tops that need to be quilted. Now that I’ve rounded up all the WIPs and UFOs, the next step will be to make a list of everything, including current status and next steps for each project.

After combing through all my fabric and notions bins for potential donations to the SQTM yard sale, it’s time to streamline some of the storage options and shift certain items to locations in my studio that just make more sense. Art Bin satchels are my preferred system for containing small tools, general craft supplies and corralling individual WIPs. Right now, I also keep my precuts in double deep Art Bin satchels. Ever since Joann replaced Art Bin brand containers with its own private label satchels, Art Bin containers have been hard to find locally. I need all the ones I currently have to store WIPs. Sadie and I went shopping today at Home Depot and Joann’s for clear storage containers with latching lids that will fit on the top shelf of my sewing room closet. Guess I’m going to have to shift the precuts, craft tools and supplies around first to free up the containers needed to start reorganizing the WIPs. Might also want to quickly finish up 2 quilt tops so I can have those satchels, as well!

Getting a head start on a big 2024 quilty goal!