Good things coming in 2025
There’s been a lot going on behind the scenes since late summer. The past week has been a flurry of activity with finalizing class samples and taking inventory of our therapy dog gear. I’m happy to finally be able to share!
Starting in January 2025:
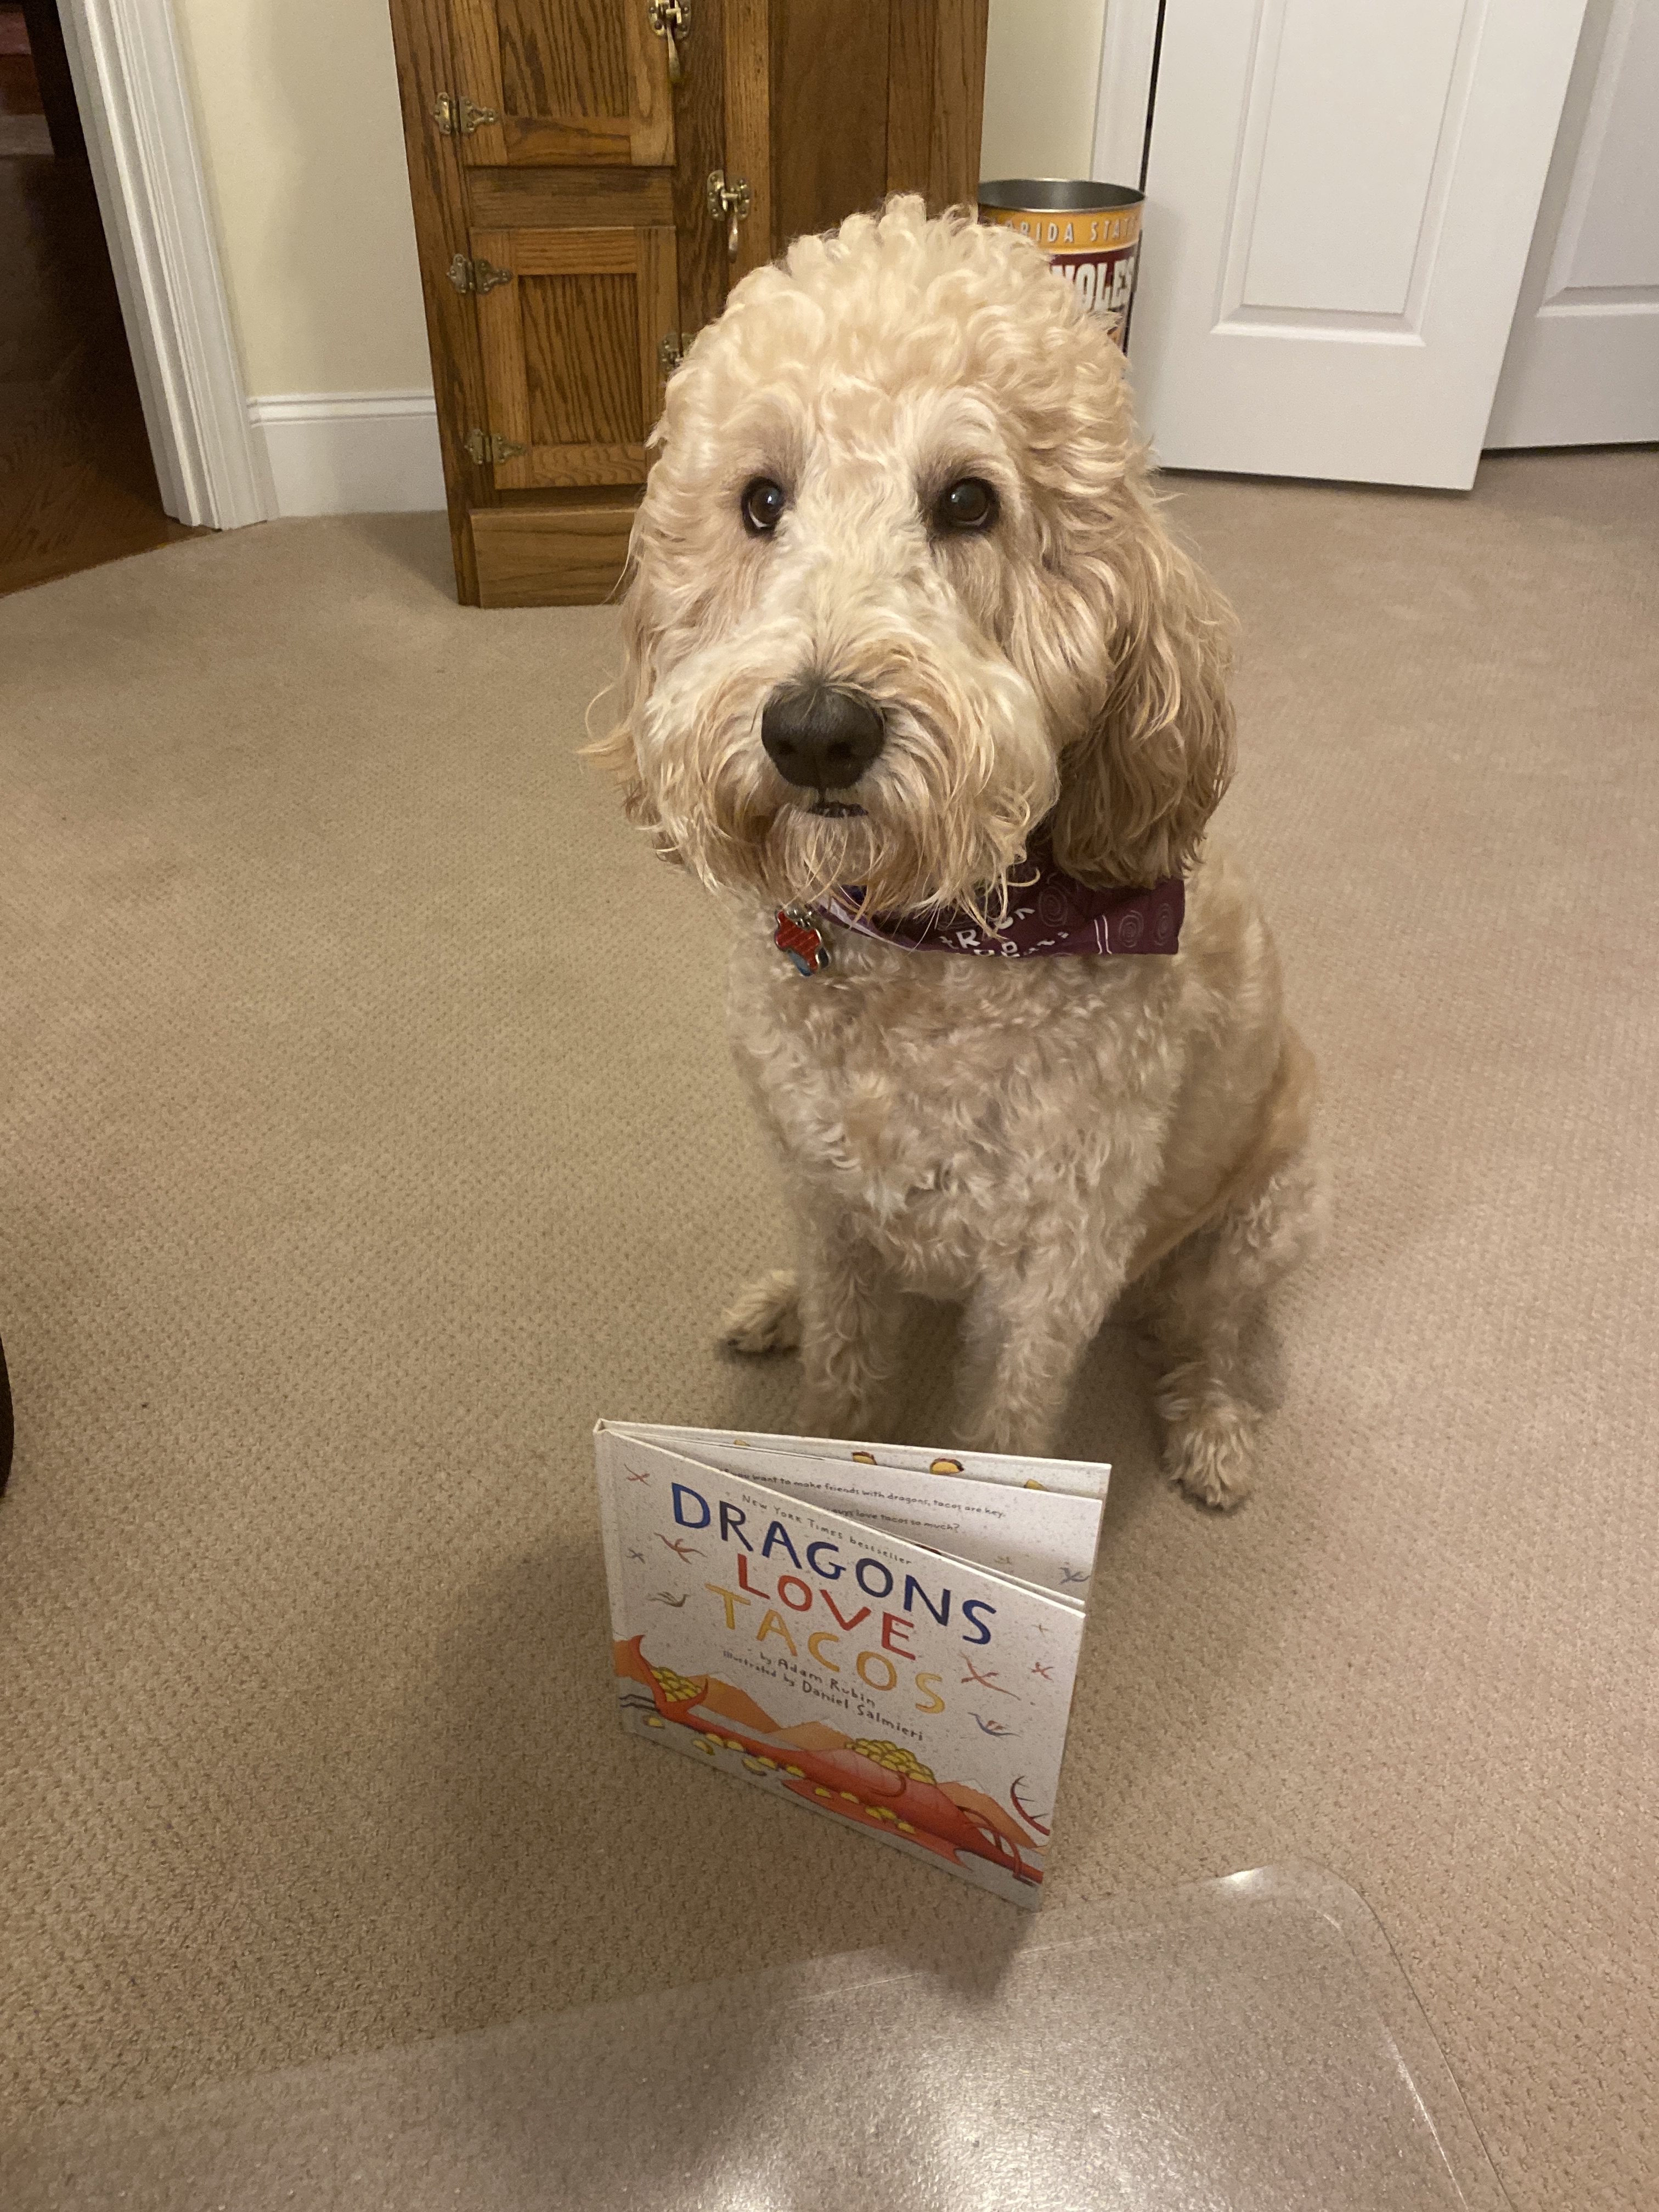
(1) Sadie and I will have two standing weekly therapy dog visits (one R.E.A.D. and one regular/R.E.A.D. lite). We’re also keeping our current monthly R.E.A.D. session at the public library.
(2) I’ll be teaching teen & adult sewing classes at local venues, with classes already booked through Fall 2025. A couple of area guilds have also inquired about my sewing machine maintenance class, as well.
To make room for these new opportunities, I did have to let go of or cut back on some current activities. The biggest change is that I will not be teaching K-5 literacy enrichment classes spring semester at the hybrid homeschool where I’ve worked part-time the past year and a half. The next change will be limiting our involvement in therapy dog activities to those within a 30 minute drive. Additionally, these new therapy dog visits on Tuesdays and Thursdays may also impact my ability to participate in guild events outside of bee group and monthly guild meetings.
The sewing teacher opportunity came about as some of the long-time area instructors have either moved away or decided to stop teaching. The school-based R.E.A.D. program I envisioned myself doing in retirement finally became a reality. Perhaps the sewing teacher thing will follow suit. We’ll see how it develops.
When I initially wrote everything on my calendar, I was booked 5-6 days per week. Nope. Felt too much like a full-time job. Teaching 2-3 sewing classes per month and making 1-2 therapy dog visits per week is ideal for me. This leaves time to spend time with hubby, hang out with friends, sew for pleasure or simply enjoy being retired.
In case you’re wondering, we won’t have two therapy dog school visits every week during spring semester. The schools are in different systems and have very different schedules for holiday breaks. Our weekly visits will also be impacted by testing, field trips and other special events. I do take my volunteer commitments seriously, but they are just that – volunteer. If there’s something extra special I want to do, I’ll book it and let the school know we won’t be there that week. For instance, I’m attending a quilt retreat in April. It falls during one school’s spring break and I’ll simply let the other school know I’ll be out-of-town that week. Easy peasy. My guild is bringing in a national teacher I want to take a class with in March. This could also impact one of the school visits; however, this will be the only other time a visit will be cancelled or rescheduled by me the entire semester.