Fixing Frozen
Jeez. I should have read the directions a little more closely. Oh well, time for a little creative ingenuity.
Crafty S.T.E.M.s have been helping me make a project quilt for the Media Center. It’s the Frozen quilt featured in the October issue of Fons & Porter’s Love of Quilting. The kids spent an entire club session making the 22 snowflake appliques required for the quilt. They gained first-hand knowledge of the least expensive (and most labor intensive) way to make fusible applique shapes. They also learned if you are willing to invest a few dollars, you can save a LOT of time by using a manual or electric die-cutting machine. Word to the wise: if you are on the fence about investing the $99 for the Accuquilt GO! 7″ snowflake die featured in the magazine – buy it! It’ll save you a great deal of time – or look on Etsy for folks who will prepare the appliques for a nominal fee.
So, I stitched around every last one of those snowflakes and brought them back to the next club meeting so the kids could arrange the snowflake designs in the border. Here’s what they came up with:
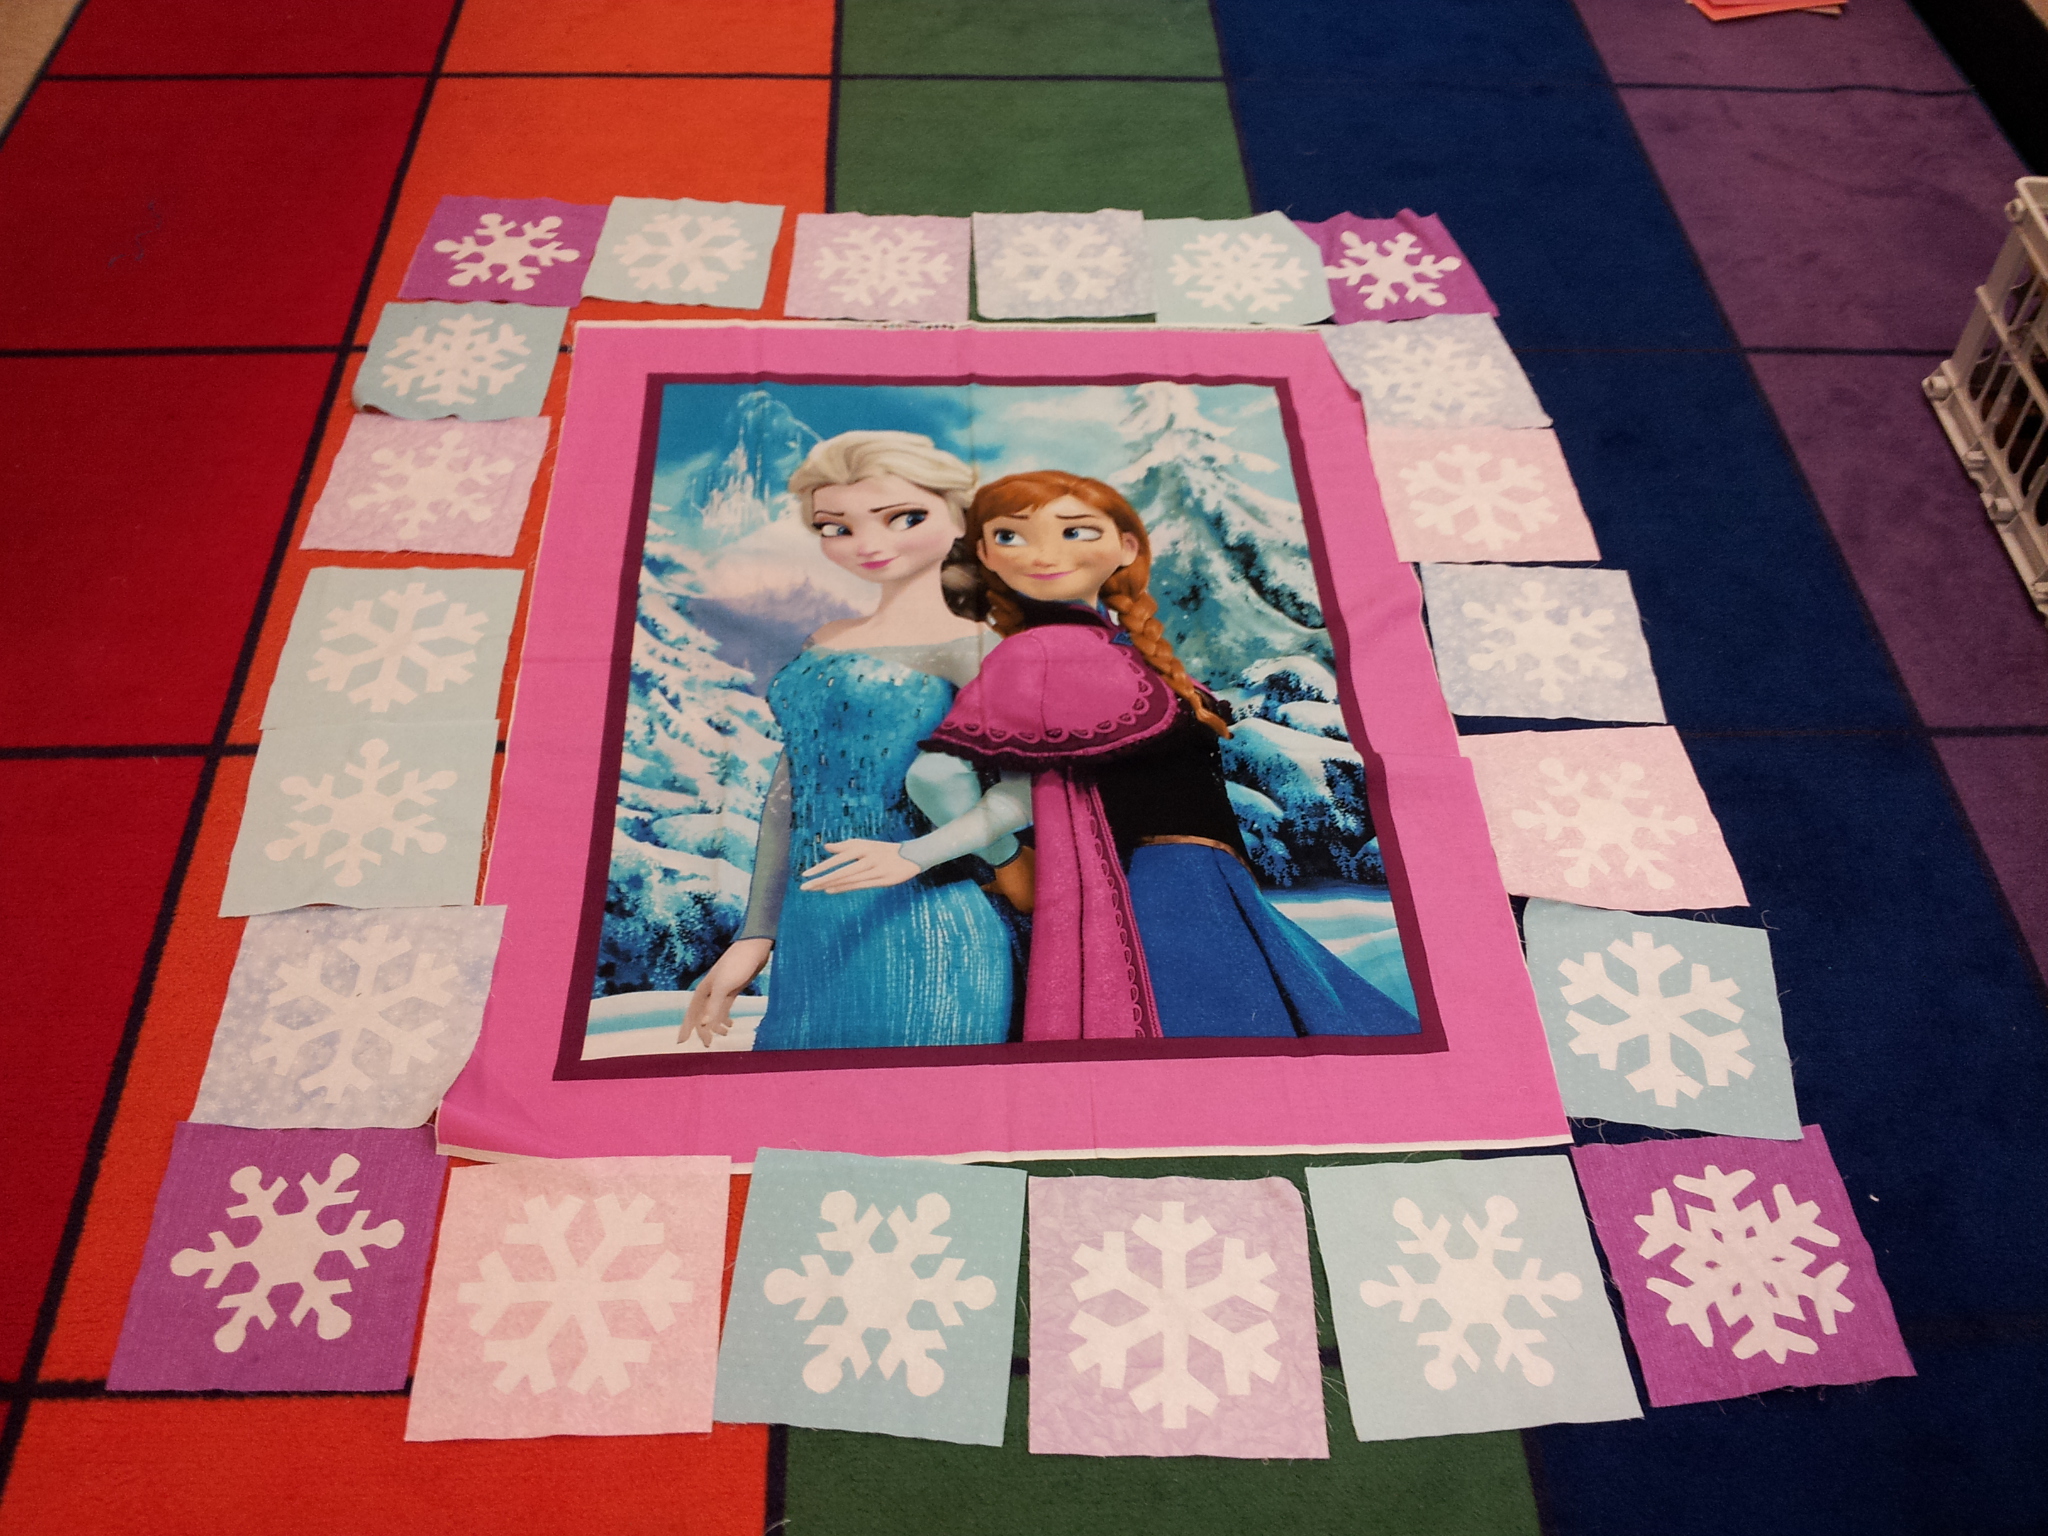
When I got home from work, I dutifully cut and sewed the first border as called for in the directions. However, I neglected to cut off the pink border on the panel first. Whoops! Out came the tape measure. Thanks to my goof (or creative design), I now needed 6 blocks for the sides and 7 blocks for the top. I wasn’t about to make 4 more blocks, so I opted for cornerstones of the first border fabric, but I was still short about 1-1/4″ on making the blocks fit across the top and bottom.
Solution: filler strips made from snowflake applique fabric featuring the decorative snowflake stitch on my 6600 (Mode 3, Stitch 55). The glitter on the fabric made it a challenge to stitch. I finally had to pull out a roll of Sulky Solvy to help the stitches form correctly.

