Lately, it seems as if I’ve embarked on a DIY mission.
Hubby needed the pockets extended in the new work pants he’d bought for his Team Rubicon activities. Three YouTube videos and two hours later – all four pair of pants were sporting longer pockets so his keys, wallet and cell phone would stay secure while he worked.
My new needle plate arrived and I have a stick of JB Weld waiting on me to fashion a DIY straight stitch needle plate since Baby Lock doesn’t offer one for the Jubilant. Saw this on YouTube, as well. It’s certainly worth a try.
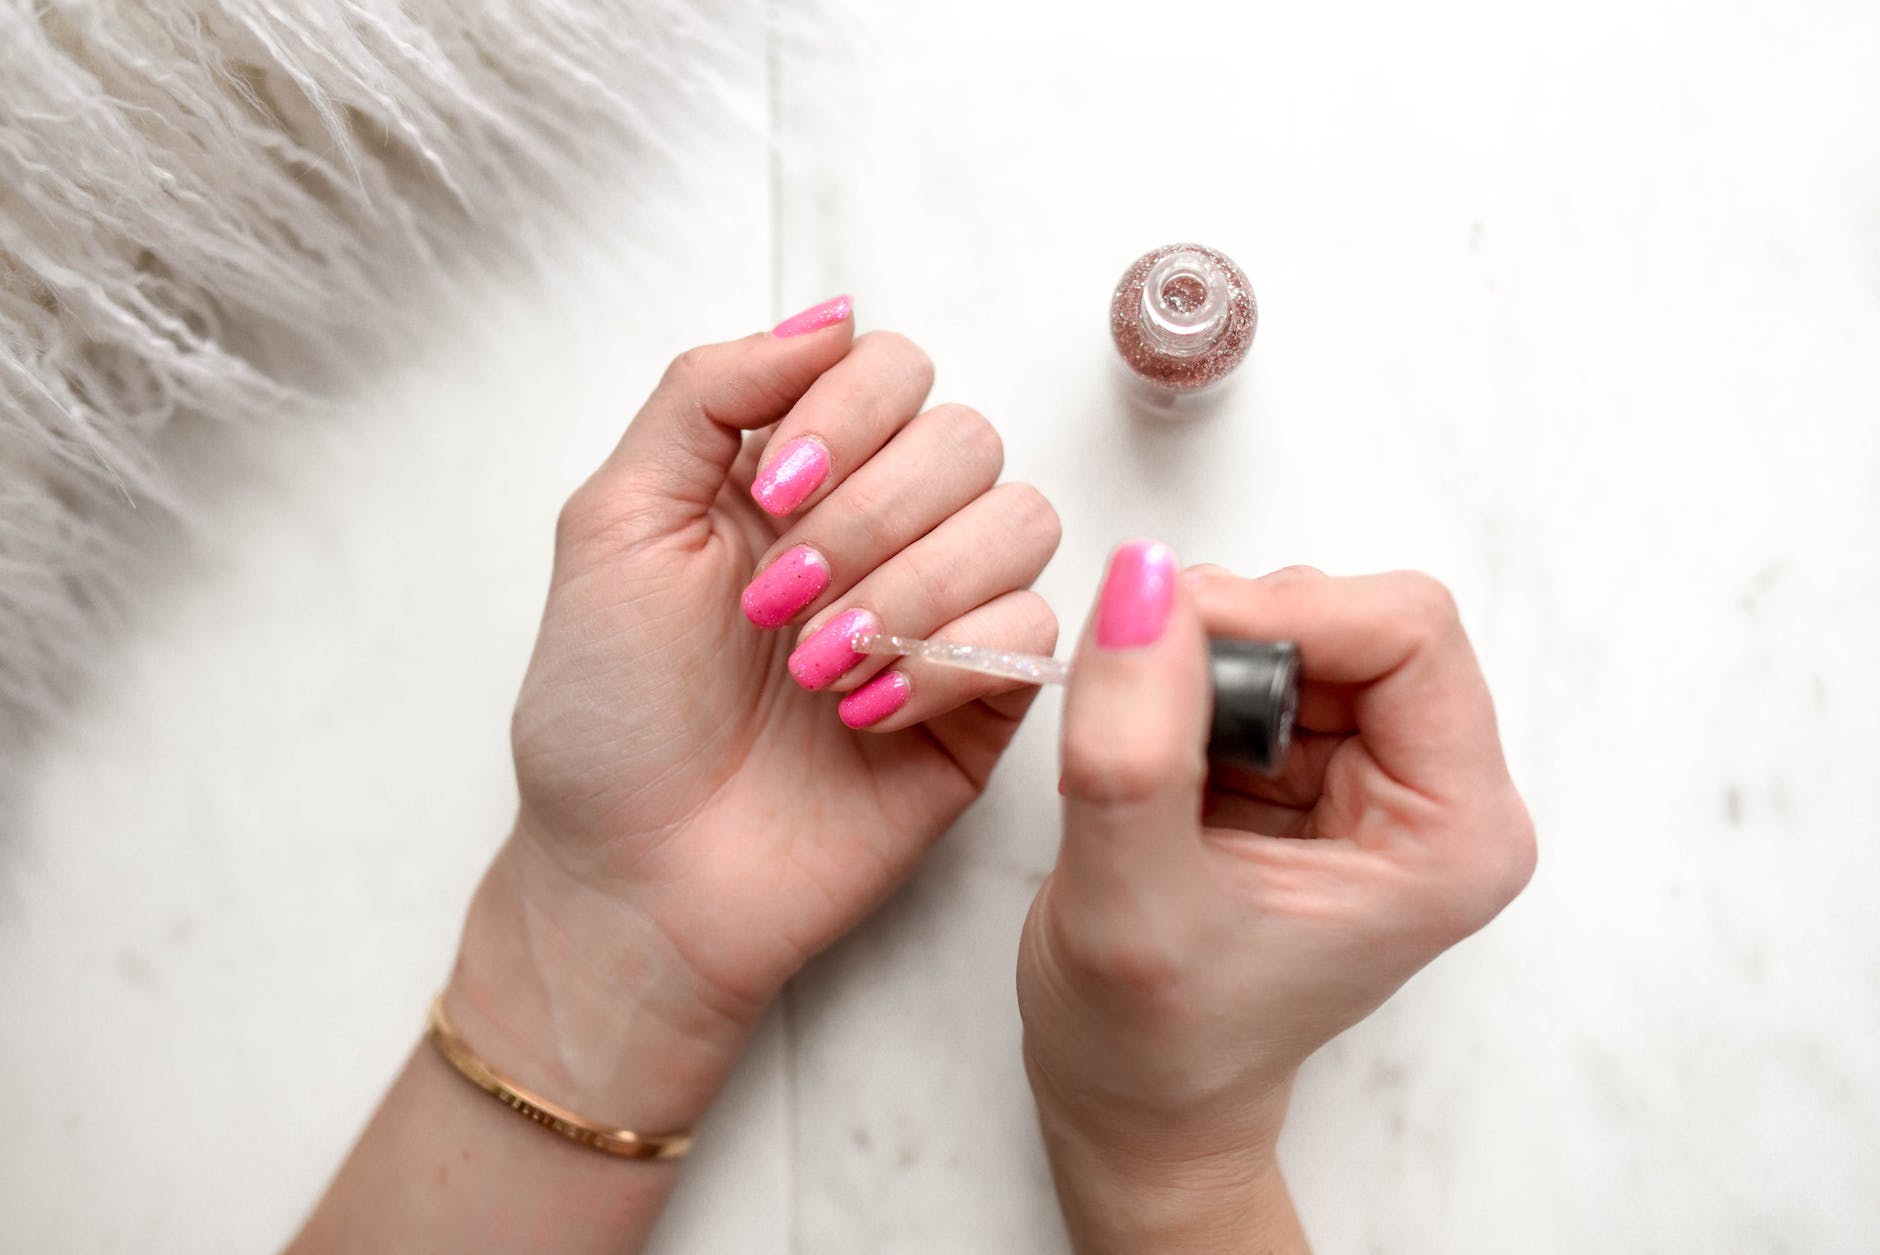
After my inability to secure a pedicure appointment this week, let’s add nail technician to my resume. It’s crazy how many people want nail services these days. I got pretty good at doing my own manicures during COVID and found it easier/cheaper/faster to continue to DIY once things reopened. Pedicures are a different story. They are more difficult for me to do, but it’ll be less aggravating if I DIY. Guess I’ll be working on my pedicure game over the next several weeks. I’ll be heading to my quilt retreat tomorrow sans polish on my piggies, but at least my feet look presentable after working on them this afternoon.
Getting away for a few days to sit and sew with quilting friends is good for the soul. Your retreat experience will be greatly enhanced by a little pre-planning work on your part.
Instructor led retreat – Be sure to review emails from the retreat host/sponsor regarding any special instructions for the event. Do you need to bring a snack to share? Power strip? Challenge projects? Name tag? Can you bring your own chair? Extra folding table? Any travel iron restrictions? Some facilities cannot handle the load of the high wattage Oliso travel irons. Make sure you have all the required supplies in hand and have all pre-work done before you arrive at the retreat. Sometimes it helps to look on the instructor’s social media channels, website or even search on YouTube to see if the project has been taught previously.
Bring your own projects retreat – Be sure to review emails from the retreat host/sponsor regarding any special instructions for the event. Do you need to bring a snack to share? Power strip? Challenge projects? Name tag? Can you bring your own chair? Extra folding table? Any travel iron restrictions? Some facilities cannot handle the load of the high wattage Oliso travel irons.
Take at least two projects – one easy and one stretch – plus some handworkor smaller projects (placemat, hot pad, zippered pouch) to work on. You can chat with your friends while you make the easy project and take advantage of other quilter’s experience with your stretch project. Small projects also provide some variety.
Review your chosen project instructions carefully before purchasing/pulling fabric. Do you want to make the project as per the designer’s instructions or do you prefer a different construction method? No way am I going to do 500+ HSTs, two at a time and 144 FG using easy corner triangles! I spent time doing a little quilty math to convert the project to 8-at-a-time HSTs and no waste FG.
Think about how you want to spend your time at the retreat. Are you okay spending your weekend making nothing but 144 FG and 128 pinwheel blocks? Not me. I prefer to sew blocks at a retreat, so I’ve spent the past two weeks (and Friday sew days) prepping the numerous sub-units required by one of my patterns. I would actually like to bring home a completed top for this particular project.
Pre-cut and label everything needed for your projects. Pack in ziplock bags or use a design board.
Which sewing machine are you bringing to the retreat? If you have more than one, leave your big one at home. Simple and small are good, especially if work space will be tight. Side note: Featherweights make great travel machines, but think things through to make sure a straight-stitch only machine will meet your needs at the retreat.
Other recommendations:
Take only the sewing & quilting supplies you really need for your projects. Less is more at a retreat. If you can’t make it work with what you have on hand, you can always borrow from another quilter – or buy the needed item from the onsite pop up shop or a nearby shop. It’s easy to mix up gadgets and tools, so LABEL EVERYTHING with your name. Leave sterling silver thimbles, expensive scissors and collectible vintage machine attachments at home.
If you regularly attend classes and sew with friend days, you probably already have a travel machine and tools that you leave packed. Add in precut projects, extra rulers and and any specialty notions that your projects require and you should be good to go. You can always Google “quilt retreat packing list” and use one of those as a guide.
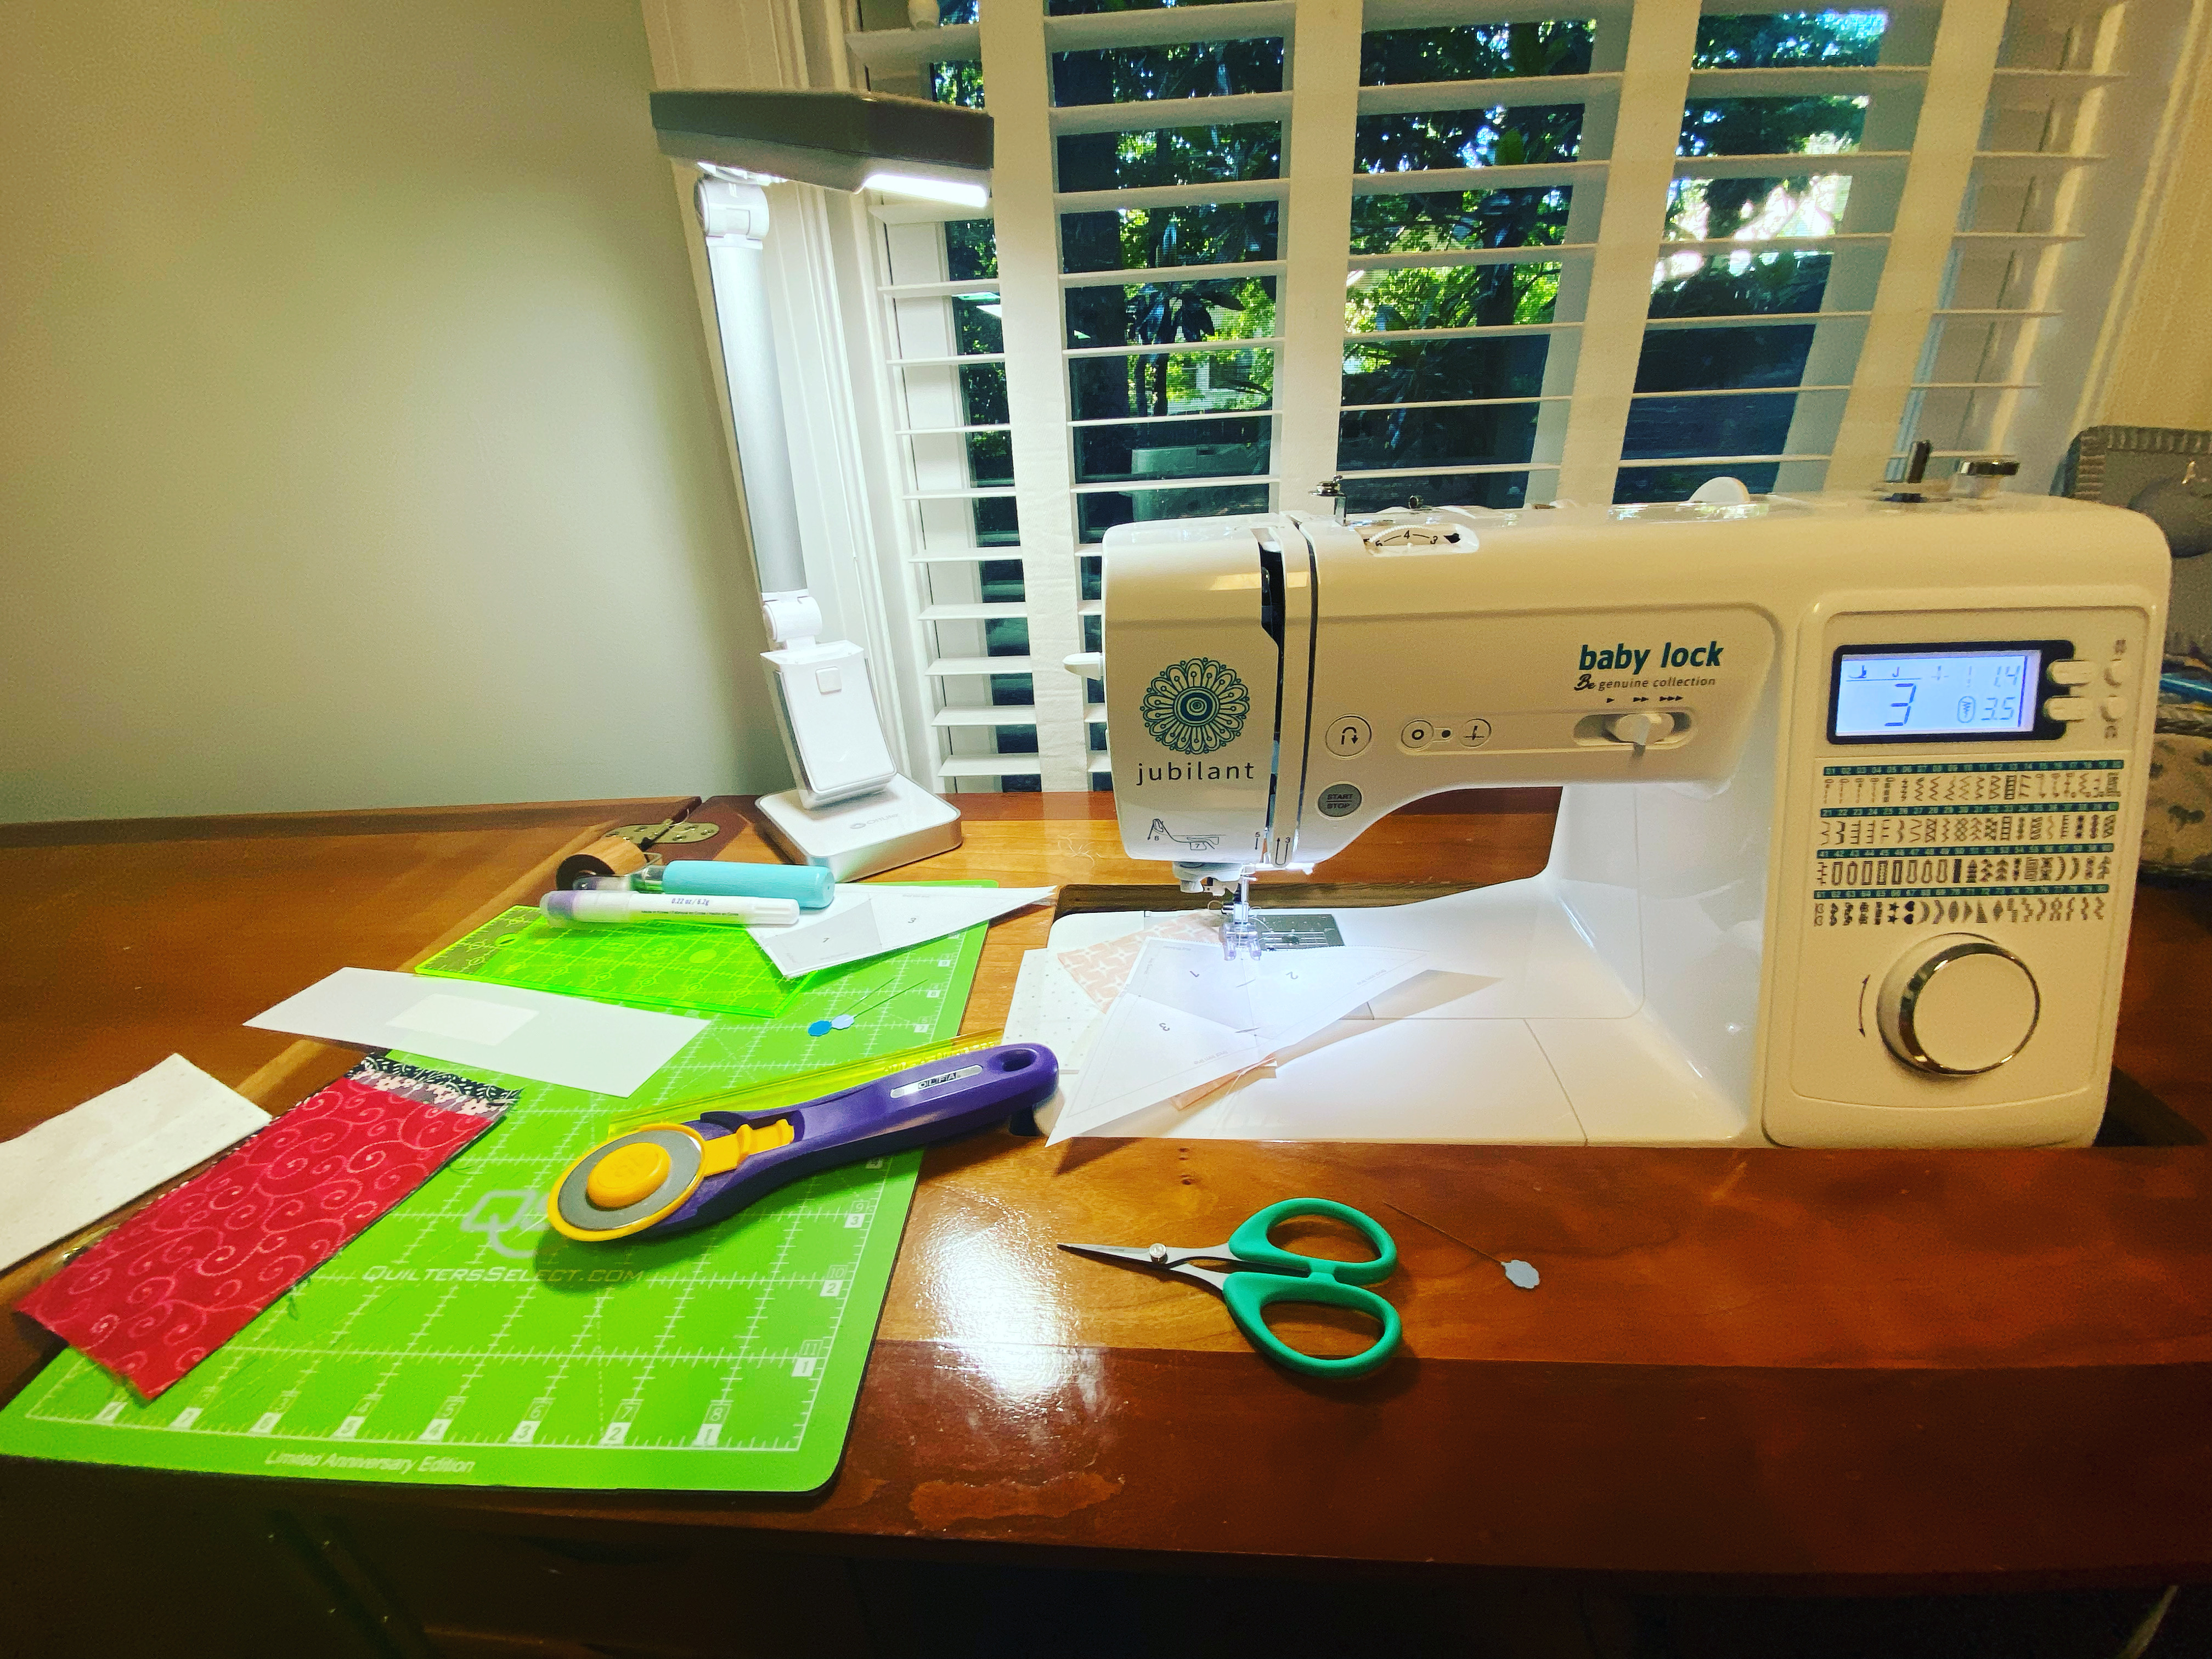
What you see below is what I typically take to a Friday sew day. Hubs is away for the weekend, so I decided to take advantage of watching the big screen while I sew! 🙂
The Elnita EC30 is a great choice for a travel machine. Finishing up the last of the Flying Geese units for my retreat project.
Some folks know this as paper piecing, but I think “foundation” was added by modern quilters to differentiate this type of machine piecing (FPP) from the hand work required of English Paper Piecing (EPP).
Foundation paper piecing allows you to sew more intricate designs with greater accuracy and helps you maintain greater consistency when assembling basic units such as FG and HSTs if you use papers to construct those items. Below shows my set up for sewing FPP blocks and some 6-1/2″ Vintage Kite blocks made using paper foundations available at Fat Quarter Shop. Notice my stitch length is set at 1.4. A short stitch length makes it easier to remove the papers.
When my quilt guild asked for assistance with sewing blocks for the raffle quilt, the tiny paper pieced triangles (about 8 different parts in each triangle) were the only things left. I took a baggie home and unearthed my FPP supplies from a class taken with Deb Karasik ages ago. She’s now retired and no longer in business.
The first triangle block I totally botched. The second attempt actually looked good except it was ass-backwards. The third time was the charm. I turned in my two completed blocks. The coordinator thanked me for helping with the hard blocks and informed me I wasn’t the only person to turn in “reversed” blocks.
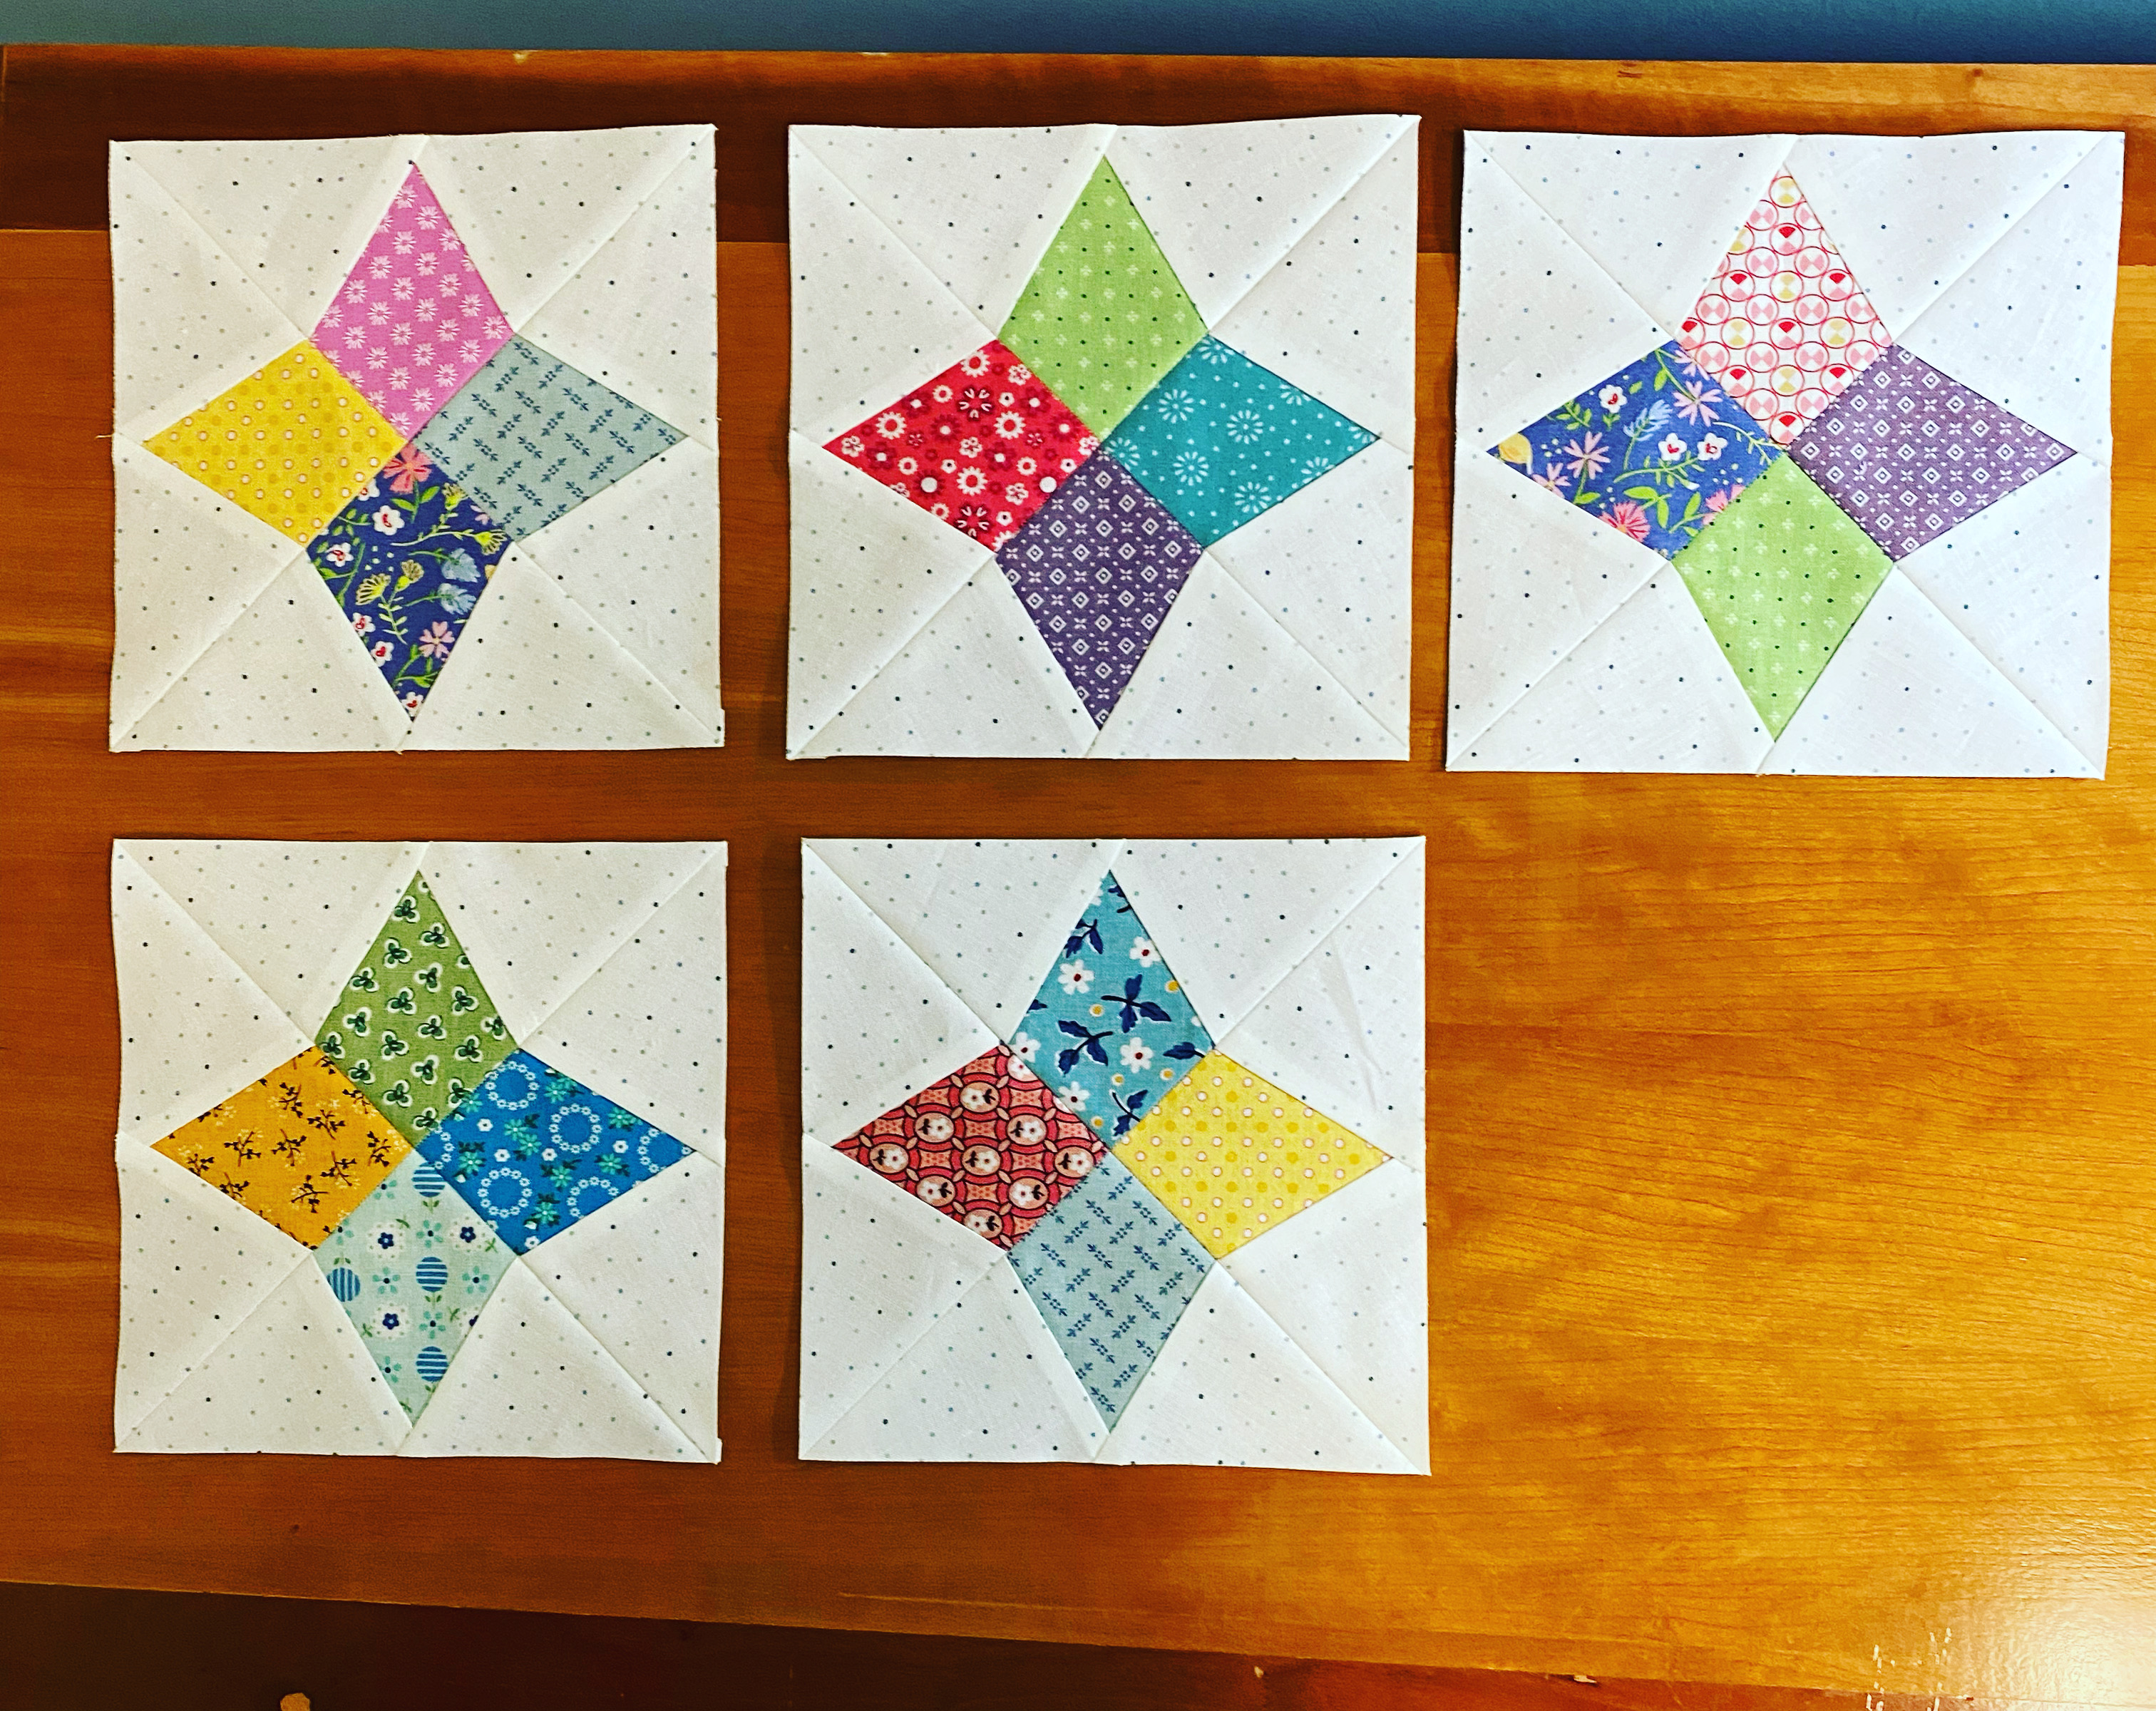
After the guild meeting, I pulled out my pad of Vintage Kite FPP papers and got to work. Three evenings and 15 blocks later, I remember why FPP’s not my first choice for a construction method – I detest pulling out the papers (messy & tedious). However, FPP is quite addictive once I’m in the zone and this pattern is a real scrap buster. I have 15 more blocks to make before I can assemble my quilt top.
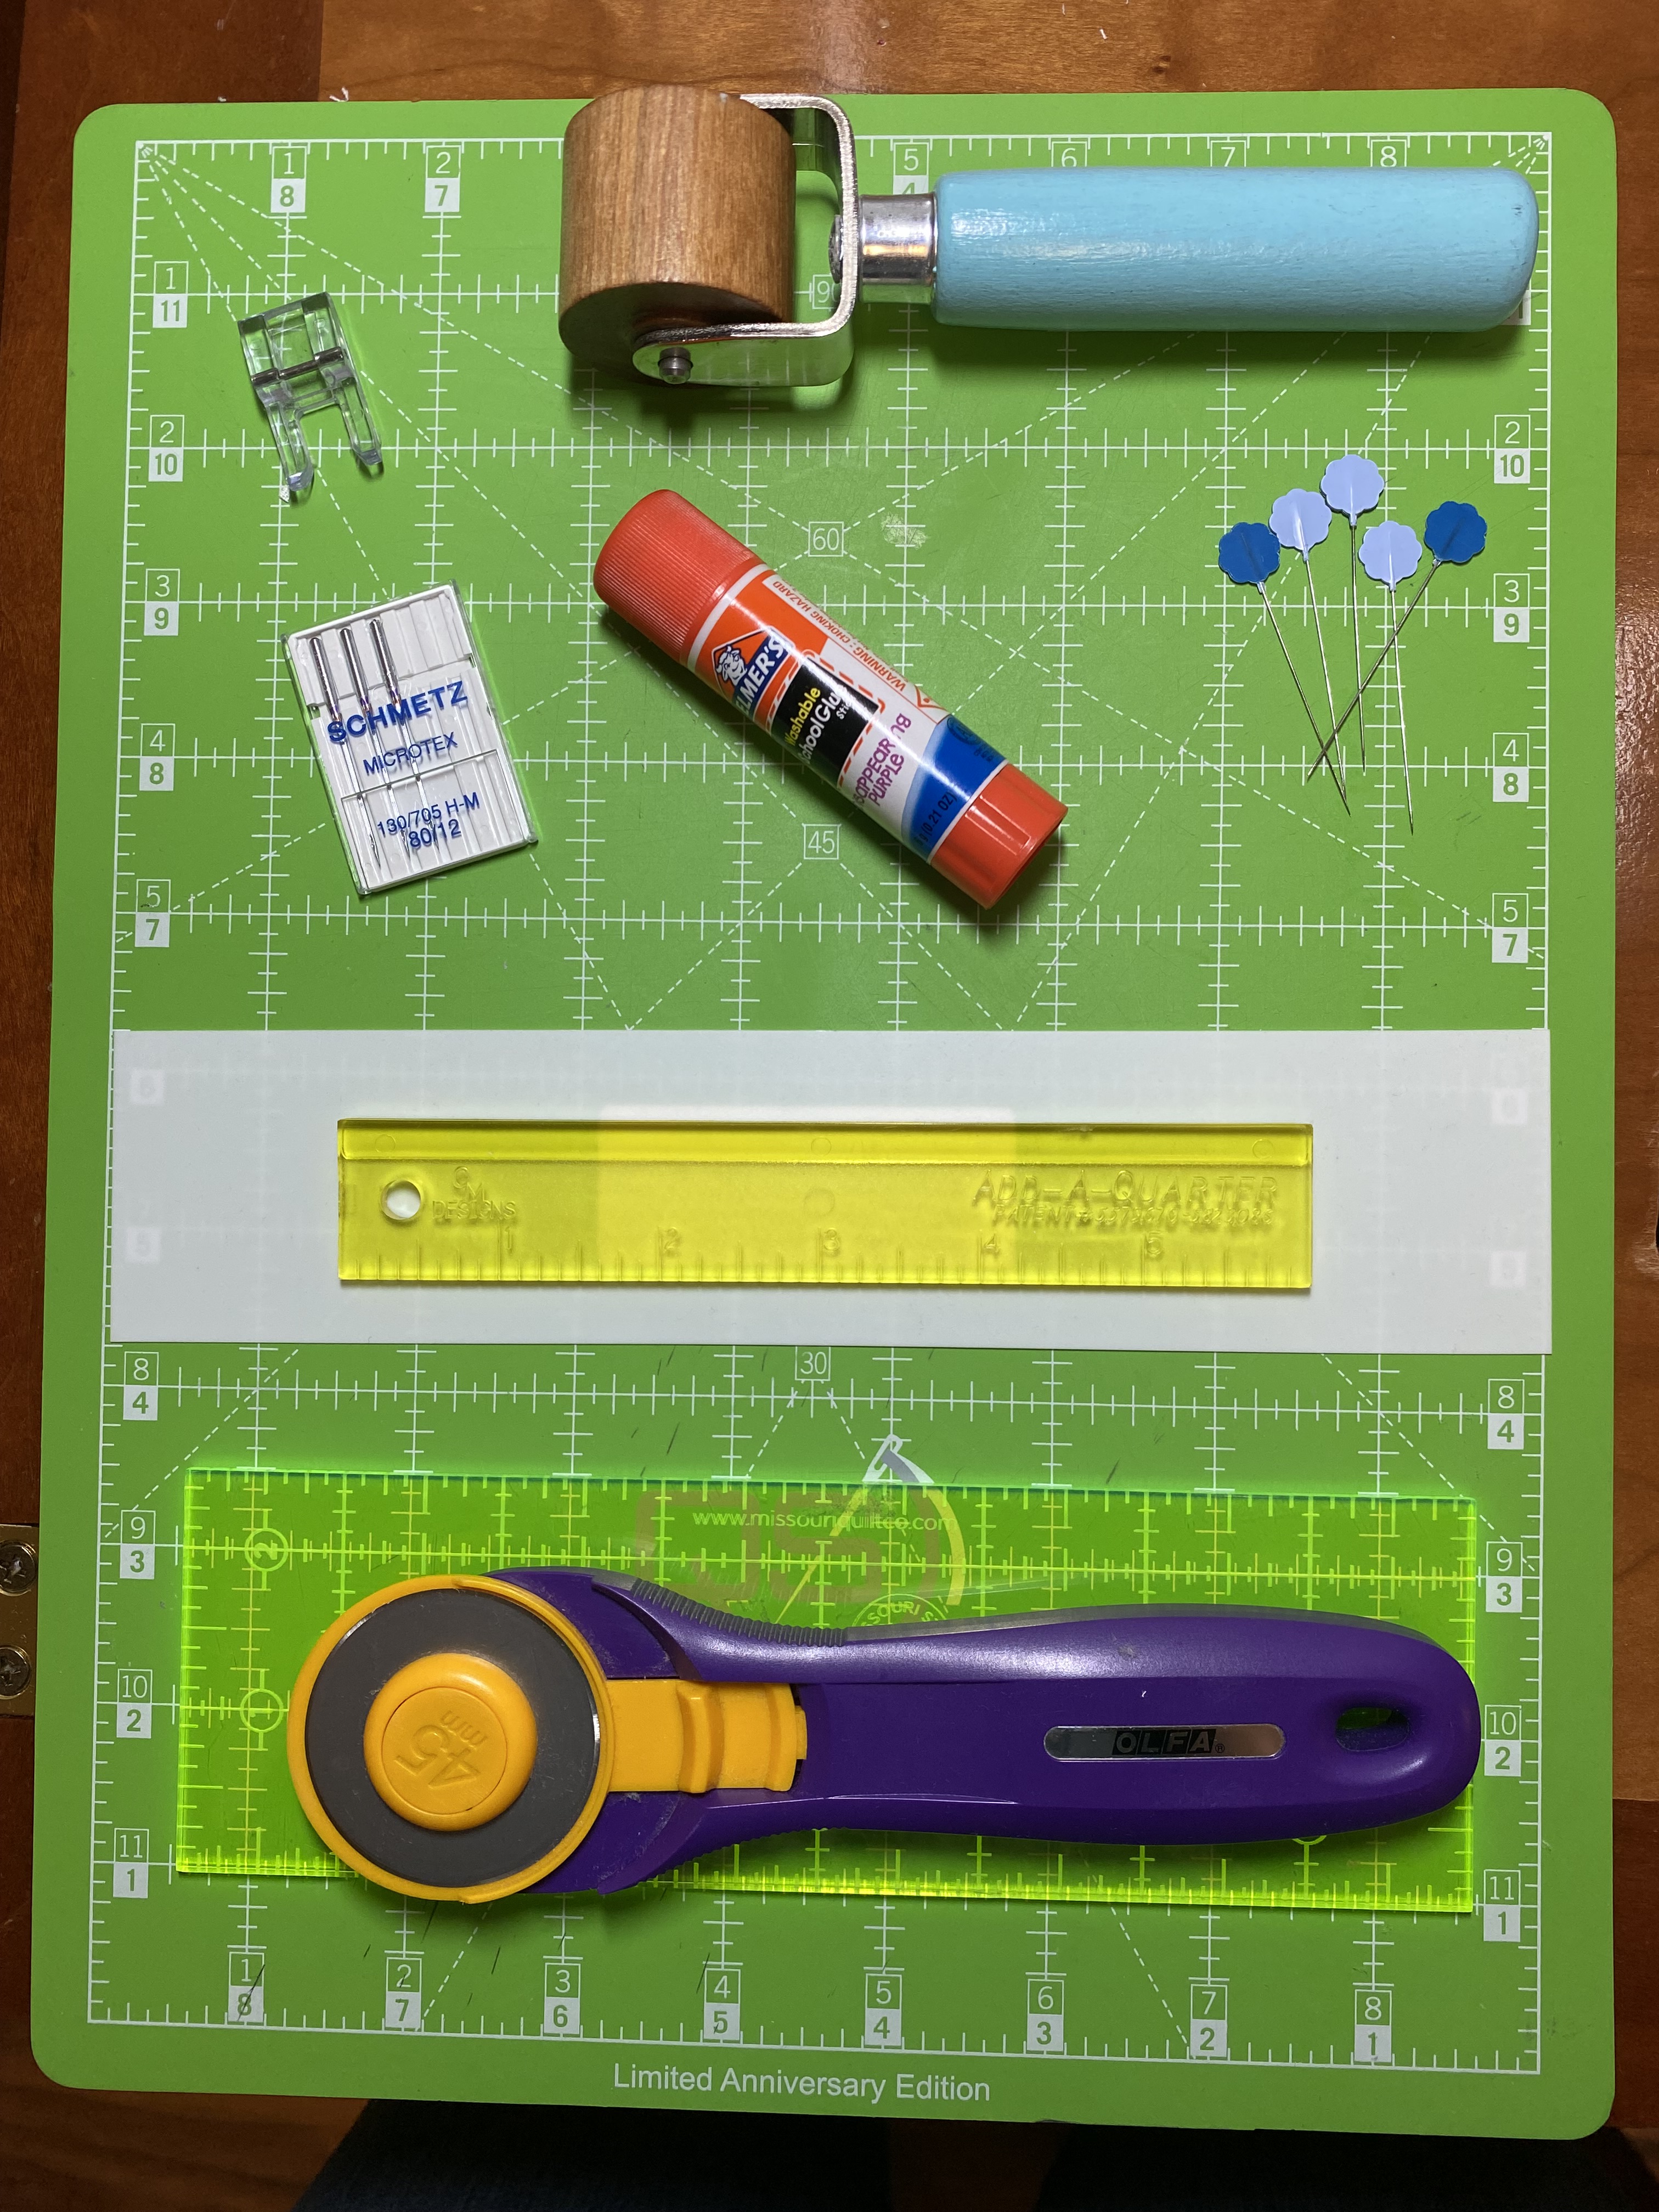
Tools for FPP:
Microtex needles, size 80/12 or 90/14
Open toe foot
Clover flower head (super thin) pins
Glue stick
Add a Quarter ruler in 6″ or 12″ (may need Add an Eighth size for small blocks with tiny, tiny pieces)
Seam roller
Piece of cardstock or template plastic to use as straight edge (2″ wide by 9″ long works well)
Rotary cutter, mat and small ruler
Pattern printed in reverse on lightweight paper
Video tutorials on FPP: Kimberly @ Fat Quarter Shop demonstrating how to make the FPP Kite blocks shown above. Carol Doak, well known for her FPP, showing how it’s done.
I actually made 30 Vintage Kite blocks that will be turned into a small lap size quilt (40″x50″).